

Okay, confession time: I might have a slight obsession with pressing flowers. (If you’ve seen my Pressed Flower DIY Projects, you already know!) If you’ve ever pressed a flower between the pages of a book as a child or admired vintage botanical art, you already know the timeless charm of pressed florals.
There was always something so satisfying about tucking a bloom into a book and pulling it out weeks later, perfectly flat and ready to turn into something beautiful! I may be grown up now but I still love playing with flowers!
But here’s the thing- not every flower plays nice when pressed. Some come out looking like they belong in a vintage botanical journal, while others… well, let’s just say they end up in the compost pile. After trial and error (and a lot of crumpled petals), I’ve figured out which flowers are worth pressing and which ones to leave in the garden.
The Secret to Pressed Flowers That Stay Vibrant (Not Brown!)

In this guide, I’ll share:
- My favorite no-fail flowers for pressing (hello, pansies!).
- The ones that never seem to work (looking at you, peonies).
- Simple tricks to get the best results, like picking blooms at just the right time.
Whether you’re trying to learn the basics or are a fellow flower-pressing addict, let’s find the perfect blooms for your next project!
What Makes a Flower Press Well?

Not all blooms are created equal when it comes to pressing! The best candidates usually share a few key traits:
- Flat or thin petals – Think pansies, daisies, or cosmos. They dry quickly and hold their shape.
- Low moisture – Delicate things like ferns, baby’s breath, or lavender won’t turn mushy.
- Colorfast hues – Vibrant petals (larkspur, violets) tend to outlast pale ones.
Pro Tip: Some of the easiest flowers to press are the ones growing in wildflower meadows or cottage gardens—nature’s perfect pressable palette!


Flowers That Fight the Press

Save yourself the hassle and skip these troublemakers:
Thick, fleshy petals – Roses, lilies, mums, and peonies often wilt or mold.
High-moisture blooms – Succulents, orchids, and impatiens are better admired fresh.
Exception to the rule? You can press tricky flowers like hydrangeas—just separate the tiny florets first, or wait until close to Fall when the flower starts changing colors and becoming more paper-like
Best Flowers for Pressing (With My Personal Favorites!)
After pressing hundreds of blooms (and yes, a few fails along the way!), these are my top picks for flowers that press like a dream.
Classic Pressing Stars
Pansies

Why I love them: Simple, flat shape and vibrant colors (purples/yellows stay bold!)and they press in days.
Tip: Pick younger blooms—they’re less likely to drop petals.
Daisies & Cosmos

Why I love them: Flat faces, bright colors, lots of petals, and they press beautifully. Perfect for bookmarks or resin art.
Tip: Separate the petals slightly for a more artistic look.
Violets/ Violas

Why I love them: Small and delicate, perfect for detailed pressed flower art.
Tip: Press them whole or as individual petals.
Wildflowers and Weeds

Why I love them: Delicate and lacy flowers add texture to pressed flower projects. Many weed-like or wildflowers have interesting colors and shapes that are fun for flower art. Queen Anne’s Lace is a great flower to press!
Tip: Press the entire flower head for a stunning effect.
Wax flowers are one of my favorites for pressing.
Foliage and Fillers

Why I love them: Fillers like statice with multiple flowers on each stem are a perfect addition to larger pressed flower art. German statice is one of my favorite flowers to press.
Tip: Press the entire flower head for a stunning effect.
Baby’s breath dries quickly, won’t brown. Ideal for confetti or delicate accents.
Ferns

Why I love them: Adds a beautiful, feathery texture to pressed flower art.
Tip: Press smaller fronds for easier use in projects.
Lavender

Why I love them: Retains its color and fragrance when pressed.
Tip: Press individual sprigs of lavender greens for a rustic look.
Just Avoid These Flowers!
Save yourself the heartache-these blooms rarely press well!

Thick or Fleshy Petals
- Roses: Centers turn mushy (though individual petals can work).
- Lilies: Too bulky-wilt before drying flat.
- Peonies: Gorgeous fresh, but often mold in presses.
High-Moisture Content
- Hydrangeas (they tend to brown; individual flowers work better than entire stem)
- Orchids: Delicate + watery = sticky mess.
- Tulips: Petals shrivel unpredictably.
Wilty or Color-Fading
- Geraniums: Drop petals like confetti mid-press.
- Impatiens: Practically dissolves on contact.
- Petunias: Bright colors fade to dull brown.
Exception? Some flowers that do not work well using the traditional flower press, like zinnias and smaller roses, can be dried/pressed using the quick microwave pressed flower method.
Tips for Choosing and Preparing Flowers for Pressing
Because even the prettiest blooms need a little TLC before pressing!

1. Timing is Everything
- Pick at peak bloom: Flowers should be fresh and fully open (but not wilted or browning). Morning is ideal—after dew evaporates but before the sun fades colors.
- Avoid buds-they often press poorly. Exception: Tiny wildflowers like clover can be pressed whole.
2. Keep It Dry
- Skip wet flowers: Dew, rain, or watering-can splashes = mold risk. Let blooms air-dry on a towel for 10–15 minutes first.
- Pro trick: Blot thick stems or centers (like daisies) with a paper towel.
3. Prep Like a Pro
- Thick flowers? Remove individual petals
- Remove bulky bits: Strip excess leaves or fuzzy centers
4. Experiment & Track
- Test new varieties: Some surprises (like pansy leaves!) press beautifully.
- Keep notes: “May: Larkspur worked! Whole tulips = fail.”
5. Press Immediately
- Don’t let picked flowers sit—they’ll wilt. Have your press or book ready to go!
Time to Press! Your Flower-Preserving Options
From old-school charm to speedy modern tricks!
Now that you’ve gathered your blooms, let’s talk pressing methods. You’ve got choices!
1. The Classic Book Press
Perfect for: First-timers & sentimental pressing (that childhood nostalgia!).


What you’ll need:
- A heavy book
- Parchment paper or coffee filters
- Weights (stack more books on top)
Steps:
- Arrange flowers between parchment sheets.
- Tuck into the middle of the book.
- Add weight and wait 2–4 weeks.
Tip: Check after 1 week-replace parchment if damp.
2. Flower Press (My Go-To!)
Perfect for: hobbyists and gardeners to preserve your blooms

Why I Prefer:
- Faster results (3-7 days average, some flowers take longer)
- Better for bulk pressing
- Reusable for endless projects
Steps:
- Arrange flowers on blotting sheets
- Layer between cardboard sheets
- Repeat the process, mine has 10 layers of pressing space
- Put the wood top on the press and tighten screws to apply pressure
Hot Tip: If you think you’ll press flowers more than once, the small investment in a press pays off fast!
Check out my beginner’s guide to using a flower press!
Flower Presses

3. Microwave Magic
Perfect for: Instant gratification (same-day results!).

I’ve tested this method extensively—see my Microwave Pressed Flowers Tutorial for all the details!
Quick Highlights:
- Uses dinner plates & napkins
- Dries blooms in 30 seconds–2 minutes.
- Game-changer for last-minute gifts!
Microwave Flower Pressing Perks:
Just a heads up: microwaved flowers do come out slightly more dimensional than paper-flat book-pressed blooms. That extra body is perfect for:
- Resin jewelry where you want a subtle texture
- Shadow box displays
- Greeting cards with a 3D effect
For projects needing ultra-flat flowers (like framing between glass), you may still want to reach for your traditional press. But when you need speed + versatility, the microwave can’t be beat!
Creative Uses for Pressed Flowers
Pressed flowers add magic to almost anything! Here are a few of my favorite ways to use them (with links to tutorials):
Framed Botanical Art

- Perfect for: Home decor or gifts.
- My fave: Mini pressed flower framed ornaments– ideal for unique gift toppers!
Get inspired to create your own framed pressed flower art! This is a perfect place to start for beginners, easy ideas that come out beautifully!
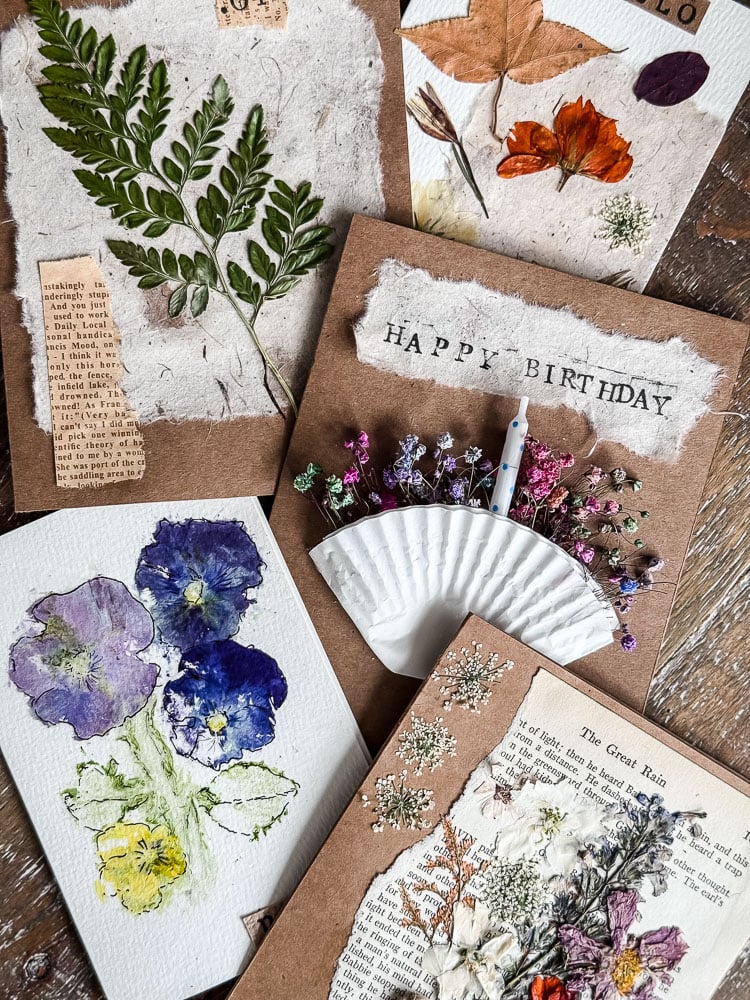
Handmade Notecards

- Why I love these: Lovely way to show someone you were thinking of them
- Bonus: Perfect way to use pressed ferns, they look elegant.
In this tutorial, I will walk you through each step of creating personalized notecards.
Diy Bookmarks

- Perfect for: Your book-loving friends, cute as gift tags too!
- Why I love this one: Unleash your creativity and have fun making these mini masterpieces!
Pressed flower art on a small scale! Have fun and create an assortment of bookmarks, and pop them inside a bestseller for a fun gift idea.
Vintage Flower Plaques

- Why I love these: These pressed flower decoupage plaques are the perfect blend of rustic elegance and creative fun!
- Note: This craft is considered a little more advanced than the others (but not that hard!)
This is my favorite craft project that I have done with pressed flowers to date! I love the vintage look of these wall plaques.
Decoupage Flower Vases

- Perfect for: Creating a keepsake from your flower garden
- Why I love this one: I used the microwave pressing method to speed up this project.
See how I created 2 beautiful decoupage vases: one with a variety of flowers and one with just hydrangea petals.
This post may contain affiliate links, which means we receive a small commission if you purchase through our links. See our disclaimer page for more information.
featured
pressed flower art
My top choices & supplies that I have used in my pressed flower tutorials
FAQs About Pressing Flowers
Your Pressed Flower Journey Starts Here!

Pressing flowers is equal parts magic and mindfulness—a way to slow down and preserve nature’s fleeting beauty. Whether you’re pressing pansies in a book, speeding things up with a microwave, or crafting keepsakes from your garden blooms, the most important thing is to have fun with it!
Remember:
- Start with the right flowers (flat, dry, and vibrant).
- Choose your pressing method (book, press, or microwave).
- Get creative with how you use them (art, gifts, or even resin jewelry!).
See your projects featured! If you are inspired by this or any of my other DIY projects, I would love to see them and add you to the Reader’s Spotlight gallery. Send a photo to me at jennifer@cottageonbunkerhill.com
xo, Jennifer
No-Fail Flowers for Pressing: Quick Guide
- Flat or Thin Petals
- Pansies
- Violas
- Daisies
- Cosmos
- Queen Anne’s Lace
- Buttercups
- Forget-Me-Nots
- Vibrant & Colorfast
- Larkspur
- Marigolds (small varieties)
- Cornflowers
- Zinnias (single-petal types)
- Coreopsis
- Delicate Fillers & Foliage
- Baby’s Breath
- Wax Flower
- Ferns (Maidenhair, Autumn)
- Celosia
- Lavender
- Mint Leaves
- Clover
- Wildcards (Require Slight Prep)
- Hydrangea (separate florets)
- Poppy (individual petals)
- Small Roses

Love Flowers? Me too
Dried & Pressed Flowers
check out some of my favorite tutorials:
-
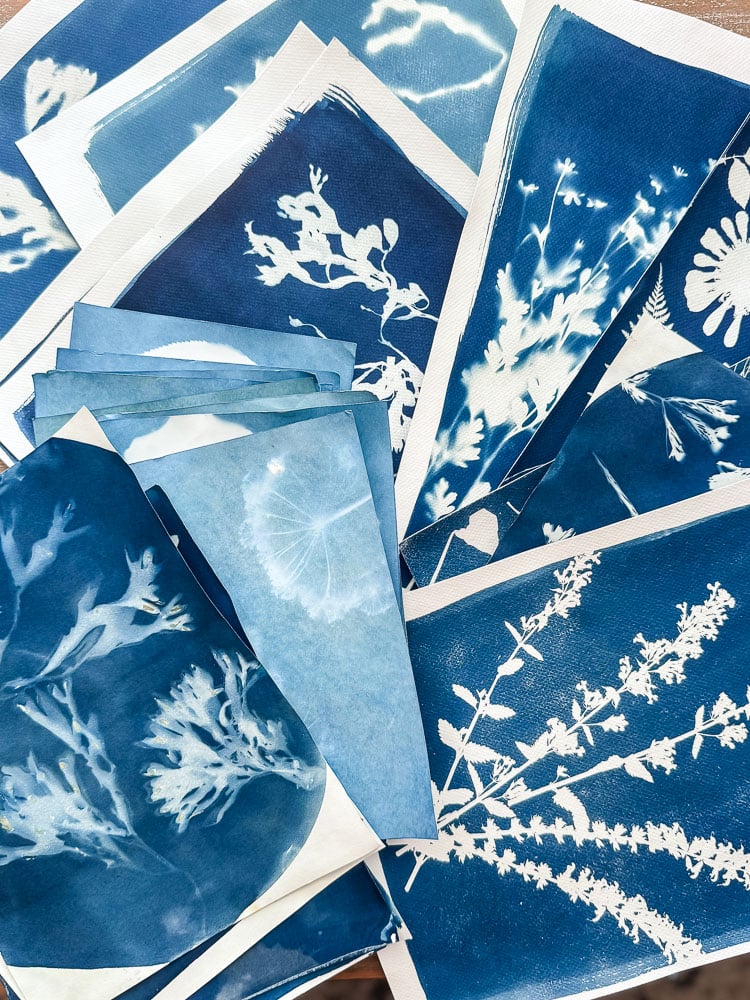
Cyanotype Sun Printing for Beginners (Everything I Wish I Knew First)

I Tried Cyanotype Sun Printing 6 Times So You Don’t Have To (The Good,…
-
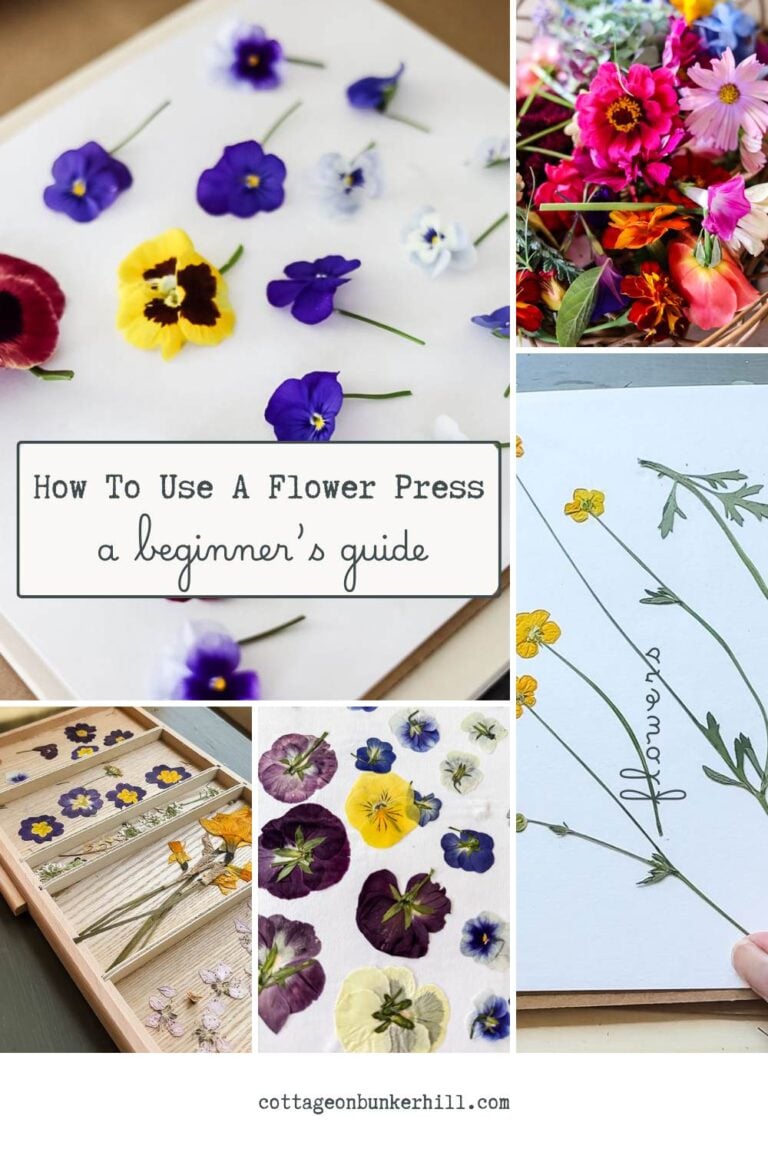
How to Use a Flower Press: A Beginner’s Guide
I’ve pressed hundreds of flowers at this point, from Trader Joe’s ranunculus in the…
-
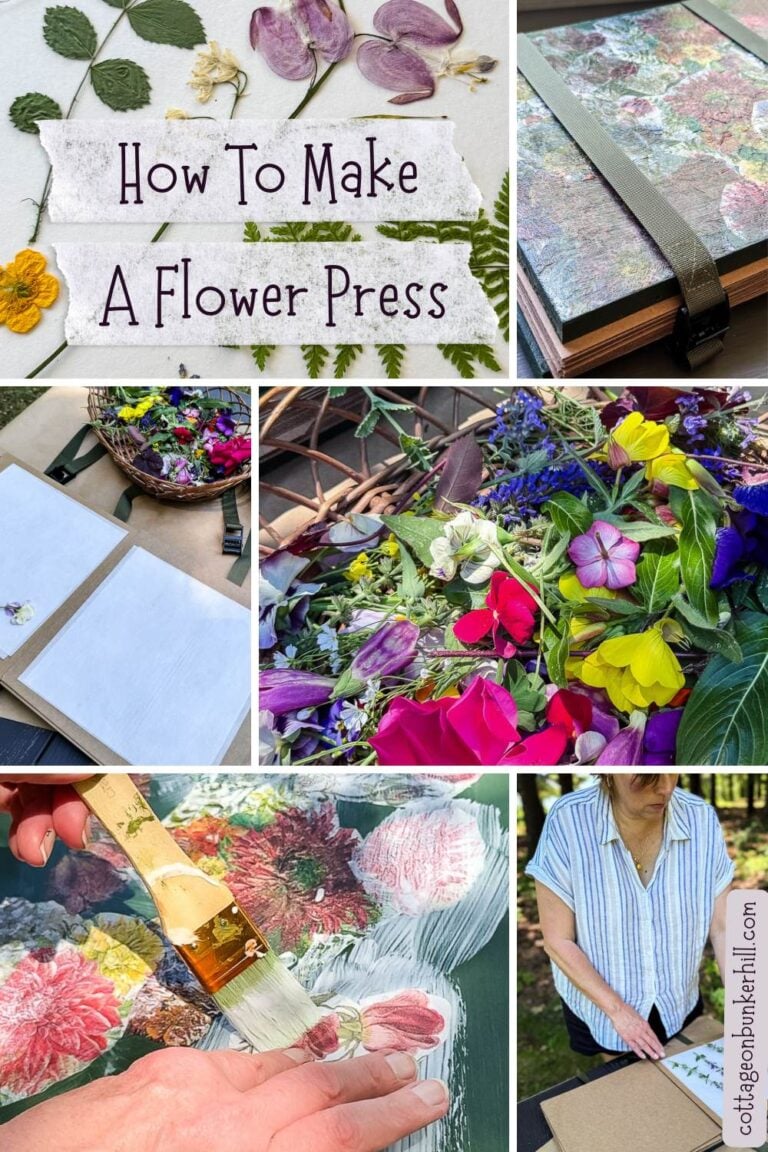
How to Make a Large Flower Press (No Bolts, No Fuss)
If you’ve been around here for a while, you know I press a lot…


I love all the beautiful creations you make with your pressed flowers.
Awww thanks!!
Such a helpful post! So many projects to be made with those pretty pressed flowers!
Awww thanks!!