There’s something magical about preserving the beauty of flowers—whether it’s a bouquet from a special occasion or blooms from your garden. If you’ve ever wanted to create stunning pressed flower art, a flower press is one of the easiest and most effective tools to use. Unlike the classic book-pressing method, a flower press provides even pressure, faster drying times, and reusable materials, making it a favorite among crafters and nature lovers alike.
In this guide, I’ll walk you through everything you need to know about using a flower press, from choosing the right one to creating your first pressed flower masterpiece. Whether you’re a beginner or just looking to refine your technique, this post has you covered!

Why Use a Flower Press?
Before we get into the how-to, let’s talk about why a flower press is such a great tool for pressing flowers. Here’s what makes it stand out:
- Even Pressure: A flower press applies consistent pressure, which helps flowers dry flat and evenly.
- Faster Drying Times: Compared to the book-pressing method, a flower press can dry flowers in as little as 1–2 weeks (the fastest way is the microwave method!).
- Reusable: Unlike books, which can get damaged or stained, a flower press is designed for repeated use.
- Versatile: You can press a variety of flowers, leaves, and even small botanicals with ease.
If you’re serious about pressed flower art, a flower press is a worthwhile investment. Plus, it’s a fun and satisfying tool to use!
This post may contain affiliate links, which means I may earn a small commission if you make a purchase through my links, at no extra cost to you. Read my disclosure policy here.
How to Choose the Right Flower Press
Not all flower presses are created equal, so it’s important to choose one that suits your needs. Here’s what to look for:
1.Size:
- Smaller presses (5×7 inches) are great for beginners and for pressing small flowers.
- Larger presses (8×10 inches or more) are ideal for bigger blooms or multiple flowers at once.
- Why I Chose This Size: I opted for an 11×11-inch flower press because it allows me to press a lot of flowers at once. Plus, the larger size is perfect for pressing bigger blooms from my garden, like peonies or sunflowers, which I’m excited to try this summer!
Flower Presses

2. Number of Layers:

- Some presses come with just a few layers, while others (like mine) have up to 10 layers.
- More layers mean you can press more flowers at the same time, which is a huge time-saver.
- Why I Chose This Feature: The 10-layer capacity of my press lets me press a variety of flowers and foliage in one go, making it super efficient for larger projects.
3. Material:

- Wooden presses are classic and durable, but make sure they’re made with sturdy wood.
- Metal screw presses provide more pressure and are great for thicker flowers.
- Why I Chose This Material: My press is made from natural, untreated wood, which is safe for pressing flowers and adds a rustic charm to my crafting space.
4. Portability:

- If you plan to take your press on the go (e.g., for nature walks), look for a compact, lightweight design.
- Why This Works for Me: While my 11×11-inch press isn’t the most portable it does come with a travel bag. It’s perfect for my home studio where I do most of my crafting.
5. DIY Option:
- If you’re feeling crafty, you can make your own flower press using wood, cardboard, and screws or straps. Here is a cool DIY one.
- Why I Went Store-Bought: I wanted a press that was ready to use right away, and this one had everything I needed—size, layers, and durability.
Why This Press Works for Me
- Versatility: The large size and multiple layers make it perfect for both small and large projects.
- Efficiency: I can press a lot of flowers at once, which is great for when I’m working on multiple projects.
- Durability: The wood is sturdy and safe for pressing flowers.
featured
flower press
Here’s the flower press I use, it has 10 layers which is a huge time-saver to do lots of blooms at once for around $25.
Step-by-Step Guide to Using a Flower Press
Now that you’ve chosen your flower press, let’s get started! Here’s how to use it:

1.Prepare Your Flowers
- Pick fresh, dry flowers and trim the stems if needed. Avoid flowers with dew or moisture, as this can cause mold. It’s winter here still so I had to buy flowers at Trader Joe’s to press.
- Tip: Flowers with flat petals, like pansies or daisies, press best.
2. Arrange The Flowers
- Open your flower press and place a piece of cardboard then the absorbent paper (e.g., parchment paper or blotting paper) on the bottom layer.
- Arrange your flowers on the paper, making sure they don’t overlap.
- Tip: Use tweezers to handle delicate flowers without damaging them.

3. Layer The Press
- Once your flowers are arranged, place another piece of absorbent paper on top.
- If you’re pressing multiple layers of flowers, repeat the process, alternating paper and flowers.
- Tip: Don’t overload the press

4. Apply Pressure
- Close the flower press and tighten the screws or straps evenly to apply pressure.
- Tip: Make sure the pressure is consistent across the entire press.

5. Wait and Check
- Leave the press in a cool, dry place for 1–3 weeks, depending on the flowers and humidity.
- Check the flowers periodically and change the absorbent paper every few days to prevent moisture buildup.
- Tip: Thicker flowers may take longer to dry, so be patient!
Tips For Success:
Use Fresh Flowers: Flowers that are past their prime may not press well.
Avoid Overcrowding: Give each flower enough space to dry flat.
Experiment with Different Flowers: Try pressing a variety of blooms to see which ones work best.
Store Your Press Properly: Keep your flower press in a dry place to prevent warping or damage.

What Flowers Worked Well (and What Didn’t)
One of the best parts of using a flower press is experimenting with different blooms to see which ones press well and which ones… don’t. Here’s what I discovered during my first week with my flower press:
Flowers That Worked Well

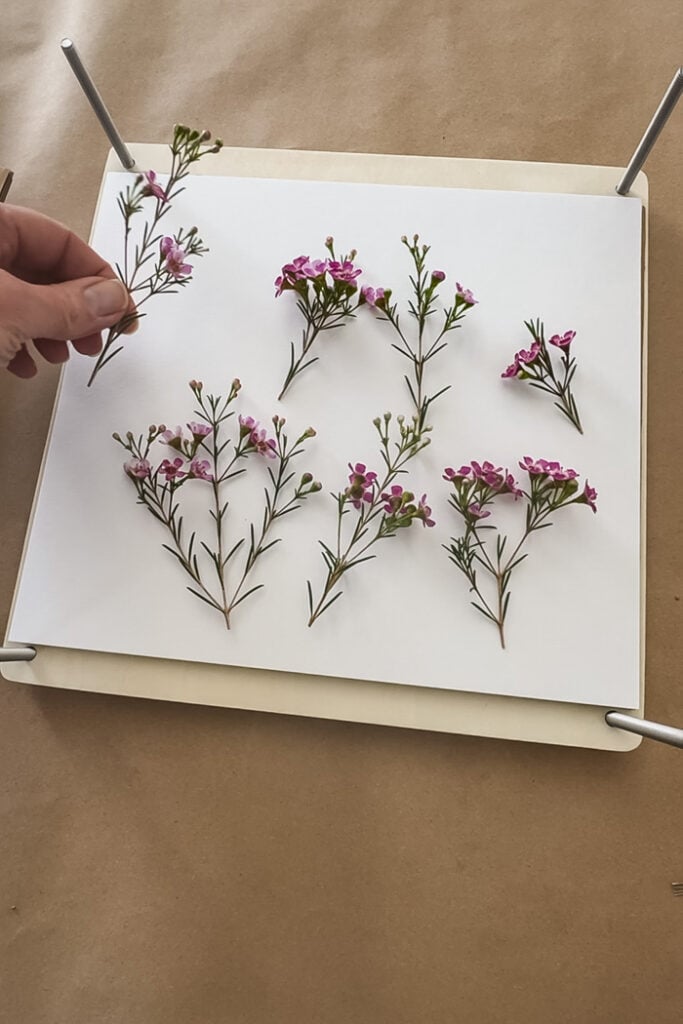
- Wax Flowers
- These tiny, delicate flowers pressed beautifully and retained their shape and color. They’re perfect for adding texture to pressed flower art.
- Yellow Solidago Flower
- This golden, feathery filler flower pressed like a dream! It dried flat and kept it’s color, making it a great addition to any project.
- Fresh Blue Hydrangeas
- I was amazed at how flat these pressed! While they did develop a bit of browning, some were usable some were too brown.
- Tip: I think end-of-season hydrangeas from my garden (which have already started changing color) would press even better, so I’ll be trying those in the Fall!
- Statice
- I pressed 2 types of Statice, the traditional and also Geman statice which has tiny flower heads. It is a pressed flower superstar! Both types dried perfectly and the traditional kept its vibrant purple hue. It’s a must-try for anyone new to flower pressing.
Flowers That Didn’t Work as Well

- Mums
- Unfortunately, mums were a bit of a disaster. Their thick, fleshy petals didn’t dry evenly, and they lost a lot of their color.
- Asters
- Similar to mums, asters didn’t press well. Their petals curled and browned, making them less than ideal for pressed flower art.
- Yellow Daisies
- These are still a work in progress! After a week in the press, they weren’t fully dry, so I put them back in for another week. I’ll update you on how they turn out!
Lessons Learned:
Flat, Thin Flowers Work Best: Flowers like wax flowers and statice have thin petals that dry quickly and evenly.
Thicker Flowers Can Be Tricky: Flowers with fleshy petals, like mums and asters, tend to curl or brown.
Patience is Key: Some flowers, like yellow daisies, may need extra time in the press to dry completely.
FAQs About Using a Flower Press
- How long does it take to press flowers in a flower press?
- Typically 1–3 weeks, depending on the flowers and humidity.
- Can I press thick flowers like roses in a flower press?
- Yes, but you may need to separate the petals or slice them in half.
- How do I clean my flower press?
- Wipe it down with a dry cloth and store it in a dry place.
- Can I make my own flower press?
- Yes, using wood, cardboard, and screws or straps.
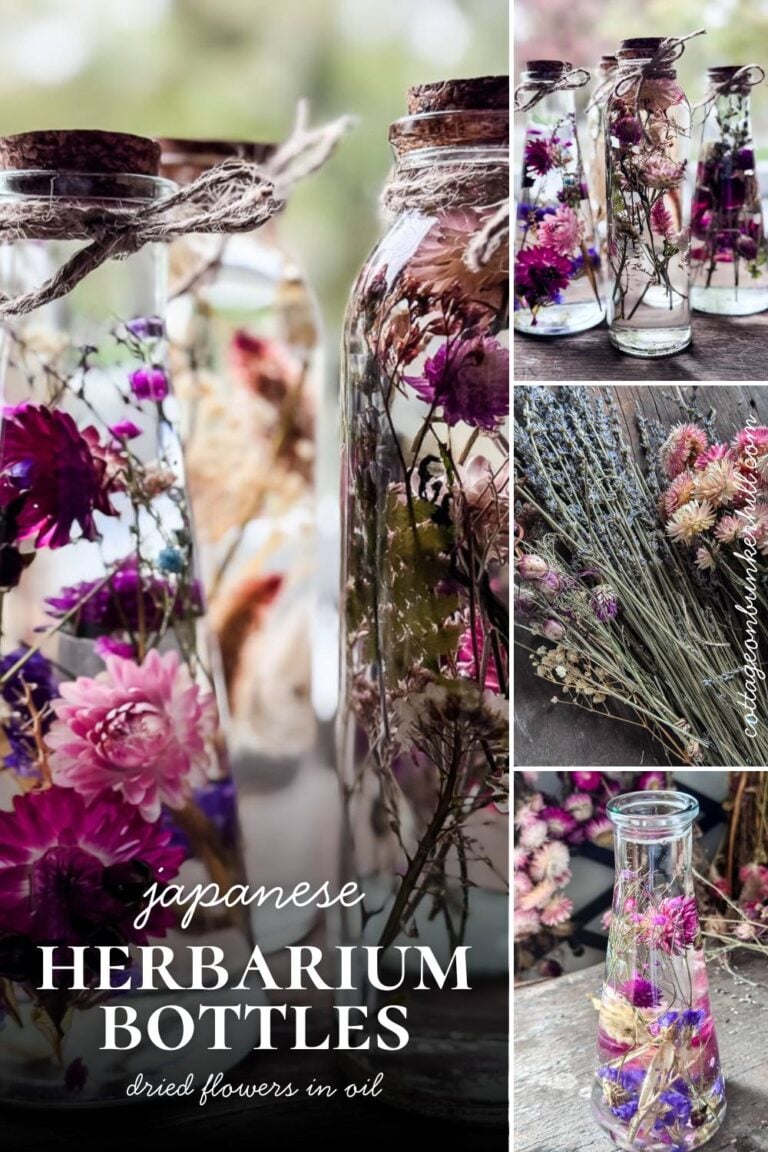
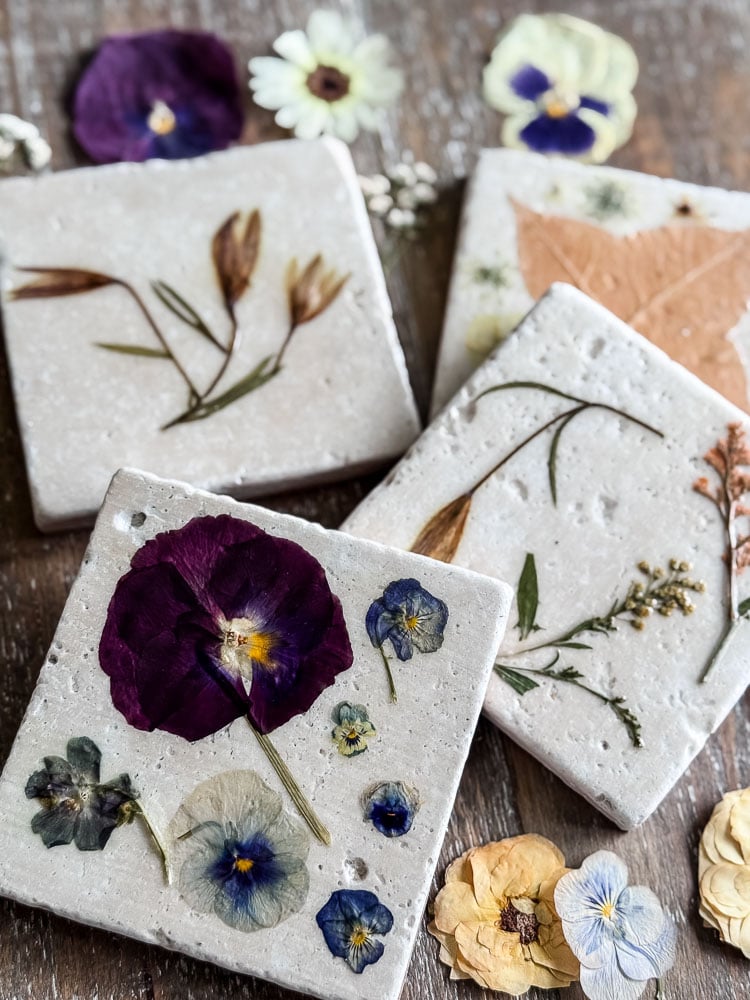
Creative Uses for Flowers Pressed with a Flower Press

Once your flowers are pressed, the possibilities are endless! Here are a few ideas to inspire you:
- Bookmarks: Laminate pressed flowers for a functional keepsake.
- Decoupage Vases: Turn your pressed flowers into beautiful vases
- Framed Art: Create a beautiful botanical display for your home.
- Greeting Cards: Add a personal touch to handmade cards.
- Flower Plaques: Using vintage book pages & flowers
Now It’s Your Turn

Using a flower press is a simple and rewarding way to preserve the beauty of nature. Whether you’re creating art, gifts, or keepsakes, a flower press is a versatile tool that every crafter should have in their toolkit. So grab your press, head outside, and start pressing your favorite blooms today!
See your projects featured! If you were inspired by this or any of my other DIY projects I would love to see them and add you to the Reader’s Spotlight gallery. Send a photo to me at jennifer@cottageonbunkerhill.com
xo, Jennifer