
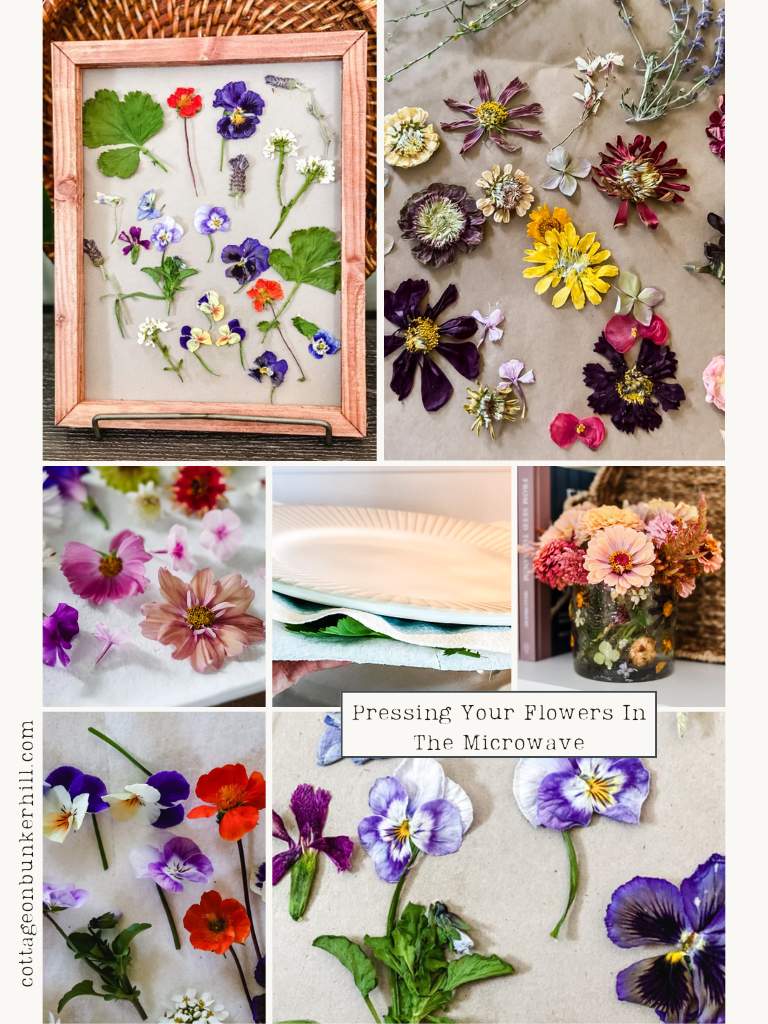
Do you want to preserve some of your flowers without dragging out thick books to press them in? Then you’ll be excited to learn about microwave flower pressing! This quick and easy pressed flower method preserves blooms in minutes.
I’ll be straight with you, the first time I saw someone pressing flowers in their microwave, I rolled my eyes a little. I’ve had enough Pinterest fails to be suspicious of anything that sounds too good to be true. But this one wouldn’t cost me a dime to test, so I wandered out to the garden, grabbed a handful of violas, and two minutes later, I was a full convert. No giant stack of books, no three-week wait — just bright, beautifully pressed blooms ready to turn into something pretty for your home. Let me show you exactly how it’s done.
In this post, I’ll walk you through this simple method to press and dry flowers in the microwave in just two minutes. I’ll also share my tips for choosing the right flowers, an honest take on how it compares to traditional pressing, and a fun DIY project to show off your blooms.
How to Press Flowers in the Microwave
There’s something a little bit magical about taking flowers you grew yourself and turning them into something you actually get to keep. And the fastest way I’ve found to do it? Two minutes in the microwave. No heavy books stacked on the dining table for weeks, no fuss, just a handful of blooms from the garden (or even a grocery-store bouquet), a couple of smooth paper towels (I use Viva brand-don’t use anything that is printed or super textured), dinner plates, and a microwave you already own. Today, I’ll walk you through the whole simple process, plus a sweet little framed project to show them off.
01. Gather Flowers to Press

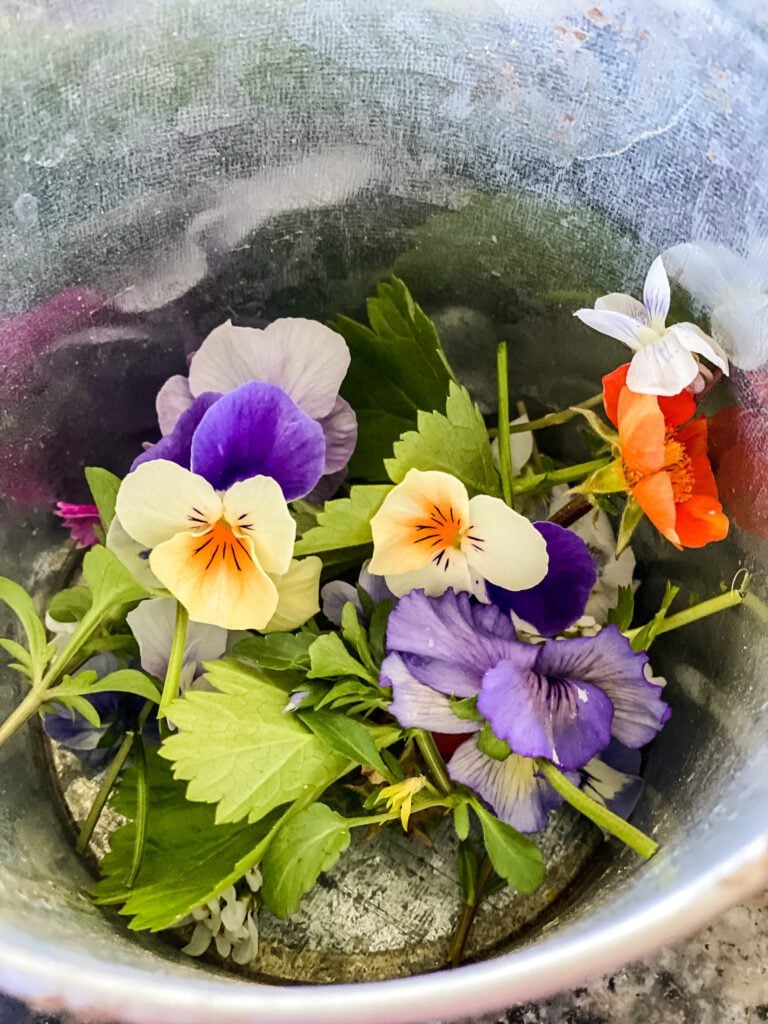
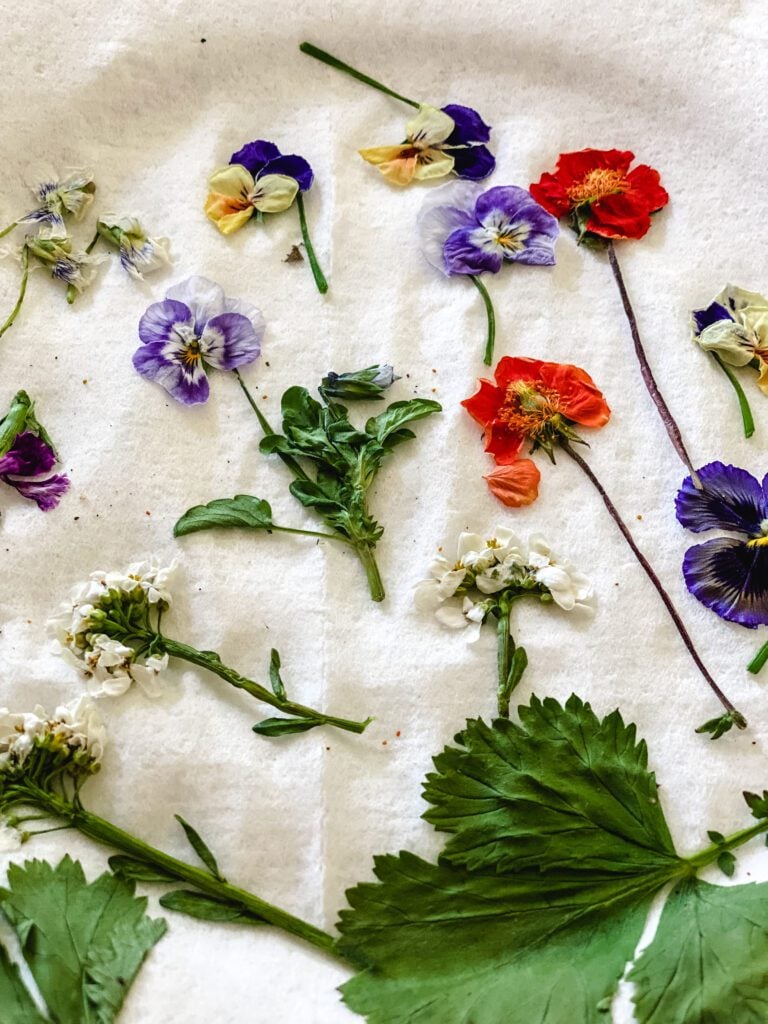
It was springtime when I first tried this, so I went out and picked whatever I had on hand, mostly violas, pansies, geum, and lavender. I figured I’d start with smaller flowers that would press well the old-school way (you know, in a big heavy book).
Common flowers that you can press:
- Daisies
- Pansies
- Roses (small)
- Marigolds
- Petunias
- Larkspur
- Zinnias
- Cosmos
- Verbena
- Ferns
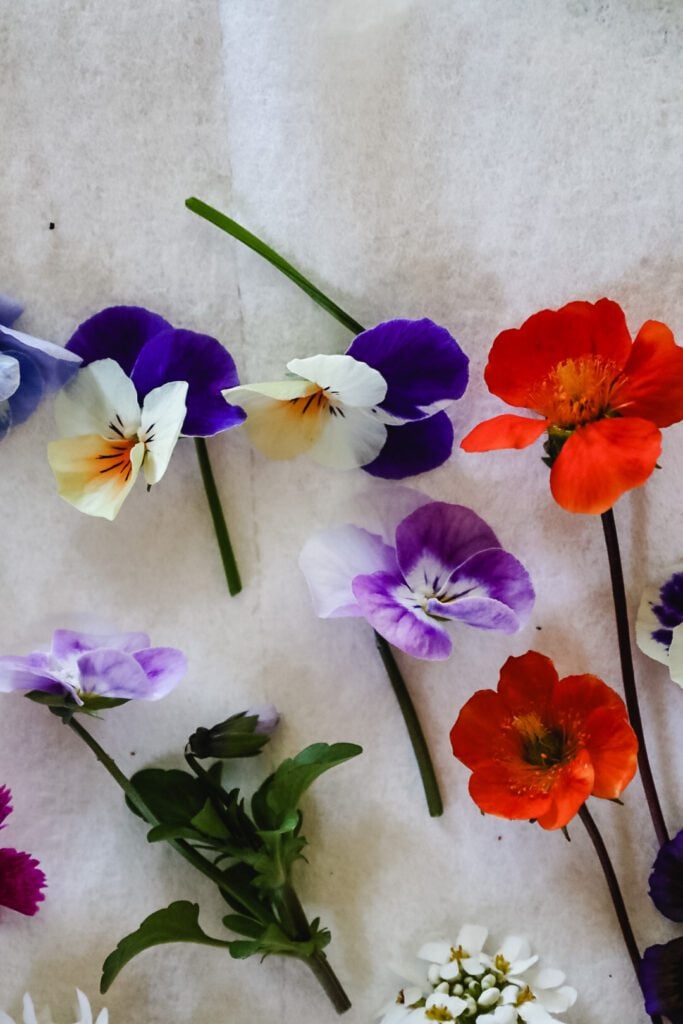
02. Prepare the Flowers
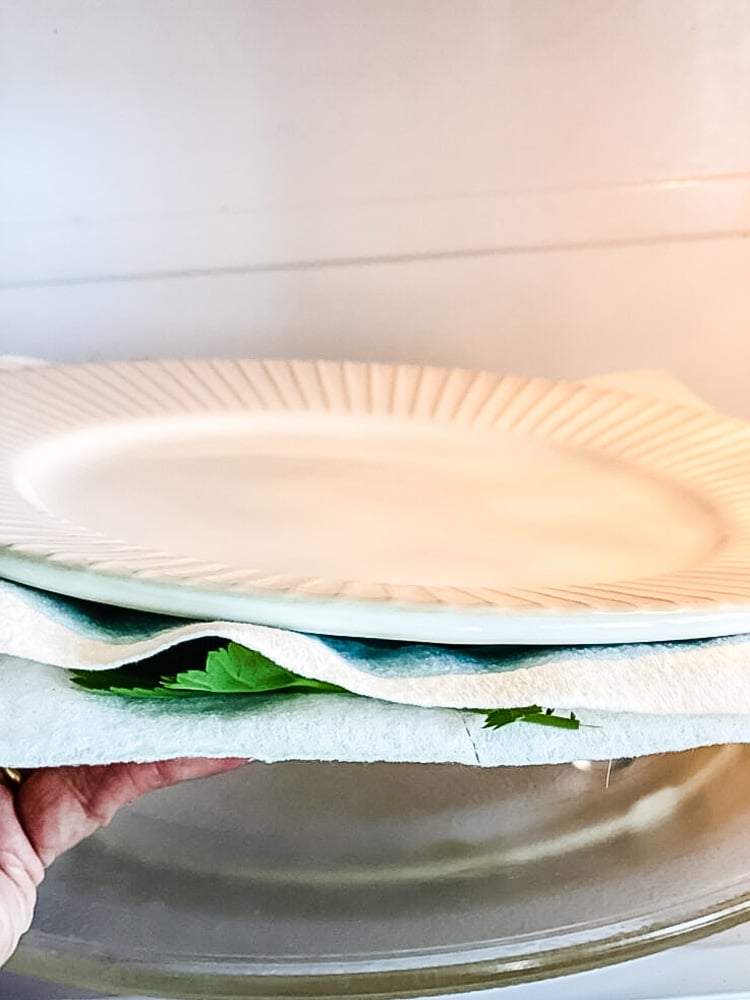
First, remove any excess leaves from the flowers you’re going to use. Line a dinner plate with a Viva brand or other smooth paper towel and place the flowers on top, making sure they aren’t touching.
I gave the flowers a gentle press to slightly flatten them without damaging the delicate faces. Then I covered them with a second paper towel.
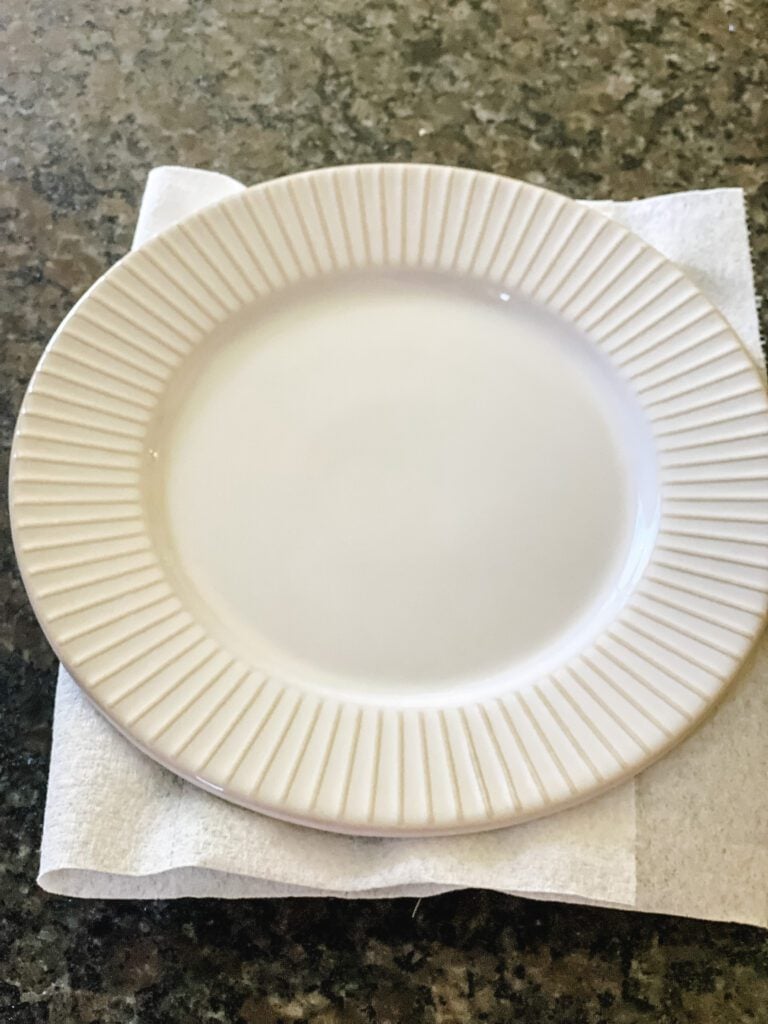
Finally, I topped everything with another dinner plate to weigh the flowers down. This helps with the quick microwave pressing
Quick Steps:
- Remove any excess leaves from the flowers you’re going to use.
- Line a dinner plate with a smooth paper towel and place the flowers on top, making sure they aren’t touching.
- Give the flowers a gentle press to slightly flatten them without damaging the delicate faces.
- Cover them with a second paper towel.
- Top everything with another dinner plate to weigh the flowers down; this helps with the quick microwave pressing.
03. Microwave the Flowers
Now I’m not going to lie…it felt plain weird sliding a plate of flowers into my microwave!!
Here’s the key: don’t blast them on full power. Set your microwave to about 50% power and go in 30-second bursts, checking the flowers between each one. Lower and slower is what keeps them from browning or scorching.

It took my microwave 2 minutes to dry the flowers. Your time will depend on how powerful your microwave is and which flowers you’re pressing, so check every 30 seconds. You’ll be able to tell when they’re ready; they’ll have that dried, papery, pressed-flower feel. (The first time I peeked at 1½ minutes, they weren’t quite there yet.)
Quick Steps:
- Set your microwave to about 50% power.
- Microwave the flowers in 30-second bursts, checking between each one. Keep going until they feel dry and papery — mine took about 2 minutes total, but yours will depend on your microwave and your flowers.
- Carefully remove the plate (the flowers will be hot and steamy!) and move them off the damp paper towel onto a fresh paper towel or parchment paper.
- Let them cool completely. This is when they firm up and get that dried, pressed feel. If you’re not using them right away, leave them out overnight to fully dry, and don’t seal them in a container or baggie yet.
One More Thing!

One thing to know: when the flowers come out, they’re hot– steamy, even- so let them cool down before you do anything with them. I like to move mine off the damp paper towel and onto a fresh paper towel or a piece of parchment paper. As they cool, that’s when they really firm up and take on that papery, dried feel.
If I’m not using them right away, I’ll leave them out overnight to fully dry. And whatever you do, don’t seal them up in a container or baggie at this stage; any leftover moisture gets trapped, and you’ll end up with mushy (or moldy) flowers instead of crisp pressed ones.
My Honest Take: Microwave vs. Traditional Pressing
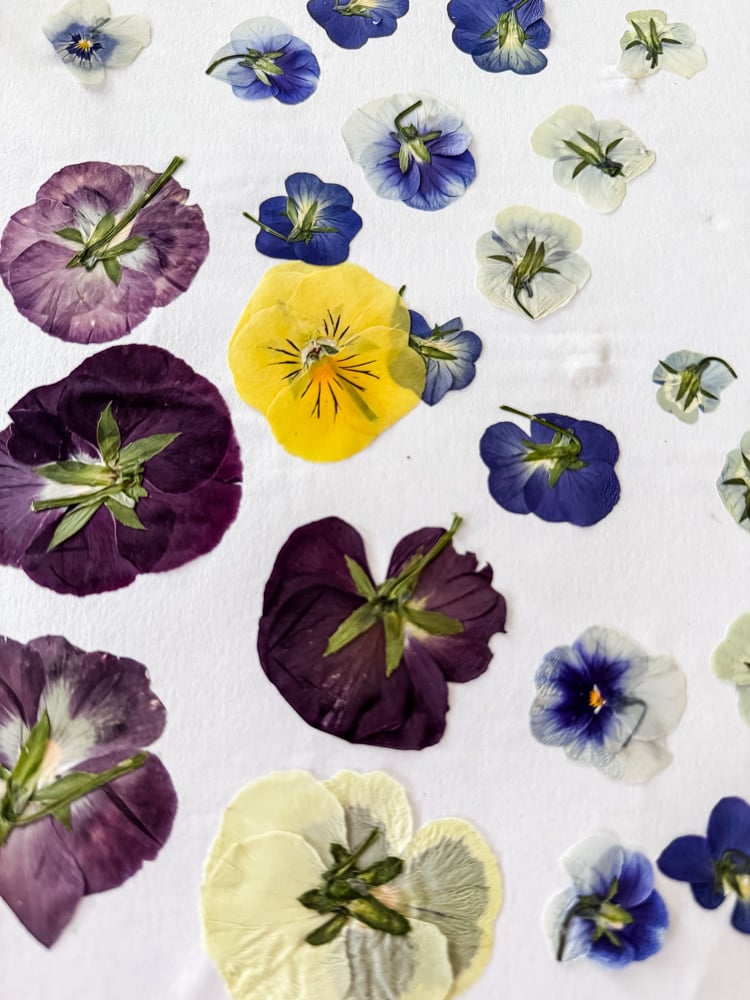
Here’s what I found after doing it both ways. Microwave-pressed flowers hold their color noticeably better than the traditional book method, where I always seem to lose a little of that vibrancy. The trade-off is flatness: they don’t come out quite as paper-thin and perfectly flat as flowers done in a press or heavy book for weeks.
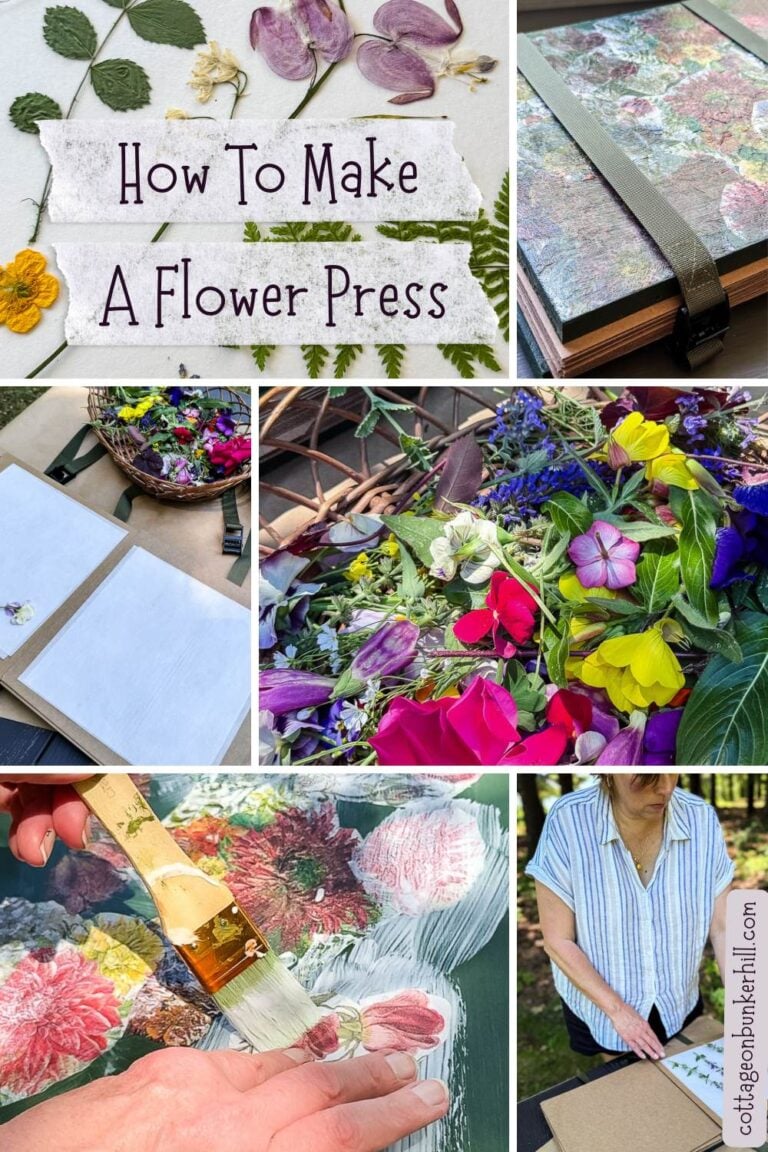
So if you’re after that delicate, pressed-in-a-book look, traditional pressing still wins. But if you want bright color, and you want it today, the microwave is hard to beat. (Curious about the slow way? Here’s my beginner’s guide to using a flower press.)
Microwave Pressed Flower DIY Project Ideas
Once you have your pressed flowers, you’ll want some fun projects to make with them. Here are some ideas, perfect for beginners
Project 1: Flower Framed Art
Skill Level: Beginner

Now for the fun part, turning those pressed flowers into a pretty little piece of art!
Any piece of cardstock or even a thick sheet of drawing paper works for this; I used a natural cardstock I had on hand. I didn’t have a real plan for how to arrange the flowers…I just played around until I liked the look, then glued them in place.
To secure the flowers to the paper, I used a teeny (I mean teeny) amount of white craft glue on the back of each one and pressed it into place. A toothpick with a dot of glue on the end works perfectly for the really small flowers.e really small flowers
Making A Pretty Flower Frame

This pressed flower art would look beautiful in a floating frame or a regular frame, but I wanted to try something a little different.
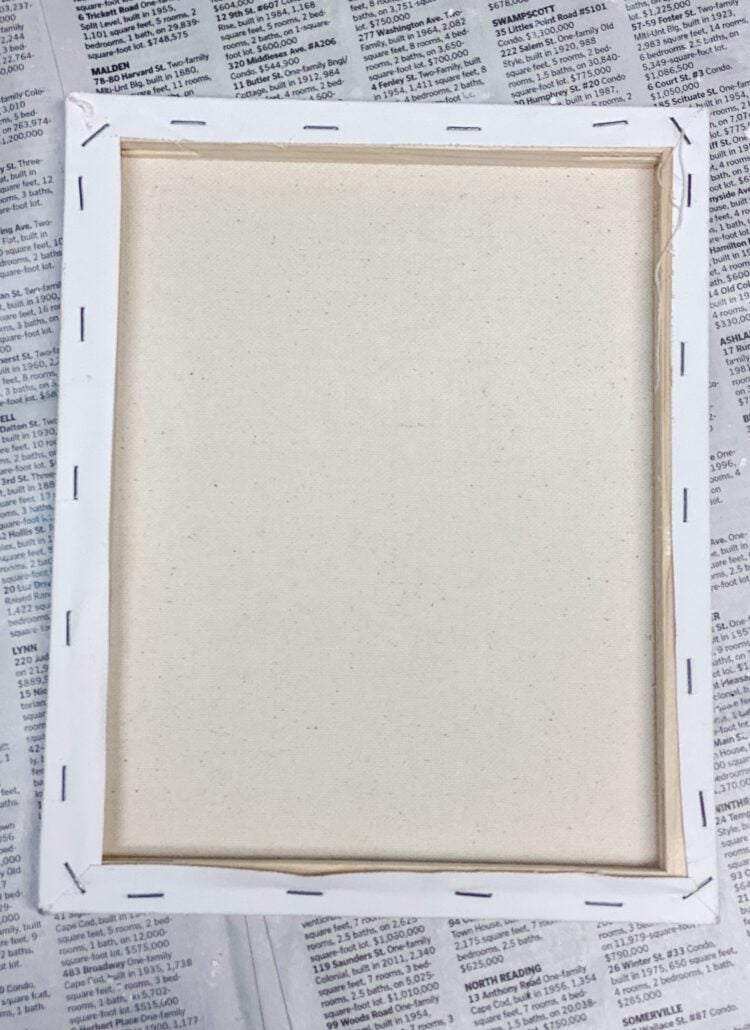
First, I grabbed a Dollar Tree canvas, flipped it over, and separated the canvas from the staples using a small flathead screwdriver. Once it was free from the frame, I traced the shape of the frame onto the canvas with a pencil and cut off the excess.

To attach the pressed flower sheet to the canvas, I used spray adhesive — just a light coat, then I placed the paper on top and gently smoothed it down without disturbing the flowers.
Staining The Frame

Instead of painting or staining the unfinished wood frame, I used one of my absolute favorite crafting tricks…RIT fabric dye!!
You heard that right! You can use dark brown RIT fabric dye to “stain” unfinished wood! It’s so simple, only takes a few minutes, and there’s no stinky stain smell to deal with.
In a container big enough to hold the frame, I added hot water (deep enough to cover it) and a few tablespoons of dye. I stirred it together, added the frame, and used a heavy bowl to weigh it down and keep it submerged. It took about 10 minutes to reach the color I wanted, then I gave it a quick rinse and wiped it dry with a paper towel.
You can see how I’ve used this trick on other projects: my Wood Bead Wreath and these Christmas Ornaments.
Finished Frame

To attach the frame to the pressed flower canvas, I added a strong craft glue to the back of the frame (the side with the staples) and pressed the frame down onto the canvas.
Look at how pretty it turned out!!! This is one project that I will definitely do again!! It was really easy, and I had everything on hand to make it.
Project 2: Pressed Flower Decoupage Vases
Skill Level: Intermediate

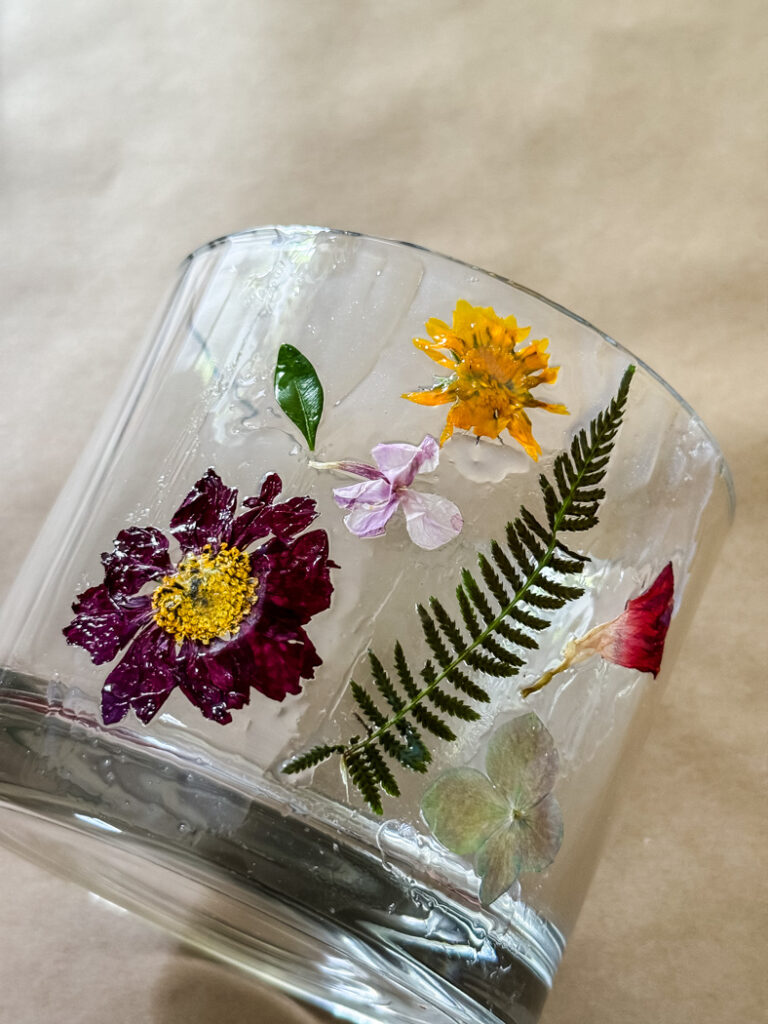
Framed art isn’t the only thing you can make with your microwave-pressed flowers. One of my very favorite projects is decoupaging them onto a plain glass vase. It turns a $3 thrifted or craft-store vase into something that looks like it came from a fancy boutique.

Here’s the quick version:
- Start with a clean, dry glass vase (any shape works).
- Brush a thin layer of Triple Thick Glaze onto a small section of the vase.
- Gently press a flower into the glaze, using tweezers or a toothpick to position the delicate ones.
- Brush another light coat of glaze right over the top to seal the flower in place.
- Keep going around the vase, then let it dry completely.
That’s the gist of it! I share all my tips — including how to keep the flowers from sliding around and how to layer them for a fuller look- in the full tutorial here: Pressed Flower Decoupage Vases.
Project 3: Pressed Flower Pumpkins
Skill Level: Intermediate
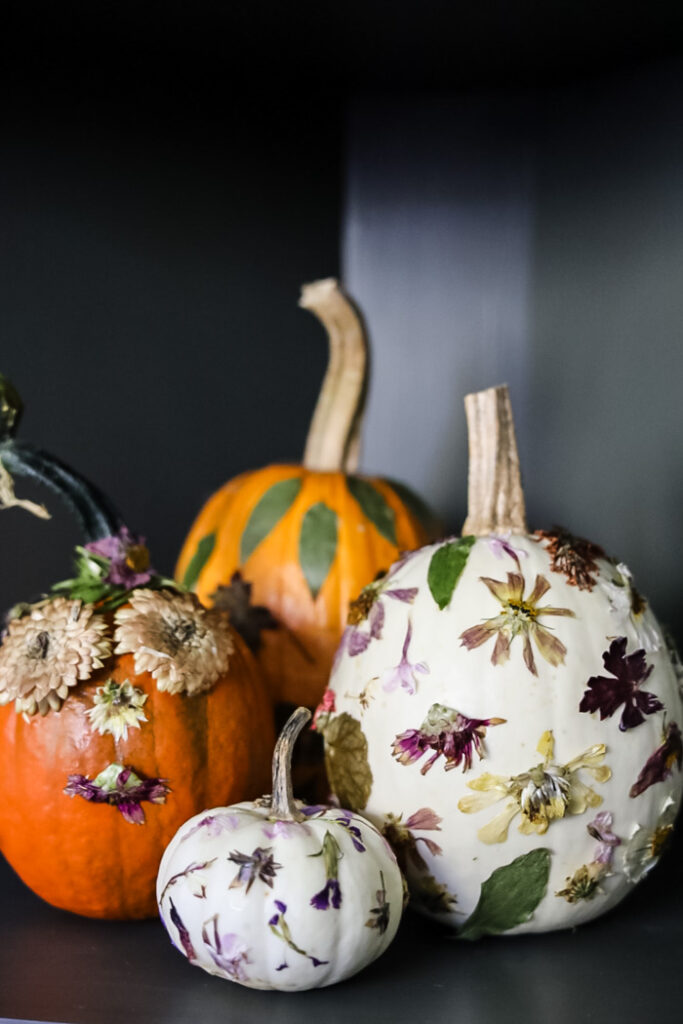
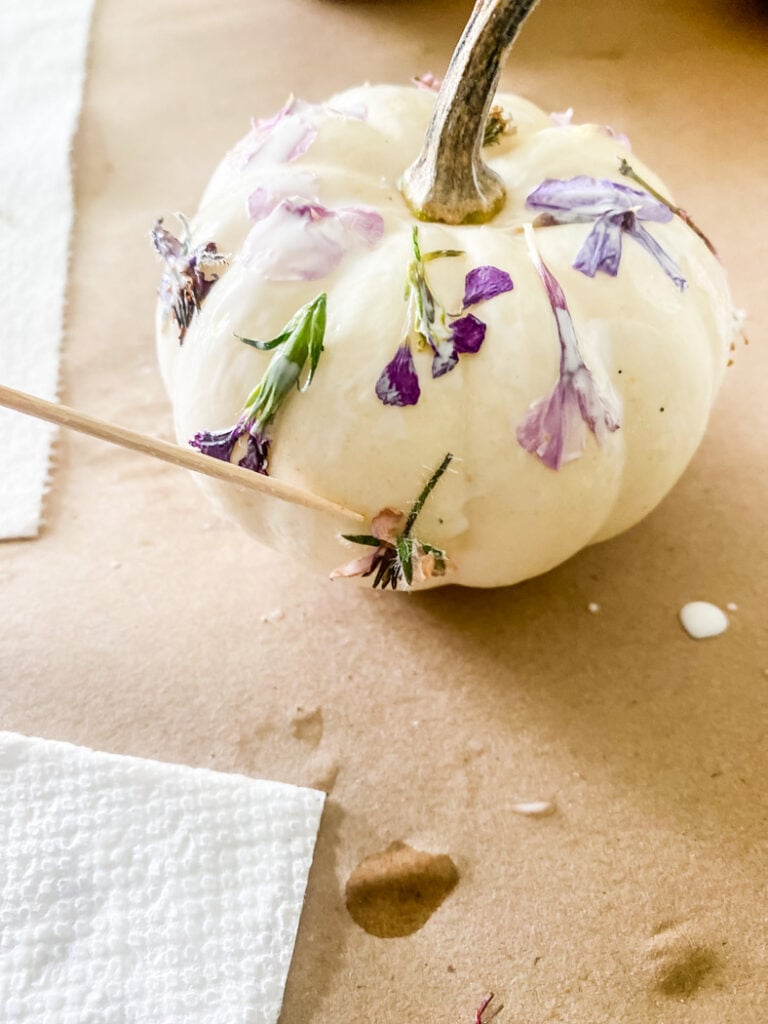
Here’s a fun one for when the seasons turn: those same microwave-pressed flowers make the prettiest no-carve fall pumpkins. Instead of a knife and a mess, you just decoupage pressed blooms and leaves right onto the surface for a soft, cottagey take on pumpkin decorating.
The quick version:
- Start with a clean, dry pumpkin (faux or real, both work).
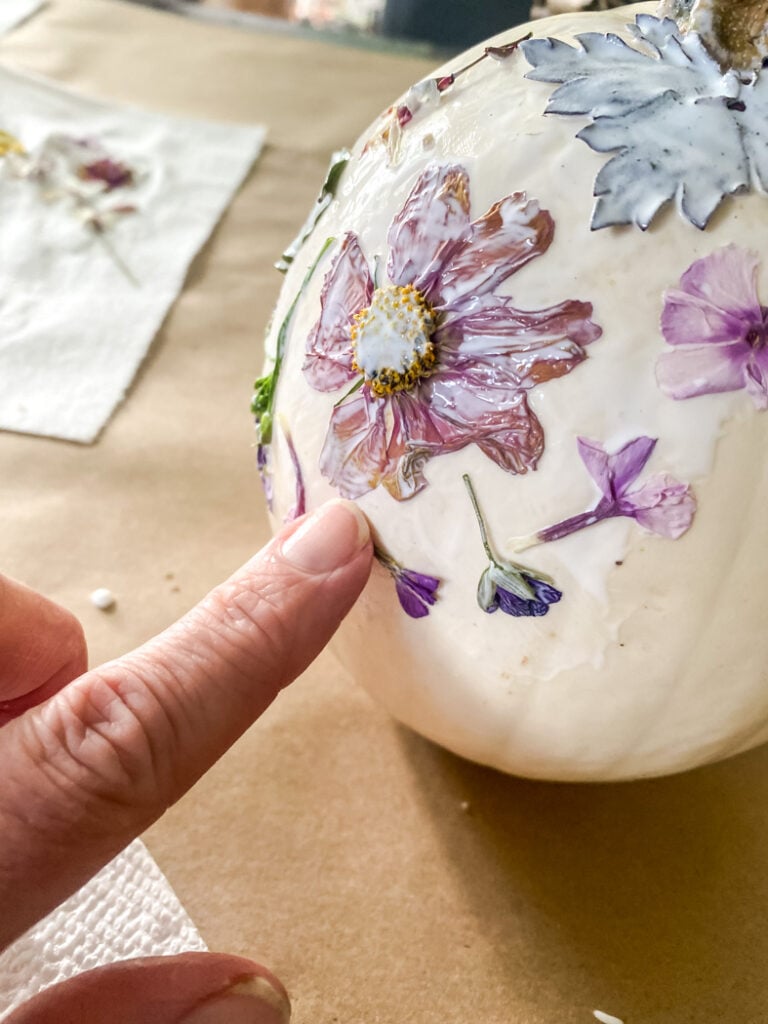
- Brush a thin layer of Mod Podge onto a small section of the pumpkin.
- Gently lay a pressed flower or leaf on top, using a toothpick to nudge the delicate ones into place.
- Brush another light coat of Mod Podge right over the flower to seal it down.
- Work your way around, then let it dry completely.
I walk through the whole thing, picking the right pumpkins, designing your layout, and making them last in the full tutorial: Decorating a Pumpkin with Pressed Flowers.
Microwave Flower Pressing FAQs

•Is microwave pressing better than traditional pressing? It depends on what you’re after! In my experience, microwave-pressed flowers keep their color much better than flowers pressed the traditional way in a book. The trade-off is that they don’t come out quite as flat. So if vibrant color and speed matter most to you, go microwave. If you want that perfectly flat, delicate look and don’t mind waiting a few weeks, traditional pressing is the way to go.
•How do I know when the flowers are done? You’ll feel it more than see it. When they go from soft and fresh to dry and papery — like a flower you’d find pressed in an old book — they’re ready. They don’t need to be crispy or brittle. If you’re unsure, pull them out a touch early; they’ll keep drying as they cool.
•Do I let them sit out after microwaving? I like to leave mine out on either a dry paper towel, parchment paper, or even a cooling rack. If they still feel the tiniest bit soft, letting them air out for an hour+ works.
•How long do microwave-pressed flowers last? A long time! Mine have held up for years when they’re kept out of direct sunlight and away from humidity. The sun is the real enemy here; it’ll fade the color faster than anything!
•Do I need to seal them? Not for a framed piece like this one. But if you’re making something that’ll get handled a lot, as a bookmark or a card, a coat of Mod Podge or a quick laminate keeps them from crumbling.
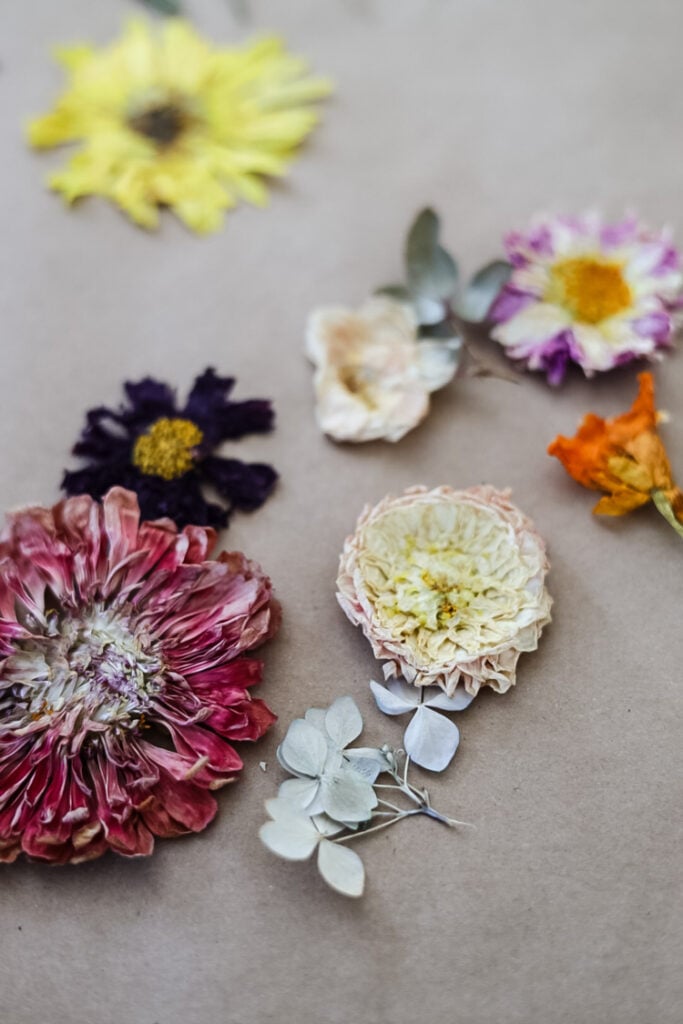
•Are there flowers that don’t work in the microwave? Yep, and I’ve learned the hard way! Thick, juicy flowers like large roses, mums, or anything with a chunky center hold too much moisture and tend to brown or stay damp. Stick with flatter, thinner blooms: violas, pansies, cosmos, larkspur, and you’ll have much better luck. I have done small drift roses successfully.
•Why did my flowers turn brown? Usually, it’s too much heat at once. Microwaves vary a lot in power, so go in 30-second bursts and check often rather than running it straight through. A flower that browns was either too thick to start with or got a little overcooked.
Now It’s Your Turn!
And that’s it, proof that you don’t need fancy supplies or weeks of patience to preserve a little piece of your garden. Honestly, the hardest part is resisting the urge to microwave every single bloom in the yard (don’t say I didn’t warn you).
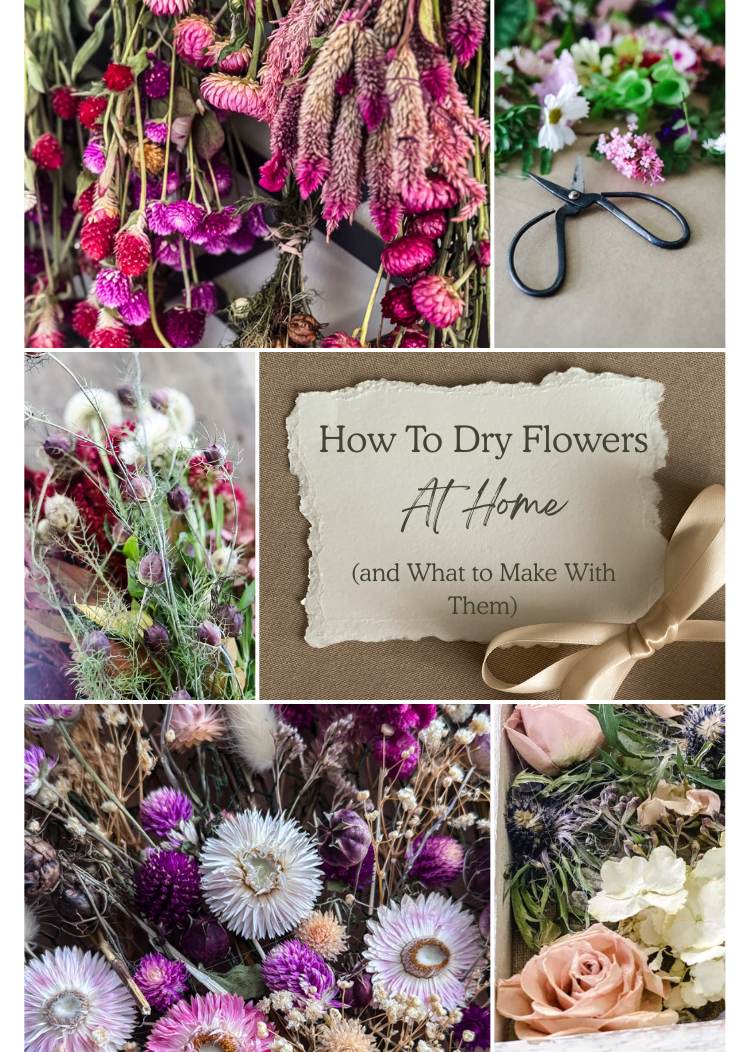
Once you’ve got a stash of pressed flowers, the real fun begins. They’re lovely framed like this, but they’re just as pretty decoupaged onto a thrifted glass vase, tucked into a handmade greeting card, or even layered onto a fall pumpkin when the season turns. And if you catch the flower-preserving bug, my guide to drying flowers a few different ways will keep you busy all season long.
If you give this a try, I’d love to hear how it turned out. Drop me a comment below and tell me which flowers you pressed!
xo, Jennifer
Pressed Flower Ideas To Try
- How To Use a Flower Press: Learn the basics
- Bookmarks: Laminate pressed flowers for a functional keepsake.
- Decoupage Vases: Turn your pressed flowers into beautiful vases
- Framed Art: Create a beautiful botanical display for your home.
- Greeting Cards: Add a personal touch to handmade cards.
- Flower Plaques: Using vintage book pages & flowers


Featured
Learn 4 Ways to Dry Flowers
easy techniques to try

How To Make Dried Pressed Flowers In The Microwave
Here is a quick and easy way to make dried pressed flowers in minutes!
Materials
- Fresh Flowers
- Viva Brand Paper Towels
- Dinner Plates
- Microwave
Instructions
- Collect the flowers that you want to dry
- Grab a dinner plate and line it with a paper towel.
- Arrange the flowers so they aren't touching on the paper towel
- Cover the flowers with another paper towel
- Top with another plate to press
- Microwave on 50% power for 30 seconds at a time and check the flowers. Most flowers take 2 minutes or less.
- Let flowers cool before using. As the blooms cool, they will feel more 'pressed' and dried.
25 DIY Projects Using
flowers & botanicals
Here are our latest projects!

Redhead Can Decorate – Milk Glass Fruit & Cheese Appetizer Tower
Our Crafty Mom – Bicycle Tire Sunflower Wreath
I Should Be Mopping the Floor – DIY Bulletin Board with Nailhead Trim
The How to Home – Shabby Chic Decoupage Plant Pot
DIY Beautify – Update Older Exterior Windows with Spray Paint
2 Bees in a Pod – Antique French Hat Boxes
Postcards From the Ridge – How to Decorate on a Budget
The Tattered Pew – How to Create a Simple Hat Wall with Hooks
Cottage on Bunker Hill – How to Press Flowers in the Microwave
Vinyet Etc. – Transform a Vintage Frame into an Antique Mirror
Amy Sadler Designs – How to Paint Flower Pots for the Porch
Songbird – How to Make Lace Napkin Rings Tutorial


Fantastic ideas! I wonder, if it’s possible to attach dried and pressed flowers to felt? And how?
Felt is tricky to glue things on too, it usually leaves a mark. Maybe a larger flower that you could hot glue on but not let the glue seep out onto the felt? I’ve never tried it before.
What a fantastic idea! I love how easy and quick this method is for preserving flowers. Can’t wait to try it out with blooms from my garden! Thank you for sharing this simple technique!
Jennifer
What a great idea. Can’t wait to share next Sunday.
You are so clever! I can’t wait to try this with some of our flowers. Can you come help me? ha!
I never knew that flowers could be pressed in the microwave. Thanks for the idea 🙂
It’s crazy, right!!
I totally have to try this technique, no flower is safe now! 😉
Such a fun project!! Big Al will think I’m nuts when I start microwaving flowers! 😂
Absolutely beautiful and now I want to microwave every little flower I see lol. I mean it’s just so versatile. We might be selling our home soon so I’m thinking of going out to get a few flowers for a memory frame. Smart idea to use RIT, too!!
Jennifer- this is such a clever idea! I never realized a microwave could be used for this…so clever. And I love how you displayed them all…so pretty! xoxo, kristi
Such a cute project! I didn’t know you could dry flowers this way but I’m glad you showed us how! The colors are so pretty! Pinned!
Jennifer – this looks beautiful! My method is pretty much the same as your! I love how you left some of the stems attached. I’ll need to try that next time.
I will definitely do it again with other flowers…this was my test run to see if it really worked. I can’t wait to see yours!!
I’m trying thus with my Violas. They’re at peak so I know it’s the best time to make this project
What a fun project idea! It turned out so pretty!
You have to try it with some of your flowers! They would look so pretty framed in your house.
What a great project! I had no idea you could dry flowers in the microwave!
I know, I thought it was so cool!!
Do the flowers have to be kind of crispy.
Or after taking them out of the microwave, do you let them sit out for a while?
Hi Jill, no they don’t have to get crispy but you will be able to tell when they go from fresh to dried. They will dry out even more if you leave them out for a little while.