

Looking for a simple yet stunning way to add a personal touch to your correspondence? These rustic pressed flower notecards are easy to make, endlessly customizable, and perfect for any occasion—from birthdays to bridal showers and beyond.
How to Create Pressed Flower Notecards in Just a Few Steps
There’s something so nice about sending a handmade card—especially when it’s adorned with the beauty of pressed flowers and natural elements. These rustic pressed flower notecards are not only easy to make but also perfect for any occasion, from birthdays and thank-you notes to bridal showers and holidays.
In this tutorial, I’ll walk you through the simple steps to create your own pressed flower notecards.

This post may contain affiliate links, which means we receive a small commission if you purchase through our links. See our disclaimer page for more information.
Here’s What You’ll Need To Get Started:
This project is budget-friendly and requires just a few basic supplies: a pack of plain notecards, pressed flowers, and Mod Podge.
In this tutorial, I’ll show you a couple of simple yet creative ways to elevate your cards with added detail.
While I’ll be using flowers I pressed myself, you can also find affordable packs of pressed flowers and foliage on Amazon to get started.

Materials for this Project
- Brown natural cardstock notecards.
- Pressed flowers and foliage (e.g., ferns, hydrangeas, small sprigs).
- Watercolor paper (optional, for adding texture).
- Mod Podge or clear-drying glue.
- Leather cord or twine.
- Small letter stamps and ink pad (optional, for personalization).
- Scissors
- Tweezers (for handling delicate flowers).
Why Make Pressed Flower Notecards?

Pressed flower notecards are more than just pretty—they’re meaningful, versatile, and full of charm. Here’s why I love making them:
- Easy and Customizable: You don’t need any special skills to create these notecards, and you can customize them to suit any occasion.
- Thoughtful and Personal: Handmade cards are a heartfelt way to show someone you care.
- Perfect for Any Occasion: Whether it’s a birthday, holiday, or just a thoughtful note, these notecards are always appreciated.
Step-by-Step Tutorial
Gather your supplies, and let’s get started! First, we’ll adhere small sheets of watercolor paper to the center of each brown cardstock notecard, then embellish them with pressed flowers and leaves. For a fun finishing touch, we’ll add small letter stamps to personalize the cards. I’ll also show you another idea: creating a mini bouquet on the front of the card for a rustic, nature-inspired look.
1. Prepare Your Materials
Cover your work surface. Gather your pressed flowers, notecards, and other supplies.
Do you want to learn how to press your own flowers?
2. Add Watercolor Paper (Optional)

- Apply a thin layer of Mod Podge to the front of the notecard.
- Place the watercolor paper on top and smooth it out to remove any air bubbles.
- Let it dry completely before moving on to the next step.
3. Arrange and Glue the Flowers
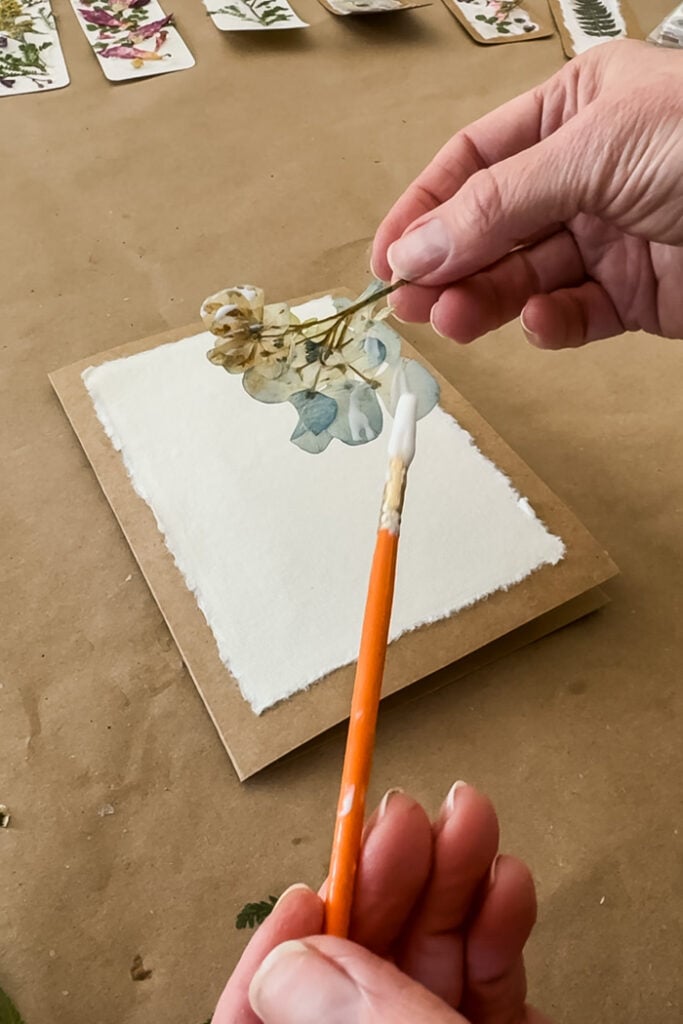
- Experiment with different layouts until you find one you love.
- Once you’re happy with the design, apply a thin layer of Mod Podge to the back of the flower or leaf to adhere it to the card (be lighthanded!)
- If needed use tweezers to place the pressed flowers and foliage on the notecard.
- Let it dry.
4. Arrange and Glue the Ferns

- If you are making some of your cards with ferns then be aware that the ferns are a little more delicate and use a soft touch when handling them.

- Tweezers are helpful for holding the fern steady while you dab the Mod Podge on the backside and also for placing it onto the notecard.
5. Personalize with Stamped Words (Optional)

- Use small letter stamps to add words like “fern,” “spring,” or “hydrangea” to the corresponding cards.
- Tip: Practice stamping on scrap paper first to ensure even pressure.


Experiment with stamp placement, I did the top, bottom, and running up the side and they all looked good.
6. Create the Mini Bouquet Design
For this design we will create a mini bouquet on the front of the notecard. You will need something pointy that can poke through the paper, I’m using the poiny end of my scissors. A nail or wooden skewer would work.
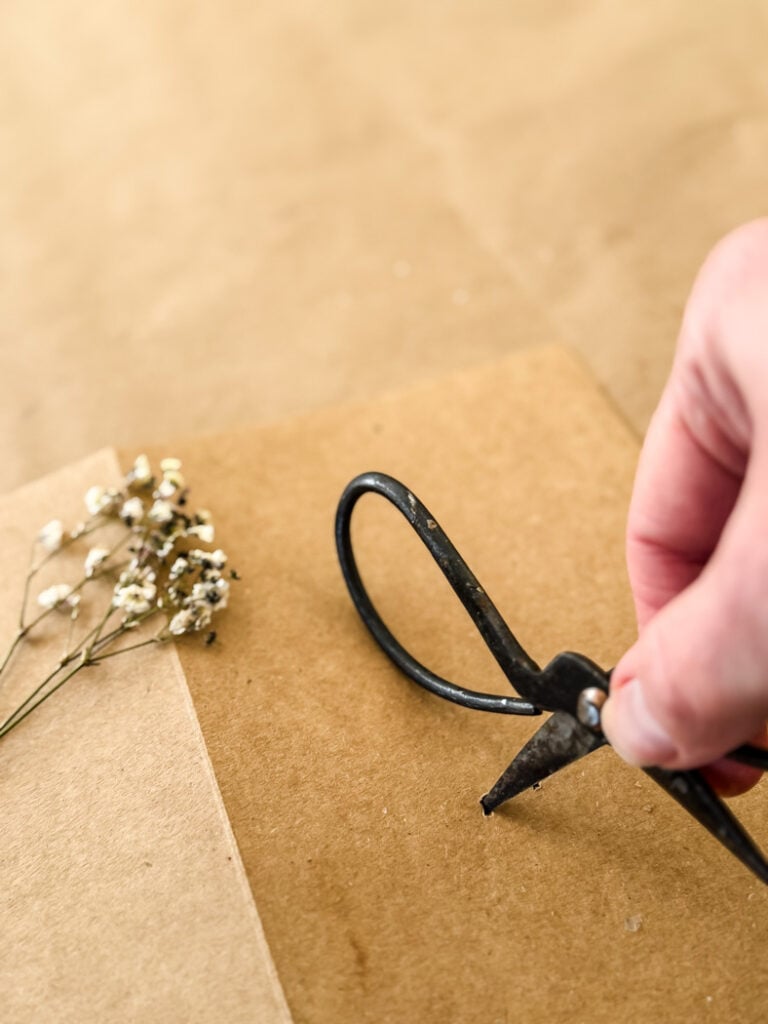
- Skip the watercolor paper for this design.
- Punch two small holes on the front of the card where you want to place the flowers just wide enough apart to have enough room the tie a bow. Lace leather cord through the backside.
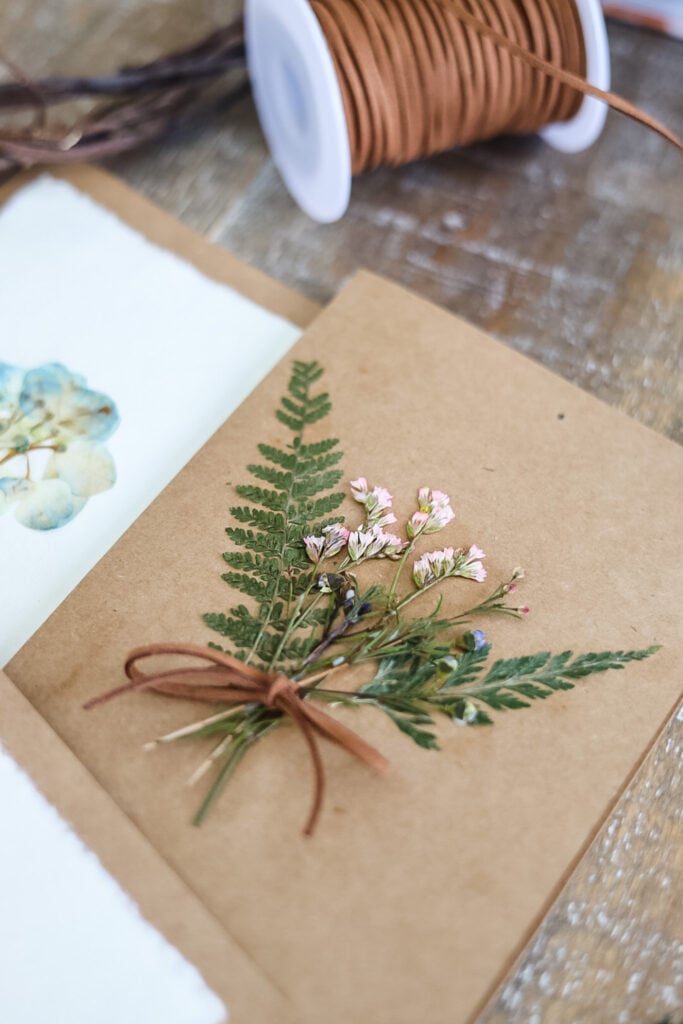
- Arrange small sprigs of dried flowers into a mini bouquet.
- Secure the bouquet with Mod Podge. You may need to apply Mod Podge on the front and back of the flower to ensure the flower stays in place.
- Once it is dry, tie a small bow with the cord and trim off the ends.
The Finished Notecards

Pressed flower notecards are a simple yet stunning way to bring the beauty of nature into your correspondence. Whether you’re making them for a special occasion or just because, they’re sure to add a touch of charm to any message. So grab your supplies, press some flowers, and start creating!
Tips for Success

- Use Flat Flowers: Flowers with thin petals, like pansies or daisies, work best.
- Work in Small Sections: Apply Mod Podge to one area at a time to prevent it from drying too quickly.
- Let It Dry Completely: Allow each layer of Mod Podge to dry fully before moving on to the next step.
- Experiment with Designs: Try different flower combinations and layouts to create unique notecards.
Creative Variations

- Seasonal Notecards: Use flowers and foliage that match the season (e.g., pansies for spring, leaves for fall).
- Themed Notecards: Create cards inspired by specific occasions (e.g., wildflowers for a garden party, holly for Christmas).
- Personalized Notecards: Add initials, names, or special messages using calligraphy or stamps.
FAQs About Pressed Flower Notecards

Q & A
Now It’s Your Turn!

So gather your pressed flowers, grab your Mod Podge, and start crafting! I can’t wait to see what you create. Don’t forget to share your pressed flower notecards with me I’d love to see your designs and add you to the Reader’s Spotlight gallery. Send a photo to me at jennifer@cottageonbunkerhill.com
Happy Crafting!
xo, Jennifer
Pressed Flower Ideas To Try
- How To Use a Flower Press: Learn the basics
- Bookmarks: Laminate pressed flowers for a functional keepsake.
- Decoupage Vases: Turn your pressed flowers into beautiful vases
- Framed Art: Create a beautiful botanical display for your home.
- Flower Plaques: Using vintage book pages & flowers

Love Flowers? Me too
Dried & Pressed Flowers
check out some of my favorite tutorials:
-
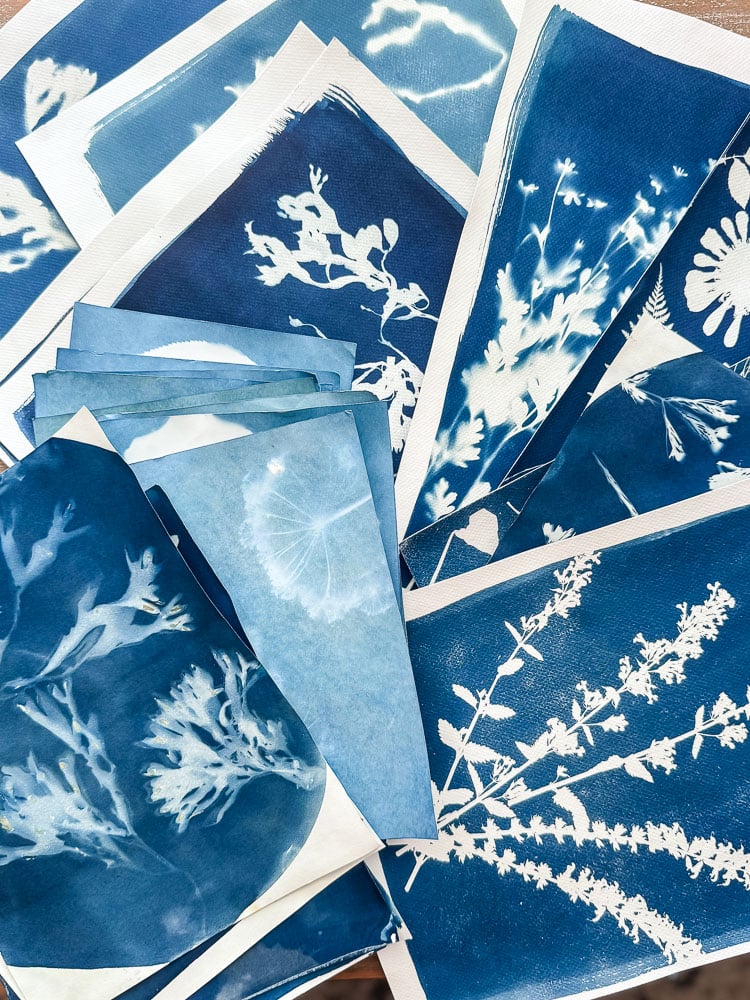
Cyanotype Sun Printing for Beginners (Everything I Wish I Knew First)

I Tried Cyanotype Sun Printing 6 Times So You Don’t Have To (The Good, The Bad, and The Ugly) If you’ve been…
-
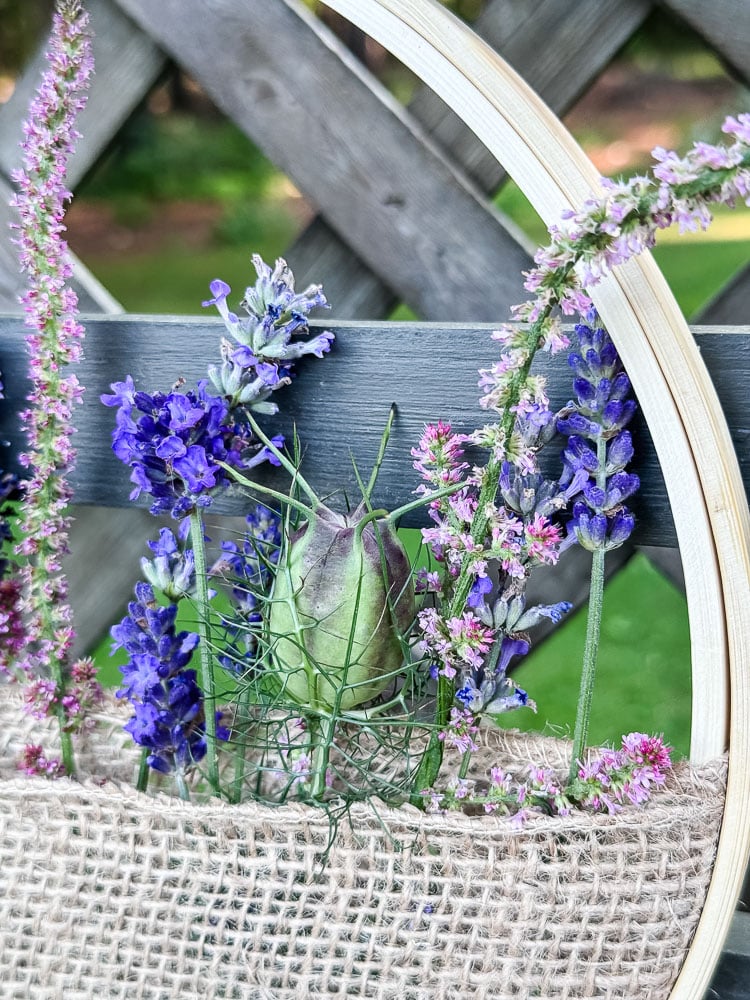
The $3 Embroidery Hoop Flower Pocket (So Easy!)
Embroidery Hoop Flower Pocket: A Simple Garden-to-Home Craft I have a confession: I almost didn’t write this post because the project felt…
-
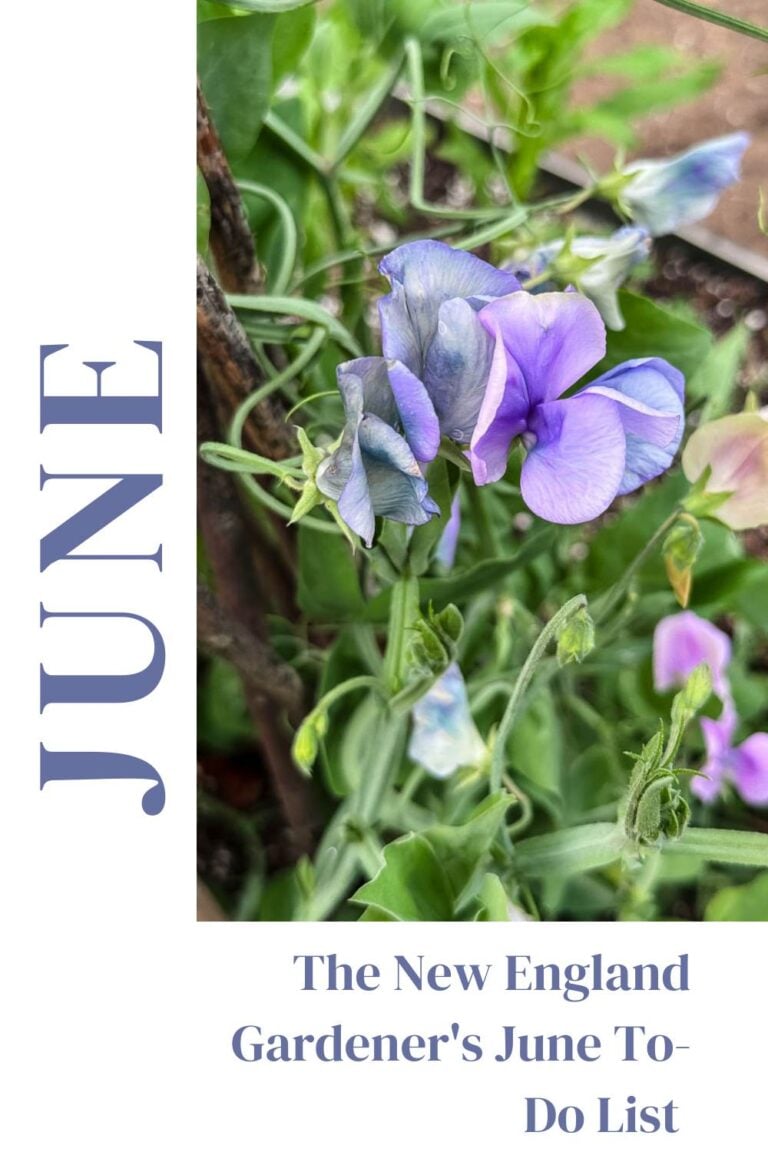
The New England Gardener’s June To-Do List (Zone 6a)
Your month-by-month guide to the New England garden If May is the busiest month in a New England garden, June is when…


Love these Jennifer! I’m sharing them with my readers in Saturday’s newsletter.
Thanks Diane!! I appreciate you!