

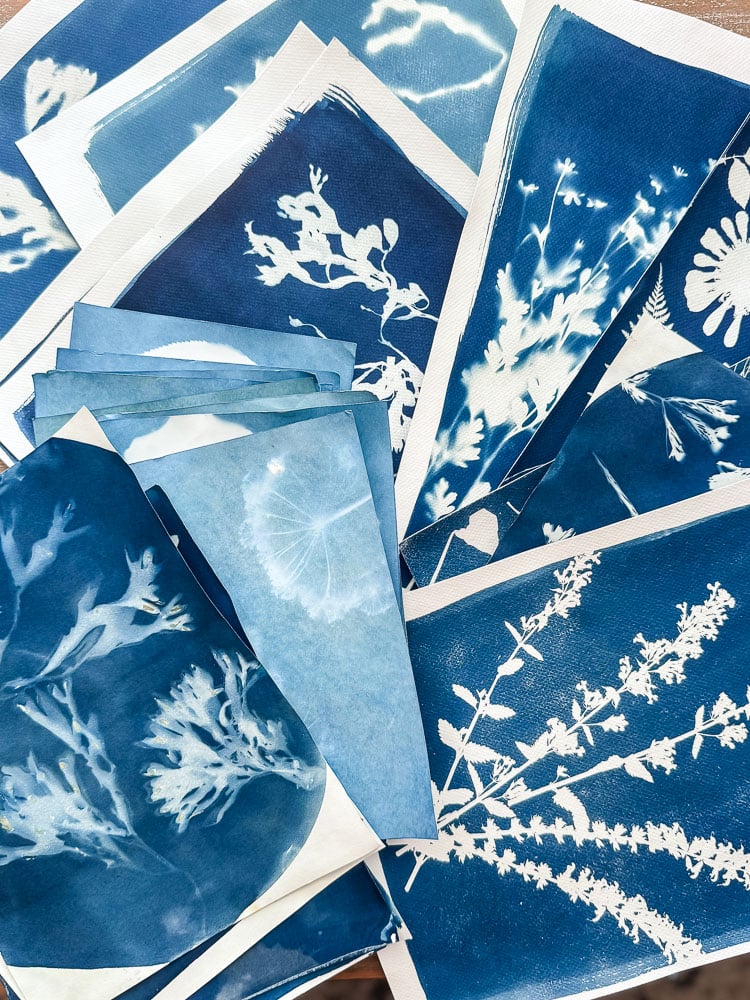
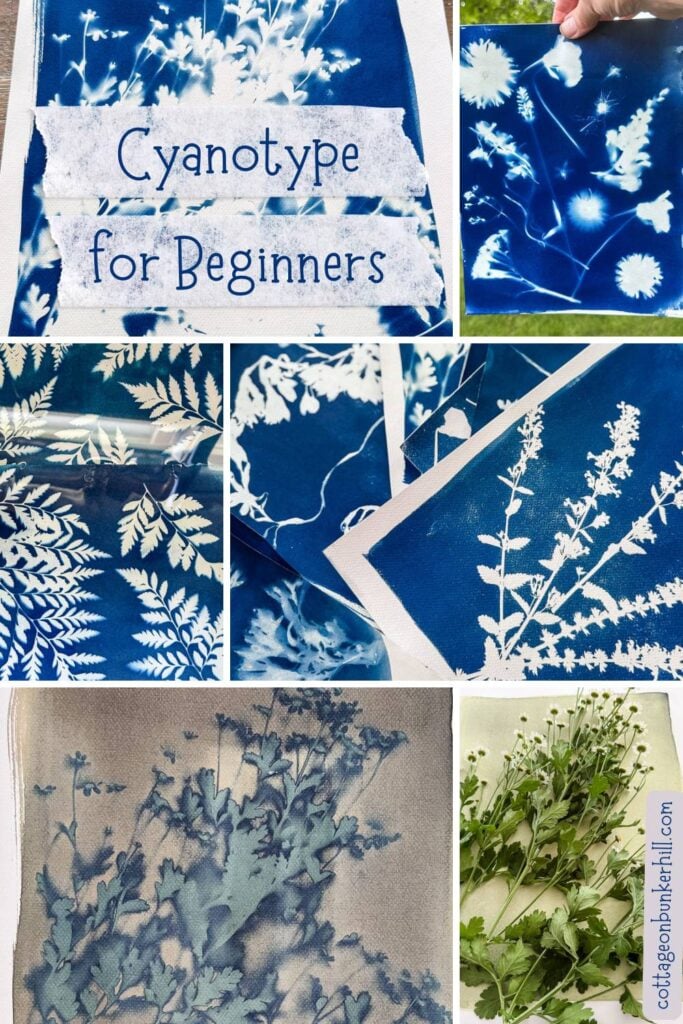
I Tried Cyanotype Sun Printing 6 Times So You Don’t Have To (The Good, The Bad, and The Ugly)
If you’ve been following along for a while, you know I’m a sucker for anything that turns what’s growing in my garden into something for my home. So when I stumbled down the cyanotype rabbit hole a few weeks ago, I was hooked before I even mixed my first batch of chemistry.
If you’re not familiar, cyanotype is an old-school photographic printing process: you coat paper with a light-sensitive solution, lay flowers or leaves on top, let the sun do its thing, then rinse it in water. What you’re left with is this gorgeous deep blue print with a ghostly white silhouette of whatever botanical you used. It’s basically garden-to-home in its purest form.
Here’s the thing nobody tells you going in: this craft looks simple, and technically it is, but the results can swing wildly depending on your paper, your botanicals, and even the UV index that day. I’ve made six batches of prints now. Some gorgeous, some genuinely disappointing-and I’m sharing every bit of it so you can skip straight to the good stuff.
Welcome! I’m Jennifer, and I’ve always believed nature is the most beautiful art supply. For years, I’ve been preserving New England’s blooms and foliage through pressing, drying, and crafting. Let me show you how to capture a little bit of the season and bring it indoors—simply and beautifully.
What You Will Need
To get started, you’ll need to purchase a set of cyanotype chemicals, some watercolor or printmaking paper, and a sponge brush. You’ll also need a piece of glass to cover your print while it’s in the sun — I actually repurposed an old picture frame I wasn’t using, with the cardboard backing underneath my paper and the glass on top. To hold everything in place, grab some binder clips (or chip clips, which is what I ended up using).
You technically can skip the glass and just let your botanicals sit directly on the paper, but I’d really recommend using it. If there’s any breeze at all, your objects can shift mid-exposure, and the glass also presses everything down flat, which gives you a much crisper, more defined outline in the final print.
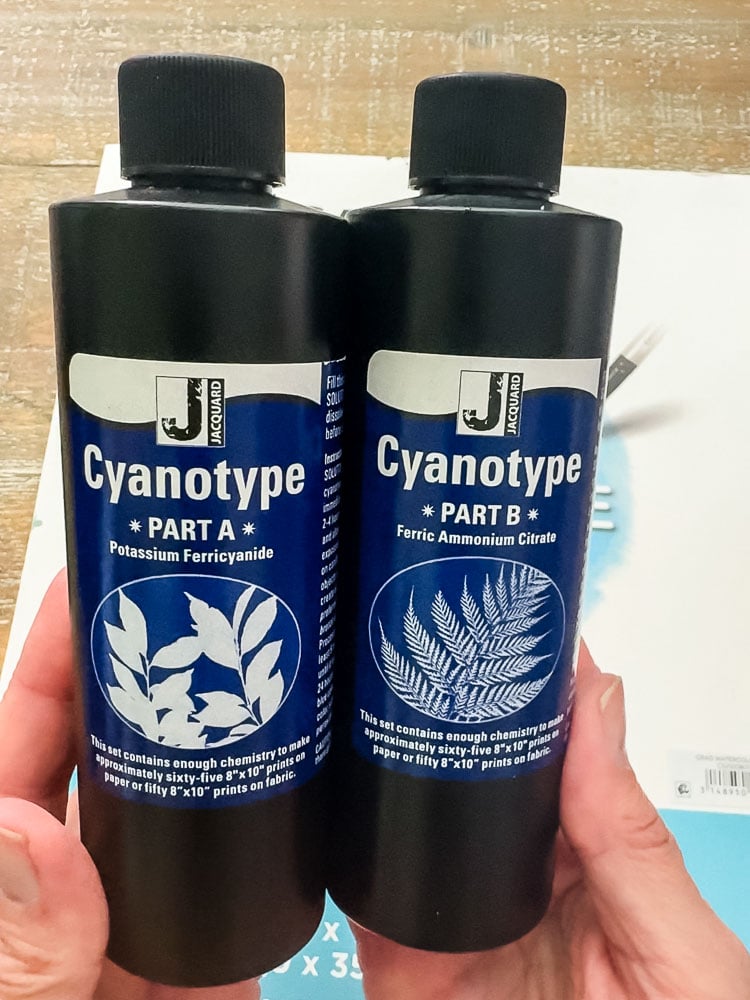
Materials for this Project
- Cyanotype chemistry kit (the two-part solution you mix yourself)
- Watercolor paper (Amazon) or (Walmart)
- Printmaking Paper
- A sponge brush
- A pane of glass and a few binder clips
- Fresh or dried botanicals (flowers, ferns, seaweed, whatever you’ve got)
- A shallow pan for rinsing
- Hydrogen peroxide (just a regular drugstore bottle)
- Sunshine, obviously
Cyanotype Sun Prints: Step-by-Step
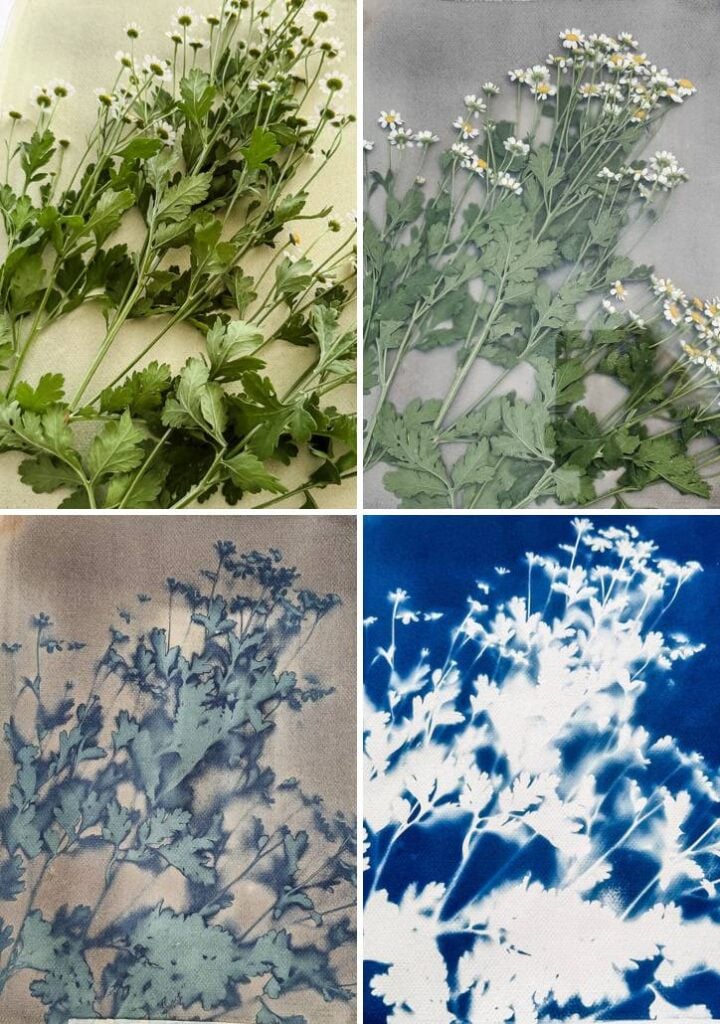
There are really two parts to making these sun prints. The first is coating your paper and letting it dry, and this has to happen ahead of time. Every time I made a batch of cyanotype prints, I’d coat a stack of paper in advance and let it dry in a dark room. I just closed the blinds in my office and shut the door; nothing fancy needed. Once the chemicals dry onto the paper, they’re ready to react to light, so this step really does need to happen away from any light source.
The second part is the fun part: designing and creating your actual prints. Before you start this step, have everything set up and ready to go. One tip that made a big difference for me: pull out just one piece of paper at a time and keep the rest tucked away in the dark until you’re ready to use them.
Step 1: Mix and Brush On Your Chemistry
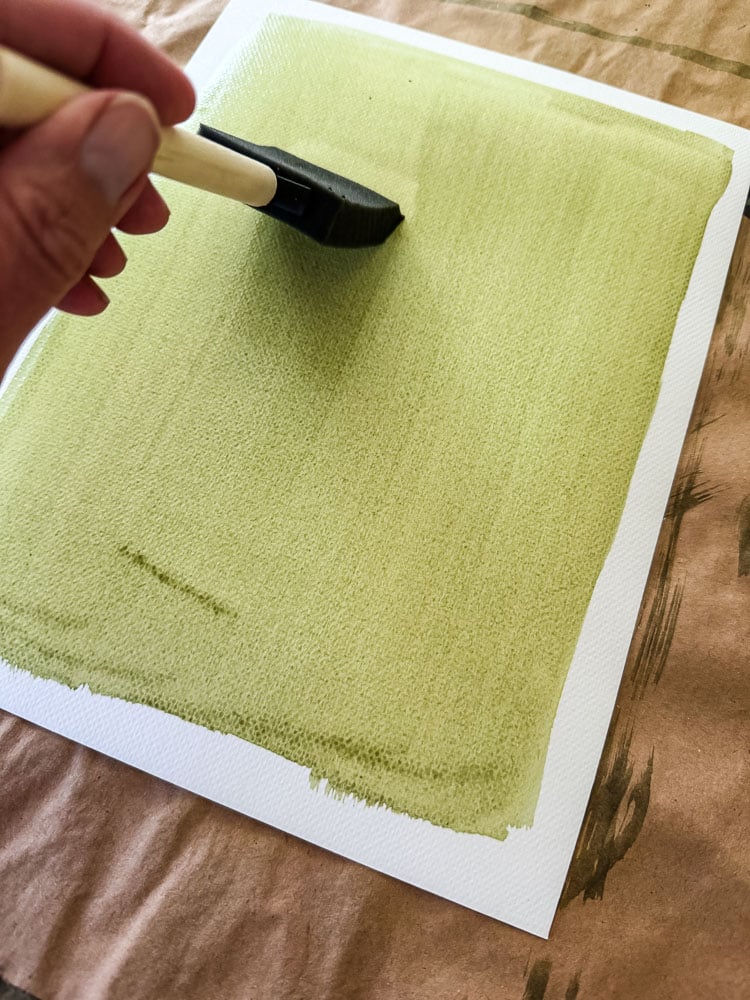
You’ll mix the two chemicals together per your kit’s instructions, then brush it onto your paper with a sponge brush. This part matters more than you’d think. My very first batch came out streaky because I wasn’t methodical about it & I was stingy with the solution.
Here’s the technique that finally gave me an even coat: brush a box shape around the edges first, then fill in the middle, then go back over the whole thing, brushing in the opposite direction. That cross-hatching is what evens everything out.
If you want a clean white border around your finished print (which I love, by the way), just leave a little edge of paper uncoated.
Let it dry completely in a dark room before moving on.
Mixing & Coating Your Paper Quick Guide
- Mix your two-part cyanotype chemistry per your kit’s instructions
- Brush a box shape around the edges of your paper first
- Fill in the middle with your brush
- Go back over the whole thing, brushing in the opposite direction (this cross-hatching = even coat, no streaks)
- Leave a bare edge of paper uncoated if you want a clean white border on your finished print
- Let the paper dry completely in a dark room before moving to the next step
Step 2: Arrange Your Botanicals
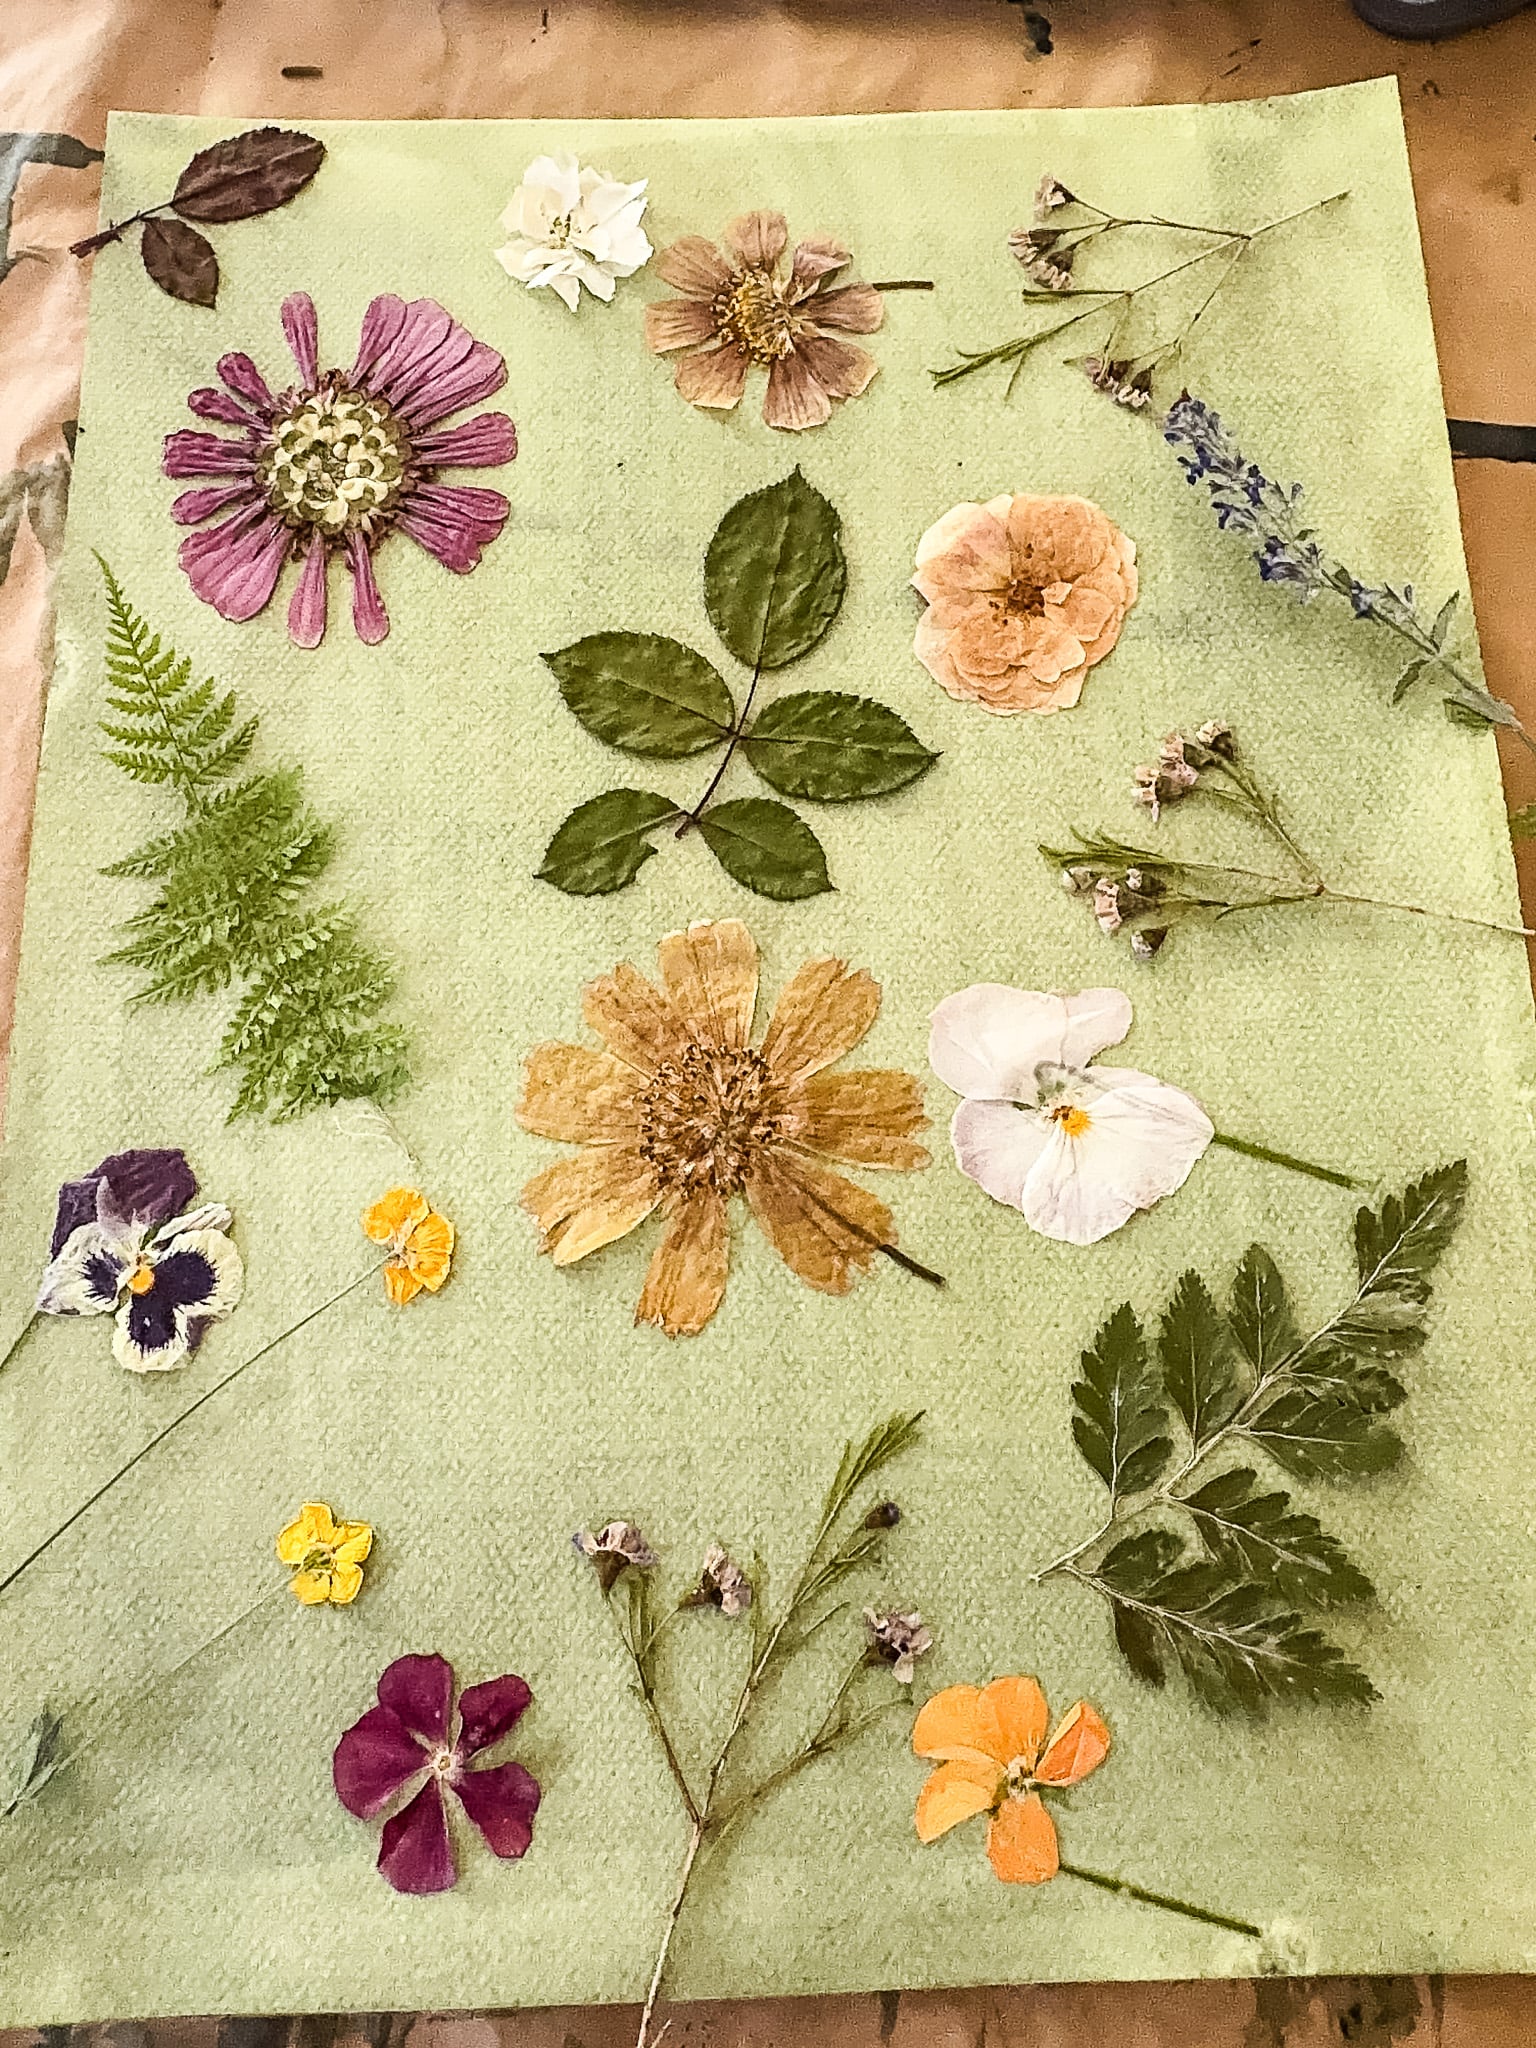
One important thing before you get started: your paper is now light-sensitive, so you’ll want to do this step away from direct UV light. Work away from windows and keep things low-light until you’re ready to expose it; otherwise, you risk fogging your paper before you even get outside.
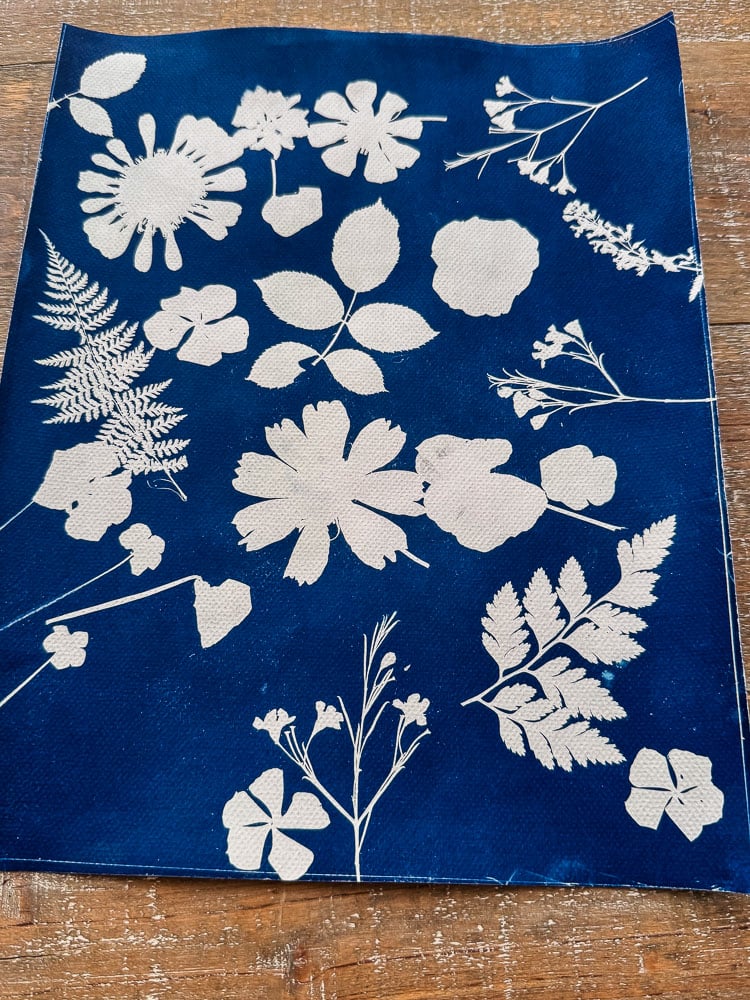
This is the fun part. Ferns, garden flowers, mixed collages, even seaweed if you’re near the coast. I’ve tried it all and gotten beautiful results across the board.
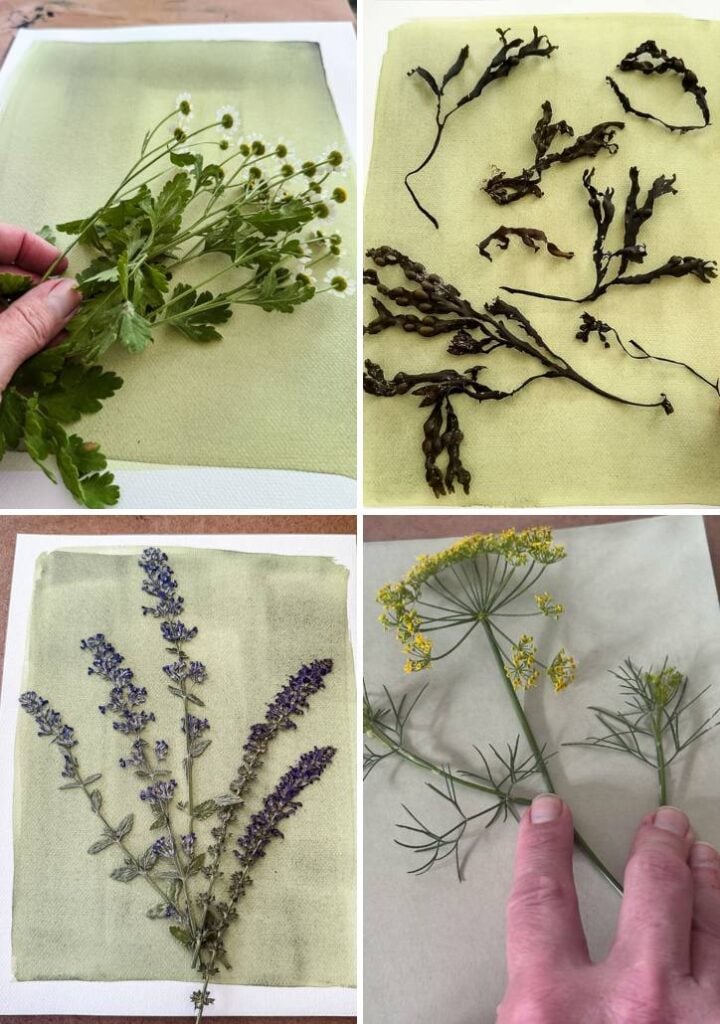
For this step, I grabbed an old large photo frame. I used the cardboard backing under my paper and then the glass front over the paper. You need something sturdy to carry your print outside.
Lay your botanicals directly on the coated paper, then cover everything with your pane of glass and clip it down snugly. The glass keeps everything flat and in close contact with the paper, which gives you a crisper print.
A few things I learned about botanicals specifically:
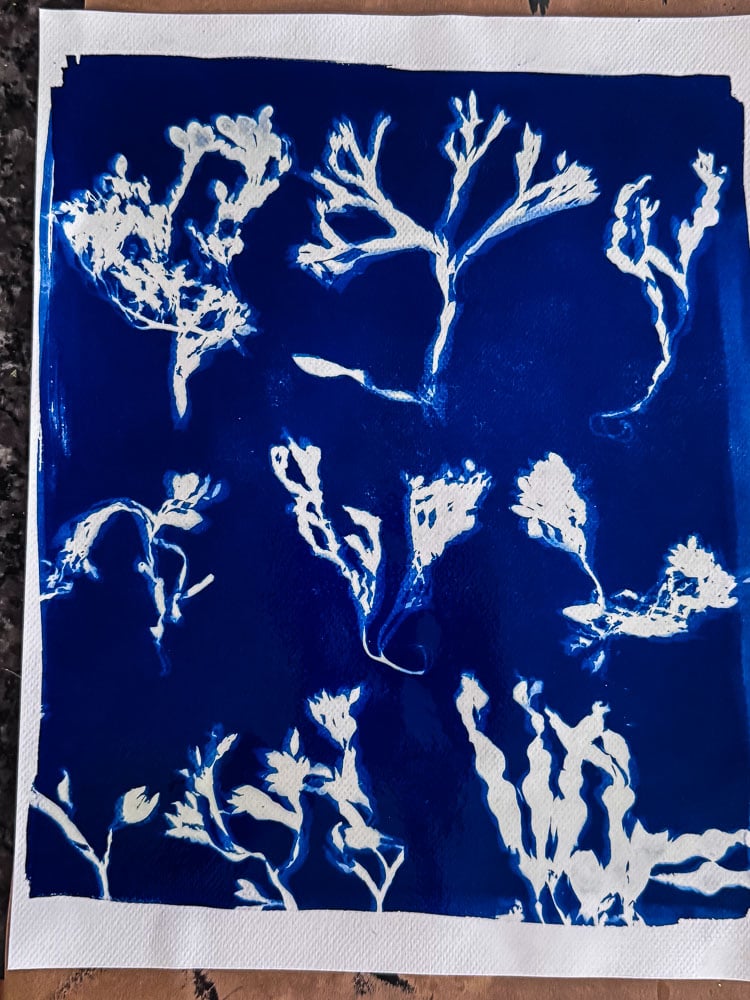
Moisture will mess with your results: I collected seaweed at the beach and tried to blot out the excess water, but there was still some moisture left in it. It left a bit of brown discoloration behind on that batch. Once I let the seaweed dry out completely and printed again, I got gorgeous, clean results. Lesson learned: if you’re working with anything fresh-picked or beachy, your cyanotype print results can vary.
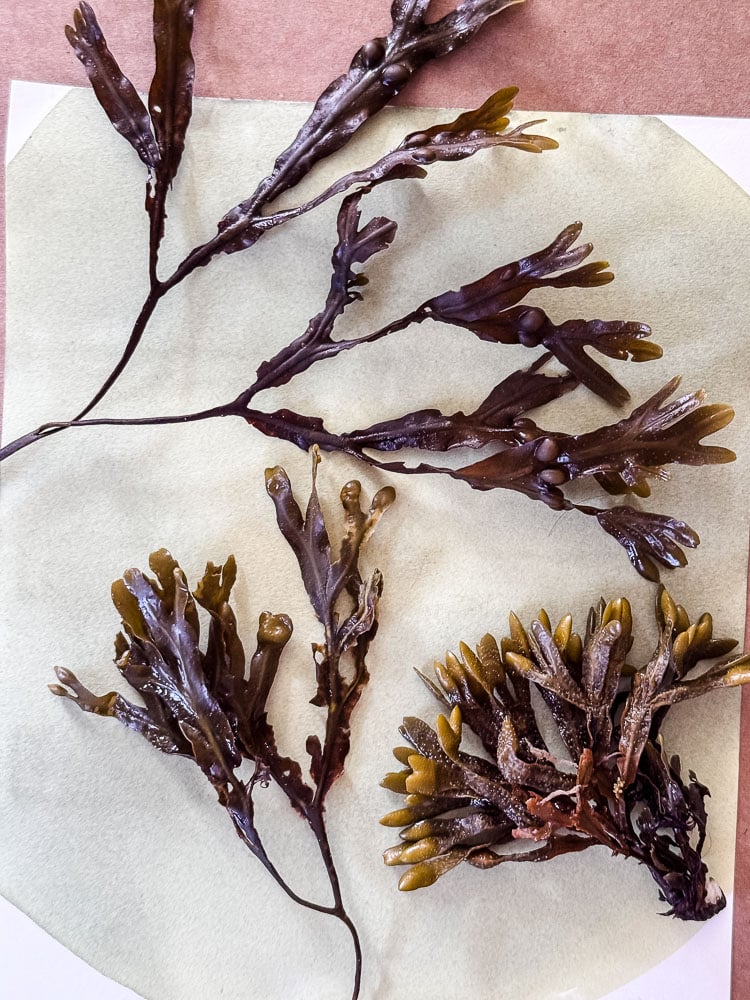
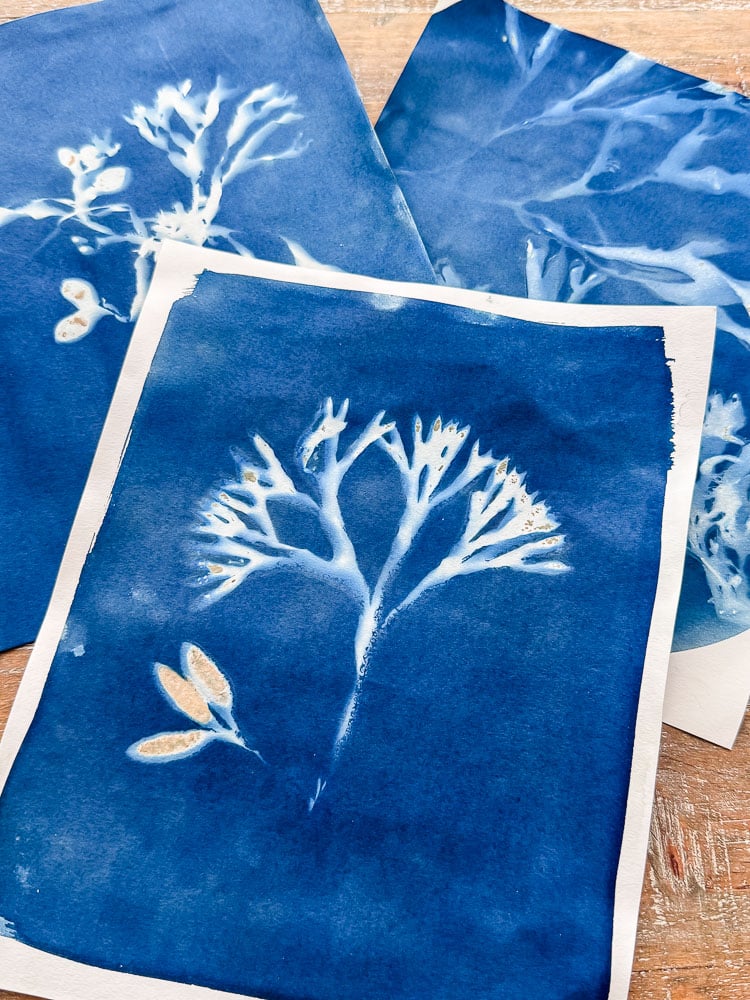
Thickness matters: Flat things like pressed flowers and thin seaweed print beautifully. Thicker items, like poppy pods, didn’t give me nearly as crisp a result because they don’t sit flush against the paper the same way, and the UV light can get under the object.
Arranging Your Botanicals Quick Guide
- Work away from direct UV light. Stay clear of windows since your paper is now light-sensitive.
- Choose your botanicals: ferns, garden flowers, mixed collages, and seaweed all work beautifully.
- Lay your botanicals directly onto the coated paper in your desired arrangement.
- Cover everything with a pane of glass.
- Clip the glass down snugly with binder clips (I used chip clips) to keep everything flat and in close contact.
Step 3: Expose It to the Sun
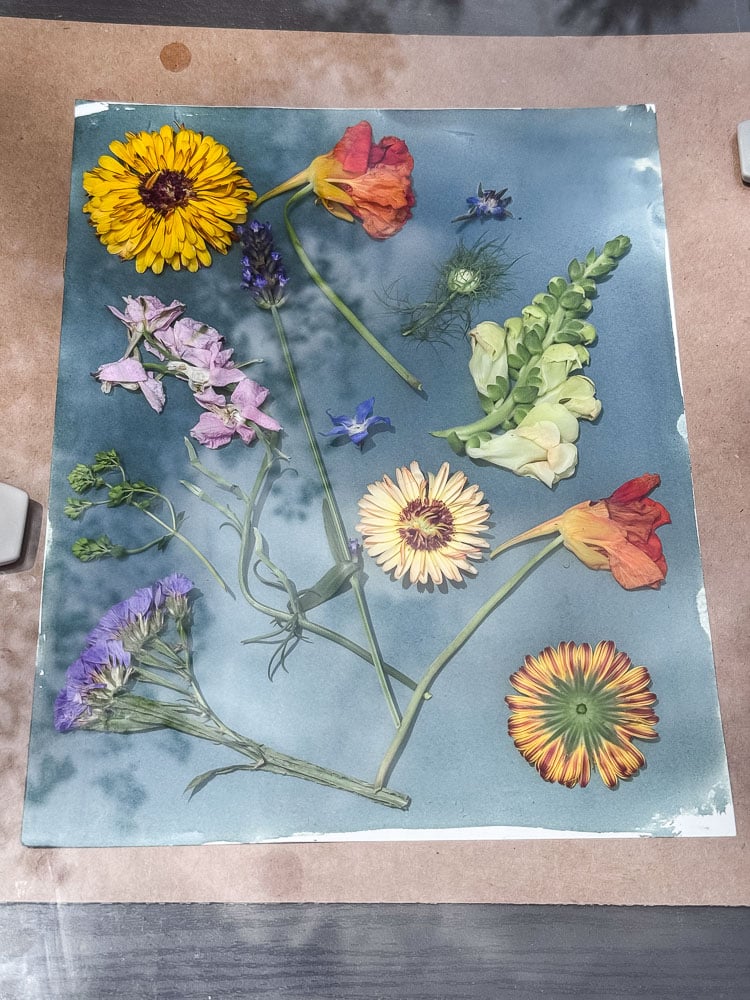
Lay your covered paper in direct sunlight and watch it. You’ll see the paper shift from a yellowy-green to a grayish bronze as it exposes. That color change is your cue that it’s working. Here’s where I learned the biggest lesson of this whole project:
The UV index basically controls your timer. On a super sunny July day with a UV index of 9, my paper transformed and gave me brilliant, saturated blue prints in about 1 minute. On a UV index of 6, I got a lighter, almost denim-blue print even with normal exposure time. And on a smoky day (we had wildfire haze rolling through), I left the paper out for over 15 minutes and still only got an “it’s fine” result. So if your prints are coming out pale, check the UV index before you blame your technique.
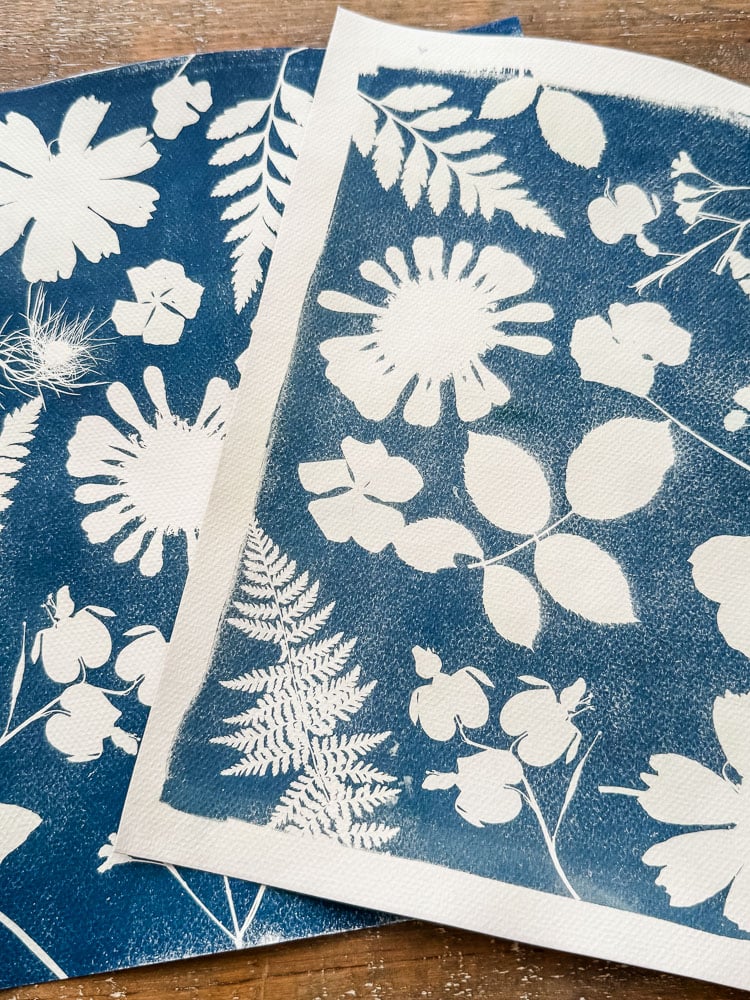
When in doubt, let it cook a little longer. It’s a well-known rule in the cyanotype world that it’s better to overexpose than underexpose. Underexposed prints tend to wash out pale and weak once you rinse them, while an overexposed print will usually still hold onto its rich color. So if you’re watching that grayish-bronze color and you’re not quite sure it’s ready, give it another minute or two rather than pulling it too soon. Don’t toss an underexposed print; you can just embrace the soft, faded look. Sometimes those turn out beautifully in their own right.
Exposing To The Sun Quick Guide
- Lay your covered paper in direct sun. Watch for the color shift.
- Check your local UV index before you start; it affects your timing more than the clock does. Higher UV index = faster exposure and deeper, more saturated blues. Lower UV index or hazy/cloudy skies = longer exposure needed, and colors may still come out lighter
- When in doubt, let it go a little longer. It’s better to overexpose than underexpose
Step 4: Rinse & Reveal
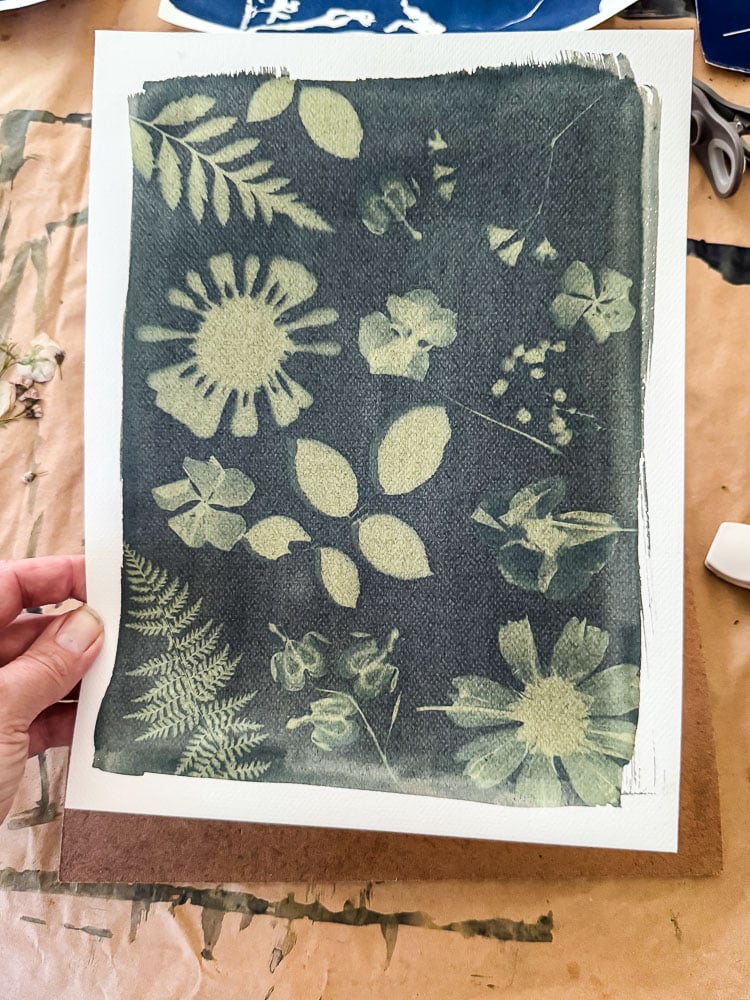
Take off the glass and remove any objects that you were printing on your paper. It’s time to rinse off the cyanotype chemicals. I used a shallow plastic tray and my garden hose. You will need to rinse the print until the water runs clear. The deep blue color will start developing right before your eyes. It’s pretty cool!
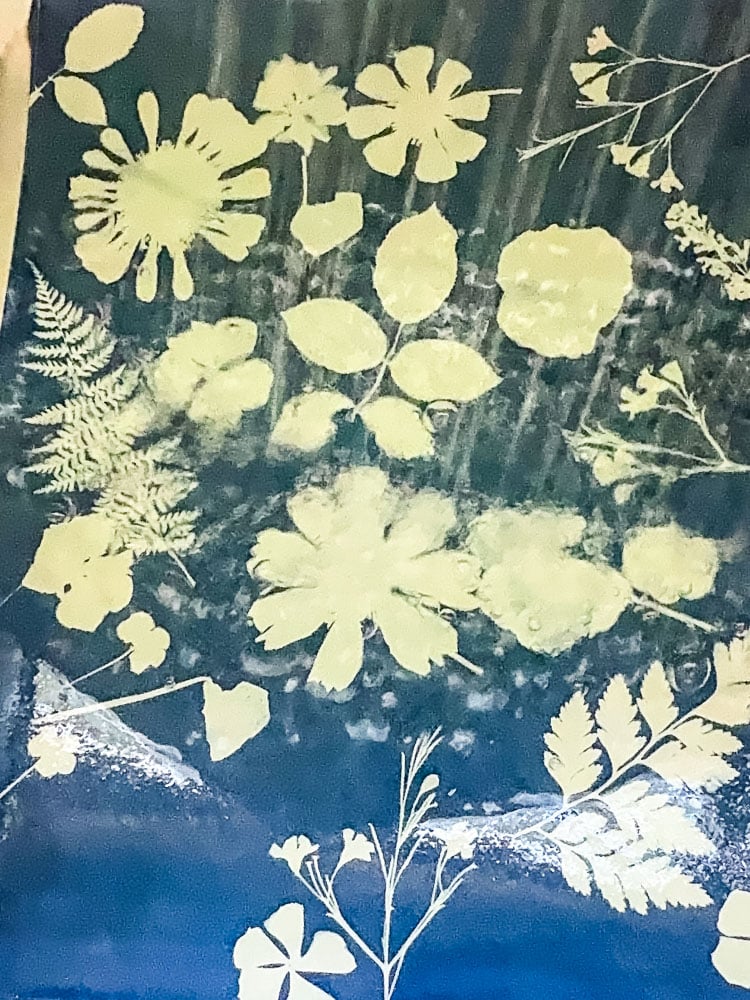
Then, and this is the part that feels like actual magic, refill the pan with fresh water, add a squirt of hydrogen peroxide, and dip your print in. The blue deepens almost instantly right in front of you. It’s one of the most satisfying parts of the whole process.
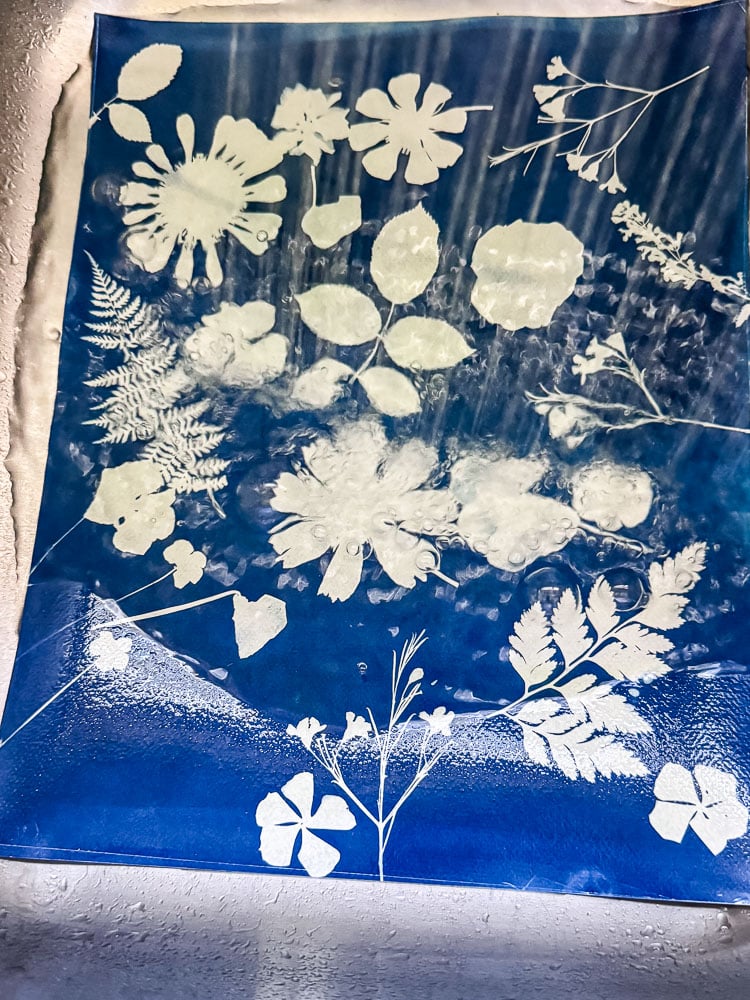
Let your prints dry completely out of direct sunlight before you handle them much.
Rinsing Quick Guide
- Rinse it in a pan of water. Keep rinsing until the water runs clear.
- Refill the pan with fresh water and add a squirt of hydrogen peroxide.
- Dip your print in. Watch the blue deepen almost instantly.
- Let your prints dry completely, out of direct sunlight.
What I Learned About Paper (This Is the Big One)
If there’s one thing I want you to walk away with, it’s this: your paper is doing more work than you think. I tested four different papers over my six attempts, and the differences were night and day.
Cheap watercolor paper
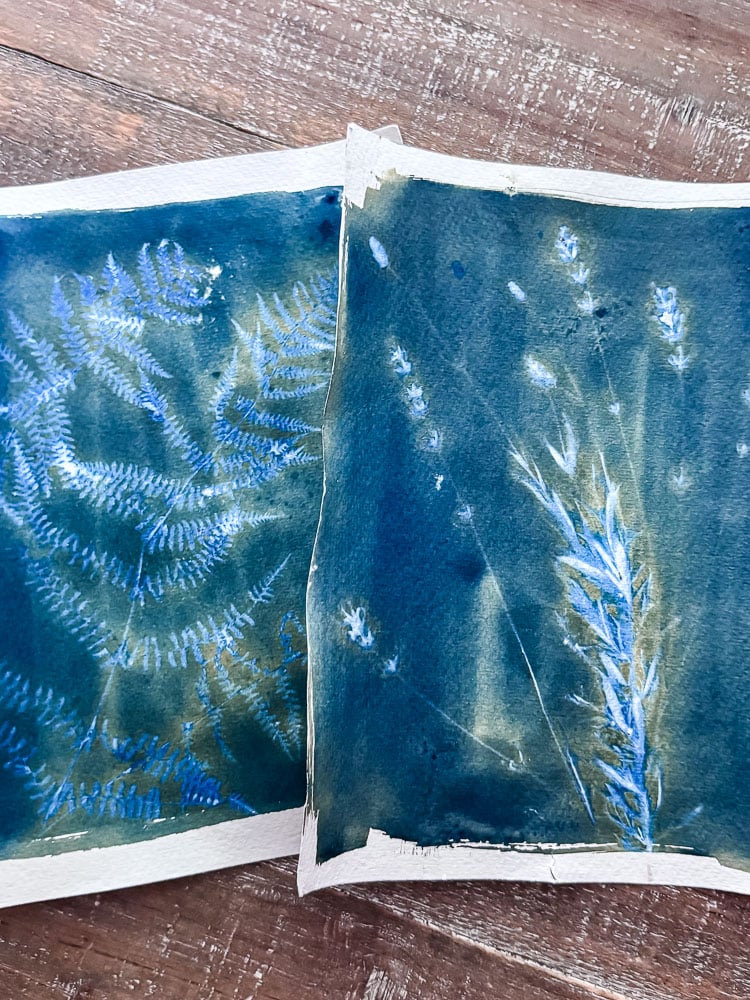
Cheap watercolor paper: This is where I started, and honestly, it showed. I first used generic watercolor paper that I had at home. Combined with my uneven brushing, I got streaky, disappointing prints. Not necessarily the paper’s fault entirely, but it didn’t help.
Pre-coated sheets
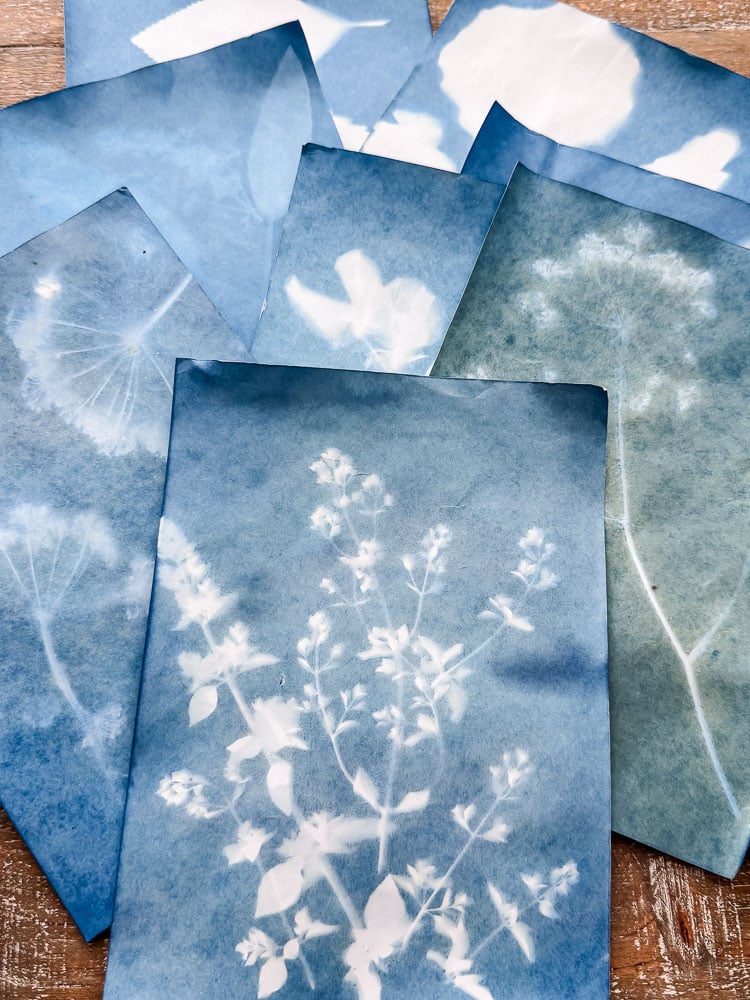
Pre-coated sheets (bought on Amazon): Super convenient since the chemistry is already applied, and I tried a bunch of different botanicals on these. The prints were pretty! But no matter what I did, I could never get past a muted, vintage-blue tone.
If you want that deep, saturated cyanotype blue, this may not be your best bet. But I do think this would be a great choice for a quick kid’s craft!
Printmaking Paper
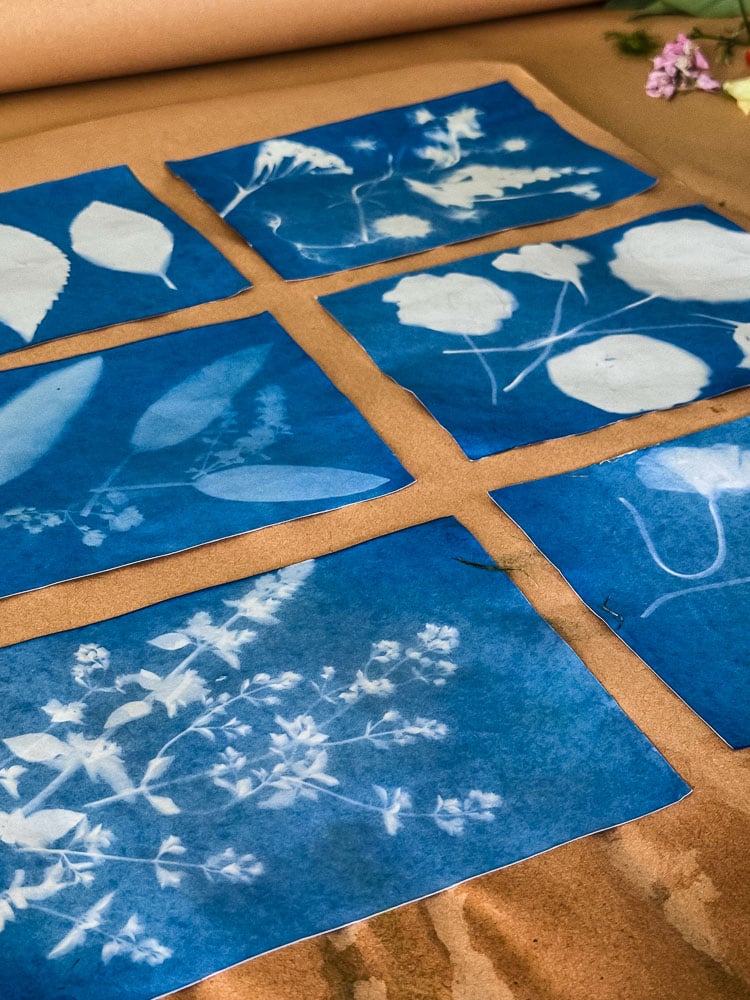
Strathmore 300 Series Printmaking Paper: (Amazon) Good results here, genuinely. I only had 8×10 sheets on hand, so I didn’t get to test it extensively, but it held up well. Personally, I preferred a little more texture than this paper offered.
These prints were still wet and deepened in blue color as they dried.
Canson Graduate Watercolor Paper
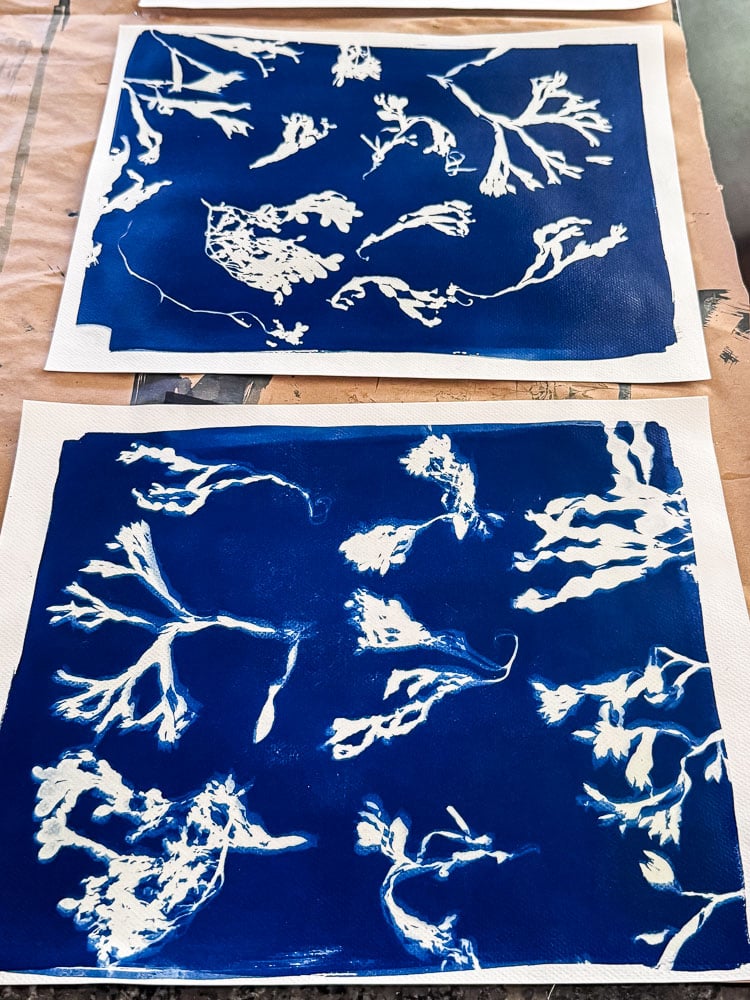
Canson Graduate Watercolor Paper Pad (140lb/300g): (Amazon) or (Walmart)
This was the winner, hands down. Deep, brilliant blues, a nice bit of texture that gave the prints some character, and it’s affordable and easy to find. If you only try one paper, make it this one.
Troubleshooting: Mistakes I Actually Made
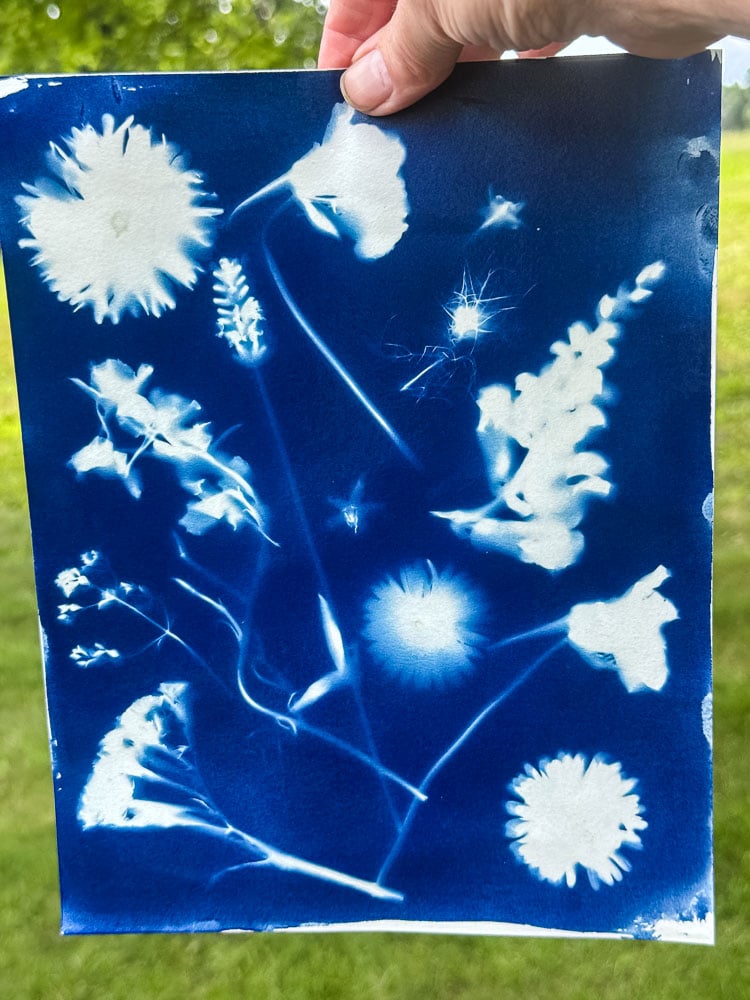
•I left a fingerprint on the paper. While the chemistry was still wet, I accidentally touched the paper and left a visible fingerprint behind once it developed. Lesson learned: handle your coated paper by the very edges, and try to avoid touching the coated surface at all until it’s fully dry.
•Hand cream + wet chemistry = a mark that won’t wash out. Same idea as above, but worse — I had just put on hand cream and then touched the paper, and it left a noticeable mark in the final print. It’s best to try not to touch the paper too much.
•A clip covered a tiny corner of the paper. I did this one a couple of times! On an otherwise perfect print, a clip ended up sitting just slightly over the edge of the paper instead of only on the glass, and it left a visible mark in that spot. Now I double-check that my clips are only holding the glass down and not overlapping onto the paper itself.
A Word on Keeping Your Prints Looking Good
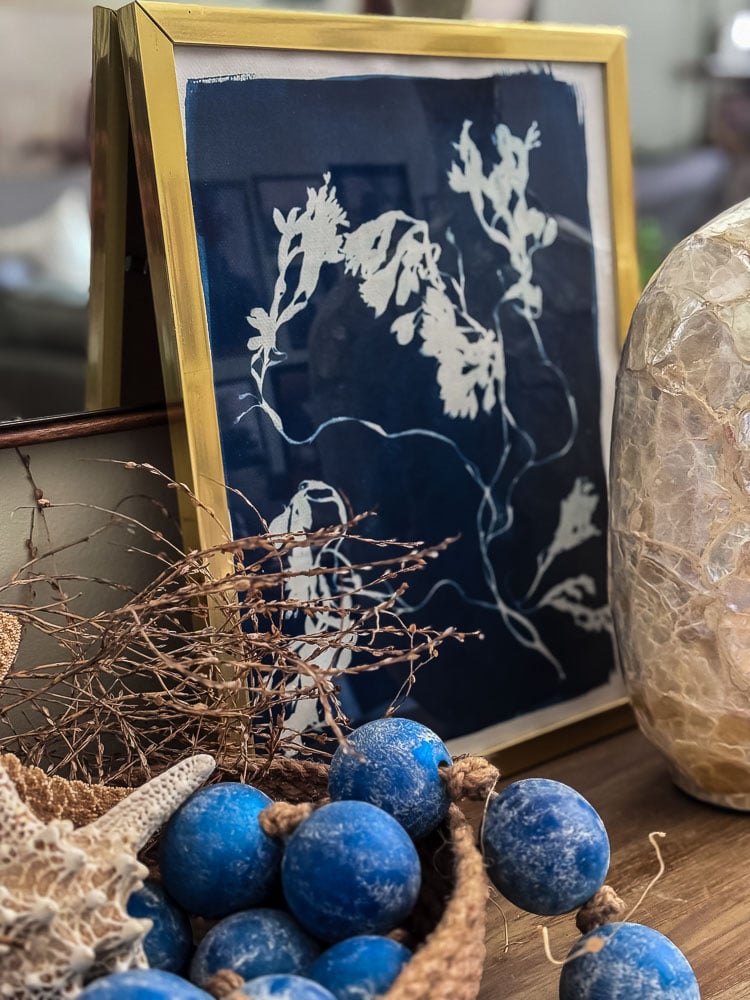
One thing that surprised me: even though sunlight is what creates a cyanotype, it can also fade one over time. If you’re planning to frame any of your prints (I’ve got a few seaweed ones I’m framing for sure), a couple of easy things will help them last:
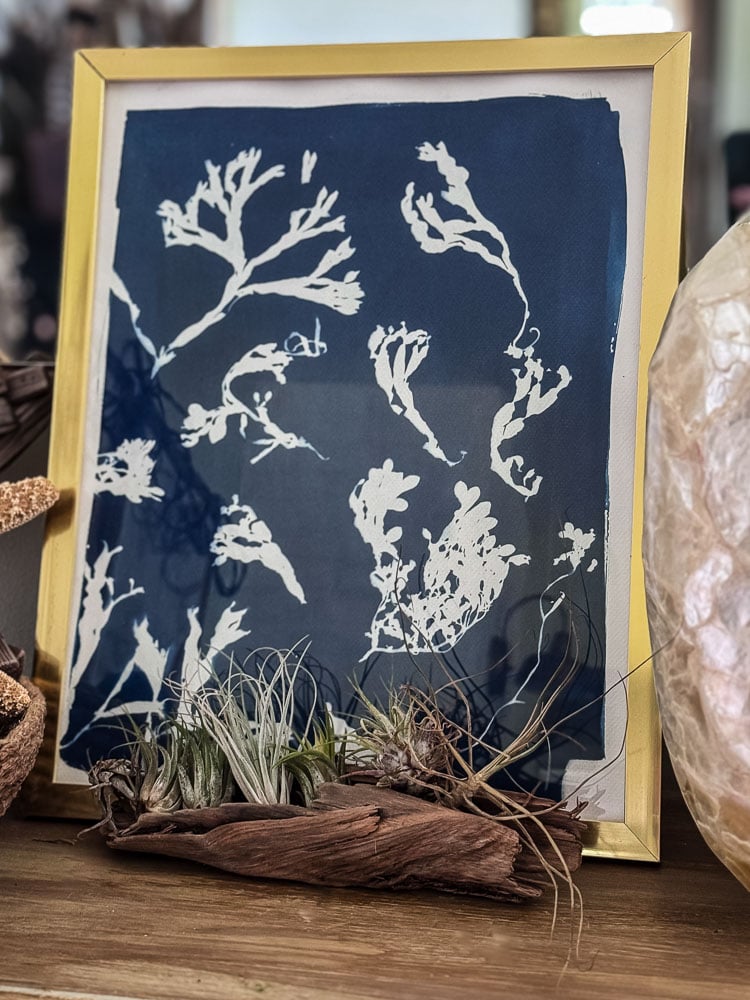
- Use UV-resistant glass in the frame. This is the single best thing you can do
- Keep framed prints out of direct sunlight, even behind good glass
- Avoid humid spots like bathrooms
- If a print does fade over time, a bath in hydrogen peroxide (yes, the same trick from the rinsing step) can often bring the blue right back
My Favorite Sun Prints
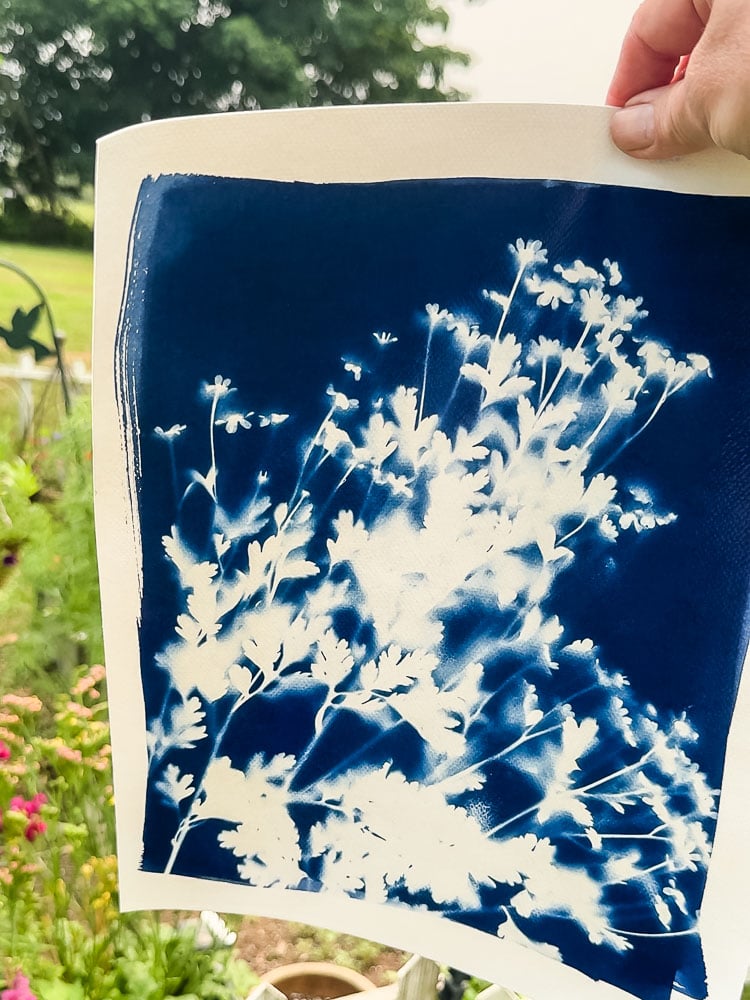
I’ll admit it… I’ve become a little obsessed with sun printing! It’s been such a fun hobby to take up, and I’m definitely going to keep making cyanotype prints and working on improving my skills. Next up, I really want to try printing on fabric. A tote bag is calling my name. Here are my favorites from this batch so far.
Give It A Try!
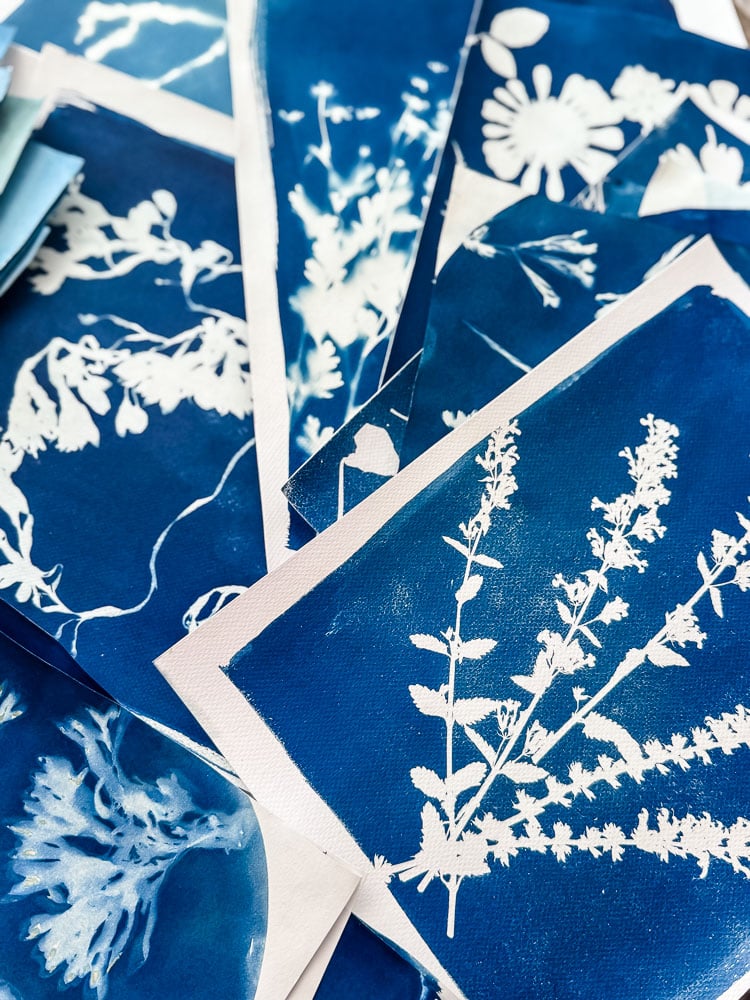
Six attempts in, and I’m still learning something new every time I set a batch out in the sun. That’s honestly what I love about this craft: it’s simple enough to pick up in an afternoon, but there’s just enough chemistry and timing involved that no two batches ever come out quite the same. If you’ve got a sunny spot and a few flowers from the garden, leaves, or anything interesting, you’ve basically got everything you need to give this a try.
If you love to learn new hobbies from books, I just ordered this Printing With The Sun so I can do a deep dive on the entire process and get some tips on working with fabric.
If you make some prints of your own, I would love to see them and add you to the Reader’s Spotlight gallery. Send a photo to me at jennifer@cottageonbunkerhill.com
xo, Jennifer
Love projects like this? Don’t miss out! Join my newsletter family for more cozy, budget-friendly DIY ideas delivered right to your inbox. You’ll get exclusive tips, early access to tutorials, and all the inspiration you need to make your home feel handmade and heartfelt.
Pressed Flower Ideas To Try
- How To Use a Flower Press: Learn the basics
- Bookmarks: Laminate pressed flowers for a functional keepsake.
- Decoupage Vases: Turn your pressed flowers into beautiful vases
- Framed Art: Create a beautiful botanical display for your home.
- Greeting Cards: Add a personal touch to handmade cards.
- Flower Plaques: Using vintage book pages & flowers




I actually liked the pictures you thought were not to your liking. I thought they looked a bit like flowers under water with that otherworldly look.