

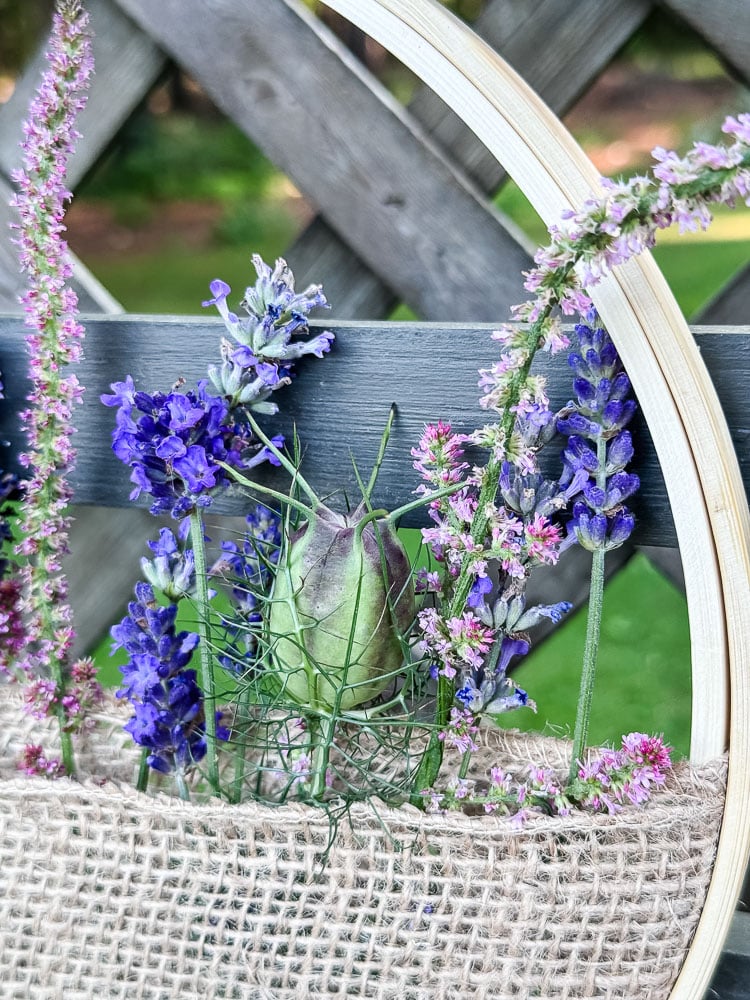
Embroidery Hoop Flower Pocket: A Simple Garden-to-Home Craft
I have a confession: I almost didn’t write this post because the project felt too simple. But then I remembered that “simple” is kind of my whole thing, so here we are.
All you need is a $3 embroidery hoop (yes, mine was under $3 at Walmart), some burlap ribbon, jute string, and whatever dried botanicals you’ve got on hand. No glue gun, no fancy technique, no waiting around for flowers to dry before you start. You cut your flowers, you fill the hoop, you hang it up. That’s it.
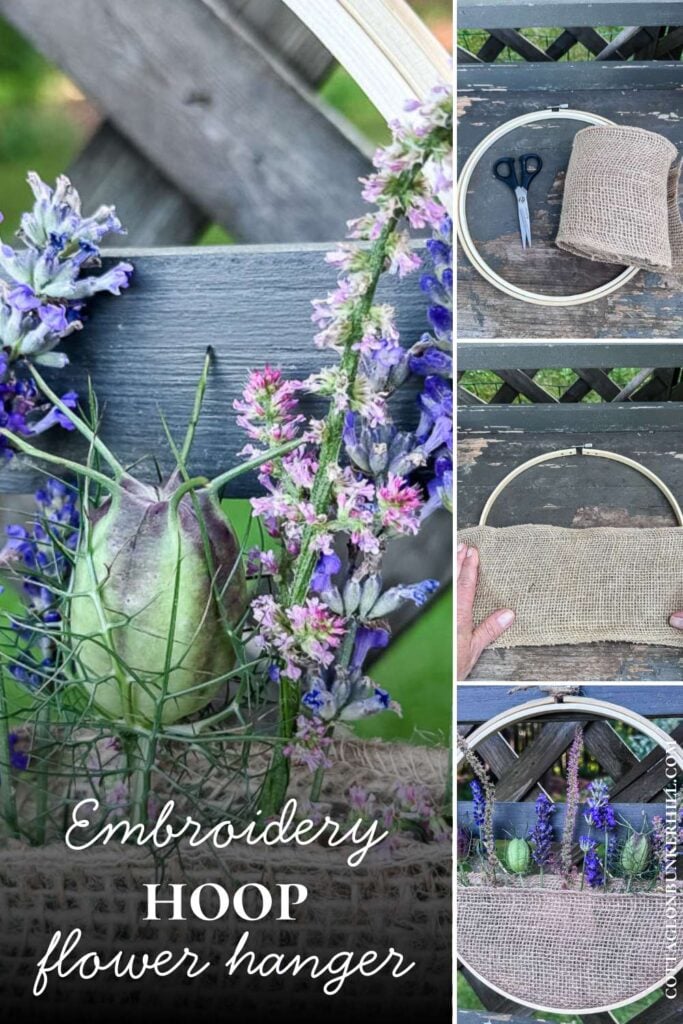
This post may contain affiliate links, which means we receive a small commission if you purchase through our links. See our disclaimer page for more information.
What You Will Need
Materials For This Project
- 10″ embroidery hoop (~$3) or Walmart
- 6″ wide burlap ribbon
- Jute string
- Fabric shears
- Dried or fresh-cut flowers and pods (I used lavender, statice, and nigella pods)
A Quick Word on the Flowers
Here’s the part that surprises people: I cut my lavender, statice, and nigella straight from the garden. Fresh. No hang-drying required first. All three of these naturally hold their shape and dry beautifully right inside the hoop, so you can skip the whole “hang it upside down for two weeks” step entirely. If you’ve got a cutting garden, this is a great way to use flowers as-is, right when you cut them.
That said, this project is completely adaptable! If you’ve got other dried flowers or pods sitting around from a past project, use those instead. The hoop doesn’t care what you fill it with.

Welcome! I’m Jennifer, and I’ve always believed nature is the most beautiful art supply. For years, I’ve been preserving New England’s blooms and foliage through pressing, drying, and crafting. Let me show you how to capture a little bit of the season and bring it indoors—simply and beautifully.
How to Make It
$3. That’s what this whole project cost me! This month’s garden-to-home project turns a plain embroidery hoop and whatever’s blooming in your garden into something you’d actually want on your wall. And the best part: no drying time, no glue gun, no fuss. Perfect project for summertime, when it’s just too hot to feel creative!
I had the burlap wide ribbon, but if you have to purchase it’s not an expensive supply to get. Plus, it’s one of those craft materials I always have on hand because there’s always something you can use it for (especially as we head into the fall & winter months)
Garden to Home
I’ve always believed the line between garden and home should be blurry. This series is all about crossing that line. Taking what grows outside and bringing it indoors in beautiful, lasting ways. New projects posted monthly.
Let’s grow together!
Step 1: Gather Your Supplies
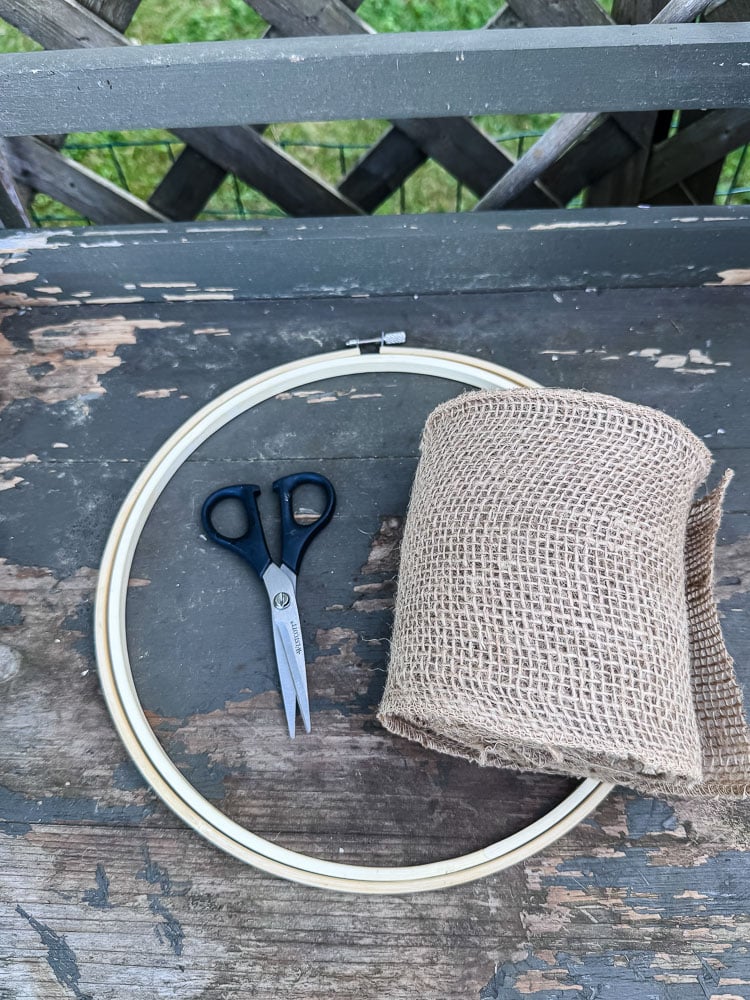
I used a 10″ embroidery hoop, but any size will work. Just follow the same steps. If you’re using a smaller hoop, you may need a narrower strip of burlap (you can always trim off extra afterward).
Want a different look? Try swapping the burlap for a scrap of fabric you already have on hand.
Step 2: Open Your Embroidery Hoop
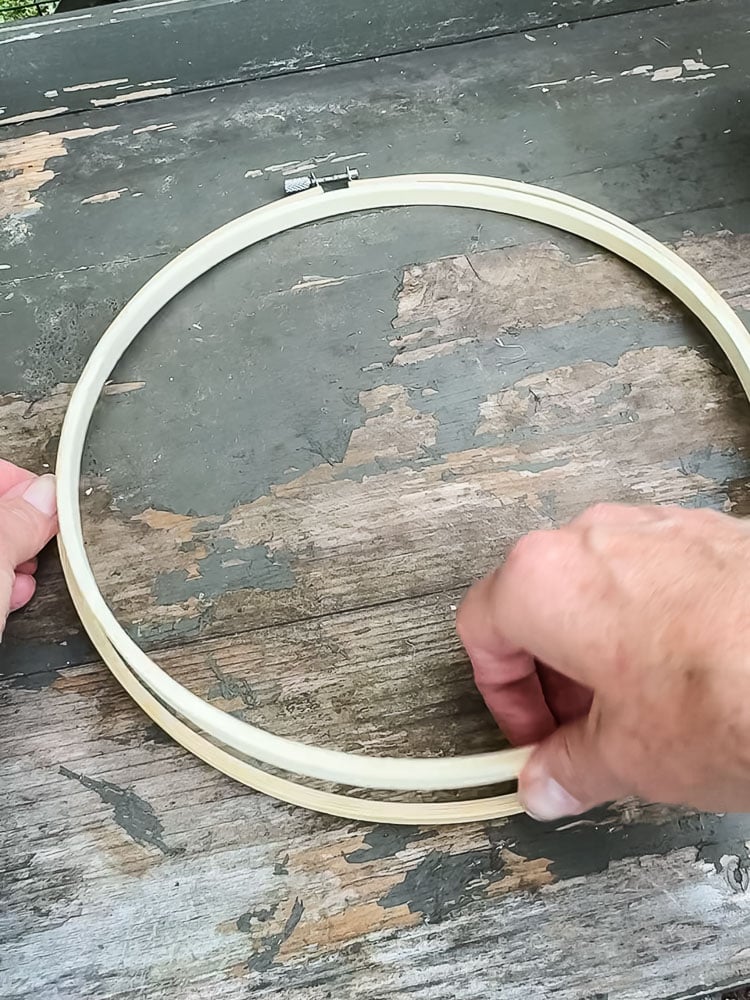
Separate the inner and outer rings like you’re getting ready to hoop fabric. Leave the larger ring flat on your work surface. Make sure the fastener is centered at the top.
Step 3: Create Your Pocket
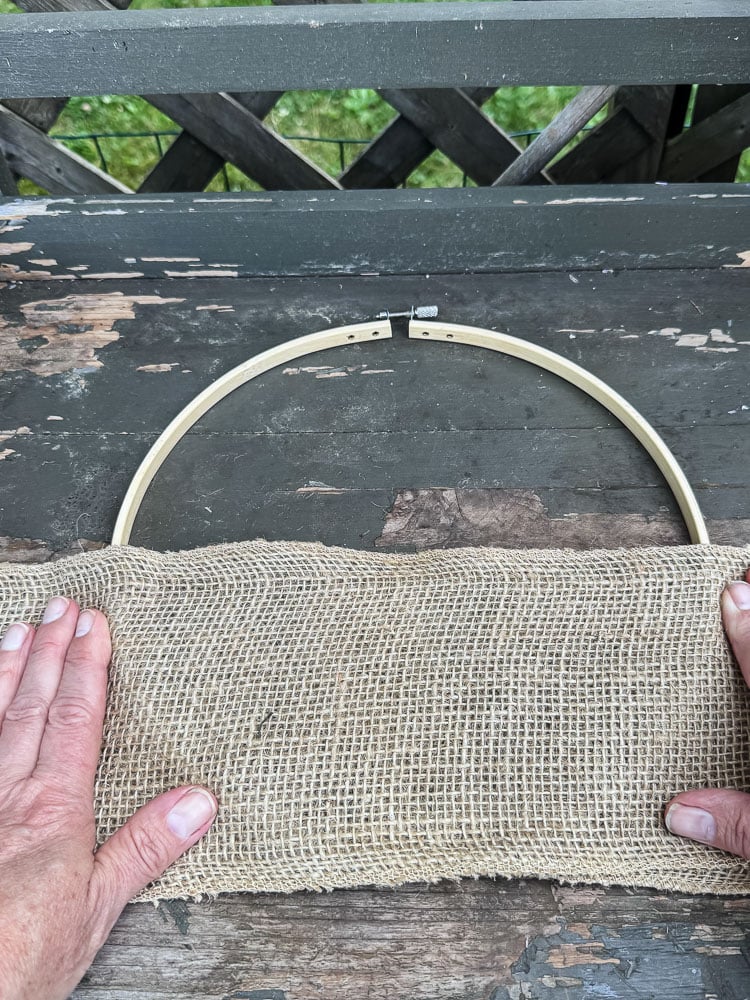
Take your burlap ribbon and double it up along the bottom inner edge of the hoop to form a pocket. This is what’s going to hold your flowers in place.
Step 4: Close The Hoop
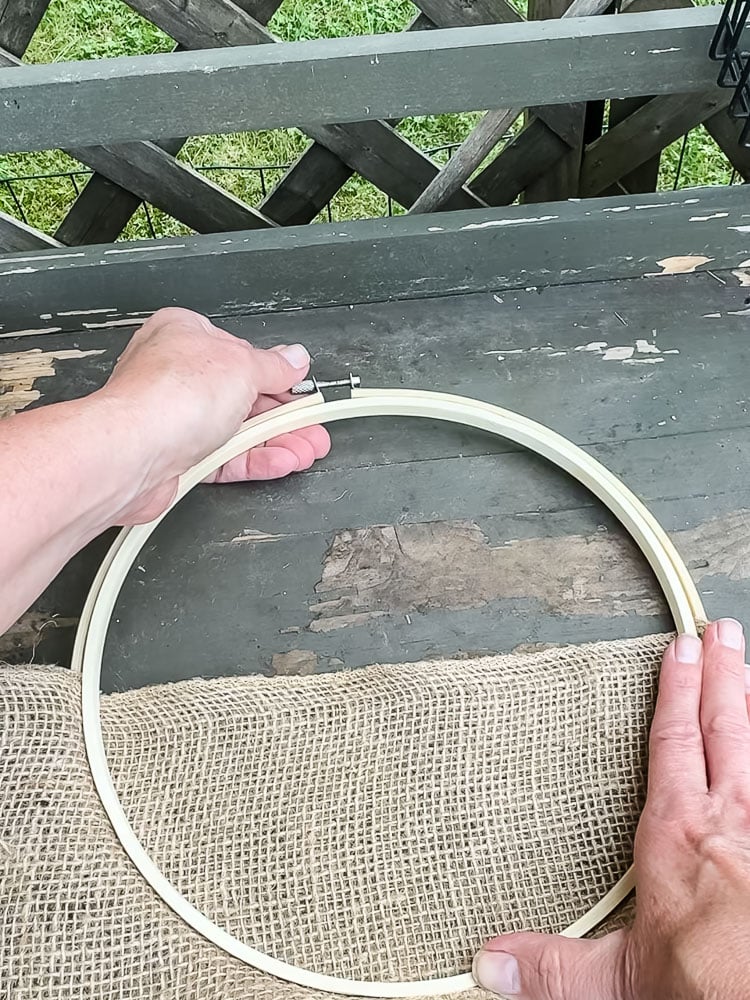
Tighten the outer ring back down over the inner ring and burlap, just like you normally would.
Step 6: Trim Off Excess Burlap
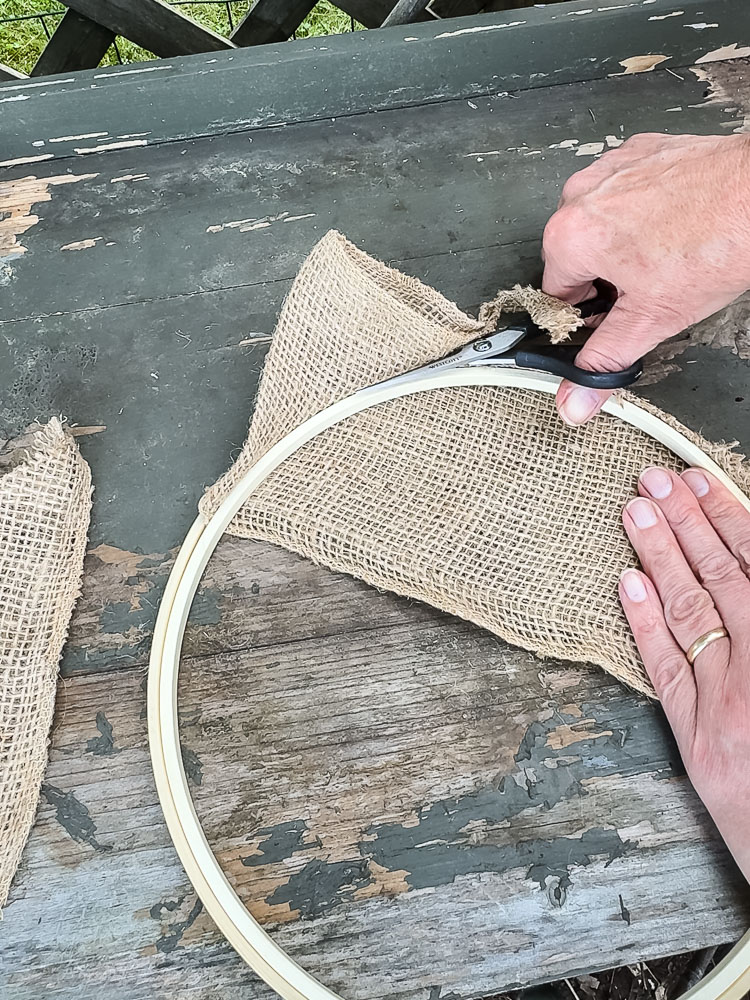
Grab your fabric shears and trim off any burlap hanging past the edge of the hoop for a clean look.
Step 7: Fill Your Pocket
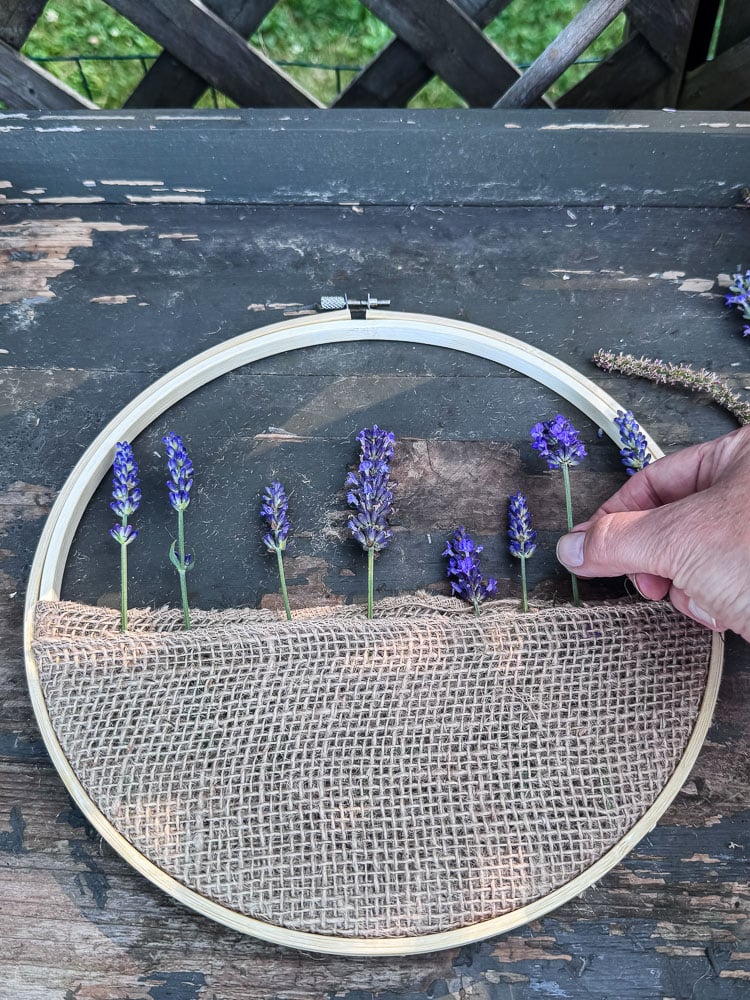
Tuck your lavender, statice, and nigella pods into the burlap pocket until it looks nice and full.
Of course you can add your own combo of dried flowers, pods, or grasses. Or just use one flower for a more monochromatic look. I think lavender would be perfect for this!
Step 8: Add A Hanger
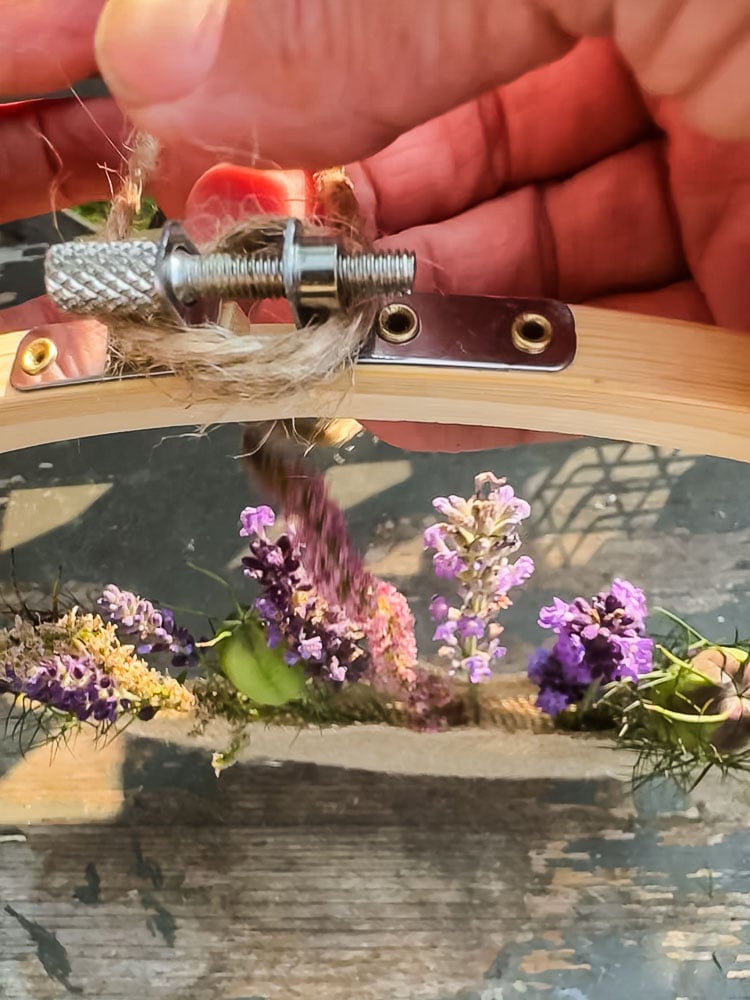
Tie a length of jute string around the top screw of the hoop, and you’ve got an instant hanger.
Finished Hoop Flower Hanger
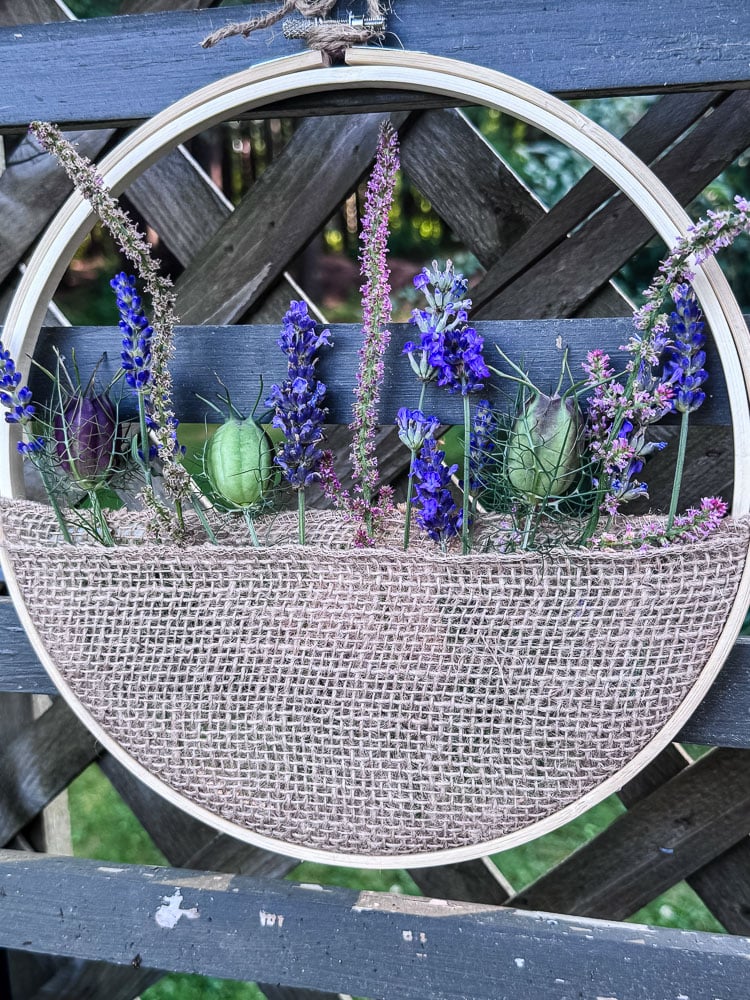
Hang it up, step back, and admire your 10 minute masterpiece.
A Few Tips
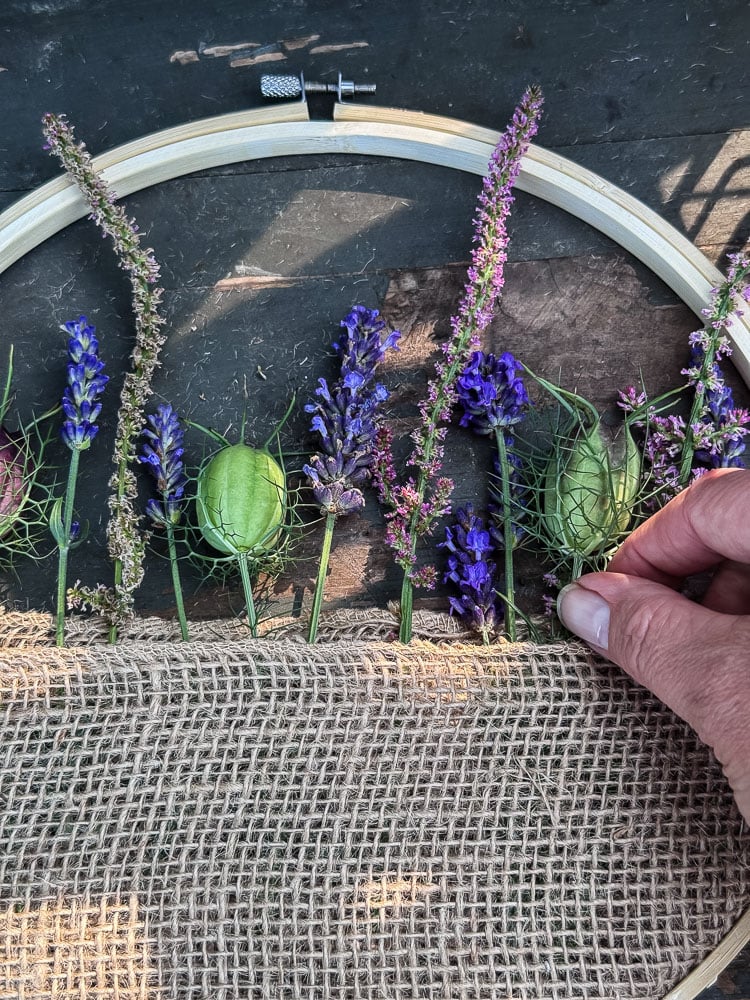
- Hoop size: I used a 10″ hoop, but this scales up or down easily. Try a smaller one for a cluster of minis, or a larger one for more of a statement piece.
- Flower swaps: Anything that holds its shape as it dries works here. Think yarrow, strawflower, baby’s breath, or any of your favorite dried blooms. I can picture wheat or bunny tail grass for Fall.
- Fraying burlap: A quick trim with fabric shears handles most of it. If you didn’t get close enough to hoop I suggest trying to remove the horizonatal burlap thread and then it will be easier to snip of the frayed vertical threads.
- Where to hang it: These look great grouped in odd numbers on a blank wall, tucked into a gallery wall, or even hung on a door for a low-key seasonal swap.
Make It Your Own
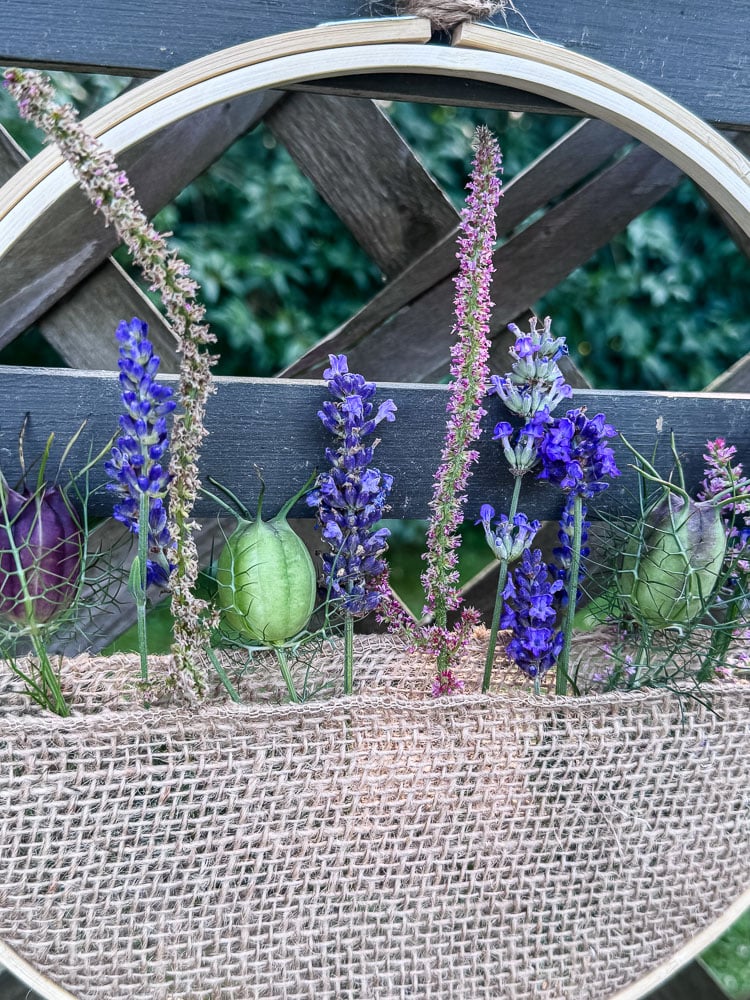
This is one of those projects where the “recipe” is really just a formula: hoop + pocket + botanicals + hanger. Once you’ve made one, you’ll start looking at your dried flower stash completely differently. Fall version with wheat and grasses? Winter version with berry sprigs? The hoop doesn’t judge.
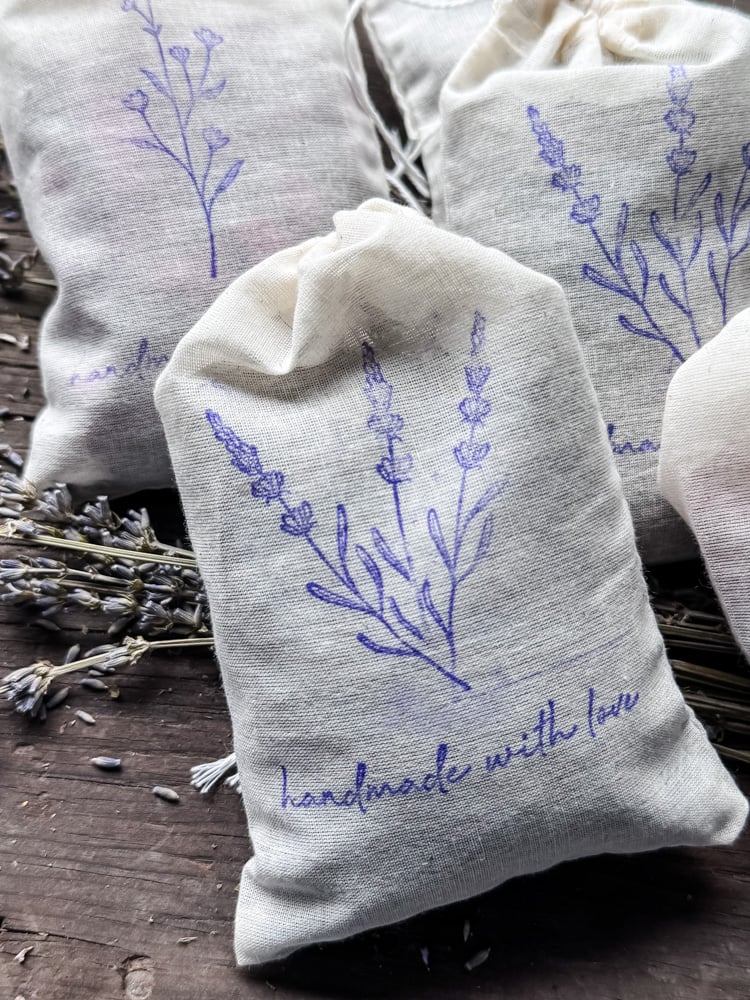
If you make one, I’d love to see it tag me or send me a photo (cottageonbunkerhill@gmail.com). And if you’re new here and want more botanical projects like this one to decorate your spaces, check out my easy sachets and the popular pressed flower magnets next.
xo, Jennifer
Love projects like this? Don’t miss out! Join my newsletter family for more cozy, budget-friendly DIY ideas delivered right to your inbox. You’ll get exclusive tips, early access to tutorials, and all the inspiration you need to make your home feel handmade and heartfelt.
Pressed Flower Ideas To Try
- How To Use a Flower Press: Learn the basics
- Bookmarks: Laminate pressed flowers for a functional keepsake.
- Decoupage Vases: Turn your pressed flowers into beautiful vases
- Framed Art: Create a beautiful botanical display for your home.
- Greeting Cards: Add a personal touch to handmade cards.
- Flower Plaques: Using vintage book pages & flowers


Really cute and super simple 😍 I see that Karianne of Thistelwood Farm mentions this post on her blog today.
Karianne is a good friend!! Love her!