

Witch brooms are a classic Halloween decoration, and for good reason. They’re spooky, fun, and relatively easy to make. In this blog post, I’ll show you how to forage for materials in the woods and put together your own DIY witch broom. I’ll also share some tips for adding lights and displaying your broom on your Halloween porch.
How to Make a Witch Broom for Halloween: A Step-by-Step Guide
Witches have long been associated with Halloween and broomsticks, as they were believed to use them to fly around and cast their spells.
So today I am going to show you how to make witch’s brooms for your Halloween porch. The good news is that they are relatively easy to make. Even people with basic DIY skills can make their own witch brooms using simple materials like branches and twigs!

This post may contain affiliate links, which means I may earn a small commission if you make a purchase through my links, at no extra cost to you. Read my disclosure policy here.
Foraging for Materials
The first thing I had to do was take a walk into the woods to forage for the right materials to use to make a couple of witch’s brooms to use out on my porch to decorate for Fall.
Taking a basket and a pair of clippers with me I went out to look for branches to use for the witch broom handle and also twigs to use for the broom head.

I am in New England so the best twigs to use would be birch. Birch twigs have the perfect wirey look and are thin and flexible.

For the broom handle, I happened to find a long very dead branch on the ground. I simply snapped it in half and made 2 perfect-sized broom handles. The wood was crooked and the bark was just about peeled off of the wood… the perfect look for this project! Look for branches that are about 5 feet tall for a witch broom.
If you don’t have woods behind your house, then take a walk through a local park, trail, or side of the road to forage for twigs and branches to use to make a witch’s broom.
Putting the Witch Broom Together

Cover your work surface if you are in the house because this will get a little messy.
If your branch is covered with bark still try to peel some of it off for a more rustic-looking witch broom.
Note: you will need more branches than you think you will need! I had to make a second trip to cut more birch branches.
Gather the branches

Place the long branch for the broom handle flat on the surface. Next, take a handful of the birch branches and wrap them around the branch broom handle.
This way you can gage if you need more or fewer branches for your broom before securing them to the handle. I seriously underestimated how many it would take to make a full-looking broom when I started!
Once you have the right look for your broom (I am doing one full and one more sparse-looking broom to show you the difference) adjust the lengths of the branch ends so they are all around the same length.

Use a zip tie to secure the birch twigs to the branch handle. Stand up your broom to see if any of the branches need to be adjusted, you will be able to slide them up a bit even with the zip tie.
Use clippers to trim down any of the cut ends that are too long.
Wrap THe Broom

Now to get that traditional witch’s broom look! It’s time to wrap the outside of the broom with either jute twine, roping, or some sort of cord. Since I always have leftover craft supplies in my studio I had a roll of seagrass roping leftover from a project. It has the perfect rustic look for a witch broom too.

Wrap the rope around the top of the branches until it is to your liking, there is no right or wrong just what look you prefer. Just make sure to cover the zip ties underneath.
Adding Lights

For an extra twinkle, you can add a string of battery-operated fairy lights. Most of them have timers built in so it’s set it and forget it!
Use a shorter set of lights and wrap the wire between the birch branches, I started at the bottom and then wrapped the light string around the broom handle and tucked the battery box into the corn stalks next to my witch’s broom.
Displaying The Witches’ Brooms

Here I leaned one of the witch’s brooms (with the lights) against the side of the house. Next to it is a ceramic pumpkin (I’ve had it for over a decade), my all-time favorite $2 thrift store chair that is holding a vintage container filled with mums.

Witch’s brooms are the perfect piece of decor to add to your Fall porch. Even if you don’t decorate for Halloween the broom adds a natural and rustic touch to your Fall displays.
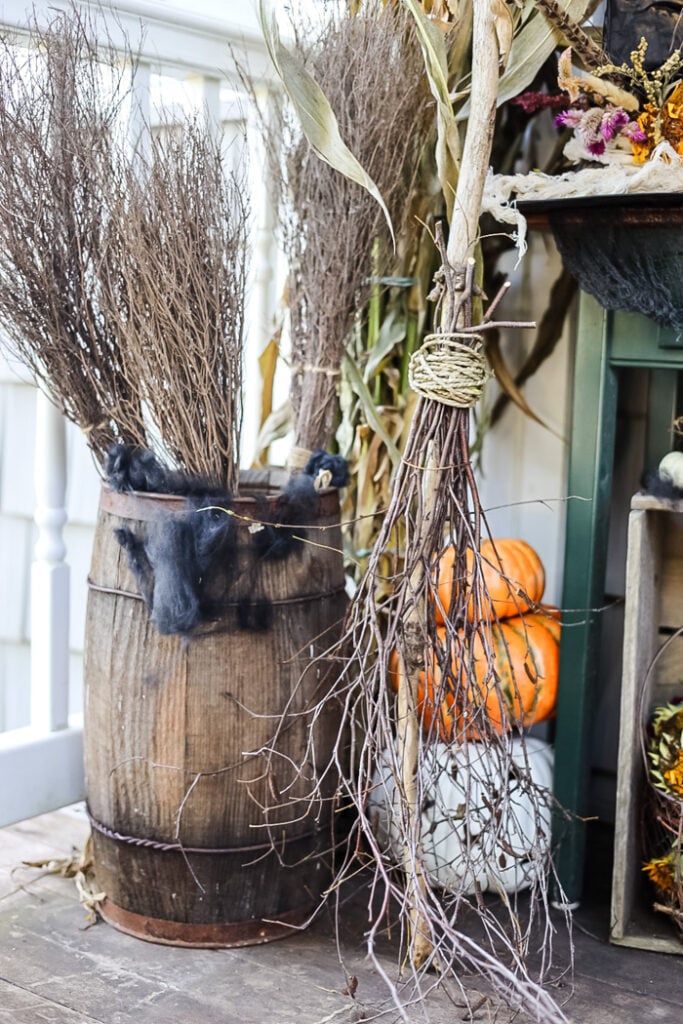
I leaned the more sparse witch’s broom against a vintage barrel that I had popped a few cinnamon brooms into.

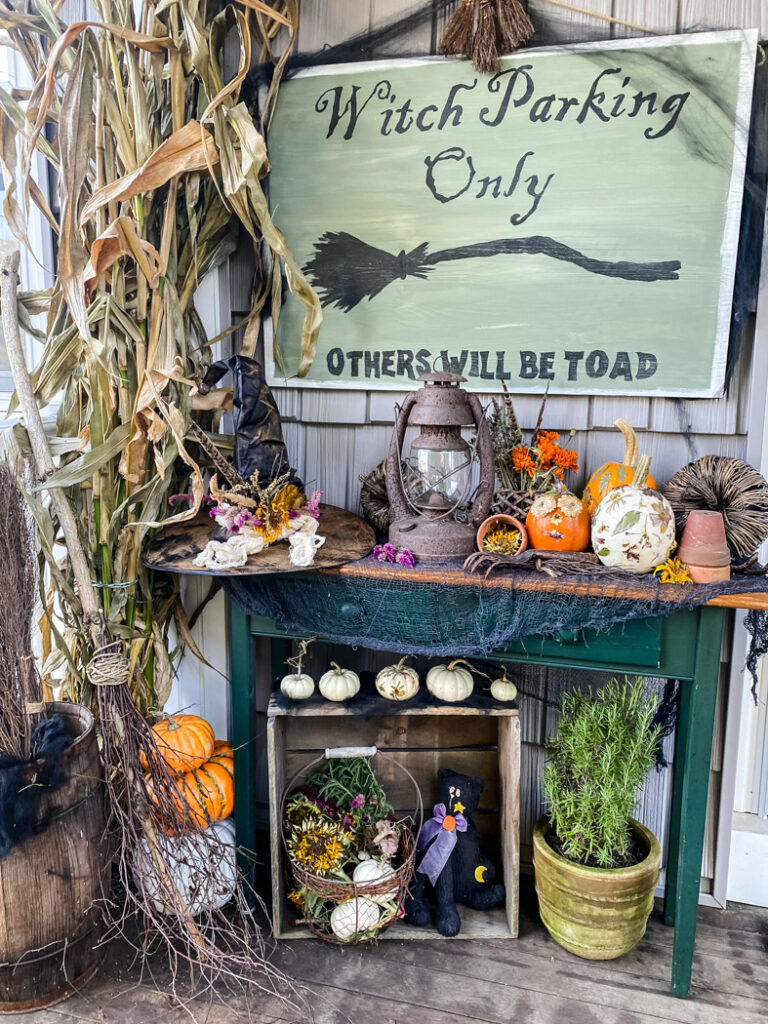
The theme of my porch this year was “garden witch” so the brooms added a fun touch along with a witch sign, floral witch hat, and lots of flowers and mini pumpkins that I collected from my garden.
…and here is a peek of the broom lit up as it gets dark out! So cute, right??

Making the witch’s brooms was a pretty easy and fast DIY project! No special skills are needed for this one. Looking back I think I spent more time foraging around and cutting twigs to make the brooms than the actual time it took me to make both of them!
If you make this project or any of my other ones, let me know because I would love to share them.
xo, Jennifer
Cozy Fall Finds


I love this!!! They look so great. Now I’ll be looking for twigs everywhere I go! Thanks for the inspo. Pinning. XO- MaryJo
Thanks MaryJo!! I love how they came out, sometimes what we picture in our heads doesn’t always translate to real life!!
Wow, this DIY Witch Broom idea is absolutely bewitching! It’s the perfect way to add some spooky charm to my Halloween porch. I can already imagine it blending in with the eerie atmosphere and making a delightful frightful statement. Can’t wait to give this a try!!!