
This textured heart wall art is another project that was Pottery Barn inspired. Let me show you how I took unfinished wood frames and transformed them into custom wall art.
This post may contain affiliate links, which means I may earn a small commission if you make a purchase through my links, at no extra cost to you. Read my disclosure policy here.
How to make Pottery Barn Inspired Wall Art
If you have been around here for a while, then you know that I love to try to recreate Pottery Barn looks on a budget. I’ve done rooms, vases, and Christmas decorations.

I thought I would try making the wall art on a smaller scale and found a set of wood frames over at Hobby Lobby that I thought would be perfect to make a set of the textured heart artwork.
Now I just had to figure out how to make them…

Step 1. Paint The Frames
Using the two largest frames in the set, I gave them a quick coat of chalk paint and let them dry completely.
If you plan on hanging your frames, this is when you would want to add either a sawtooth picture hanger or 2 D-ring picture hangers to the back of the frames. Make sure to screw them in at the thick parts of the wood frames so they don’t come through the other side.


Step 2. Make The Clay Hearts
To make the hearts I am using Sculpey air-dry modeling clay. You can find it at your craft store (it’s twice as much on Amazon). It’s super easy to work with, don’t be intimidated because it says “clay”.

All I did was grab a big clump and start rolling it out…you will be transported back to kindergarten art class making those little clay dishes for your parents for Christmas presents.
The inspiration textured heart art has a more abstract modern look to it, but after playing around with shaping the hearts, I decided to do a more traditional shape…but you do you!! There’s no right or wrong here!!
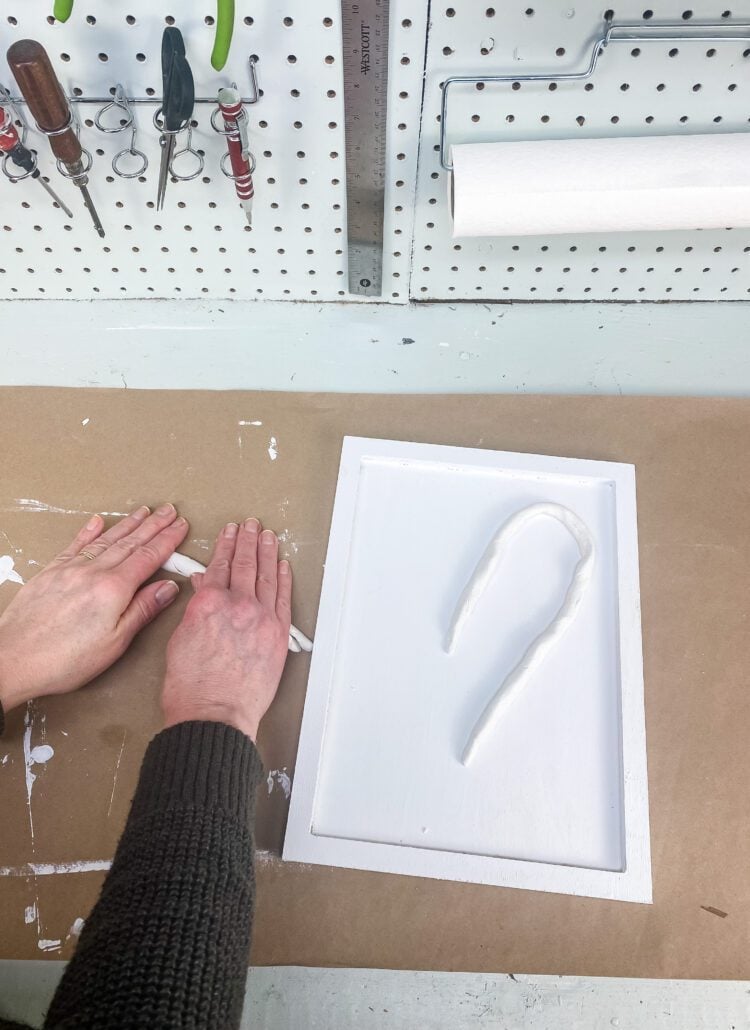

The air-dry clay needs to dry overnight to become hard. I didn’t want to move the hearts and break them, so I left them right in place on the frames.
Once they were dried, I moved them off the frames to the side for the next step.

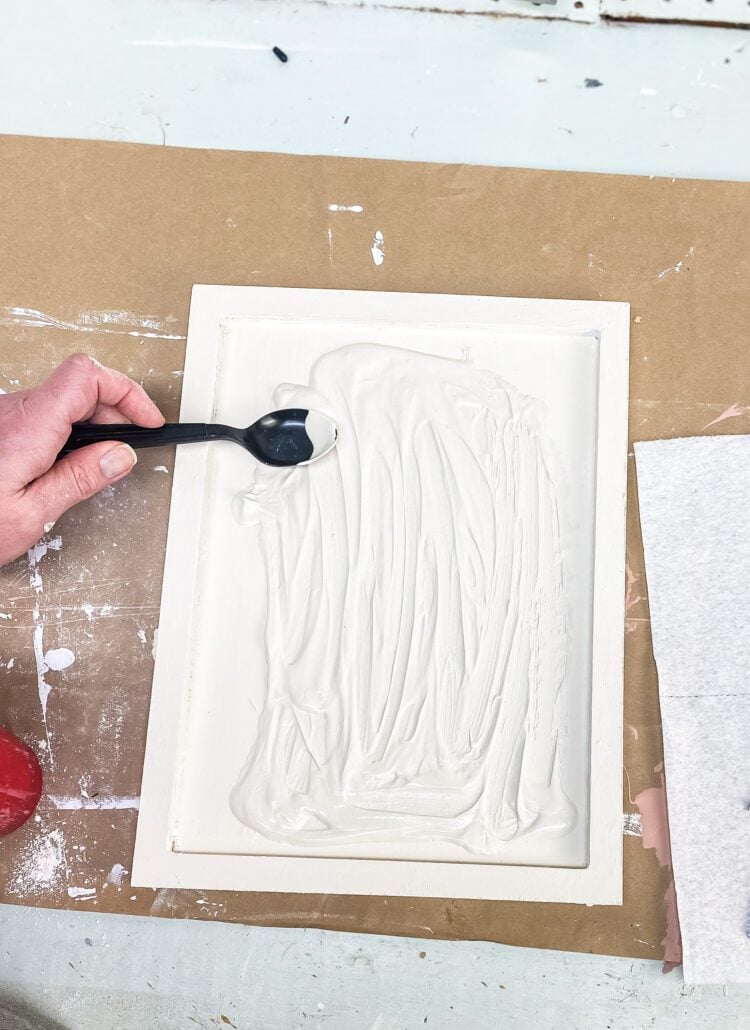
Step 3. Plaster The Frames
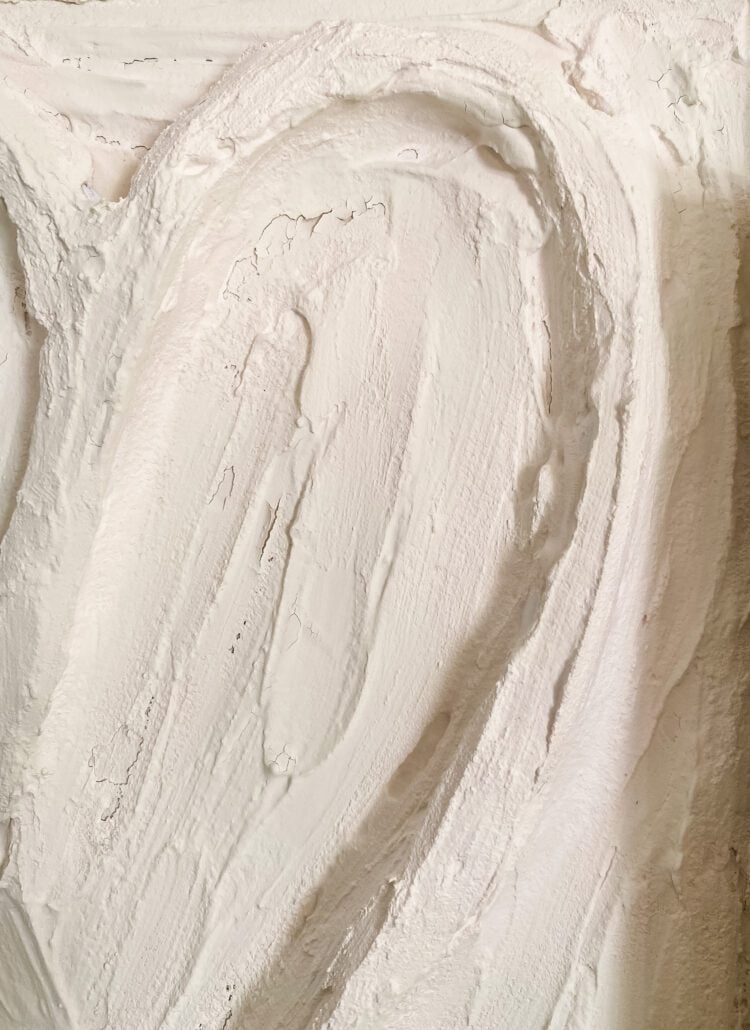
Now to make the textured heart art, I decided to use Plaster of Paris. It has a similar look to the stucco in the Pottery Barn inspiration piece.
Plaster of Paris is a powder that you mix with water. (2 parts Plaster of Paris to 1 part water). Easy to find at craft stores, Walmart (over with home repair/paint), or hardware stores.
This stuff dries sooooo quickly, so you have to move super fast!!
I mixed up a small batch in a disposable cup with a plastic spoon. Then I poured a little of the plaster mix onto one of the frames and spread it around with the back of the plastic spoon.
Once I had covered the frame with the plaster, I placed the heart on top and positioned it where I wanted it to be.

Now, I mixed up another batch of Plaster of Paris and covered the heart with the plaster. Just covered the entire thing and added more plaster everywhere on the frame.

Once the clay heart was completely covered in the plaster, I went back in and removed some of the excess plaster with a damp paper towel
Concentrating on the shape of the heart…I scooped out the curves and points of the heart so the shape was more pronounced. After that, I wet my finger with water and smoothed out the top of the heart a little bit.


I repeated the entire process for the second frame.
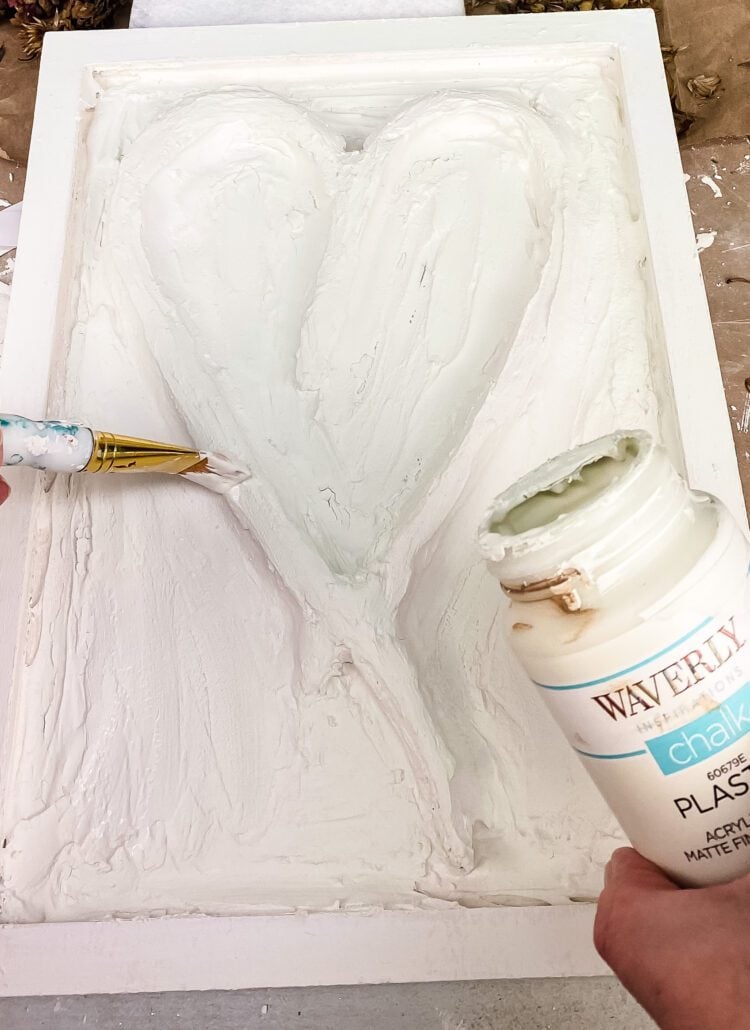
Step 4. Coat Of Paint
Once the plaster was dry on both frames, I went over the entire thing with Waverly chalk paint in the Plaster shade.
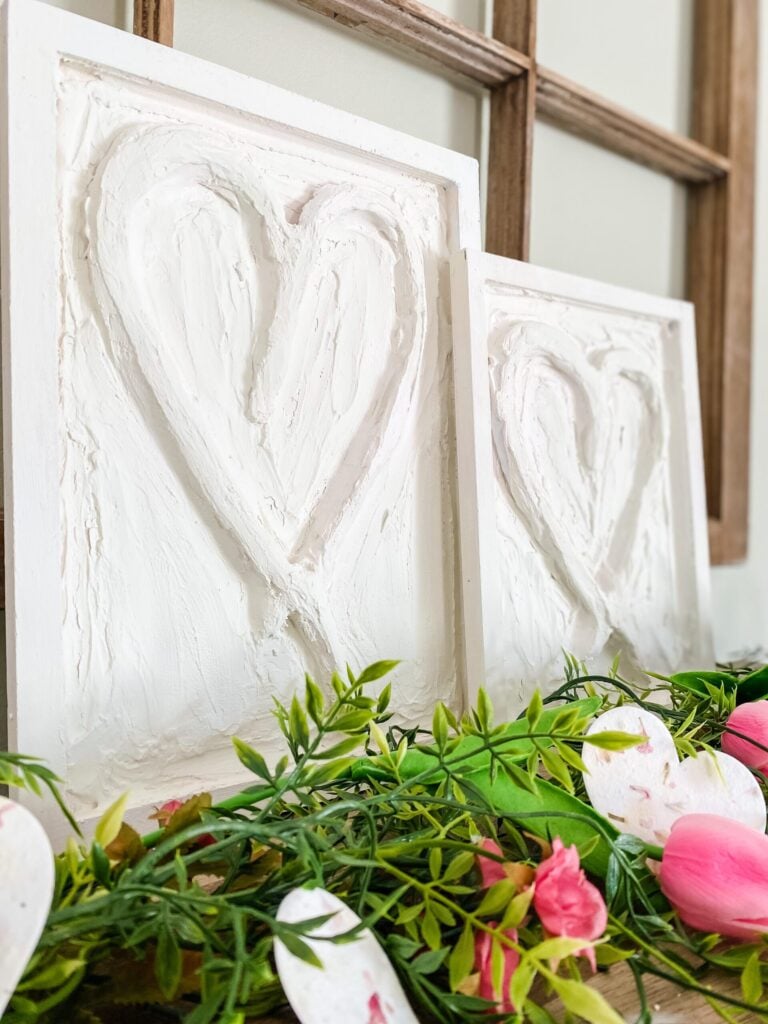
Finished Textured Heart Wall Art
Next, the fun part of any project…decorating with it!! Right now, they are displayed with a few pretty pink flowers for Valentine’s Day, but these hearts can be displayed at any time in your home. They would be a pretty accent for a bedroom, too, or mixed in with art prints on a gallery wall.

…And here’s a close-up of the heart so you can see the textured detail.
Now please check out all the other sweet decorating ideas my Thrifty Style Team friends have for you this month!
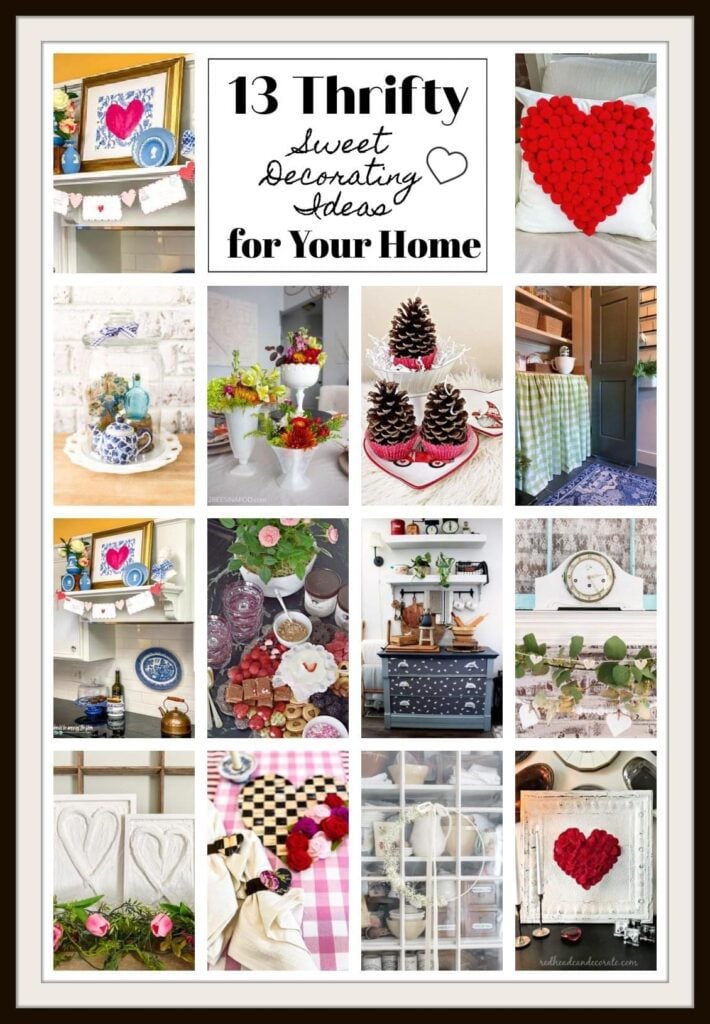
Redhead Can Decorate – Rose Petal Heart + 3 More Simple Romantic Ideas
Our Crafty Mom – Pinecone Fire Starters & Printable Gift Tag
I Should Be Mopping The Floor –5 Last Minute Free Valentine’s Printables
DIY Beautify – Neutral Winter/Valentine’s Mantel Decorating Ideas
2 Bees In A Pod – Decorating with Milk Glass Vases
The How To Home – Dresser Makeover with Peel and Stick Wallpaper
Postcards From The Ridge – DIY Glass Cloche Plus Styling Tips
Sweet Pea – DIY Pompom Valentine’s Day Pillow
Lora B. Create & Ponder – Elegant Valentine’s Dessert Charcuterie
The Tattered Pew – Quick and Easy No Sew Curtain
Amy Sadler Designs – How to make Leather Napkin Rings


So so beautiful. I am going to try doing this, but a different shape so I don’t copy you. However I do love hearts a lot.
This is amazing! I love it!
This is such a great Valentine’s idea, Jennifer! Love it.
Thanks Kim!!
Girl you are so good! Love that you made these and that they are affordable. They turned out so good and they are just beautiful. Hugs!
Thanks, friend!!
Jennifer, this is such a great idea. I am like you, find ways to do your own items at a fraction of the cost. Your heart artwork turned out beautiful. I love the chippy look on it too.
You should see how chippy it looks now that I dropped it on the floor…just kidding…but I did drop them!!
This turned out great! Can’t imagine spending that price on the PB one:( DIY is the way to go!
I know…Not even if I was a gazillionaire!!!
Such a sweet idea, Jennifer! It turned out lovely. xoxo, kristi
You are so creative and smart! This is such a cute idea – and we love that it was PB inspired! Thanks so much for sharing how you made these!
I wish we could all get together and make a sweet project like this, Jen! This is so cool (beautiful), and looks like a ton of fun!
thank you for sharing how you made these beautiful hearts! I am inspired to try something with plaster now! I think I love everything you do! That gardening post this week was so helpful!
I was so excited to see just exactly how you made these! I love that they’re a PB dupe. They’re really cool my clever friend!
Love this super cute project even more than the one from Pottery Barn. And it’s always a win you can make save money like that!
What a great project! It is wonderful that you created your own version of an expensive piece seen in a catalog.
Now this looks like such a fun project! They turned out so cute, I’ll have to give this one a try.