
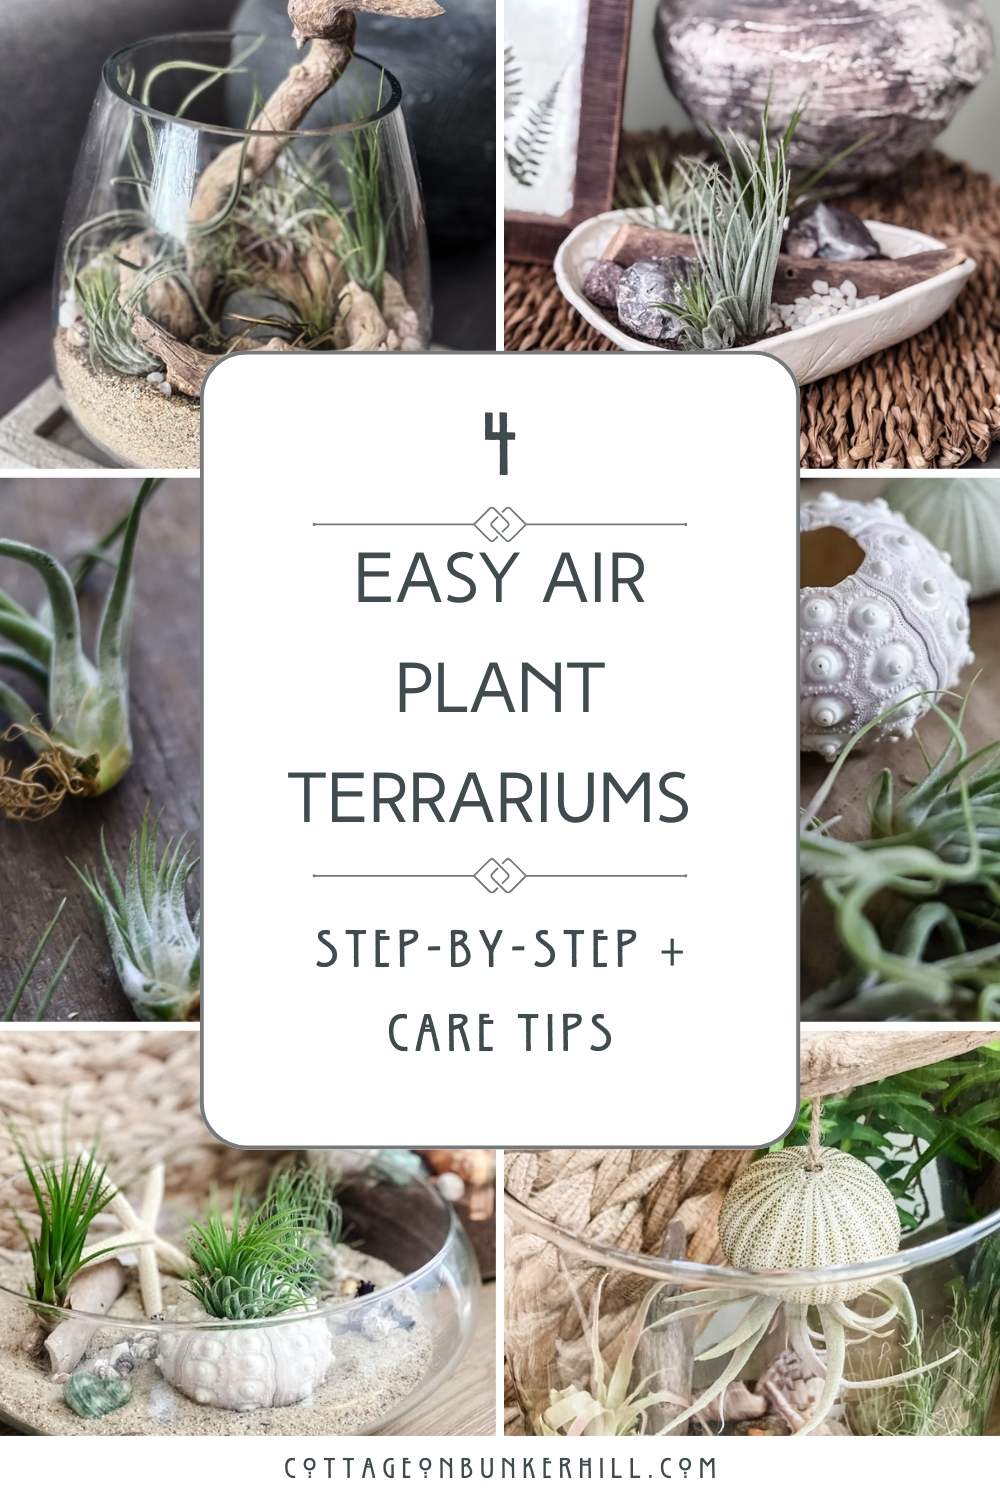
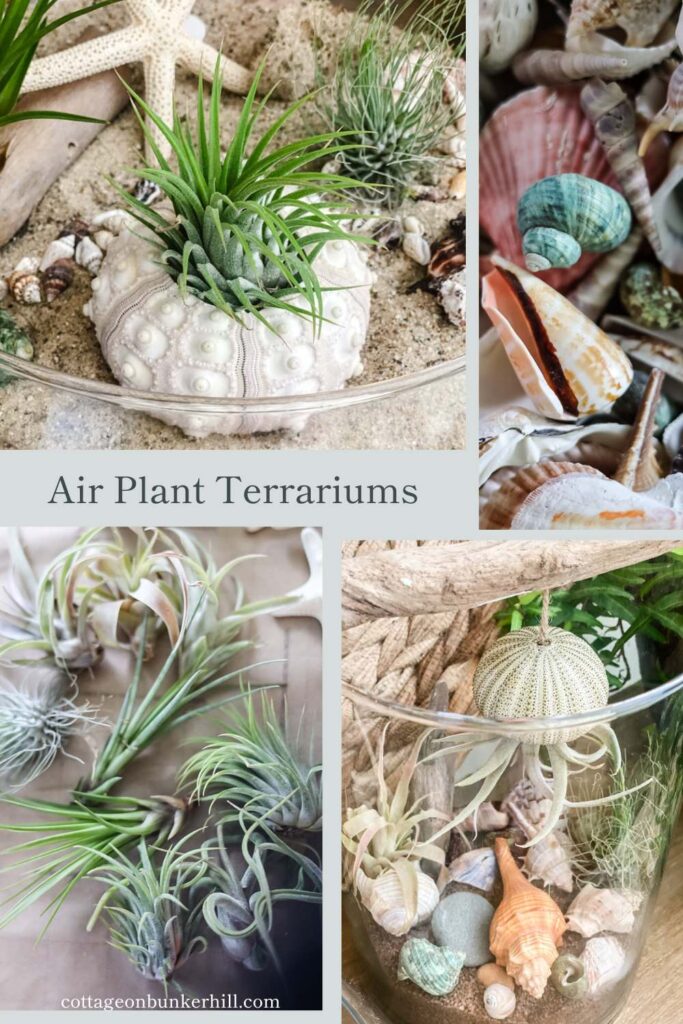
4 Easy Step-by-Step Projects + Ultimate Care Guide
If you’re looking for a fun and easy DIY project, creating your own air plant terrarium is a great place to start. With just a few simple materials and a little creativity, you can make a living miniature landscape for your home or office.
These charming little plants don’t require soil and can survive with just a bit of misting or soaking every week or so. Plus, they come in a wide variety of shapes and sizes, making them perfect for terrariums.
Today I’m sharing four different air plant terrarium projects-from coastal shells to hanging jellyfish, a stormy beach memory captured in glass, and a tiny desk garden that sparkles. Whether you’re a beginner or a seasoned plant crafter, there’s something here for you.

This post may contain affiliate links, which means I may earn a small commission if you make a purchase through my links, at no extra cost to you. Read my disclosure policy here.
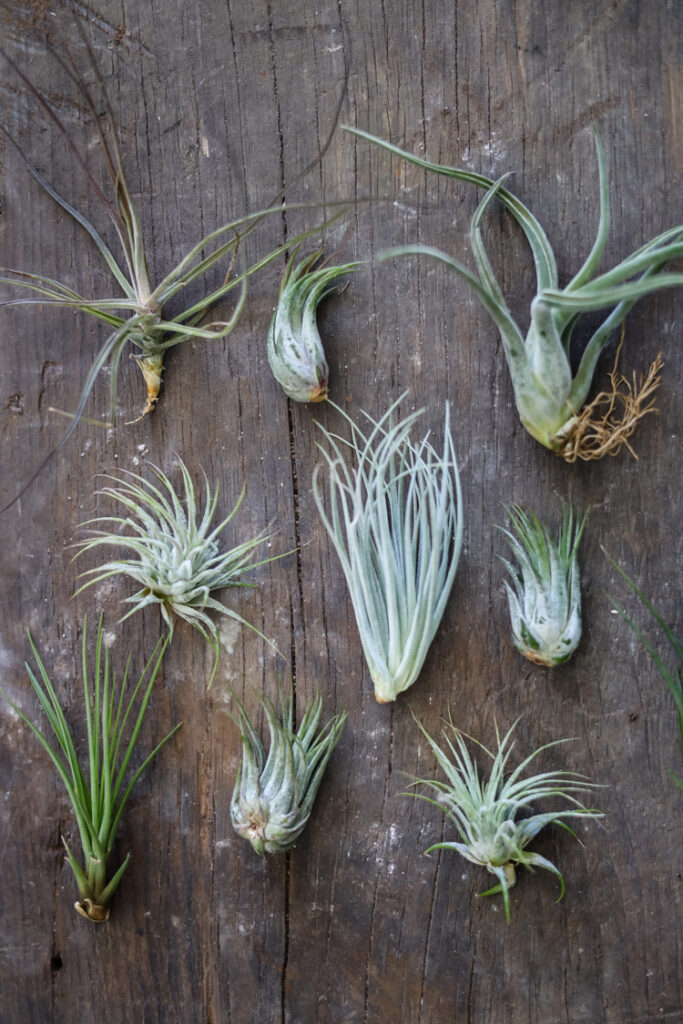
Understanding Air Plants
About Air Plants:
Air plants, also known as Tillandsia, are native to the Americas and can be found from the southern United States to Argentina.
They are what is known as epiphytes, which means they do not need soil to survive but instead grow on other plants or objects. The air plant absorbs nutrients and moisture through its leaves.
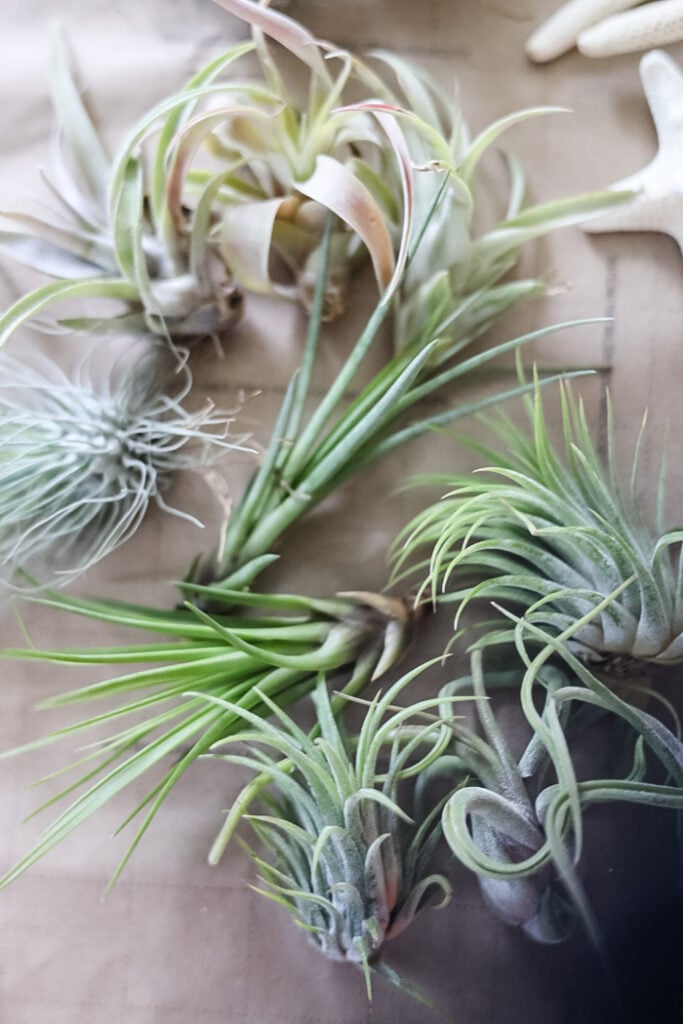
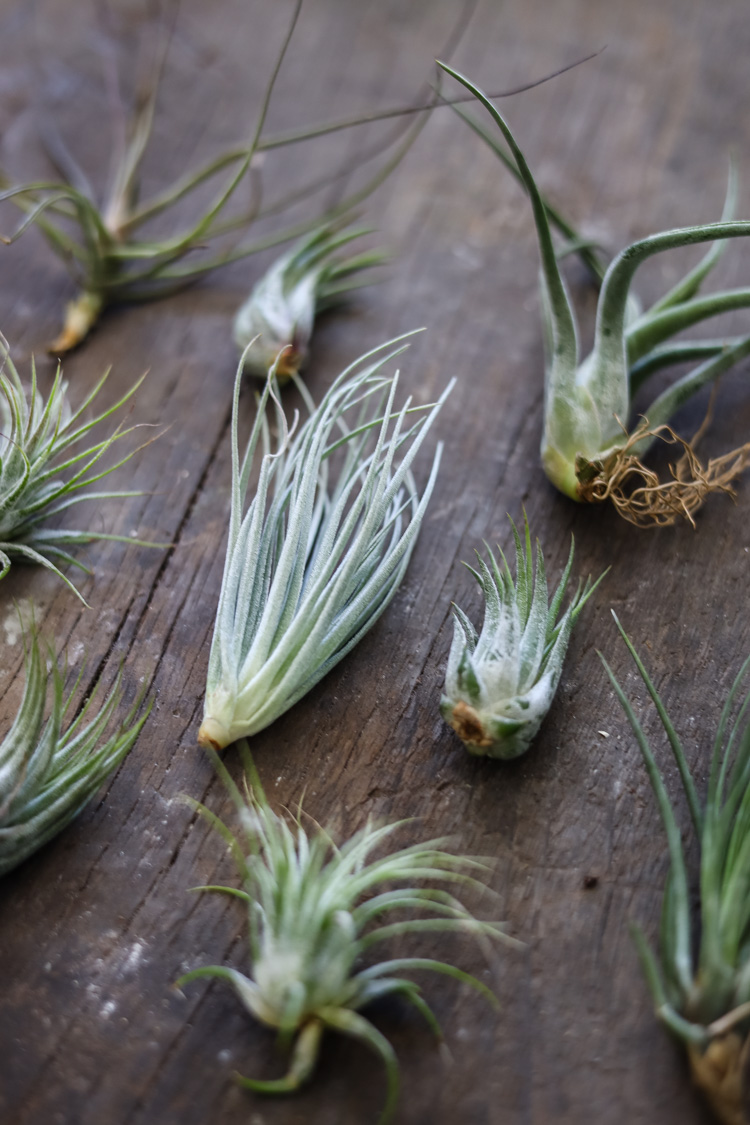
There are hundreds of species of air plants, each with its own unique shape, size, and color. Some are spikey and architectural, others soft and wispy. This variety is what makes them so endlessly collectible.
Care and Maintenance
Air plants are relatively easy to care for and require minimal maintenance. Here are a few tips to keep them healthy:
Air Plant Care & Maintenance
Water:
- Misting: 2-3 times per week, or more often in dry conditions.
- Soaking: Once a week, submerge your air plants in room-temperature water for 30 minutes. Filtered or distilled water is best.
- Critical Step: After soaking, shake off excess water and place them upside down on a paper towel to dry completely before returning them to their terrarium. This prevents rot and fungus.
Light:
- Air plants prefer bright, indirect light. A north or east-facing window is ideal. Avoid direct sunlight, which can burn their leaves.
Air Circulation:
- Good airflow is essential. Don’t cram them into tight, sealed containers—open vessels are best.
Fertilizer:
- Air plants can benefit from a monthly dose of fertilizer during spring and summer. Use a fertilizer specifically designed for air plants (here is one I like).
Seasonal Adjustments:
- In winter, when indoor air is dry, you may need to mist every other day. In humid summer months, back off to 2-3 times per week. Watch your plants—they’ll tell you what they need.
I keep an air plant on my desk, and honestly? It makes me happy every single time I glance over at it. Such a small thing, such an outsized mood boost.
Their watering rhythm changes with the seasons, something I’ve learned to pay attention to over the years. When the heat kicks on in winter and the air goes dry, I mist every day. In the thick of summer humidity, every 3 days is plenty.
The weekly bath is non-negotiable. I pop mine in a bowl of water for 30 minutes, usually on Sunday morning, while I’m tidying up. It’s become a little ritual.
But here’s the thing: the drying is just as important as the soaking. After their bath, I shake them gently, lay them on a paper towel, and let them rest until they’re completely dry. An hour, sometimes two. This is a way to ensure you don’t lose plants to rot. It really is that simple.


Why DIY An Air Plant Terrarium?

As someone who loves plants (seriously, can’t make it out of a home improvement store without a new plant baby!!), I am always looking for new ideas for incorporating greenery into my home.
But even if you’re a beginner, a DIY terrarium is the perfect place to start. Air plants don’t need soil and can be displayed in creative, unexpected ways—which makes them so fun!
There are a lot of reasons I prefer to make my own terrariums rather than buying them pre-made, but for me, it comes down to cost and creativity.
Here at Cottage on Bunker Hill, I’m always trying to bring you the most budget-friendly options. Making your own terrarium is significantly cheaper than purchasing a pre-assembled one. Plus, you can customize it to your exact taste and style.
Choosing Your Vessel & Supplies
You’ll want to choose a container that gives your air plants a little breathing room. Not too cramped, not swimming in excess space. They’re forgiving, but a good fit makes everything look more intentional.
The air plants I’m using today are on the smaller side. I ordered this set from Amazon and was pleasantly surprised by how healthy and well-packed it was.
The beauty of this guide? It works for any size terrarium. Maybe you’re working with a tiny dish for a dorm desk, or perhaps you’ve found an oversized beauty at the thrift store. The same principles apply. Just scale your supplies up or down to fit your vision (and your space!).
Where To Find Vessels
- Thrift stores: I find amazing glass bowls, vases, and candle holders for pennies
- Home goods stores: Clearance sections are goldmines
- Your own cabinets: That pretty dish or vase you never use? It’s a terrarium waiting to happen

Basic Supply List To Make Air Plant Terrariums
4 Air Plant Terrarium Projects
Ready for four quick air plant terrarium projects? Unlike traditional planters or closed terrariums, there’s no soil, no layers, no fuss—just you, a handful of beautiful things, and a few minutes to arrange them.
Project 1: Coastal Seashell Bowl
A collected, beachy feel perfect for a sunny windowsill.

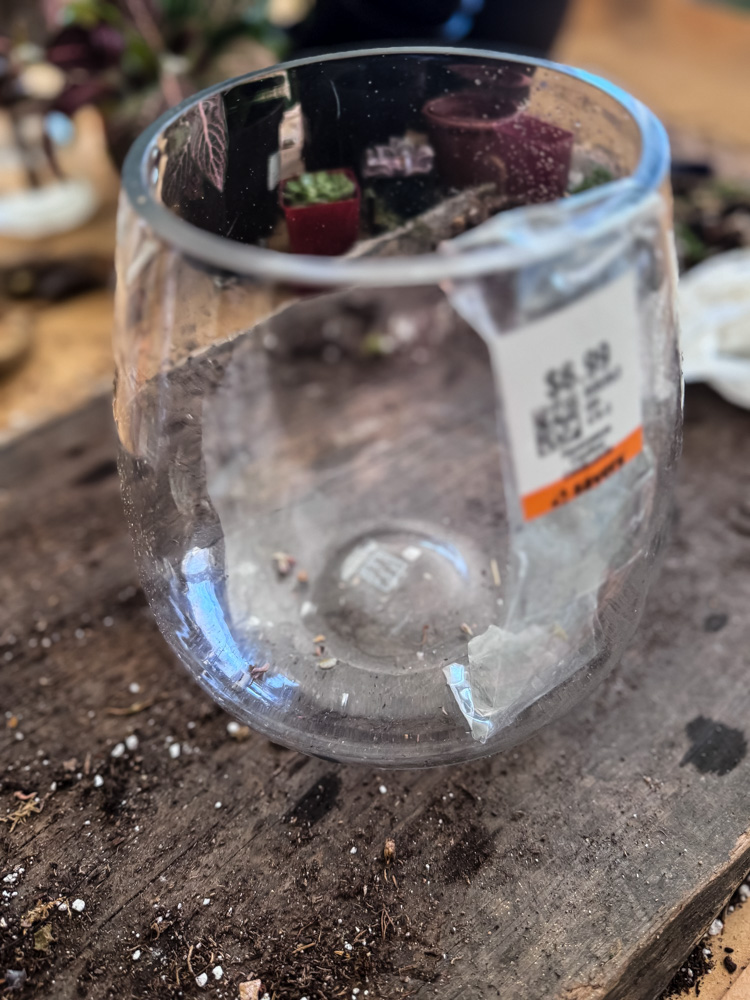
Vessel: Low, wide glass bowl
Supplies:
- Sand for the base
- Driftwood piece with a natural split
- Assorted seashells and starfish
- Urchin shell
- 3-4 small to medium air plants
For the first terrarium, I am going to show you how to make a bowl. Using a wide clear glass container allows you to decorate it with larger shells and add more air plants.
Thrift stores are a great place to look for containers to use for terrariums! When I am out thrifting, I always see lots of clear glass.
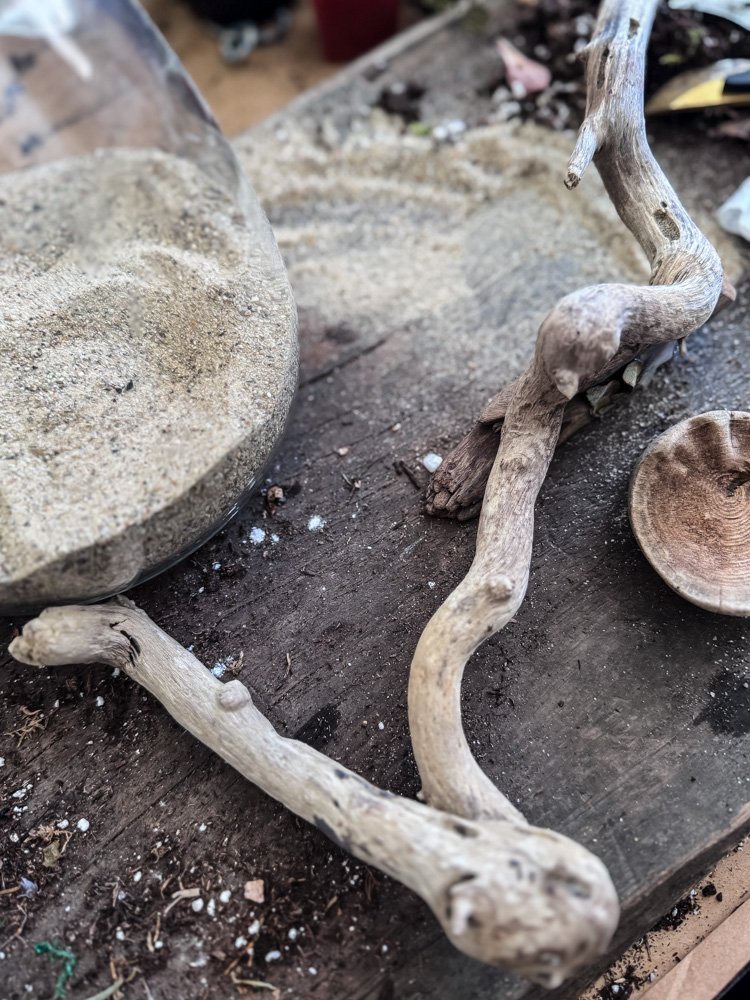
Step 1: Create The Base

Create the base: Pour a layer of sand into the bottom of your bowl. Since this is a beachy, coastal-themed terrarium, I used sand to fill the bottom of the bowl. Small pebbles or rocks are also fine to use for an air plant terrarium since you don’t need soil.
Finish with details: Scatter smaller colorful shells around the base and tuck in a bit of moss for softness.
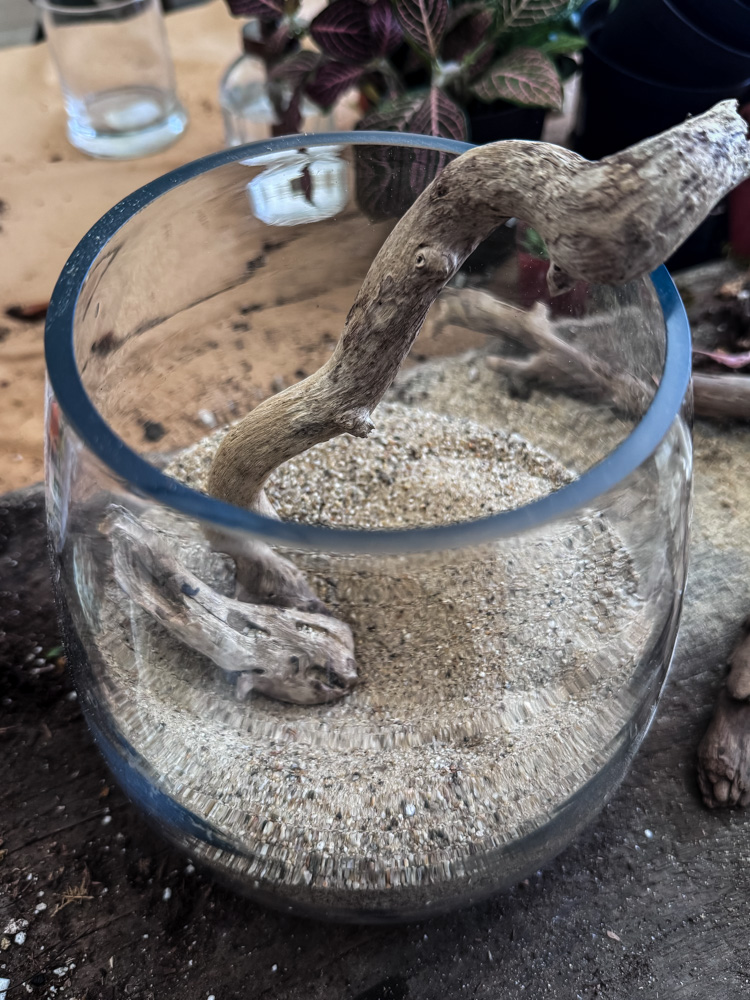
Step 2: Add Driftwood
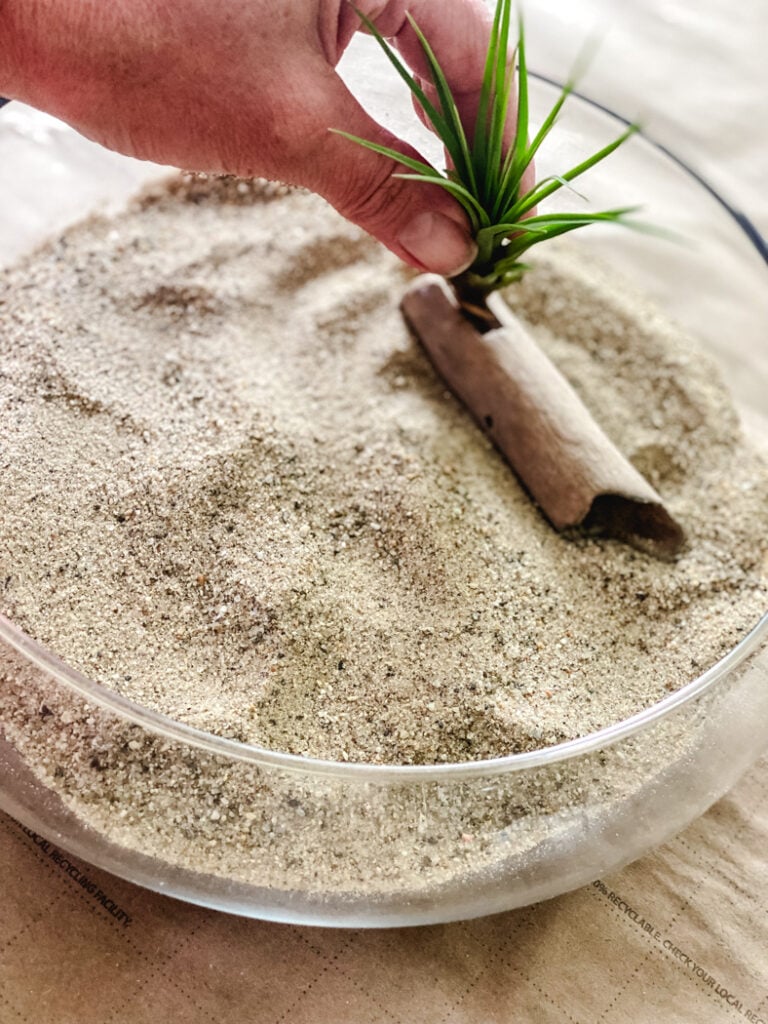
Add driftwood: Nestle a piece of driftwood into the sand. Look for one with a natural crevice—it becomes the perfect perch for an air plant.
Starting out with a piece of driftwood that has a natural split that just happens to be the perfect size for one of the air plants!
Since I grew up in coastal New England, I love collecting driftwood and shells. For these terrariums, I am using driftwood that I already had. If you can’t find driftwood, look for interesting sticks!

The air plant stays perfectly in place! The gap was wide enough that the plant stands upright and can be easily removed when the plants need to be soaked.
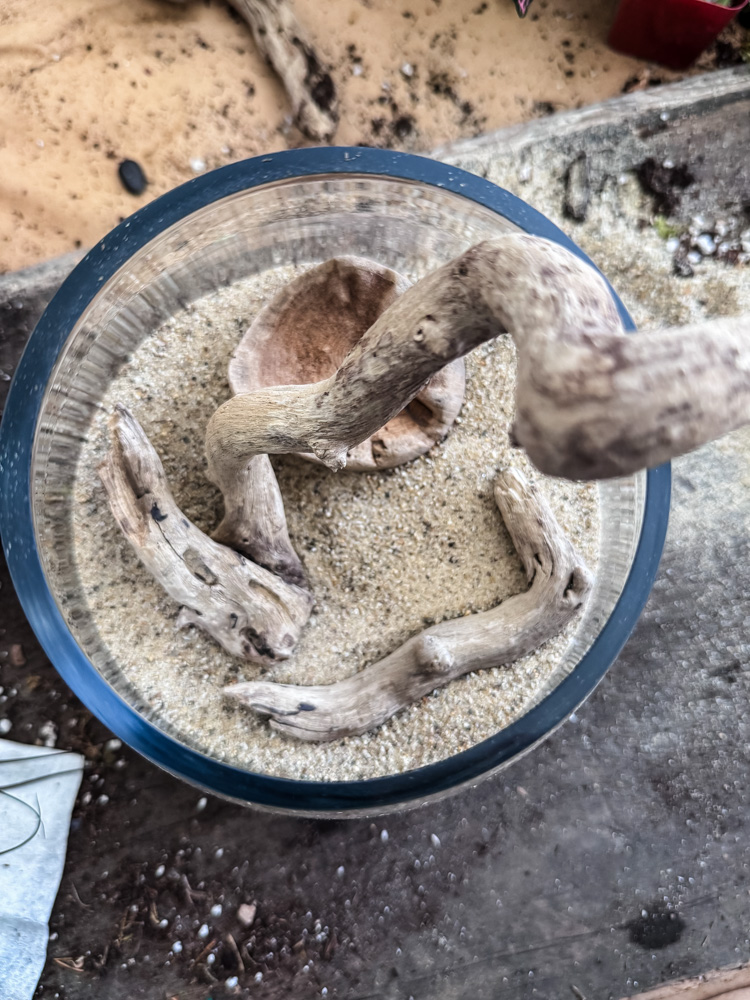
Step 3: Fun With Shells

Tuck shells in: Place a beautiful urchin shell in the sand and tuck an air plant inside it. Add a starfish or larger shells as focal points.
The next piece that I am going to add to the terrarium is going to be a beautiful urchin shell with one of the air plants tucked right inside. Then a starfish was added right into the sand.
Step 4: Arrange The Air Plants

Arrange your plants: Position your remaining air plants around the bowl. One can sit directly in the driftwood’s gap; others nestle into shells or rest on the sand.
For this step-by-step tutorial, I am only going to use 3 air plants so I can show the details clearly, but you could add quite a few more in a container this size.
Step 5: Final Details


Finish with details: Scatter smaller, colorful shells around the base and tuck in a bit of moss for softness.
To finish off this terrarium, I scattered a few colorful shells around the sand and a piece of moss.
What’s fun about creating a terrarium is that you can add your own personality to it as you are decorating. If you don’t love shells, then you could find a cool piece of wood or interesting rocks to use to fill yours.
Finished Coastal Seashell Bowl

Why I love it: This one feels like a day at the beach, no matter the season. It’s forgiving, adaptable, and you can add as many or as few elements as you like.
Project 2: Hanging Jellyfish Terrarium
Whimsical, unexpected, and the project that always got the most “ooh, that’s so cool!”

Vessel: Tall glass cylinder vase (6″ wide x 9″ tall or similar)
Supplies:
- 3-4 air plants, including a Tillandsia Caput Medusae
- Sand for the base
- Assorted shells, driftwood, and beach rocks
- Urchin shell with a natural hole at the top
- Driftwood piece wide enough to rest across the vase opening
- Jute twine or clear fishing line
- Drill (or just wrap the twine around the wood)
For this terrarium, I am using a tall glass cylinder vase. This one is 6 inches wide by 9 inches. Just find one with a wide enough opening to be able to add plants to it.
Step 1: Build The Base

Build the base: Pour a layer of sand into the bottom of the cylinder. Scatter larger shells, beach rock, and small driftwood pieces around.
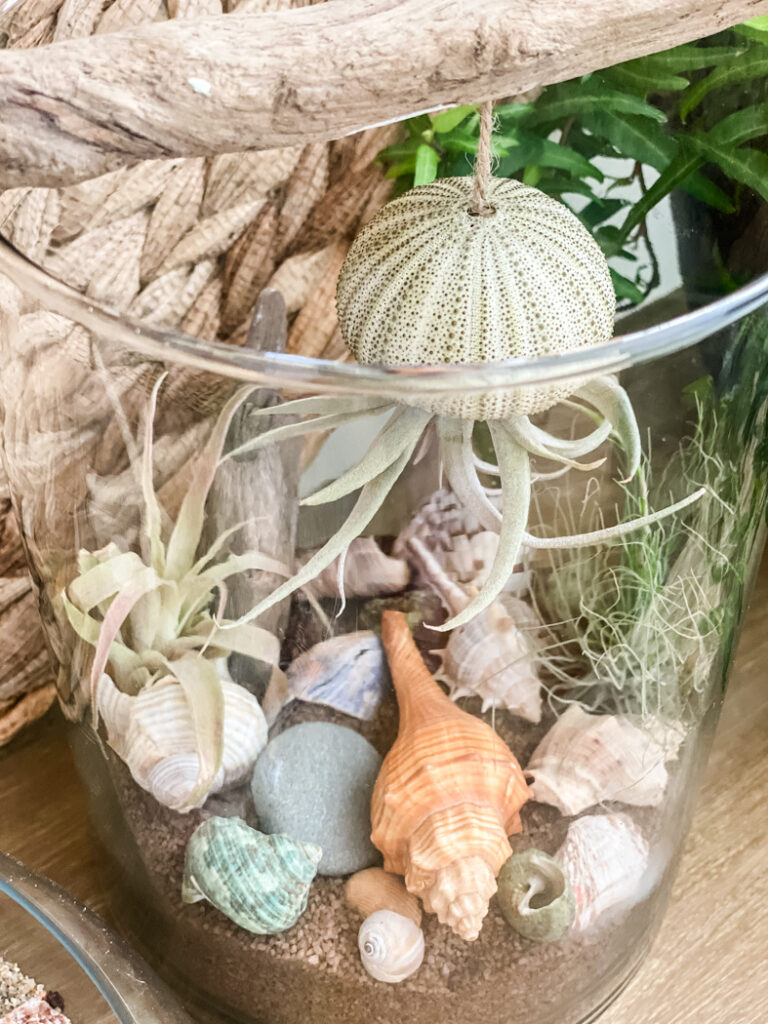
Step 2: Create The Jellyfish

Now for the super fun part…to make a “jellyfish” out of an air plant and urchin shell! To hang it in the terrarium, I am using a piece of driftwood that is wide enough to hang across the top of the glass cylinder vase.
First, I figured out how low I wanted the urchin to hang in the vase ( I held up the driftwood to the edge of the vase while using my other hand to hold the urchin), then I trimmed down the jute string and tied a few knots in the end so the string wouldn’t slip out of the urchin shell.
I tried a few of the air plants to see which one fit snugly into the bottom of the urchin. One fit perfectly and stayed put. Another option would be to use a couple of drops of glue on the bottom of the air plant and secure it to the top of the inside of the urchin shell.


- Prepare the driftwood: Drill a small hole through your driftwood piece and thread the other end of the jute twine through. Tie a knot on top to secure. (No drill? Simply wrap the twine around the wood several times.)
- Create the “jellyfish”: Thread a piece of jute twine through the hole in your urchin shell. Tie a few knots at the end so it won’t slip through. Trim to your desired hanging length.
- Attach the air plant: Nestle a Caput Medusae (or any air plant with a base that fits snugly) into the opening of the urchin. It should stay on its own—if not, a tiny dab of glue works.

Step 3: Assemble The Terrarium


- Add finishing touches: Tuck a few more air plants around the base
- Assemble: Lay the driftwood across the opening of the vase so the “jellyfish” hangs down into the terrarium. Adjust the length as needed.

Once everything was in place, all that was left to do was hang the driftwood across the opening of the terrarium.

Finished Jelly Fish Terrarium
Why I love it: This project made me smile every single time I walk past it. It’s proof that with a little creativity, you can make something truly unexpected.

Definitely recommend this DIY project! It was really easy to do, and I was pretty impressed with myself! It would be a fun DIY project to do with your kids or grandkids this Summer.
Project 3: Rye Beach Walk Terrarium
An ode to a stormy beach walk, captured in glass. The driftwood reaches beyond the vessel, breaking all the rules.
Living so close to the ocean is a gift in every season, but there’s something especially magical about the morning after a big storm. A Nor’easter sweeps through, the sea churns all night, and by dawn the beach is scattered with treasures. Driftwood, sea glass, stones polished smooth by waves. That’s when I head out to comb the beach.
This particular day, I came home with an armful of driftwood and my coat pockets weighted down with rocks and shells. This terrarium is what became of that walk.
Vessel: Thick-walled thrifted glass container (originally a pillar candle holder)
Supplies:
- Small pebbles and sand
- A crooked, knotty driftwood branch with character
- Smaller driftwood chunk & branches
- Beach stones and tiny shells collected from the shore
- 5 air plants (I used Tillandsia Caput Medusae and a few small green varieties)
Step 1: Layer The Base
Layer the base: I started with a couple of inches of sand to create a foundation that looks and feels like the beach itself. I used regular play sand (it’s inexpensive and easy to find), but this is such a fun place to play with color! There are beautiful colored sands-soft pink, seafoam green, pale blue- that would be gorgeous in a project like this. You could also skip the sand entirely and use fine pebbles or crushed sea glass for a different texture and sparkle.
Step 2: Anchor The Driftwood
Anchor the driftwood: Place your crooked driftwood branch into the container, positioning it so it rests naturally against the glass and extends up and over the rim. This is the magic moment.
Step 3: Build Terrarium Floor
Add structural support for the air plants: Tuck a smaller driftwood chunk and branch on the sand. This will help support the air plants.
Step 4: Add The Sea Treasures
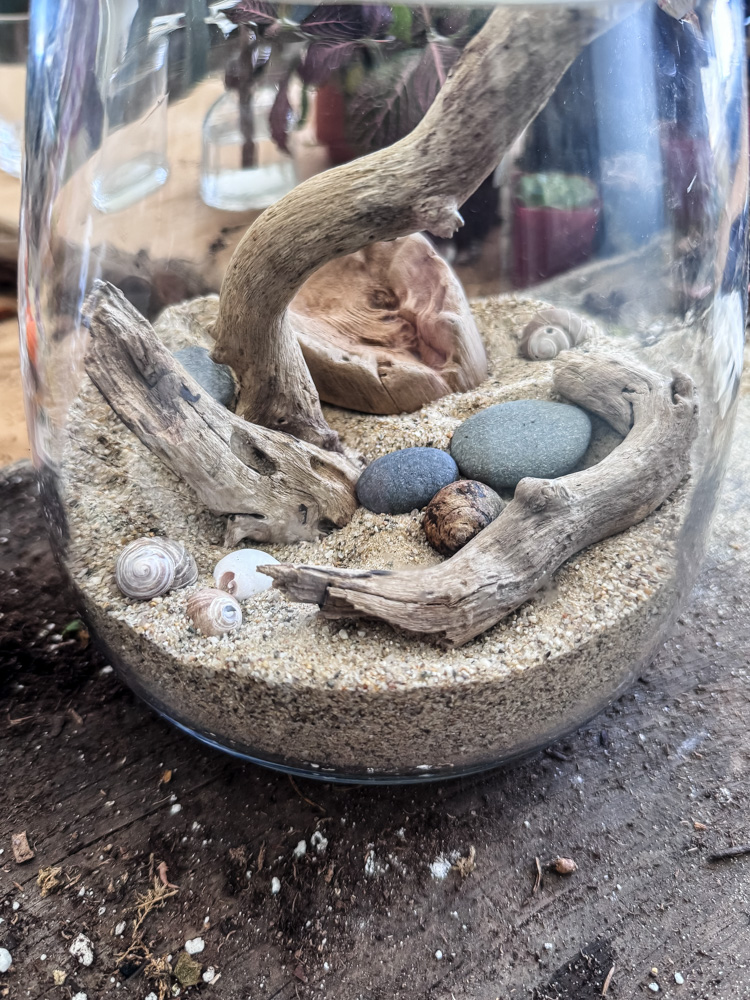
Scatter beach treasures: Nestle your collected stones and tiny shells around the base, partially buried in sand as if the tide just went out.
Step 5: Place Your Plants
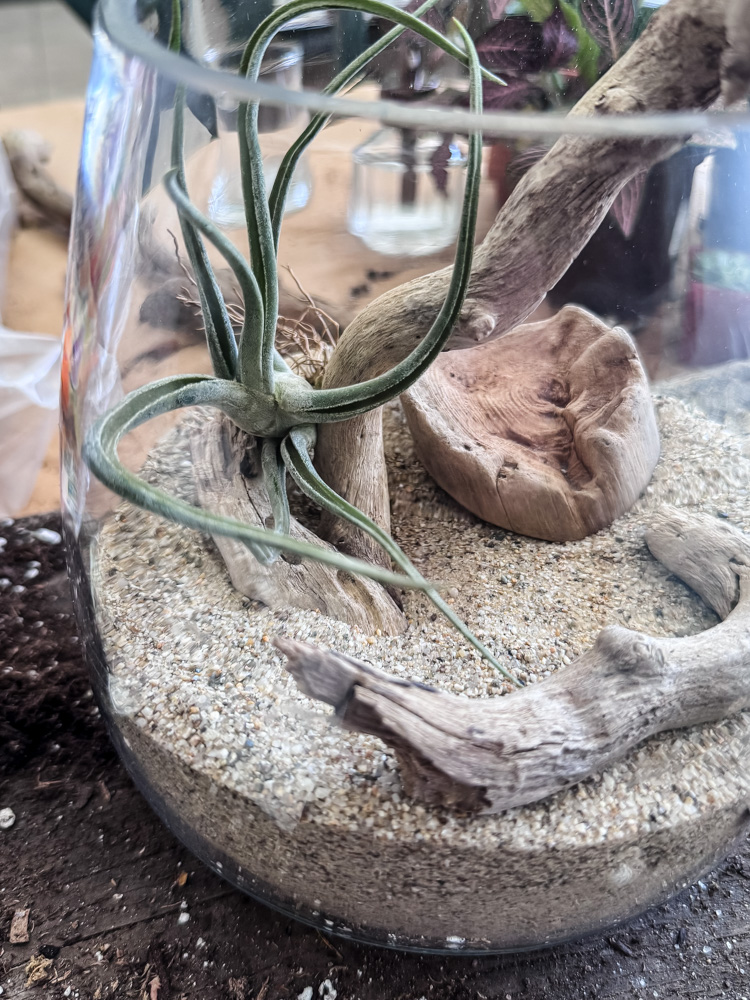
Place your plants: Tuck a Medusae into the “elbow” of the crooked branch, lifted safely off the sand. Add a few more small air plants among the rocks at the base.
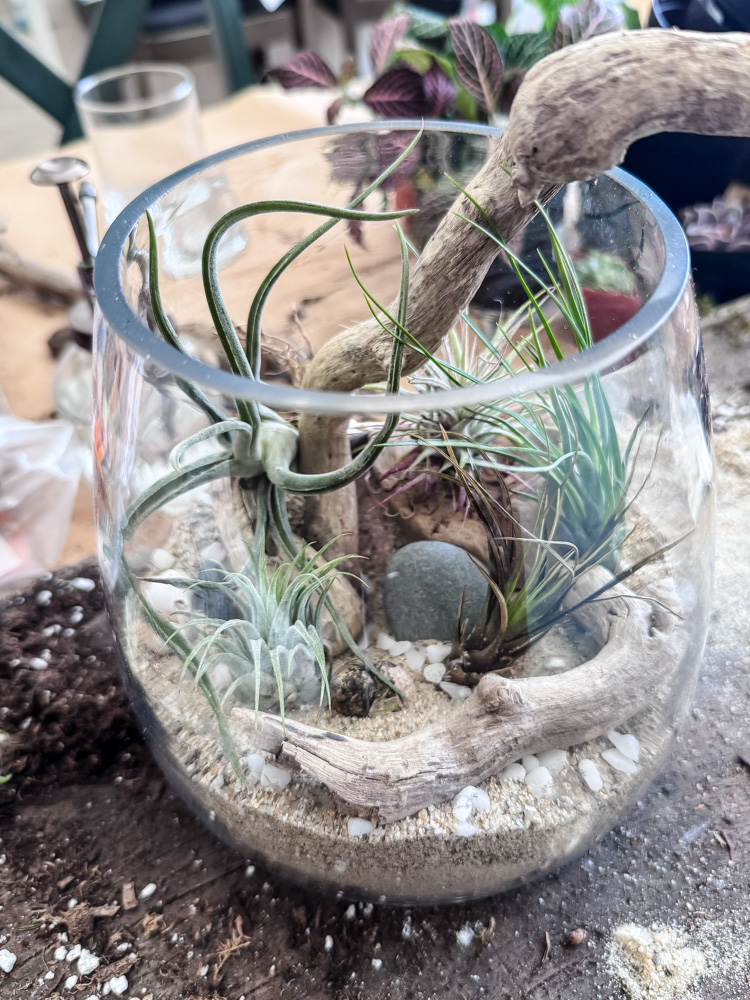
Finished Beach Walk Terrarium
Why I love it: This terrarium doesn’t stay neatly inside its container. The branch reaches out, rests on the lip of the glass, and refuses to be contained. It reminds me that the best projects follow your intuition, not the rules. Every time I look at it, I’m back on Wallis Sands beach, pockets full of stones, wind in my hair.
Project 4: The Geode Desk Garden
Small, simple, and quietly luminous. Five minutes and one dollar is all you need.
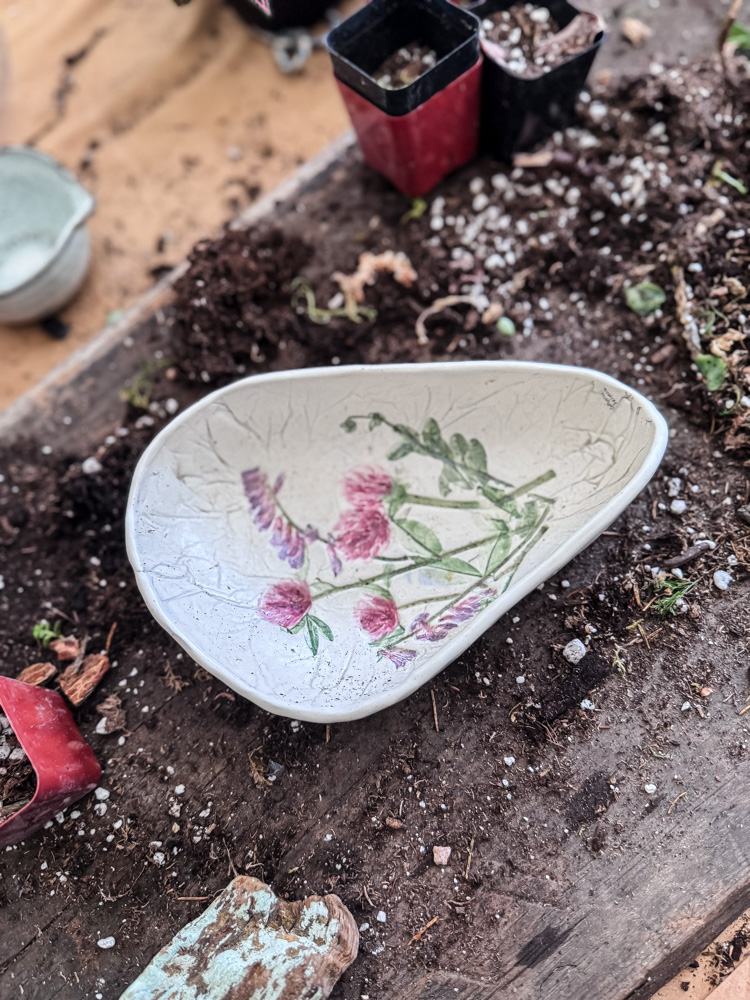
I have a confession: when I’m thrifting, and I spot a handmade ceramic piece, whether it be a wonky mug, a lopsided bowl, a little dish with uneven glaze, I almost always bring it home. I can’t help it. Someone, somewhere, shaped this with their own hands. They smoothed the clay, chose the color, signed the bottom. And here it sits on a shelf, waiting for a second chance.
How could I leave it behind?This little clay dish cost me one dollar last year. I didn’t know what I’d do with it. I just knew it deserved to be loved again.
Here’s the thing, though: when I got it home, I noticed a small stamp on the bottom-Mill Brook Kiln, Vermont. Out of curiosity, I searched it online. Turns out, these pieces sell for much, much more than a dollar. But that’s not why I love it. I love it because someone made it, someone else let it go, and somehow it found its way to me, right when I had the perfect tiny project waiting for it.
Vessel: Handmade clay dish, thrifted for $1
Supplies:
- Fine sand
- One graceful piece of driftwood
- 3-4 small air plants
- A couple of quartz geodes or sparkly stones
Step 1: Pour The Sand
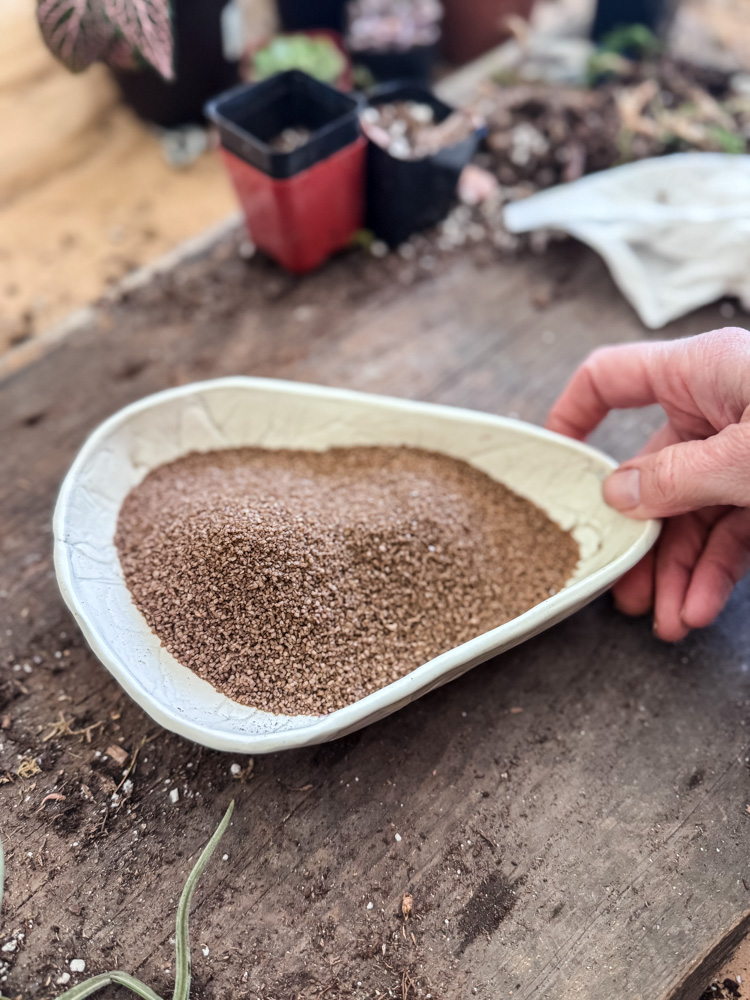
Pour the sand: Add a soft, even layer of sand to your dish. This time, I’m using a darker decorative sand.
Step 2: Add Decorative Pieces
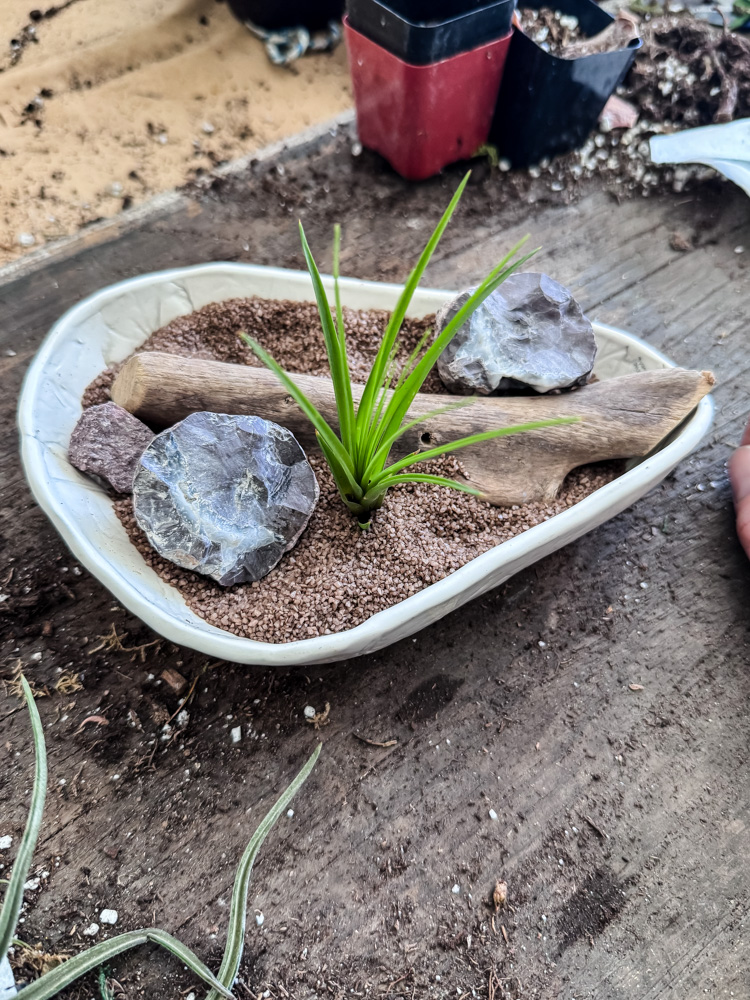
- Add driftwood: Place your driftwood piece off-center for a natural, asymmetrical look
- Add the sparkle: Place your quartz geodes
Step 3: Add The Air Plants
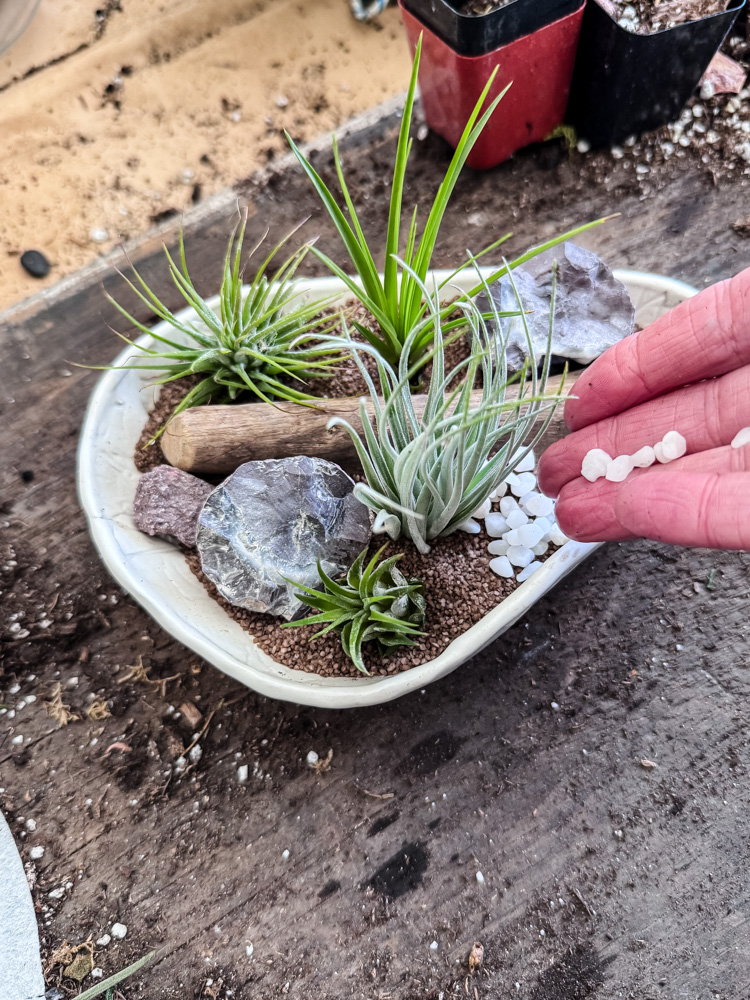
- Nestle the plants: Tuck your small air plants directly into the sand, nestled around the geodes and driftwood.
- I finished it off with a few small white pebbles.
Finished Air Plant Dish
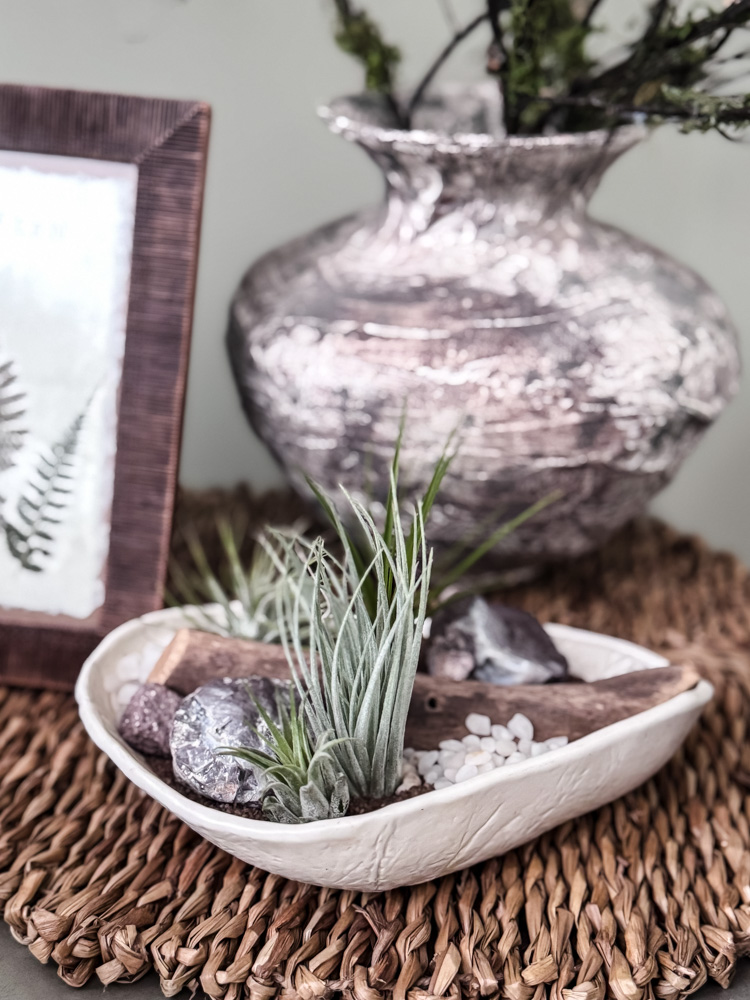
Why I love it: This one proves you don’t need much to make something beautiful. A $1 thrifted dish, a few minutes, and suddenly your desk has a tiny, peaceful landscape. The quartz catches the afternoon light and makes everything feel a little more magical.
Quick Reference: Which Project Is Right For You
|
Project |
Vibe |
Vessel |
Time |
Skill Level |
|---|---|---|---|---|
|
Coastal Seashell Bowl |
Collected, beachy |
Low glass bowl |
20 min |
Beginner |
|
Hanging Jellyfish |
Whimsical, sculptural |
Tall cylinder |
30 min |
Intermediate |
|
Rye Beach Memory |
Organic |
Thrifted glass |
20 min |
Beginner+ |
|
Geode Desk Garden |
Minimal, sparkly |
Clay dish |
5 min |
Very Easy |
Tips for Successful DIY Air Plant Terrarium
There are just a few things to remember:
- Give them enough light: Air plants need bright, indirect light to thrive. Be careful not to place them in direct sunlight as this can scorch the leaves.
- Mist regularly: Air plants absorb moisture through their leaves, so it’s important to mist them regularly. Use a spray bottle filled with filtered or distilled water and mist the plants every 2 or 3 days.
- Fertilize occasionally: While air plants don’t need fertilizer to survive, it can help them grow and thrive. Use a fertilizer made specifically for air plants. Fertilize once a month during the growing season (spring and summer) and stop during the dormant season (fall and winter).
By following these tips, you can create a beautiful and healthy air plant terrarium that will bring a little bit of nature into your home.
Troubleshooting Common Issues
Let’s hit on a few common air plant problems & how you can fix them.
Issue #1: Browning or Drying Leaves
If you notice that the leaves of your air plants are turning brown or drying out, it’s likely due to underwatering. Air plants need to be misted or soaked in water regularly to stay healthy. If you’re not giving them enough water, they’ll start to show signs of stress.
To fix this issue, try misting your air plants more often or soaking them in water. You might also want to consider using filtered or distilled water instead of tap water, which can contain chemicals that can harm your plants.
Issue #2: Mold or Fungus Growth
If you see mold or fungus growing on your air plants, it’s usually a sign of overwatering. Air plants don’t like to be constantly wet, and if they’re left in standing water for too long, they can develop mold or fungus.
To fix this issue, make sure you’re not overwatering your air plants. Only mist or soak them when they’re dry, and make sure they have good air circulation. You might also want to consider using a fungicide to get rid of any existing mold or fungus.
Issue #3: Wilting or Drooping Leaves
If your air plants are wilting or drooping, it’s likely due to underwatering or too much direct sunlight. Air plants need bright, indirect light to thrive, but too much direct sunlight can damage their leaves.
To fix this issue, make sure your air plants are getting enough water and are not in direct sunlight for too long. You might also want to consider moving them to a location with more shade or diffused light.
Final Thoughts
Air Plant Care Cheat Sheet
•Soak weekly for 30 minutes, then dry upside down
•Mist 2-3x per week between soaks
•Good airflow — open vessels only!
•Monthly fertilizer in spring/summer
•Remove dead leaves promptly
Overall, I highly recommend trying out a DIY air plant terrarium if you’re looking for a fun and easy project. Not only will you end up with a beautiful piece of decor, but you will also fall in love with these cute plants!
Creating my own air plant terrariums has become one of my favorite creative outlets. Each one is different: some collected, some whimsical, some deeply personal. They’re small projects that ask very little of you but give back so much: a moment of quiet focus, a connection to nature, and a little piece of beauty in your everyday space.
Now it’s your turn! I’d absolutely love to see what you create. Submit your photos of this or any other project you were inspired to make from me to be featured on the Reader’s Spotlight page. Send them in to me at cottageonbunkerhill@gmail.com
xo, Jennifer
Love projects like this? Don’t miss out! Join my newsletter family for more cozy, budget-friendly DIY ideas delivered right to your inbox. You’ll get exclusive tips, early access to tutorials, and all the inspiration you need to make your home feel handmade and heartfelt.
More Fun Ideas
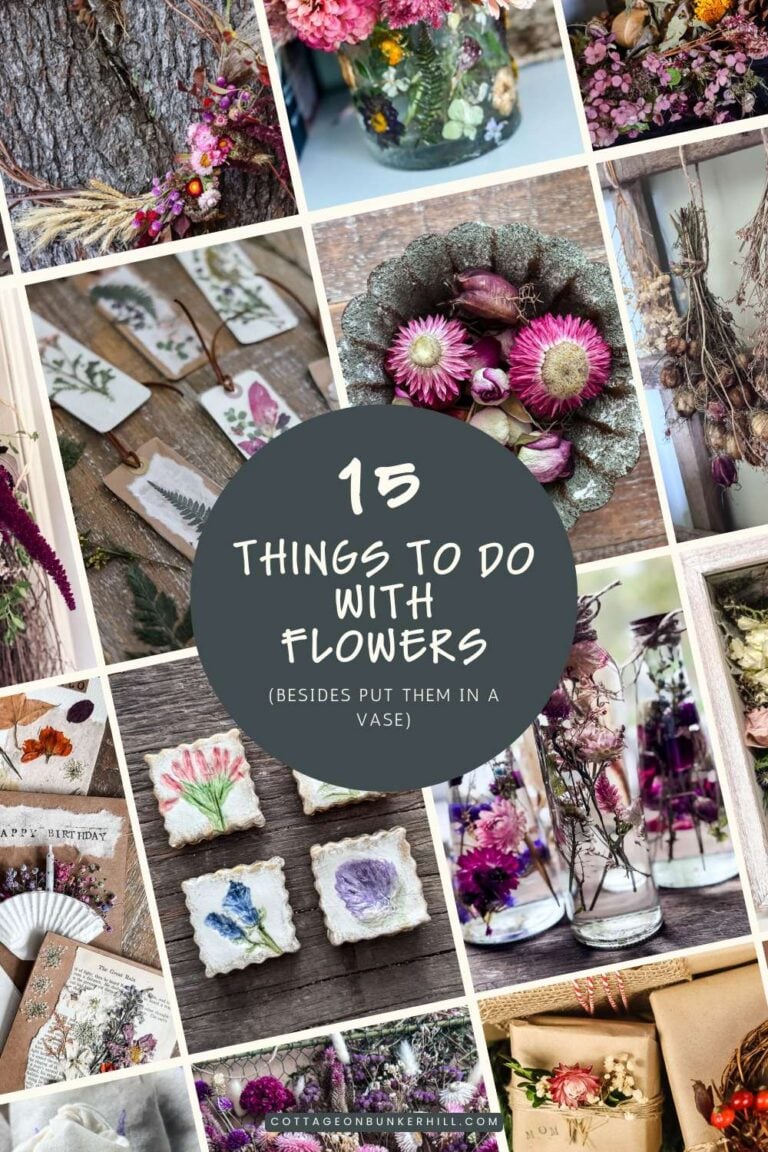
Save This To Pinterest!


Jennifer, these are beautiful. Love, love, love the large bowl. That jellyfish one is adorable. My mother has some air plants that she has been growing for years on a large piece of drift wood. They are interesting plants. How pretty would these terrariums be for a summer wedding? Such a great idea.
I love all the terrarium ideas! Such beautiful textures with the air plants! Great post, Jennifer!
What a great post! The air plants are so unique looking!
So cute Jennifer. Love how you hung the sea urchin, so creative my friend!
Great idea. I love this. The look beautiful.