There’s a particular kind of restlessness that sets in around here in late March. The snow is finally gone (mostly), the mud is doing its thing, and you’re standing at the back door with your coffee, wondering where to even start.
The answer, as always, is: slowly.
Spring in New England doesn’t rush, and neither should you. This isn’t a list of things you have to do by a certain date or your garden will fail, and your porch will be embarrassing. It’s more of a gentle nudge. A reminder of all the small things that, taken one at a time, add up to a home and garden that feel ready for the season. Grab your coffee. Let’s walk through it together.


Hi, I’m Jennifer. To me, home is an ongoing practice in intentional living. Through the rhythms of the New England year, I look for ways to make our spaces not only beautiful but truly nurturing. I’m so glad you’re here to explore it with me.
This post may contain affiliate links, which means we receive a small commission if you purchase through our links. See our disclaimer page for more information.
The Garden Checklist
This is the one everyone wants to tackle first, and honestly? That’s exactly right. Getting the garden sorted early means everything else feels less urgent.
Clear Out The Garden Beds
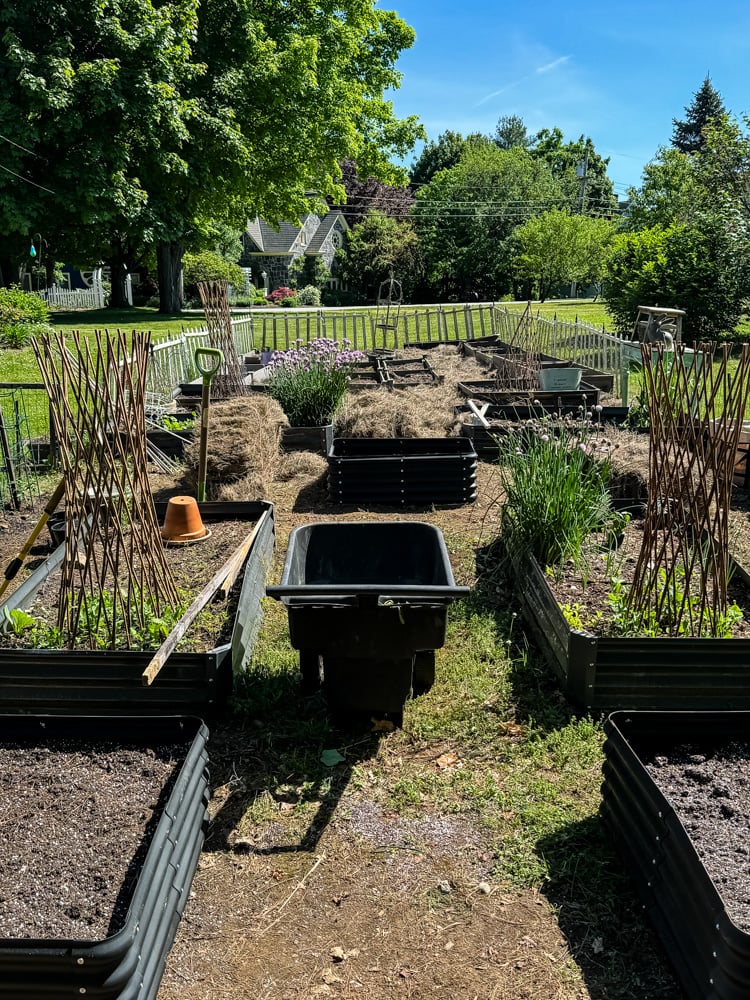
Pull the dead stuff, cut back anything you left standing for winter interest, and give your beds a good look. Don’t rush to dig! If the soil is still cold and wet, you’ll compact it. Wait until a handful crumbles in your fist rather than squishing.
Top-Dress With Compost.

Even a thin layer makes a difference. I do this before I plant anything, while the beds are still clear and accessible.
Check On Your Perennials

Most of them are already doing their thing underground. Look for the little nubs of growth and resist the urge to dig them up to check on them. (I say this as someone who has absolutely done that.)
I’d also add one very New England bonus task to the garden checklist: surveying the vole damage. If you’re not dealing with voles, consider yourself lucky! Those little creatures are ruthless. Last year, they took out at least fifteen mature perennials on me, and I didn’t even know until I went to rake out a rose bush and the whole thing just… toppled over. Every root, gone. It’s the kind of thing that would be funny if it weren’t so heartbreaking!
Early Spring is also the best time to divide your perennials. Who doesn’t love free plants! I would encourage you to divide your hosta and daylilies every 3 years. It will give you healthier plants, and it really is a budget-smart way to fill up those garden beds!
Start Seeds Indoors If You Haven’t Already.
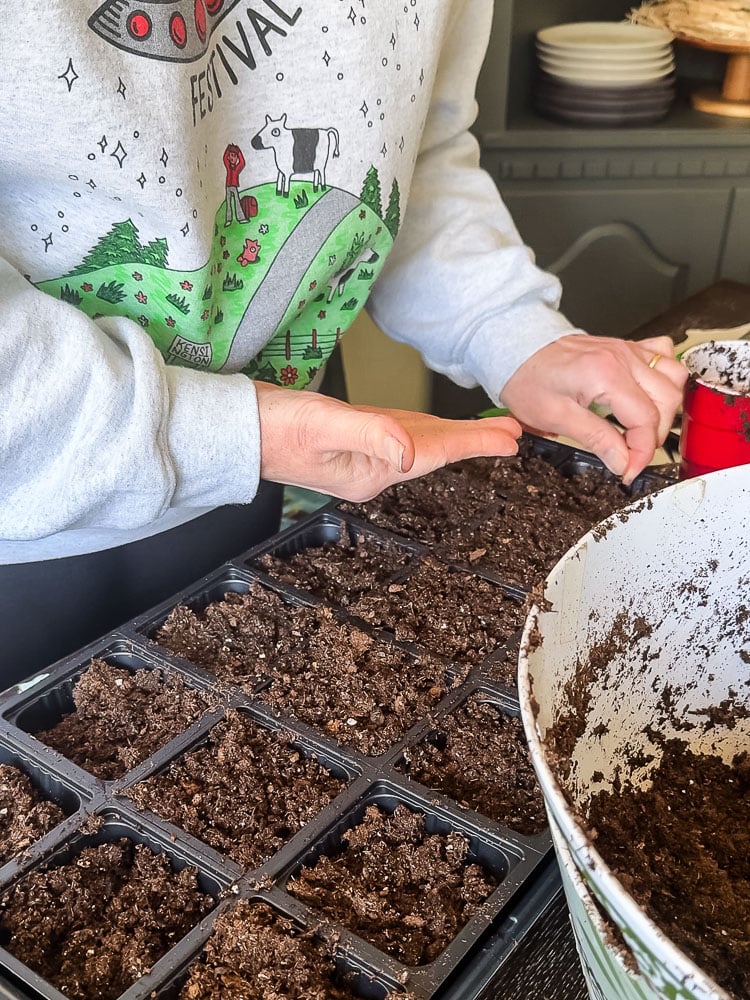
In Zone 6b, I start many of my flowers for the cut flower garden about 6-8 weeks before I plan to plant outdoors. I know most people will follow your last frost date. But here in my corner of New England, I follow the yankee belief in waiting until Memorial Day to plant. If you’ve missed the window for some things, don’t stress, plenty of flowers do just fine direct-sown once the ground warms up.
Make A Plan Before You Plant.

A few minutes with a notebook saves a lot of “wait, what did I put there?” later in the season. Sketch your beds, note what’s coming back, and figure out where the gaps are. This doesn’t have to be fancy! Grab a small notebook or plain journal and a pencil!
Since I start everything in my cutting garden from seed, planning is half the work. I’m a visual person, so I start by gathering all my seed packets, and yes, that includes the ones from Johnny’s Seeds, which famously don’t have photos on the packet. My workaround: I cut the pictures out of their catalog and tape them right on. From there, I mock up the layout of each raised bed with the packets on my counter. Then write it all in my notebook, working out which varieties go where and how many rows I can fit. Getting it all down on paper before a single seed goes in the ground saves me so much guesswork later!
Order Or Buy Plants

The things you’re not starting from seed. Farmers’ markets, local farms, and of course, local greenhouses usually have excellent stuff, and you’re supporting someone local in the process.
I buy all of my veggie and herb plants from a farmer around the corner from us, she is the 14th generation of her family farming on this land! One thing about living in New England…there are some OLD working farms!!
Note: Even though I often pick up my veggie plants at the beginning of May, I won’t plant them in the ground until the end of the month, when the frost danger has really subsided.
The Home Checklist
Spring cleaning gets all the press, but what I actually love is the lighter version.
Swap Out Your Heavy Textiles.

Chunky throws, dark pillow covers, anything that felt cozy in January, box it up. Bring out the lighter linens, the faded florals, the things that breathe a little.
This floral and leaf patterned throw would be pretty for Spring if you don’t already have an option on hand. No need to buy new if you don’t have to!!
Open The Windows!

Even for an hour. There is nothing a good cross-breeze can’t improve. I look forward to the first day it’s not unbearably cold to crack a window and get all that stale winter air out!! This one simple task can make it feel like you’ve spent all day cleaning!!
Do A Walk-Through With Fresh Eyes.

You’ve been looking at your rooms all winter. Now look at them like a guest would. What needs refreshing? What could be moved, donated, or simply dusted?
After a long winter of closed windows and the heat on things are bound to get dusty! Especially ceiling fans, chandeliers, and your baseboards.
Rotate Your Art And Accessories.
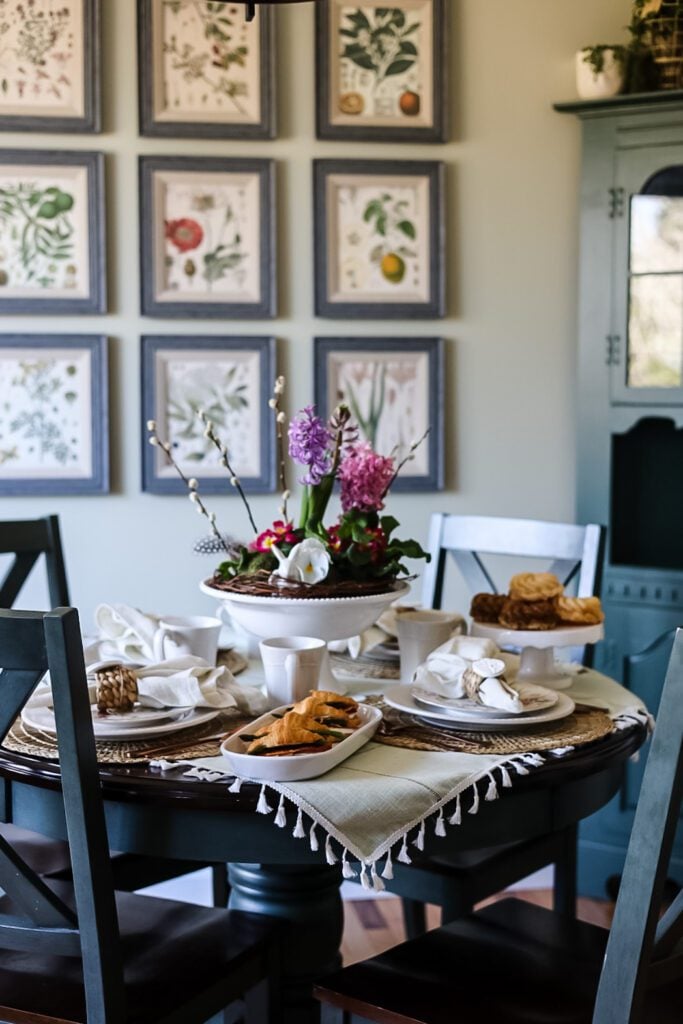
This is one of my favorite budget-smart tricks. Things that have been in a closet for six months feel brand new when you bring them back out. Sometimes I don’t even remember I own something until spring.
Add Something Living
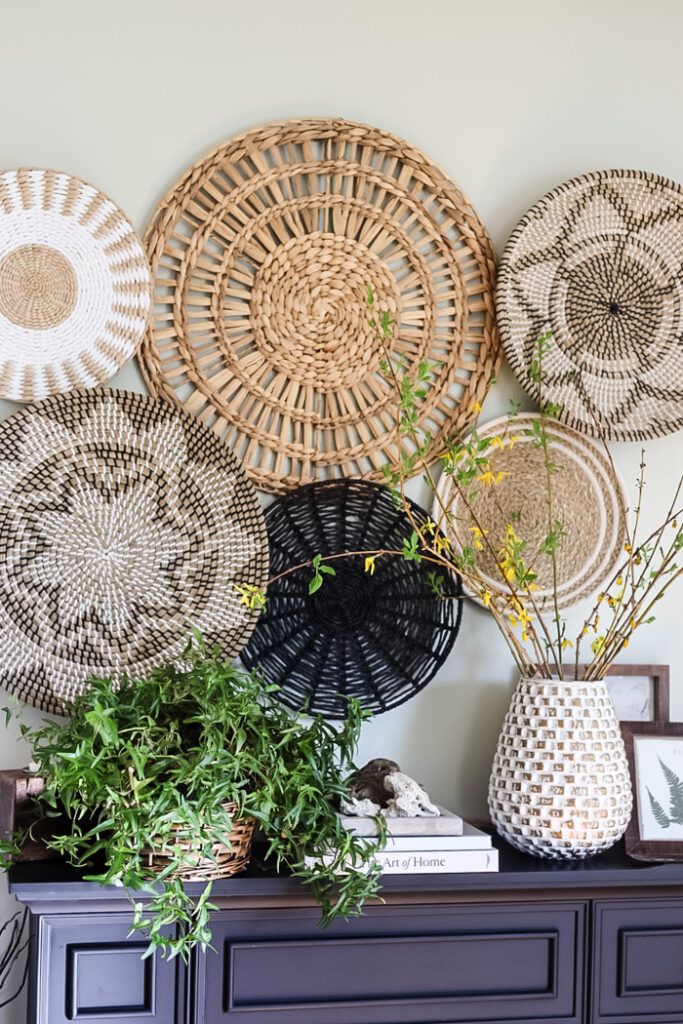
A pot of tulips from the grocery store. A branch of forsythia from the yard. A simple bunch of whatever’s at the grocery store. Fresh flowers do more for a room than almost any decorating decision I can think of!
Check Your Lighting

Winter lighting with lots of lamps, warm bulbs, often feels heavy once the days get longer. With the longer days and the sun shifting, I need to use/have less small lamps around and let the natural light do more of the work.
So I pack up a couple of the lamps I have scattered around the house, which in turn gives me a bit more space in my small house to add more seasonal touches.
The Porch Checklist
The porch is your home’s handshake, and in New England, we wait a long time to actually use ours. Make it count.
Sweep & Wash The Whole Thing Down.

Grit, leaves, winter grime, and soooo many pine needles… it all accumulates. I’ll be honest and tell you that my winter porch decorations stay outside WAY too long! So once it warms up, I clear off the winter planters and put away the winter displays like ice skates and birch log bundles. Then, give the porch a good scrub with soapy water and a stiff brush, which is deeply satisfying.
Bring Out Your Furniture.
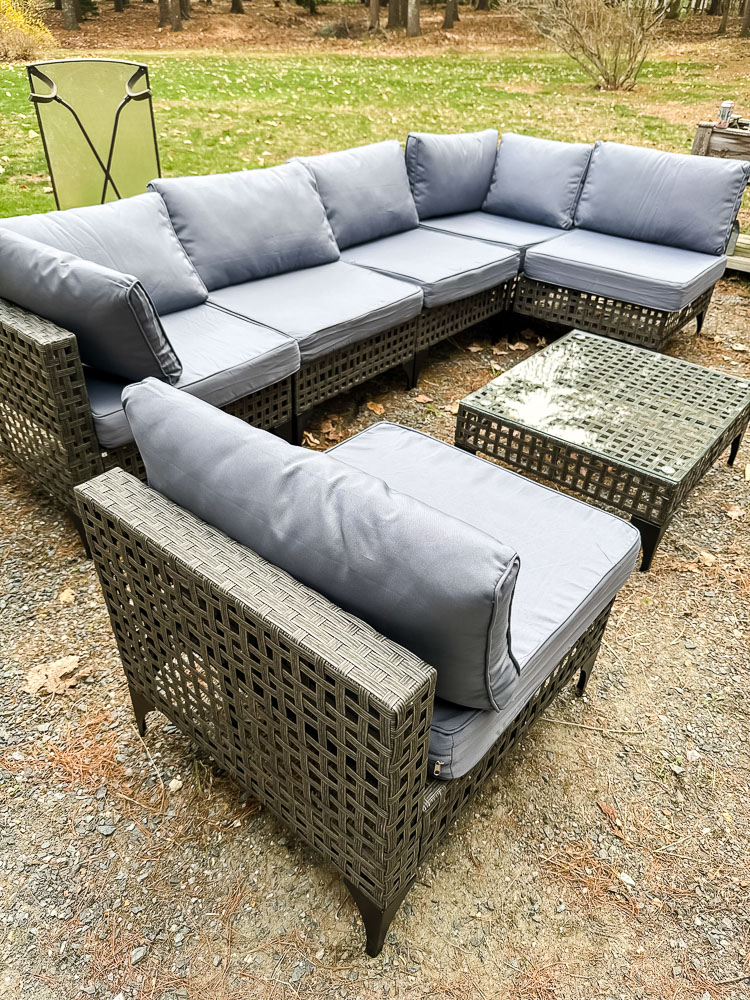
Check the cushions for mildew (it happens) and wipe down any metal or wood pieces. I’ve used this Zep mold & mildew remover spray, and it’s easy to use.
This is also the time to paint any furniture that needs a little love; it takes an afternoon and extends the life of your pieces by years. This goes for any plastic planter pots that you have-check to see if they could use a fresh coat of spray paint if they are faded.
- Outdoor Patio Set ( the set looks more expensive than what I paid, BUT it did take my husband and me a few hours to put it all together)
Add A Fresh Doormat
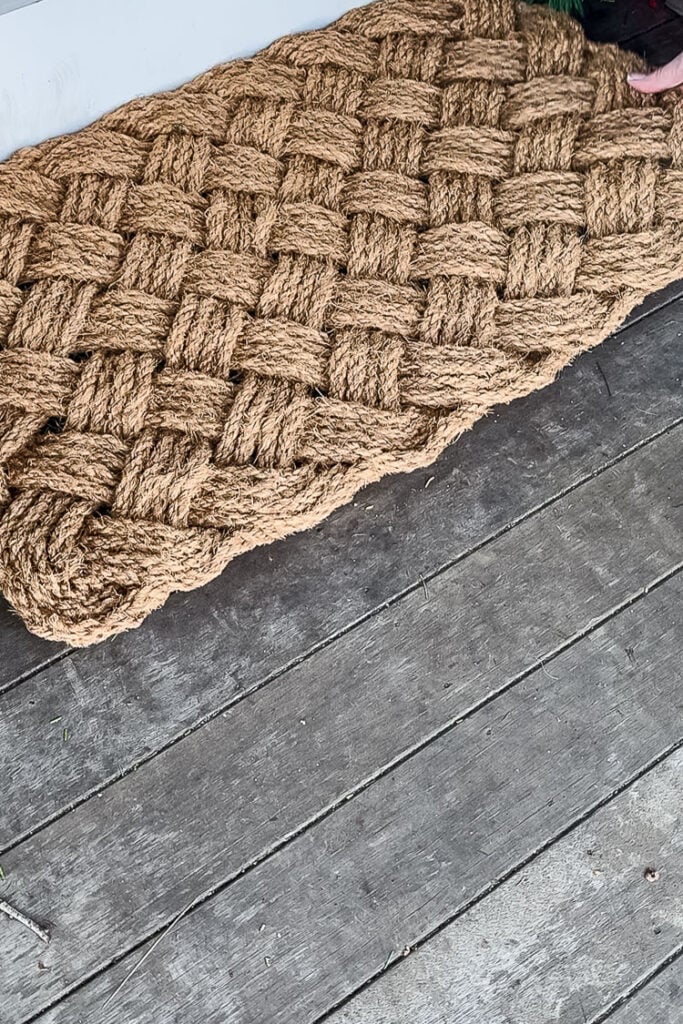
Replace your doormat if it has wear and tear from the winter. Sounds like a small task, but makes a difference every single time you come home. And to my fellow New Englanders…RIP Christmas Tree Shoppes, I miss them every day, but especially when I need a new doormat! They had the best and were only $6!
Use What You Have!

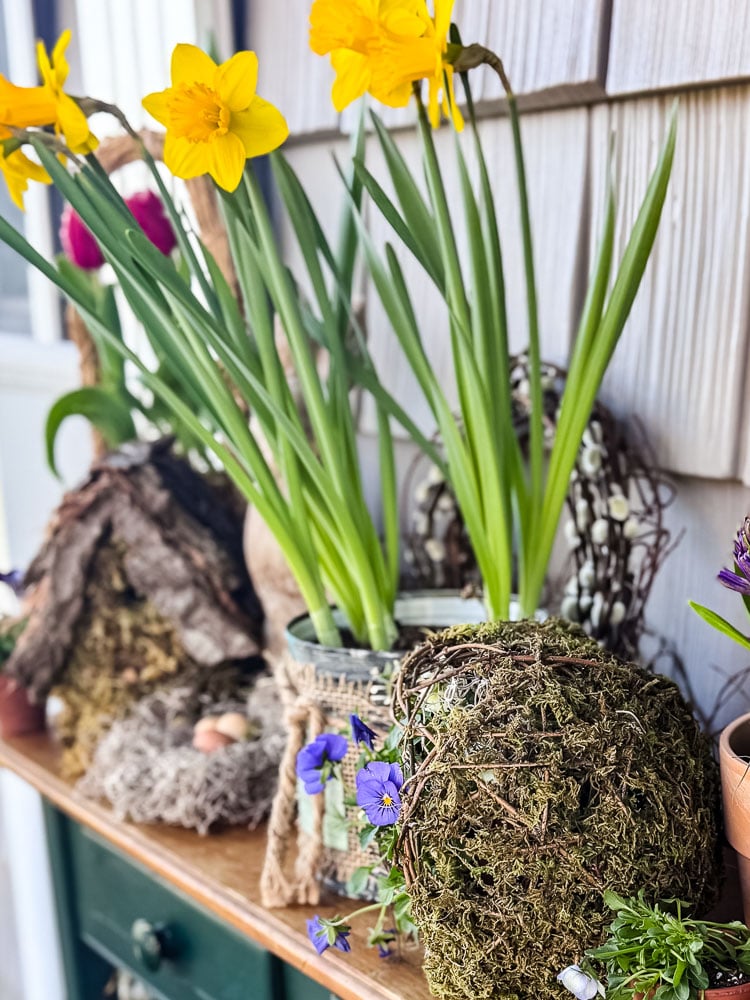
Style with what you have before you buy anything. To jazz up my front porch, I grabbed things that I already had: a rusty lantern, a petite wreath made from fresh pussy willows, a thrifted basket with a $2.99 pot of tulips, and a few little DIYs I had made (the moss bird house, DIY bird’s nest, metal flower bucket, & pansy wreath. Walk the house first. You’ll be surprised by what you find!
Plant A Pot (Or Two!)
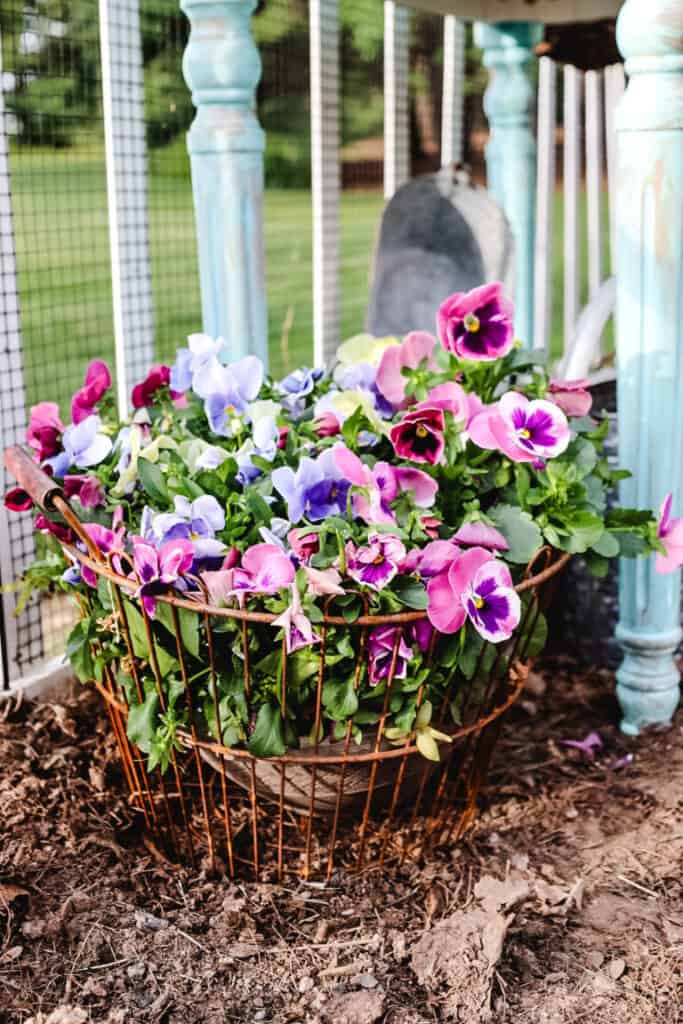
Plant a pot or two by the door. Pansies are my first pick; they can handle a late frost, and they look cheerful immediately. A simple terracotta pot planted with something cheerful signals spring more than anything else you can do out there.
I love using thrifted metal clam baskets or galvanized buckets to hold Spring flowers; the combination of rustic and fresh does it for me every time!
Spring in New England is short and a little chaotic, and absolutely worth the wait. You don’t have to do everything on this list this weekend. Pick one section, pick one thing, and start there. The season has a way of carrying you along once you get moving.
Do you need a little more guidance on getting your home ready for Spring? Read my Spring Cleaning Made Easy
What’s the first thing you tackle every spring? I’d love to know! Leave a comment below.
xo, Jennifer
Love projects like this? Don’t miss out! Join my newsletter family for more cozy, budget-friendly DIY ideas delivered right to your inbox. You’ll get exclusive tips, early access to tutorials, and all the inspiration you need to make your home feel handmade and heartfelt.