
Today I will show you a super-easy way to divide your daylily plants this Spring. It will make your plants healthier and the best part is that you get free plants!!
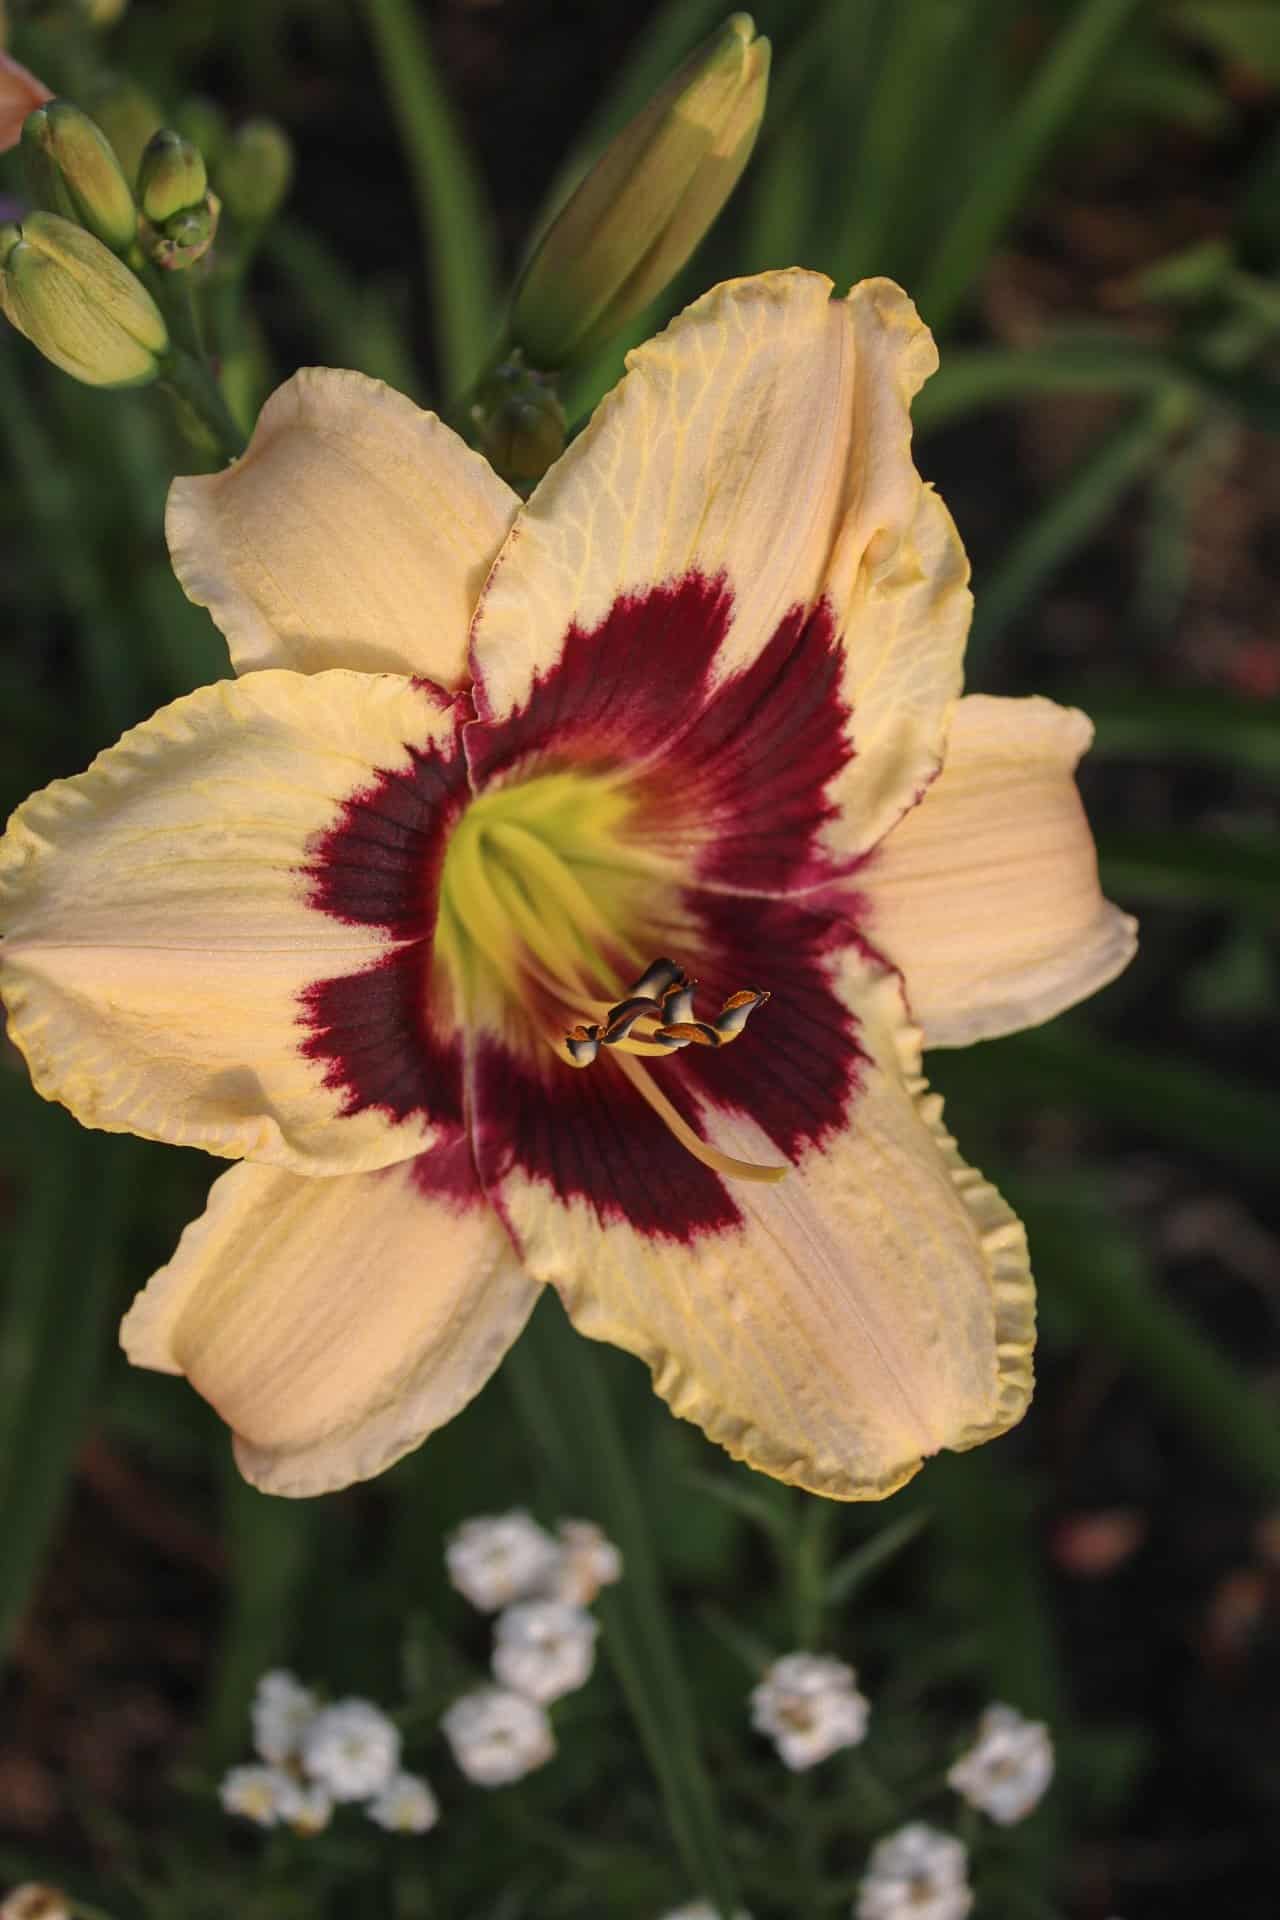
Daylilies are one of the easiest perennials to grow. They come in such an incredible array of colors and styles and the best thing about them is that they are hard to kill! Like most perennials it’s a good idea to divide your clumps after a few years; it promotes more growth and a healthier plant. Let me show you how to divide daylilies.
Benefits of Dividing Daylilies:
There are several benefits to dividing daylilies. Dividing helps to keep the plants healthy and vigorous. It also allows you to create new plants to fill your garden without spending money on new plants.
- Improved health and vigor: Dividing daylilies helps to rejuvenate the plants and encourages new growth.
- Increased flowering: Dividing daylilies can lead to more flowers.
- Control of size: Dividing daylilies can help to control the size of the plants.
- Propagation: Dividing daylilies is a great way to propagate new plants.
Materials:
- A garden fork or shovel
- A sharp knife or garden shears
- Gloves
- Water
Steps to Dividing a Daylily Plant
Dig Up Your Daylily Plant

The best time to divide daylilies is either in the early Spring or after they are done blooming at the end of the Summer.
My clump is taller than I would have liked it to be to divide the daylily, but a week ago it was freezing and snowing here! I would usually dig up the plant and divide it when the new growth is just a couple of inches tall.
Take your pitchfork or garden shovel and plunge it in the soil a few inches away from the plant. I wiggle the tines of my pitchfork around to feel for the edge of the root ball.
You want to loosen the root ball enough to be able to lift it out with your pitchfork or shovel. You may have to use your hands lift it out of the hole if it’s heavy.
Dividing The Daylily Clump

I loosen the excess soil from the roots to get a good look at the rhizomes and the plant fans (those are the separate section of the greens on top). When you divide a daylily you want each section to have a fan with a healthy clump of roots attached to it.

I use my hand to gently separate this section of the daylily from the main plant. Most of the time you can do this with your hand but on some occasions, you may need to cut the sections with the help of a knife.

Replant The Daylilies

- You want to get your daylilies back into the ground so they don’t go into shock. Dig a hole wider and deep enough for the roots.
- Pop your plant in the center and backfill with the soil. I use my foot to tap around the base of the plant to compress the soil around the plant.
- Water them right away. Over the next few days continue to water the new plants; sometimes they will be a little droopy for a few days afterward but they will perk back up!
- They may not produce as many flowers the first year after they are divided but I haven’t noticed much of a difference when I have divided mine in the past.
And here is that garden area now where everything has really started to grow!
Dividing daylilies is a simple and easy way to keep your plants healthy and vigorous. It is also a great way to propagate new plants. With a little care and attention, you can divide your daylilies and enjoy their beauty for many years to come.


Grow With Me Gardening Series

This is part of the Grow With Me Gardening Series here at Cottage On Bunker Hill. I want to teach you ways of starting, maintaining, and enjoying gardening. I will share all the tips & tricks that I have learned over the years growing both vegetable and flower gardens here in the Northeast.


It’s like you are reading my mind. I have daylillies that have overgrown their original areas. They very much need divided and now I believe I can do it myself after reading your blog about that topic. I live in the northwest and mine have stopped putting on new blooms. I wonder if the 90 degree weather were having is too much tho and I should wait until the fall? Thank you!
Oh, I know you all have been having unseasonably hot weather too!! I would wake until Sept to dig them up, they are probably already stressed from the heat.
Some daylily experts recommend trimming fans about halfway down to diminish shock after you replant. That may only apply to southern states as I live in south Georgia.
Do you have advice on dividing agapanthus?
Thanks, I am a new subscriber who is enjoying your blog very much.
Carol
Hi Carol! I’m so glad you like my blog…your comment made my night!! Agapanthus isn’t hardy up here (I’m zone 5b/6a) and I don’t think I’ve every seen it.
Thank you so much . I have learned and enjoyed your posts.
Thanks Diana!! I really appreciate that!!