When I was out on a Walmart stock-up run a few weeks back I raced by a clearance aisle. I had to make a U-turn because I spotted a lamp sitting there lonely on the top shelf way down at the end (one good thing about being tall is I can always reach!).
It was definitely too dark for my decor but I loved the shape and knew that I could give this lamp an easy makeover with a little bit of paint and make it look like an expensive lamp.
The best part was this gem was marked down from almost $30 to 5 bucks!!
This post may contain affiliate links, which means I may earn a small commission if you make a purchase through my links, at no extra cost to you. Read my disclosure policy here.
Before

Painting the Lamp
Now, the fun part…figuring out how I wanted to paint it. It’s going on my entryway table by my front door so I wanted a coastal/cottage vibe.
I was thinking about the look of driftwood as my inspiration.

I painted the lamp with a coat of “Castle” which is a sandy brown shade of chalk paint. I let it dry.

Next, I dry brushed a little of the “Java” which is a dark brown shade.
Dry brushing is a painting technique where you want almost all the paint gone from your brush before you use it.
I painted along the natural shape of the lamp adding color here and there to pick up the details of the lamp.
How to Dry Brush:
- Dip the end of the bristles of a straight-edged brush into the paint
- Using a piece of newspaper or a paper plate, brush off most of the paint until the bristles are almost “dry”
- Make light brush strokes across your piece; follow the grain of the wood.
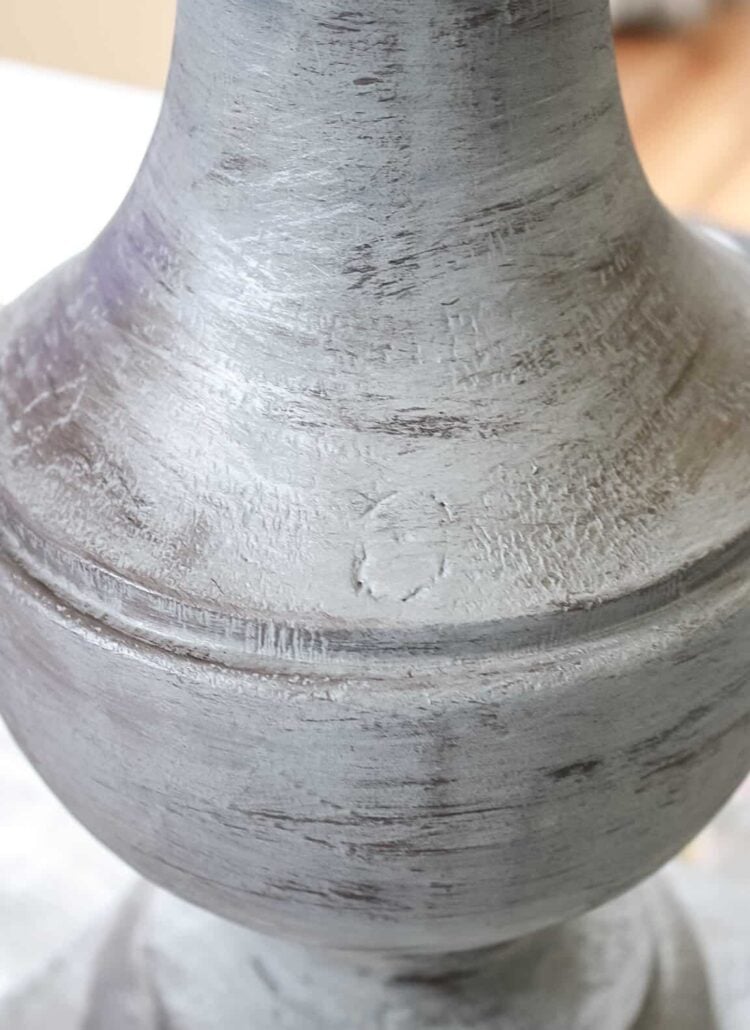
A little metallic silver chalk paint was dry-brushed on to add a few highlights.
Adding Wax


I finished my lamp with a coat of Behr White Wax…I didn’t even know white wax was a thing until I saw one of my talented Instagram friends use it for a furniture makeover.
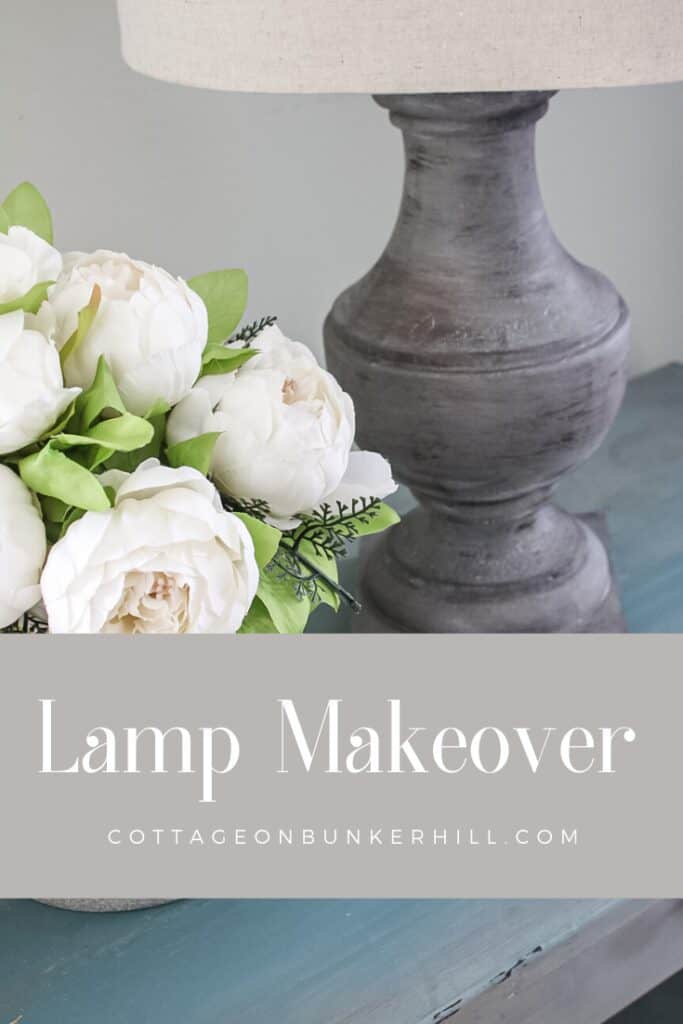
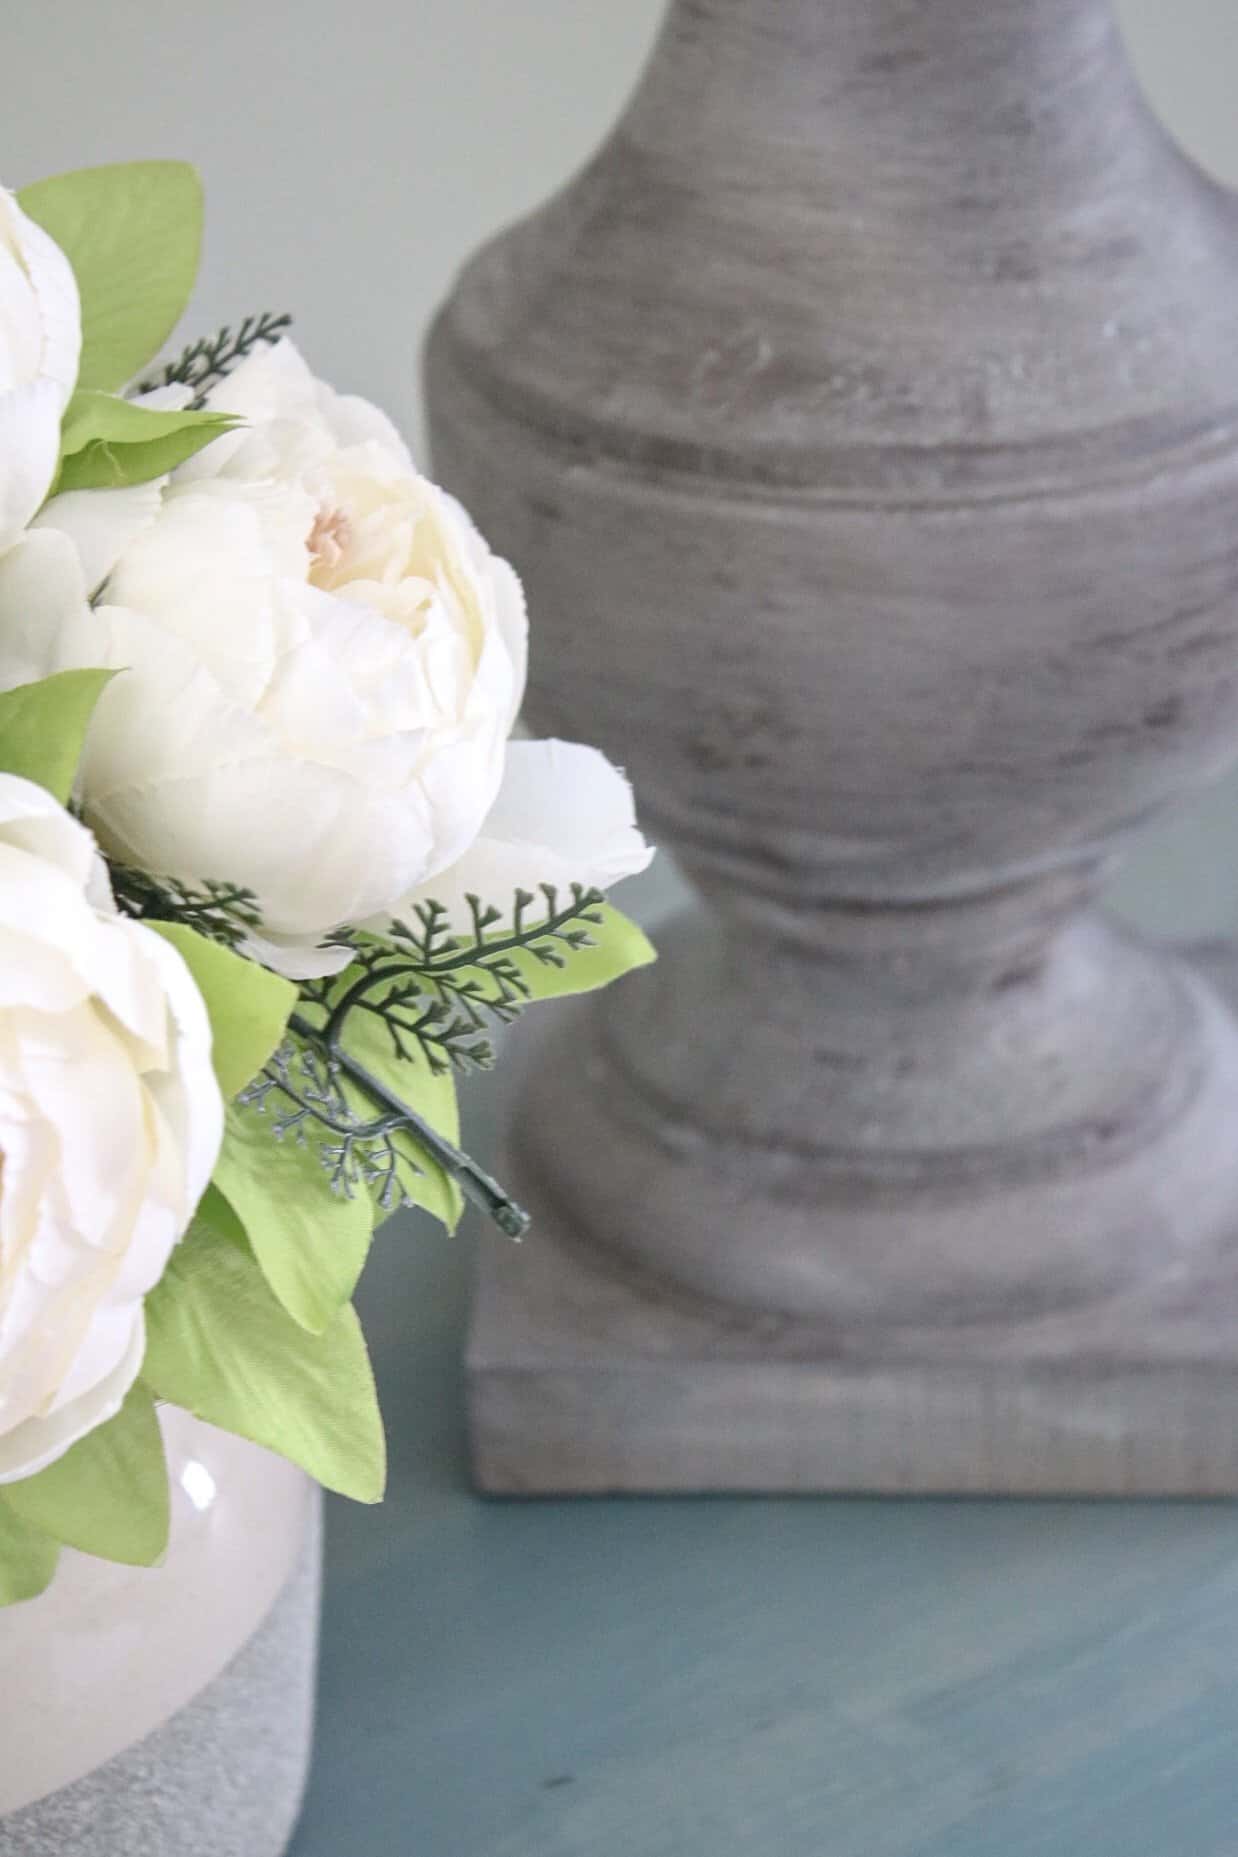
Finished Easy Lamp Makeover

I used a lampshade I already had on hand that worked out perfectly. I put the made-over lamp on my entryway table with a vase of faux white peonies.
Pin For Later