

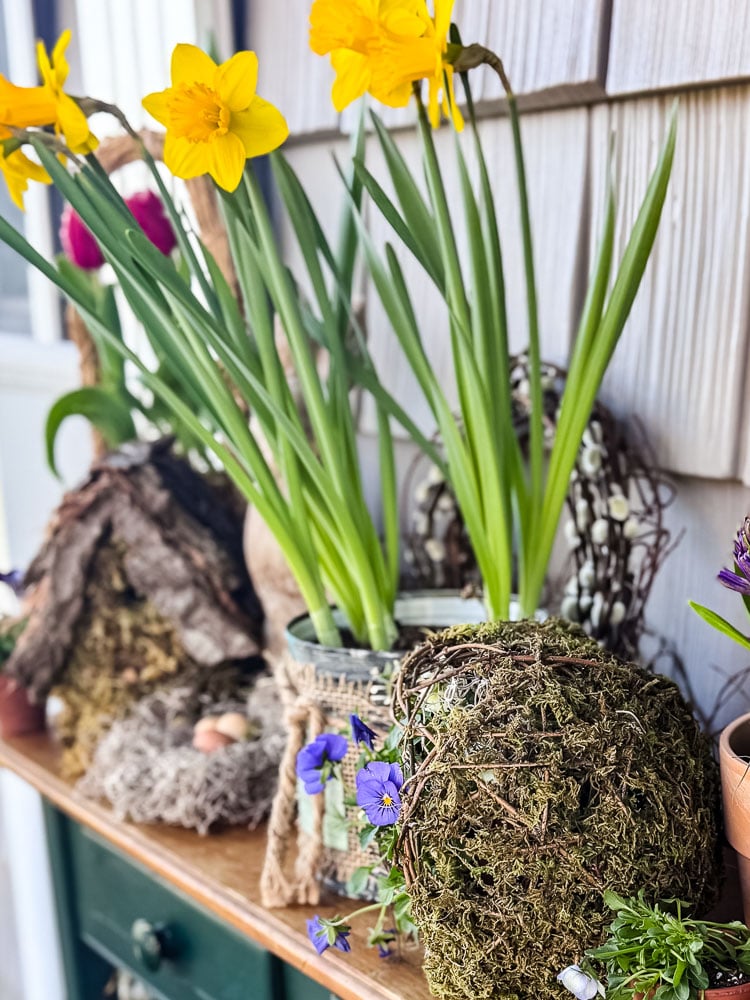
After skipping it entirely last Spring, I was more than ready to get out there this year. Here’s how I style my cottage porch every Spring, using mostly what I already own.
Last spring, I didn’t decorate my porch. Not even a little bit.
It was cold, it was rainy, and honestly? Every time I thought about dragging things out there, the sky would do that thing where it turns that flat gray color and spits at you just enough to be annoying. So I didn’t bother. I closed the door and told myself there was always next year.
Quick Overview
Budget: Almost nothing. Mostly items I already owned, plus a few pots of spring flowers
Style: Cottage, vintage, and natural with thrifted finds
Key pieces: Thrifted console table, rusty lantern, wire baskets, vintage terracotta pots, bunny statue, spring flowering bulbs
DIY elements: Living pansy wreath, door basket arrangement, woodland birdhouse, bird’s nest, pussy willow wreath
Time: A relaxed afternoon
Starting Fresh (Without Buying Much)
Well, next year is here, and this Spring is a completely different story.
Here’s the thing about skipping a whole season of porch decorating: you come back the next year with fresh eyes and zero pressure to top what you did before. And that’s exactly where I found myself this week.
The snow finally melted off the porch, the sun actually showed up, and I felt that familiar itch to get outside and make it pretty again. And here’s the thing I always forget until I’m standing there with a cup of coffee surveying the space: decorating the porch doesn’t have to be a whole production.
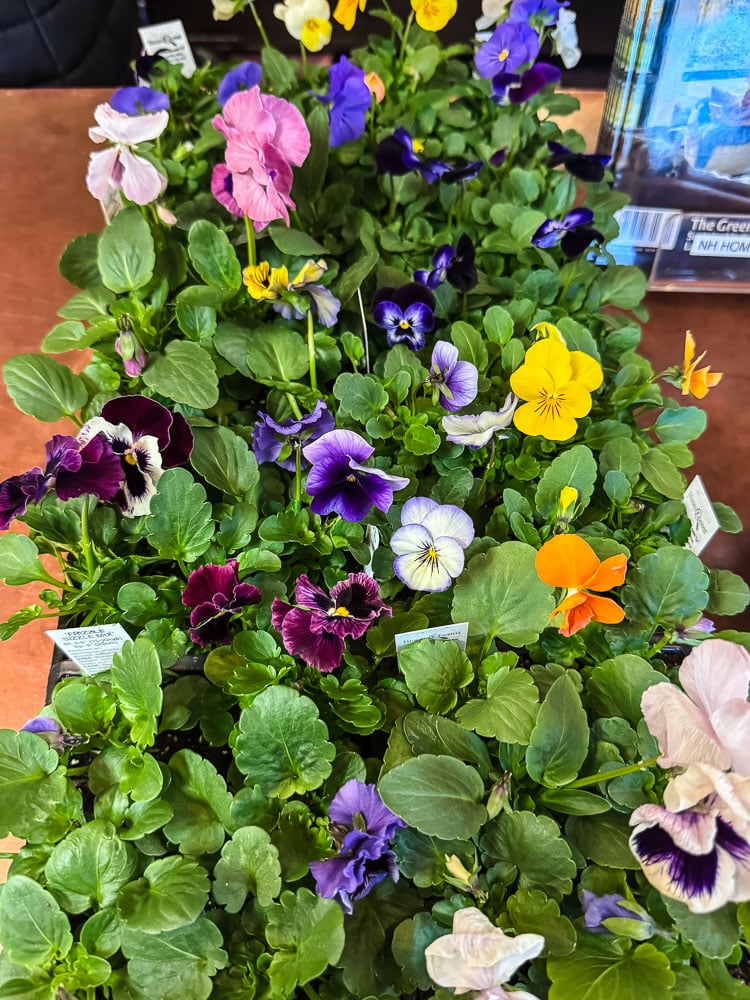
I didn’t make a single shopping trip for this. I raided my own decor stash, pulled things from around the house, and picked up a few pots of spring flowering bulbs and some colorful pansies. That’s it.
Same cottage style I love. Basically zero budget. And honestly? One of my favorite porches yet.
Here’s exactly how I do it every year.

Welcome! I’m Jennifer, and I’ve been sharing my home’s journey since 2019, always with a focus on budget-friendly and achievable style. If you love the charm of New England but need it to work for real life, you’re in the right place. I break down my projects to help you create a home that tells your story, without the overwhelm.
Start With One Piece That Does the Heavy Lifting
Every good porch vignette starts with an anchor: one larger piece that gives the whole space a reason to exist. For me, this year, that was a thrifted console table.
A table on a porch is a total game-changer. Suddenly, you have a surface. You have height. You have somewhere to actually put things instead of just lining them up on the floor like you’re setting up a yard sale. It creates an intentional little moment that says “this was styled” rather than “things were placed here.”

Mine came from a thrift store. I honestly couldn’t tell you when I got it at this point, which is exactly how you know it was a good find. It’s earned its spot.
You don’t have to use a table, though. A vintage bench, a chippy wooden crate, an old chair, anything with some visual weight that can anchor a corner of the porch will do the same job. Just start with that one piece and build from there.
Build Your Vignettes From What You Already Own
Before you ever set foot in a store, do yourself a favor: walk through your house and your decor stash first. I grab whatever catches my eye and make a pile. Some of it will get used, some I will put back, but it’s easier for me to decorate this way and see what inspires me in real-time.
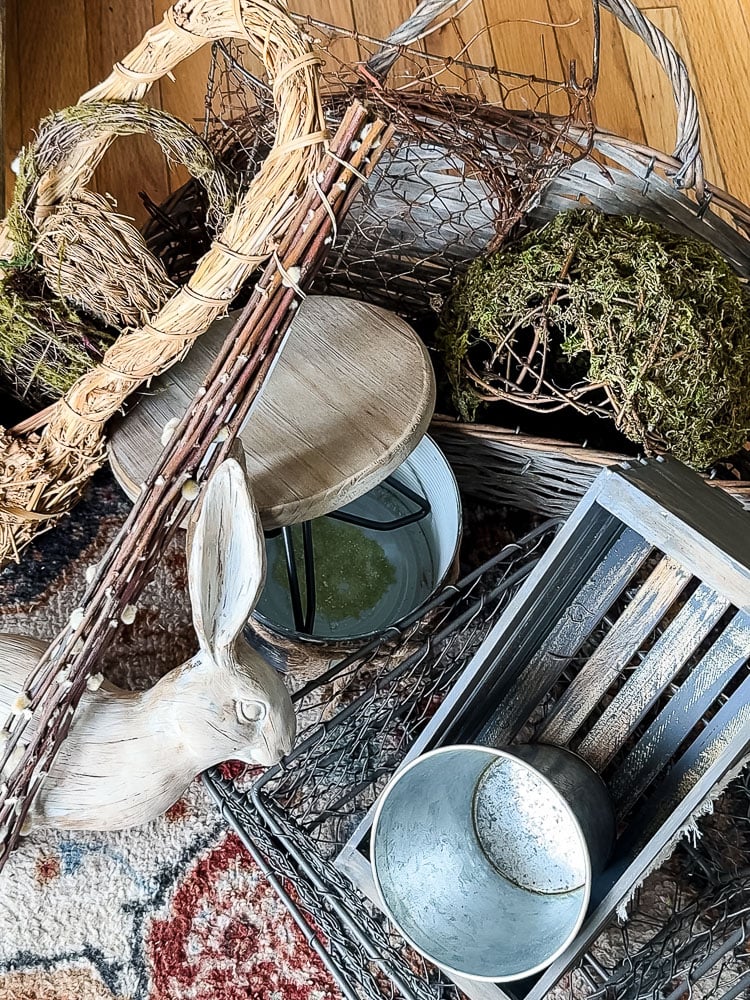
I call this my “grabbing some crap walk,” and it never fails to surprise me. Every single year, I forget what I have. I’ll unearth something I bought at a flea market three years ago that I’d completely forgotten about, and it ends up being the perfect thing. This year was no different.
I gathered up a rusty lantern, some wire baskets, a stack of small vintage terracotta pots, a thrifted handled basket, and a bunny garden statue that’s been kicking around my collection for ages. Nothing new. Nothing purchased for this specific purpose. Just a bunch of pieces I already loved, finally getting their moment in the sun, literally.
The only things I actually bought? The floral part of the decor. That was the entire “budget” for this porch refresh.
Here’s my approach when I’m styling the vignettes: I think about varying the heights, mixing textures, and making sure there’s at least one living element in each little grouping. A rusty lantern next to a terracotta pot with a bulb peeking out of it. Wire baskets tucked underneath the table on top of a chippy stool and a ceramic bunny filled with pretty pansies. The bunny nestled in somewhere that feels natural rather than plopped.
Birdhouse Vignette
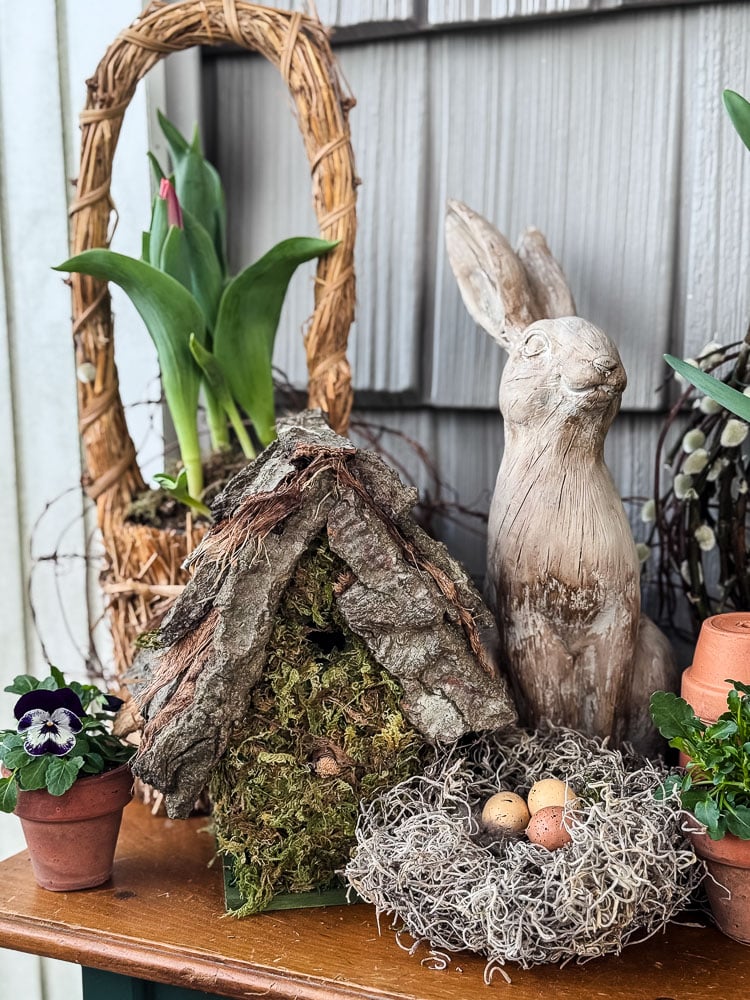
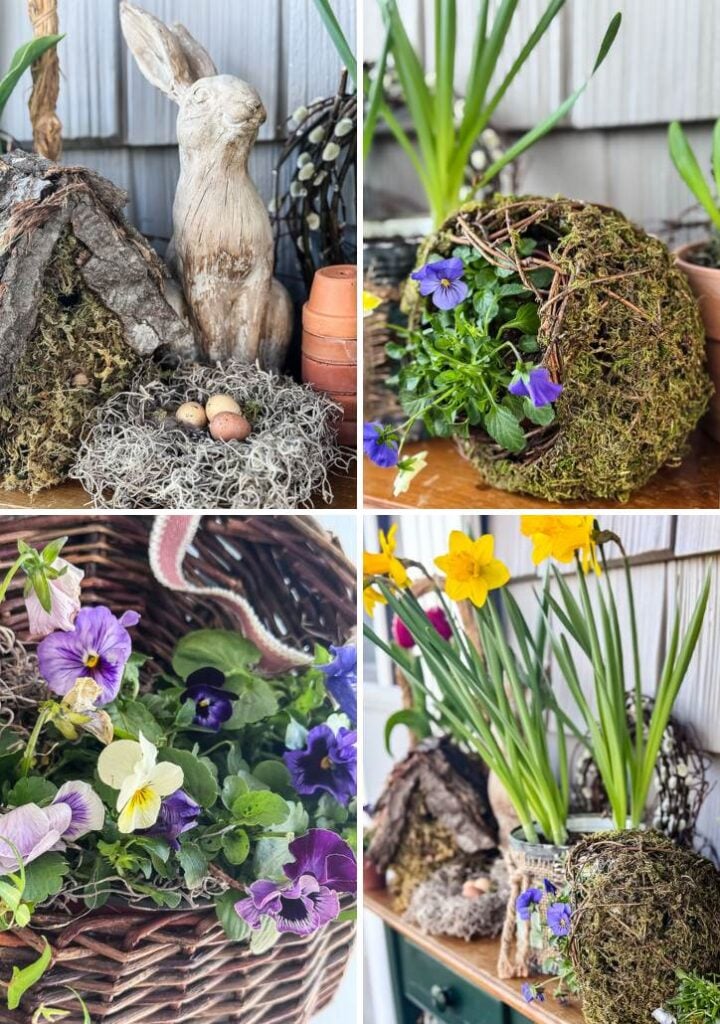
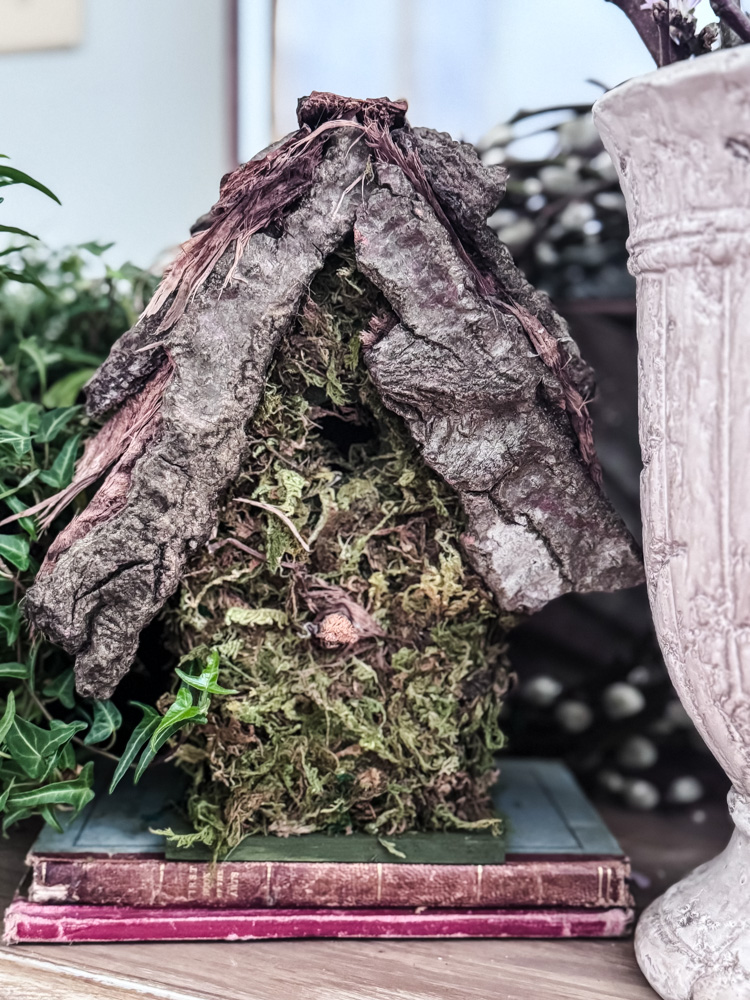
This corner of the table is a good example of how I put a vignette together. I started with the tall straw handled basket( a thrift store find) and dropped a small pot of tulips right inside it for an instant pop of color and height. From there, I layered in the garden bunny statue, my DIY woodland birdhouse, and a little handmade bird’s nest. To finish it off, I tucked a single pansy into a tiny vintage terracotta pot and nestled it into the grouping.
The key is mixing heights and textures so your eye has somewhere to travel. Tall basket, medium birdhouse, low pot. It sounds simple, but that variation is what makes a vignette feel styled rather than just placed. And because everything has a little age or rust or handmade quality to it, the whole thing stays natural and relaxed rather than fussy.
Rusty Lantern
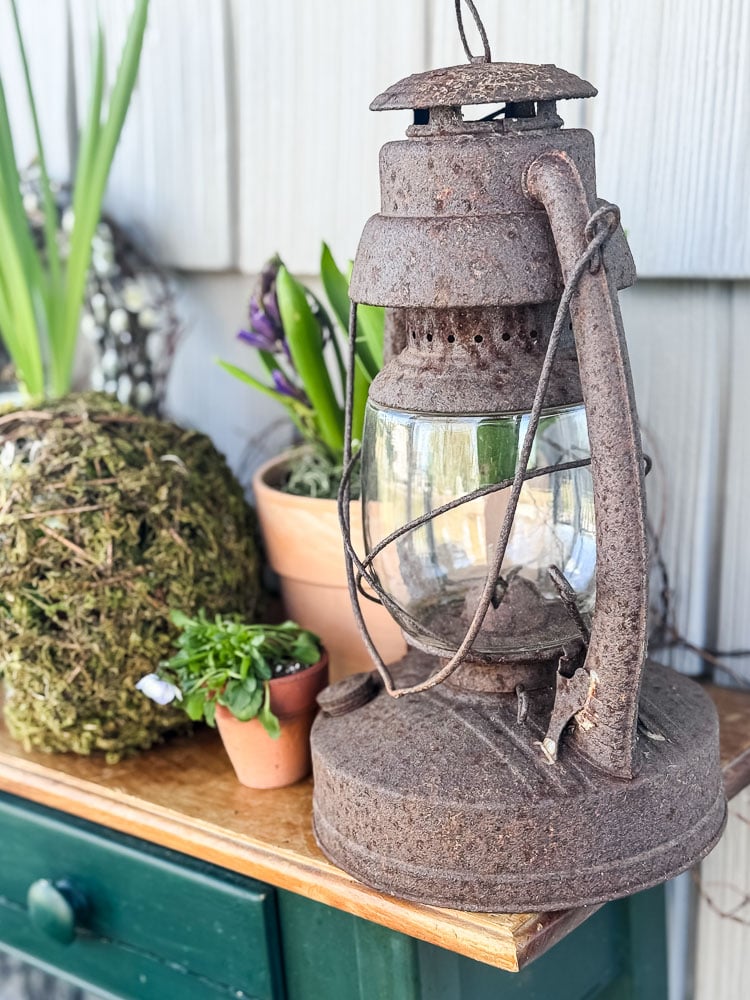
On the other end of the table, I kept things just as simple. My favorite rusty lantern anchors the corner. That thing has been on every porch and in every vignette I’ve ever styled, and it never gets old. Next to it, a terracotta pot of purple hyacinth adds a little height and that incredible spring fragrance. Then a moss and vine orb with a few pansies tucked in, and a mini pot of pansies to finish it off.
Same idea as the other side: varying heights, a mix of textures, and at least one living thing to bring it all to life.
Stuff with a little rust, a little age, a little history. That’s what gives a porch its character. You can’t buy that at HomeGoods.
What I Pulled Together
I gathered up a mix of old favorites and things I’d forgotten about
- A thrifted console table (one of my better finds, solid wood, good bones, the perfect green color)
- My rusty lantern that gets better with age
- A bunny garden statue that lives in the garage for the winter
- A stack of small vintage terracotta pots (I can’t resist these whenever I see them)
- Metal decorated can
- A thrifted handled straw basket
- Wire baskets in a couple of different sizes
- My DIY woodland birdhouse (you can get the tutorial if you want to make your own)
- DIY bird nest
- Fresh pussy willow wreath
- Moss/rattan orb (grabbed it last year at Michael’s
Add the Living Elements
Nothing says Spring like something actually growing on your porch, and this year I leaned into pansies & spring flowering bulbs in a big way.
Bulbs are such a budget-smart choice for porch decorating. You can find them already potted up at pretty much any nursery, grocery store, or garden center in early spring, and they’re usually just a few dollars a pot. I tucked mine into baskets and containers so the plastic nursery pots are hidden. Just the flowers peeking out, looking like they belong there.

One very practical New Hampshire note: if you’re in a cold climate like mine, keep an eye on the forecast. Spring bulbs can handle a chill, but if it’s going to be way below freezing, I just bring the pots inside overnight. I had to do this the other night, when it got down to 20°. Problem solved, flowers saved.
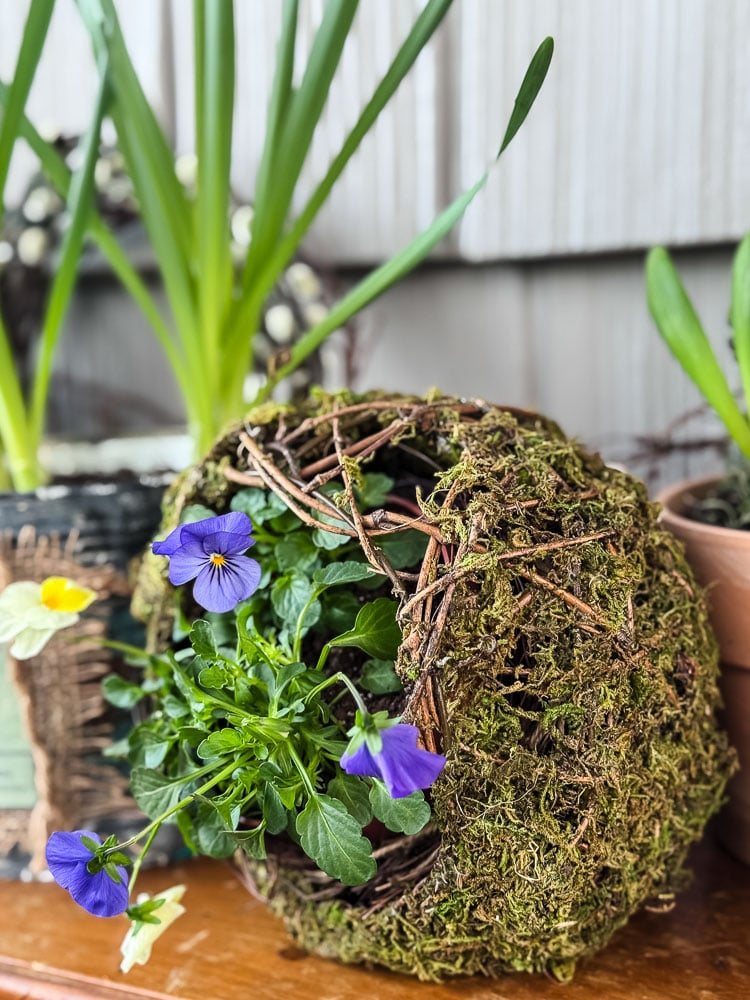
Watching those little blooms open up over the course of a week or two is honestly one of my favorite parts of Spring. Worth every penny.
Don’t Forget the Door
The door is the whole first impression of your porch, and it’s where I always spend a little extra time.
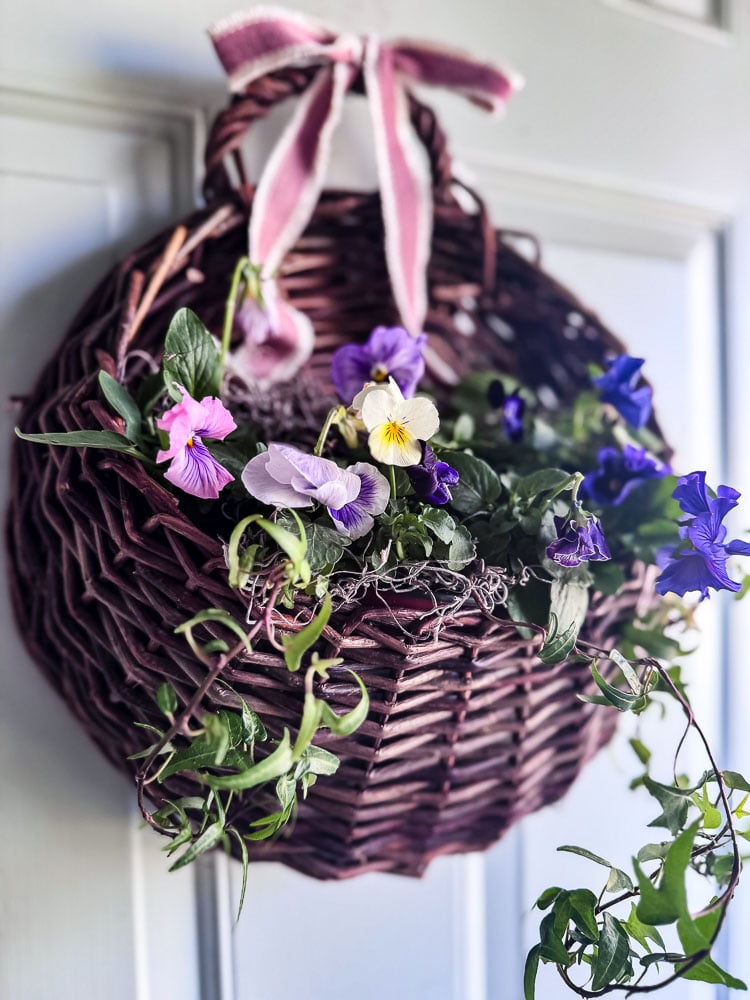
This year, I hung a door basket and filled it with a fresh pansy arrangement. Pansies are my absolute go-to for early Spring. They’re cold-hardy, they come in the most beautiful colors, and they have that sweet, old-fashioned look that fits perfectly with a cottage porch. A basket of them on the door is simple, it’s fresh, and it makes the whole entry feel welcoming without a lot of effort.
Making A Pansy Door Basket
Making the door basket arrangement couldn’t be simpler! Honestly, it took me all of ten minutes!
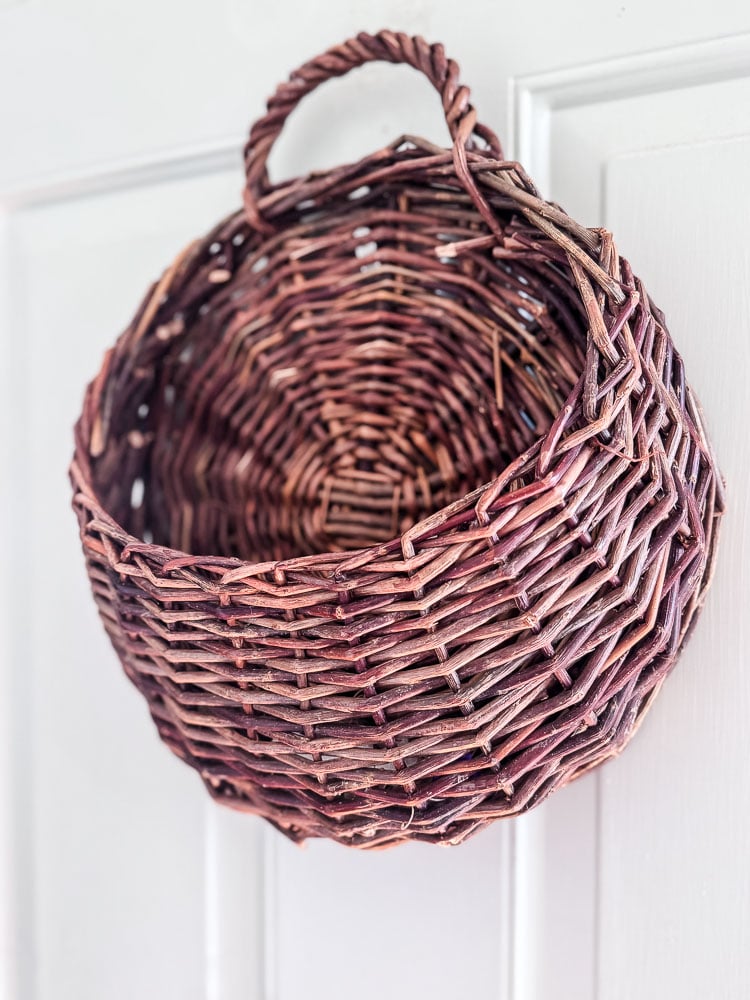
To make this pansy basket, I found it much easier to build it in place, already in a hanging position.
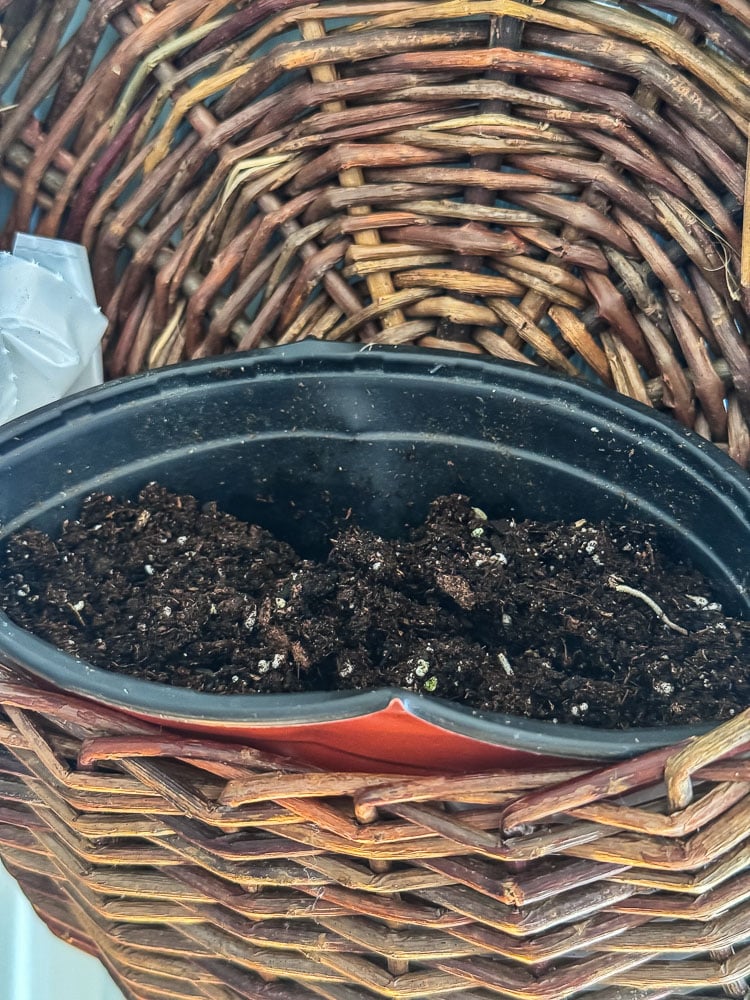
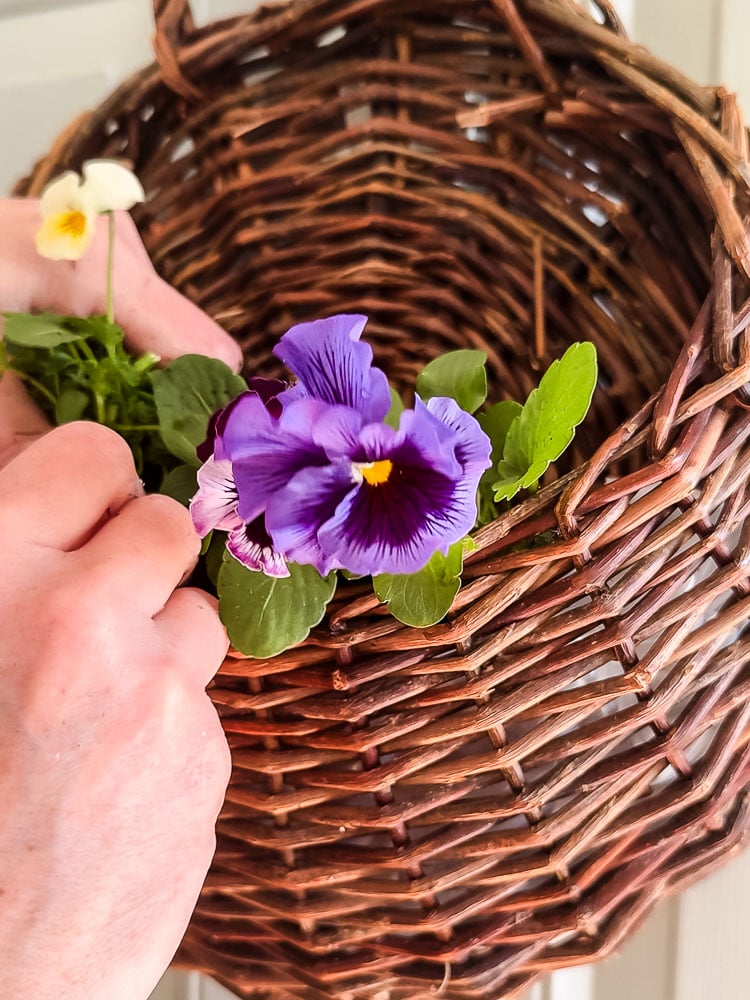
Here’s how to make one:
- Tuck a nursery pot inside your basket. Mine was a snug fit. I gave it a gentle squish & it went right in.
- Plant individual pansies from a 6-pack directly into the nursery pot, filling it in as you go.
- Tuck in a few trailing pieces of ivy for a little softness. Mine came from a plant I’d been propagating in water, so it was essentially free.
- Add bits of Spanish moss to fill in the gaps
- Wire a soft pink bow to the handle to finish it off.
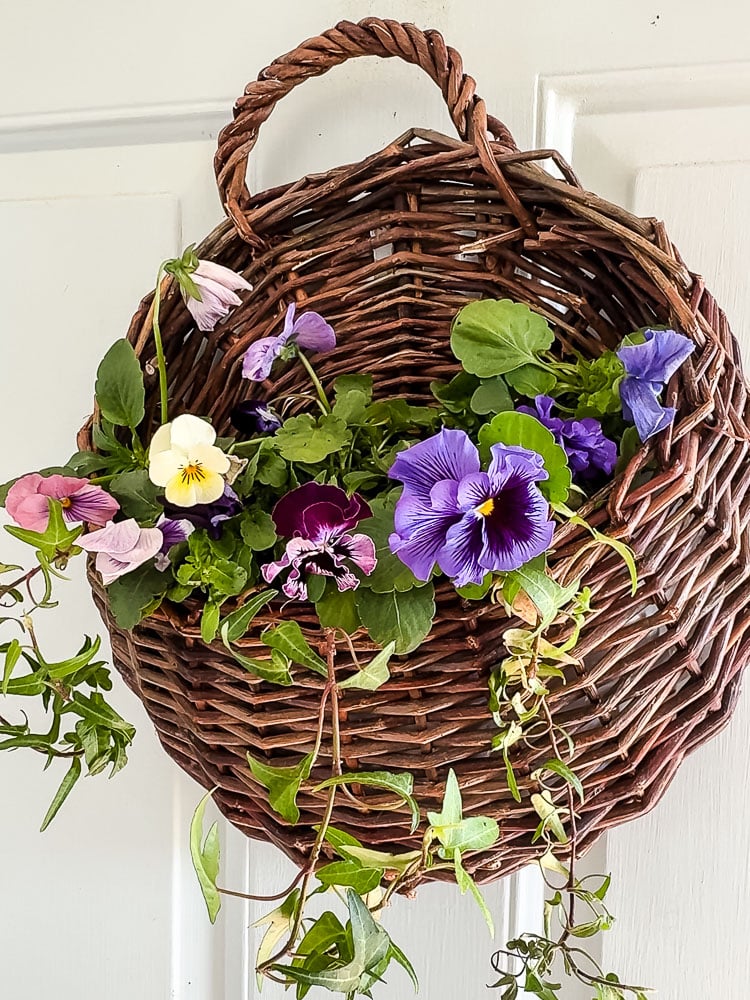
That’s it! The pansies will fill out and spill over the edges over the next couple of weeks, so it just gets prettier as the season goes on.
On the side of the house right next to the front door, I hung the living pansy wreath I made a couple of weeks ago, and if you haven’t seen that yet, I have a full tutorial here that walks you through exactly how to make one. It’s one of those projects that looks incredibly impressive but is actually very approachable, I promise.
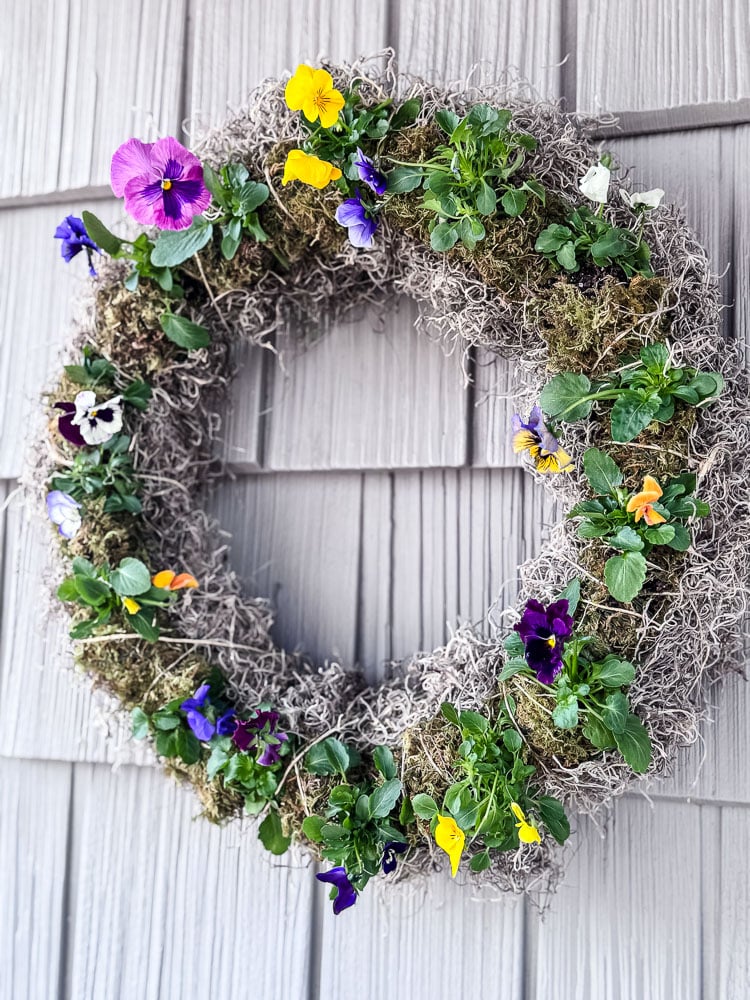
Together, the door basket and the wreath frame the entry in a way that feels intentional and finished. It’s the difference between a porch that looks “done” and one that just looks like some stuff got moved outside.
The Little Details That Make It Feel Finished
Here’s my secret weapon for a porch that feels like you rather than a store display: scatter in a few pieces with a story, and then don’t skip the small stuff.
The DIY woodland birdhouse and the little handmade bird’s nest tucked into the vignette are the kind of touches that add a layer of personality you simply can’t purchase anywhere. I have a full tutorial for the birdhouse here if you want to make your own. It’s a great afternoon project.
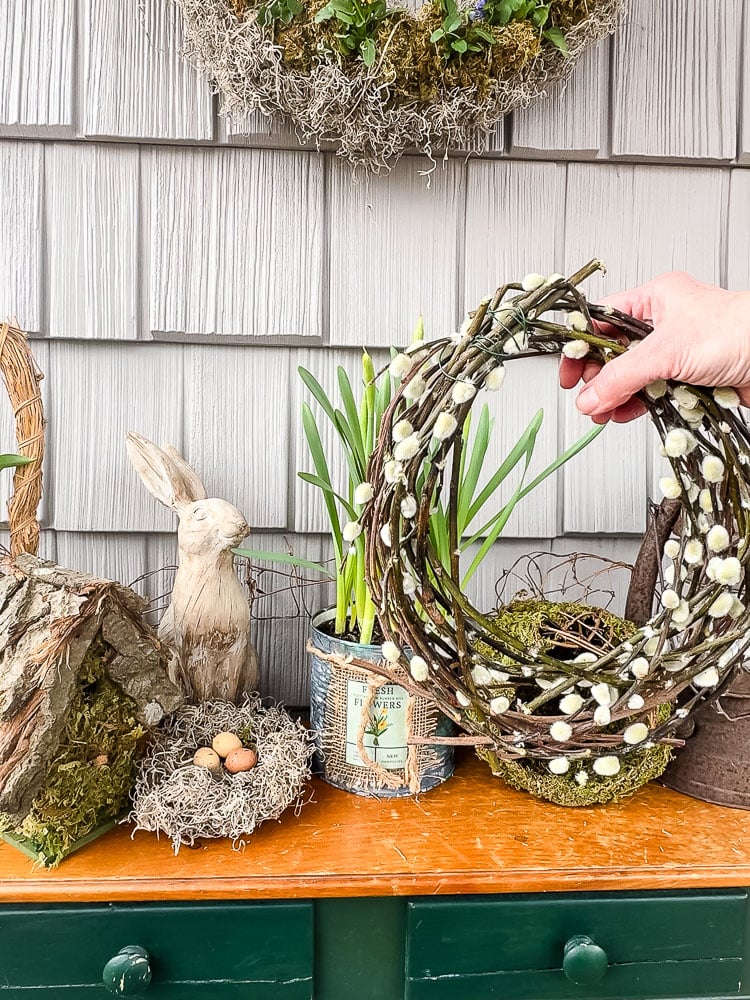
I also made a simple fresh pussy willow wreath and leaned it against the house next to the bunny. No form, no fuss! I just bent the branches into a circle and secured them with a little floral wire. That’s it. It looks like it took forever and cost nothing.
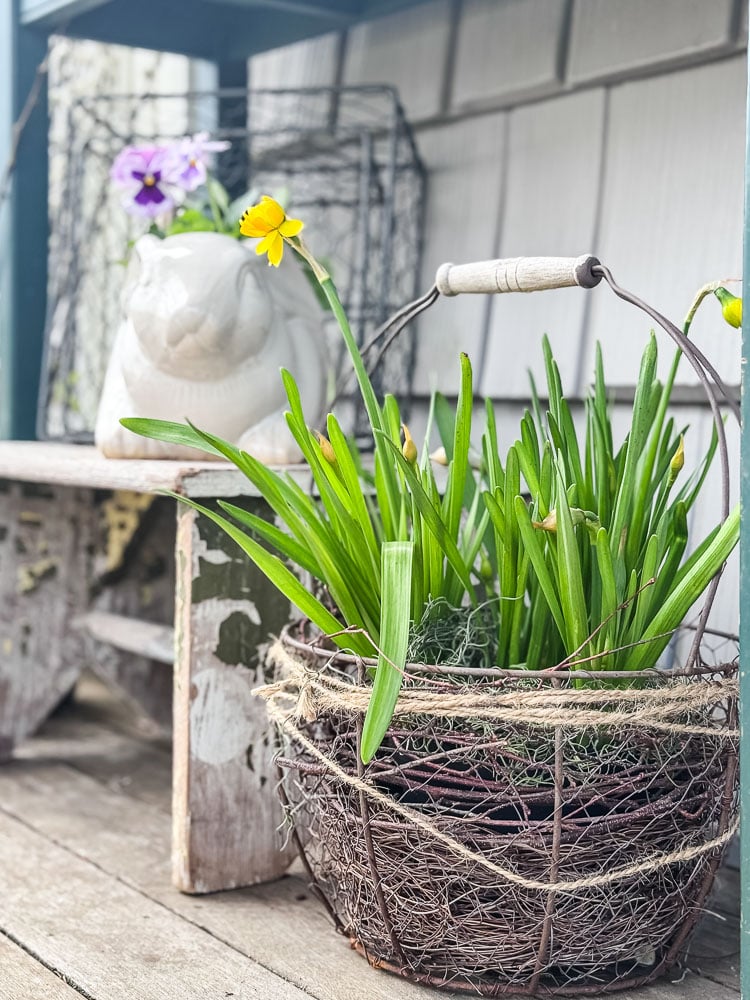
I couldn’t leave the space under the table empty, so I treated it like its own little vignette. A chippy flea market stool gives it some height, with a couple of wire baskets stacked on top and a ceramic bunny planter tucked in with a few pansies. Right next to the stool, a wire basket of daffodils finishes it off. It’s a cozy little moment that makes the whole table setup feel more layered and complete.
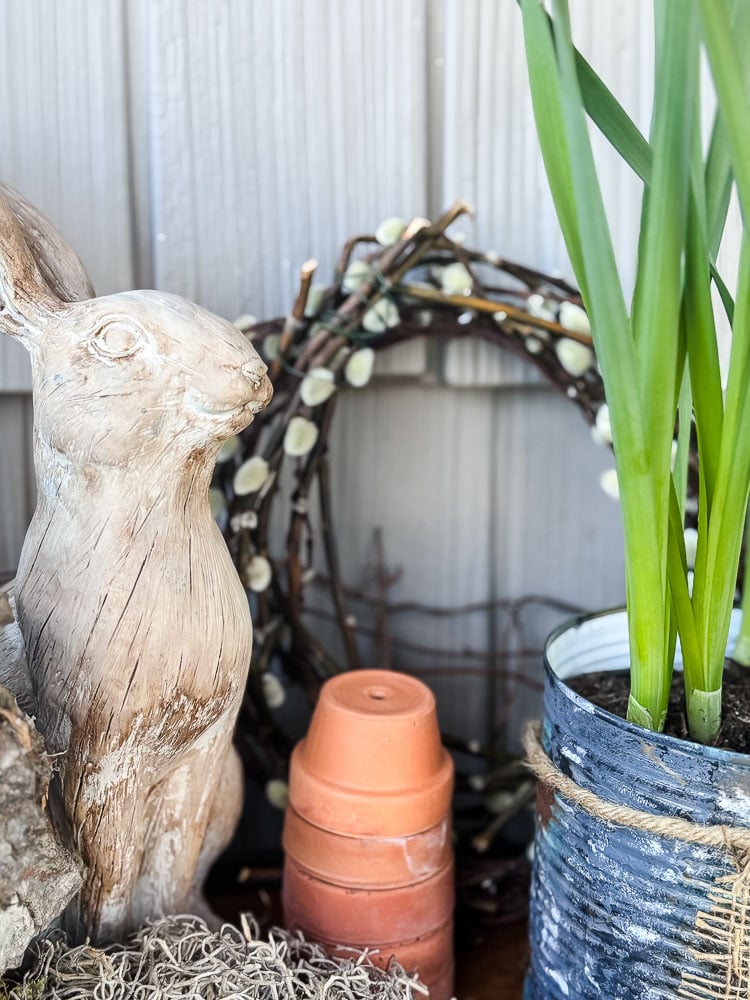
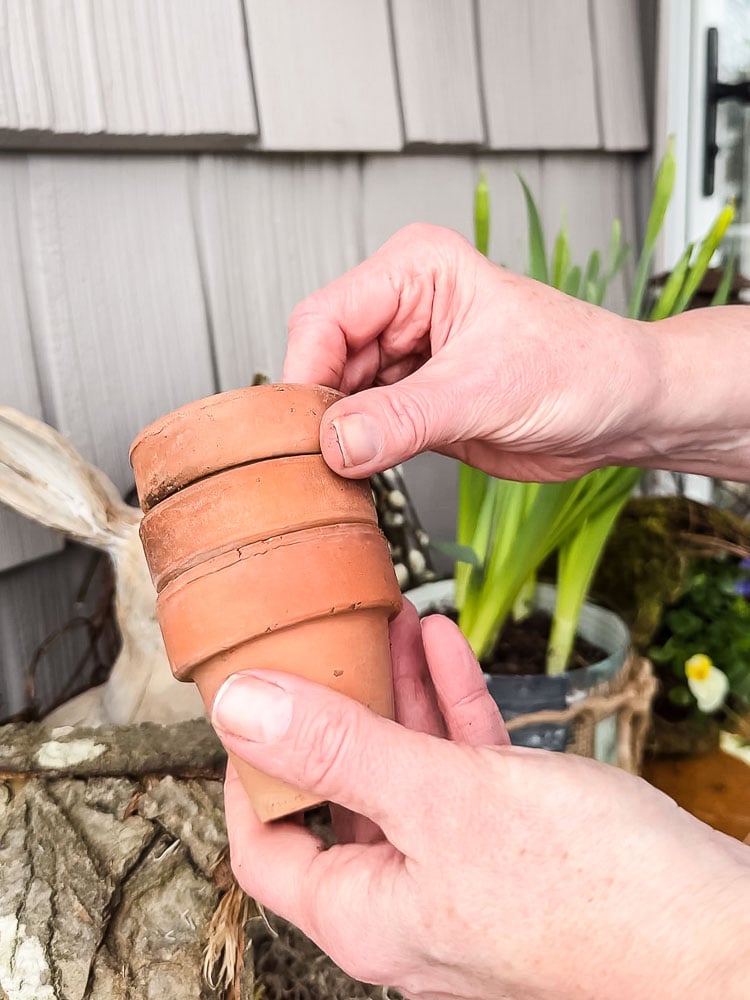
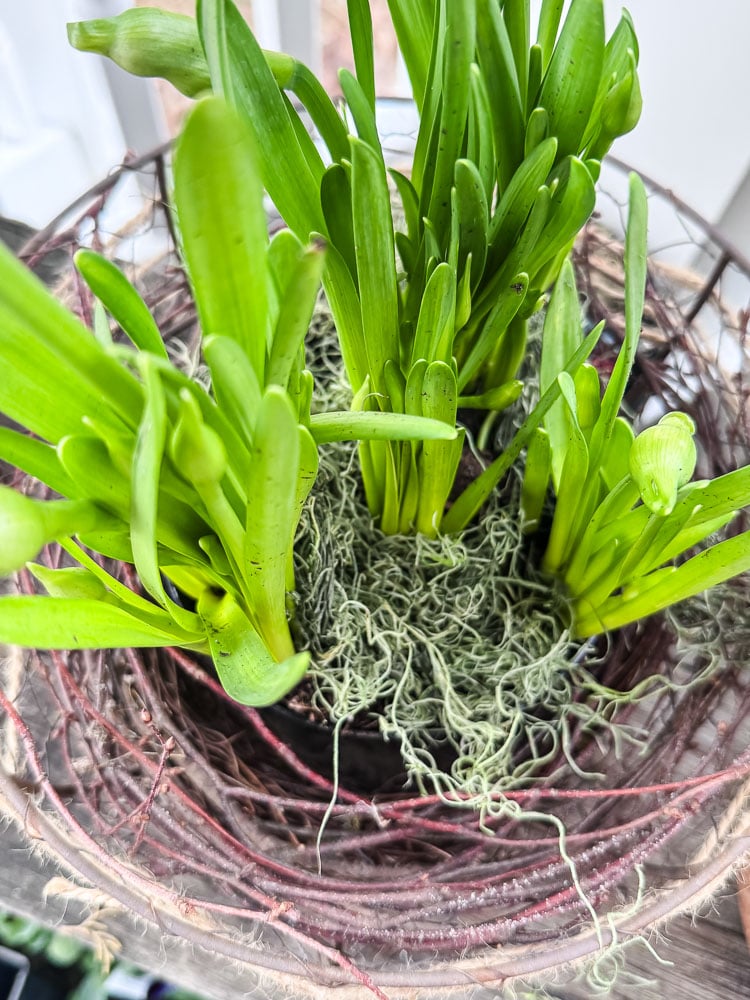
But honestly? Some of my favorite details on this porch are the smallest ones. I had a gap on the table that needed filling, so I stacked a few vintage terracotta pots upside down and called it done. It looks intentional, adds some varying height, and costs exactly zero dollars. I also topped off the soil in all my bulb pots with a layer of moss to hide the plain dirt underneath. Such a small thing, but it makes such a difference — suddenly the pots look finished and purposeful rather than fresh from the nursery.
It’s these little details: the moss, the stacked pots, the homemade wreath that take a porch from “I put some stuff outside” to “how did she do that.” You don’t need a big budget or a lot of time. You just need to slow down for an extra five minutes and look for the gaps.
It Just Takes a Little Intention
I’ll be honest, after skipping the whole thing last year, getting out there this Spring felt really good!
And it reminded me of something I seem to relearn every single season: the porch doesn’t need to be big. It doesn’t need to be expensive. It doesn’t need a shopping haul or a Pinterest-perfect plan. It just needs a little intention and a willingness to work with what you’ve got.
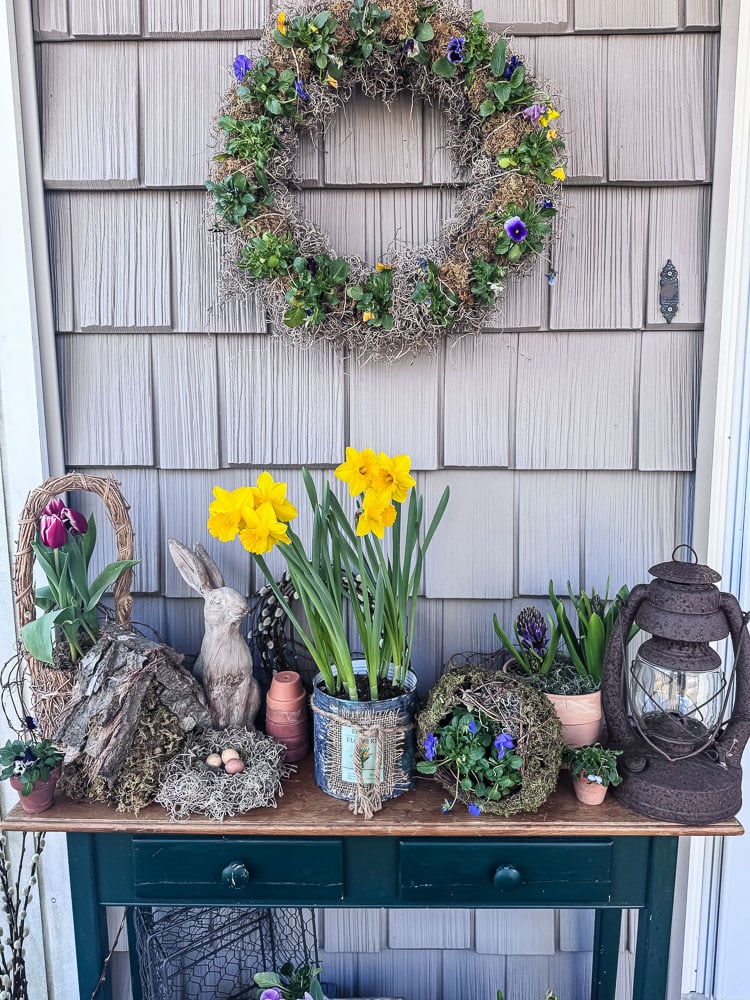
A thrifted table. A rusty lantern. A few pots of pansies. Some things pulled from the back of a closet that were waiting for their moment.
That’s it. That’s the whole formula.
Want more spring porch ideas? Check out these posts:
- Freshen Up Your Porch for Spring with Flea Market and Thrifted Finds
- Decorating a Small Front Porch for Spring
- Vintage Spring Porch Decorating Ideas
So tell me, are you a spring porch decorator, or are you more like last-year-me, watching the rain from the other side of the glass? Either way, I’d love to hear about it in the comments below.
xo, Jennifer




What a talent you have for simple yet captivating vignettes! There are so many ideas banging against each other in my head (some are really great!) that I find it very hard to get up and start any of them. I did make a “patio” in the front half of our carport because it’s just too hot to sit in the Arizona sun for a transplanted New Englander like me. It’s lovely, and if the dogs next door would stop barking while we’re out there, it just might be heaven! Thank you for all that you do here for us.
Thank you Nancy!! Sometimes I think my neighbors must think I am nuts! Standing on my porch, moving things around, and doing alot of crossed-arm staring!!
So pretty and well done. And you are so right about the table. You can never have too many surfaces on which to display clever vignettes. Thanks for sharing.
Thanks so much, Teddee! Happy Spring!