Do you want to decorate for the Spring and Easter seasons but not in the traditional pastel colors and cutesy bunny figurines?? Me too! Let me show you how I took a pair of blue rabbit figurines that I found at Hobby Lobby and transformed them into a more vintage antique-looking set of gold bunny rabbit statues.
DIY Antique Gold Rabbits with Paint
I knew exactly what I was looking for…and then couldn’t find it anywhere!!! Does that happen to you?? On those cold New England nights I love scrolling Pinterest and pinning ideas for Spring and Easter. I’m always drawn to vintage-looking decorating ideas and loved the more moody looks of vintage gold rabbits styled with old books or dishes.
But when the retailers started putting out their Easter merchandise all I was finding were brightly colored flocked bunnies and cutesy-looking statues…hey, not knocking it but it’s just not my vibe!! You do you…
This post may contain affiliate links, which means I may earn a small commission if you make a purchase through my links, at no extra cost to you. Read my disclosure policy here.

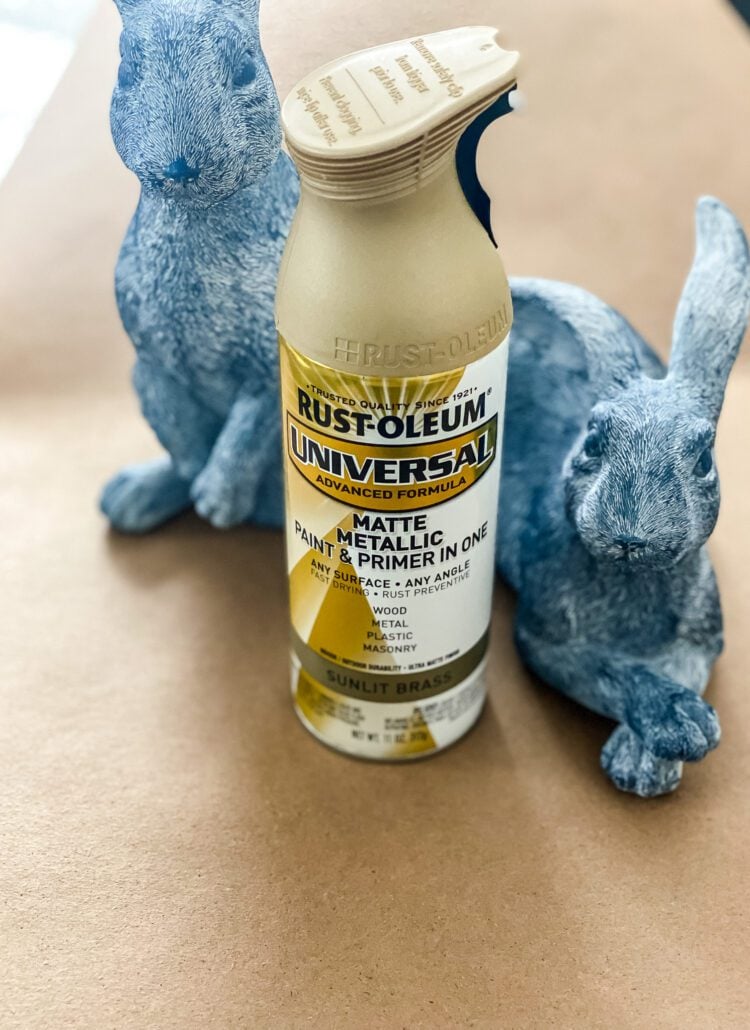
Then I saw these blue rabbit statues at Hobby Lobby. The size and the detail on them were perfect…but the blue color was not so much for me. They were reasonably priced with the 40% off sale too.
Painting the Rabbits to Look Antique

Now that I have my rabbit statues to transform I had to find the perfect color spray paint to use to create the fake antique look. This Rust-oleum Matte Metallic Sunlit Brass was perfect.
You will want to use matte spray paint to keep the sheen down on the finished statues.

One trick to use when spray painting an object with a flat bottom is to use a can or another sturdy object as a riser so you can spray around the entire thing and get the bottom edges too.
It took me 2 coats of spray paint to evenly cover the bunny and get into all of the hair details. You want to spray paint using light bursts of paint and keep the can at least 8 inches from the object to prevent overspray and dripping. Light even coats will give you the best finish.
Create a Vintage Look with Wax

The next step to creating a vintage look on the bunny rabbits is by one of my favorite DIY products, Waverly Antique Wax. I seriously love this stuff!! Not sponsored…just my opinion!!
One reason that I love working with this wax and that it is also perfect for a beginner or if you are intimidated by the concept of “wax” on DIY projects is that the Waverly wax is the consistency of chalk paint and you can brush it on…plus it is cheap (you can get a small bottle for $2! at Walmart).

Next, I used a small course bristle brush to “paint” the wax over the bunny, being sure to get into all the hair.

I worked on one rabbit statue at a time with the wax, covering the entire statue.


Then I went in with a paper towel and wiped all the excess wax off the bunny. The antique wax will stay in the crevices created by the hair…this will really give these statues a vintage look.

Just look at the difference the antique wax makes! Here is a side-by-side comparison of the waxed rabbit next to the one that just has the spray paint.
Antique Gold Bunny Rabbits

Once the wax dried it was time to style my gold bunnies for Spring. On a large round rattan tray, I added my bunnies along with a vase of dried flowers, vintage books, and a new ivy plant that I got last weekend.


DIY Antique Gold Bunny Rabbits
Turn brightly colored bunny rabbit figurines into fake antiques.
Materials
- Bunny Rabbit Statues
- Rustoleum Sunlit Brass Spray Paint
- Waverly Antique Wax
Instructions
- Spray paint the rabbit statues
- Let dry between coats and spray again.
- Once the paint is completely dry brush the antique wax over the entire statue.
- Wipe off the excess wax with a paper towel
- Let the wax dry, then the rabbit statues are ready to use.
Recommended Products
As an Amazon Associate and member of other affiliate programs, I earn from qualifying purchases.
More Bunny Rabbit Project Ideas


See how I gave these bunny statues (available at Hobby Lobby) a faux cement look using one of my favorite crafting techniques.

This wreath is made with supplies from Dollar Tree! It is made with an egg-shaped metal wreath form, a set of wooden egg ornaments, and a set of bunny wooden ornaments.

Another wreath idea to try this Spring. The base is a Dollar Tree bunny head wreath frame that I covered with grapevine garland and moss for a natural-looking Easter wreath for the front door.
make these vintage easter eggs

My latest Easter DIY project was this set of vintage Easter eggs made from a bag of paper eggs. Such a pretty addition to your Easter decorating!
See your projects featured! If you are inspired by this or any of my other DIY projects I would love to see them and add you to the Reader’s Spotlight gallery. Send a photo to me at jennifer@cottageonbunkerhill.com
xo, Jennifer
25 DIY Projects Using
flowers & botanicals
Pin for Later


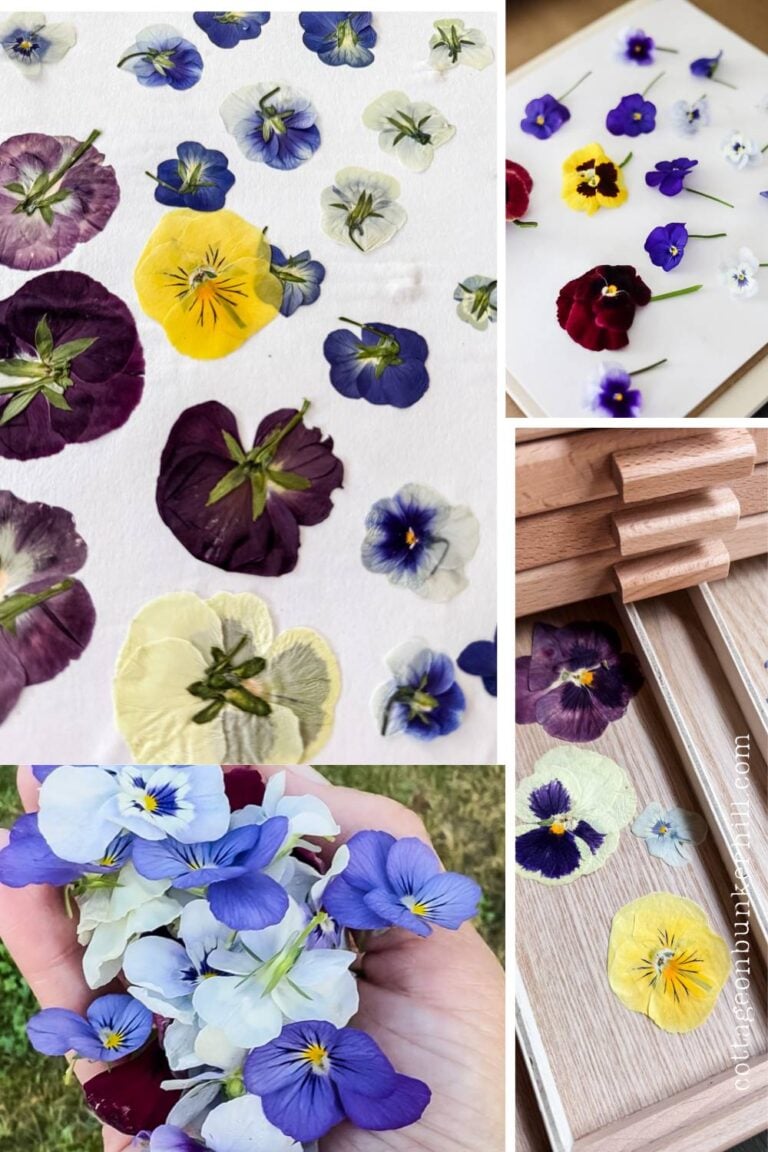
Stop Wasting Flowers! 4 Foolproof Ways to Press Blooms Like a Pro
Those gorgeous blooms don’t have to wilt away! In this guide, I’m sharing my 4 foolproof ways to…

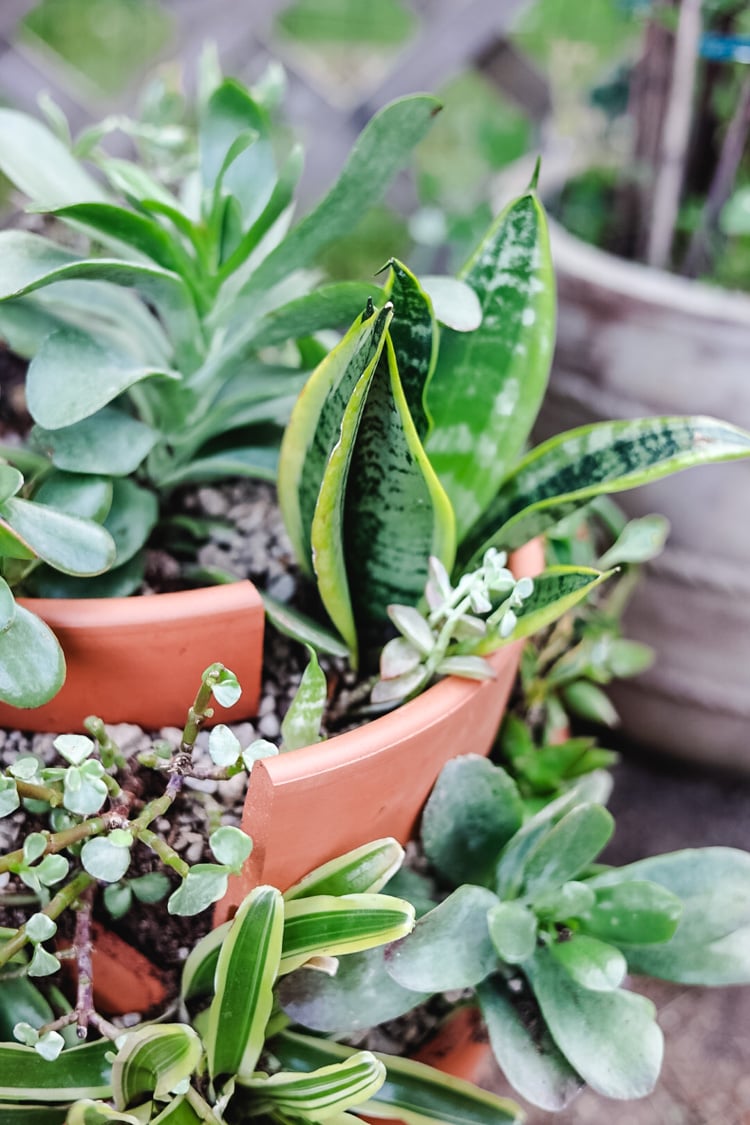
Why I Intentionally Broke My Terracotta Pot (And You’ll Want to Too!)
Discover how smashing a terracotta pot created my favorite succulent planter! (Sometimes, a little destruction leads to the…

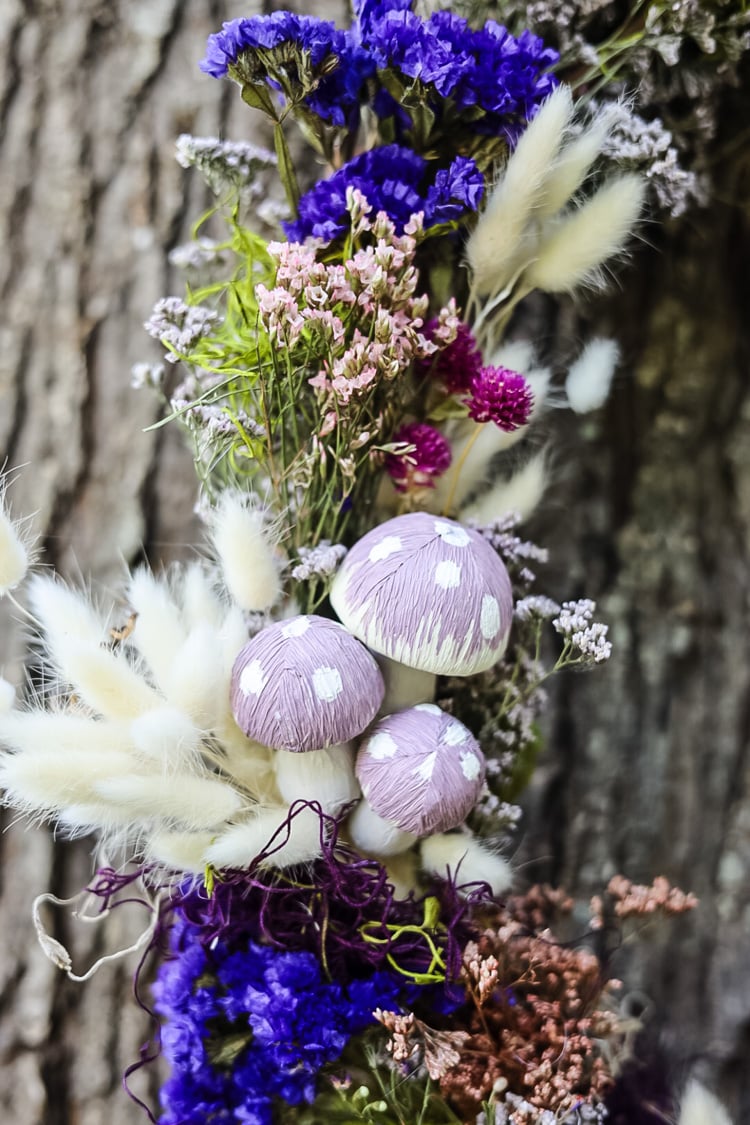
The Day My Front Door Got Fairy Magic (An Enchanted Wreath DIY!)
Turn a forgotten grapevine wreath into a whimsical fairy door—with just dried flowers, moss, and a sprinkle of…


They turned out so cute Jennifer! I’m sharing your post in my weekend round up because I know my followers will love it too!
I have several bunnies that need a little updating. Thanks for the great idea, Jennifer.
OMG, yes, I am in love with the Rustoleum sunlit brass color! It’s really nice.
I love this idea. I’m definitely doing this. They look awesome. Thanks for the inspiration.
Thanks!! It was so hard to find what I wanted and I’m glad I stumbled on those blue ones!
No way! I can’t believe how easy that is. I LOVE how they turned out! So much better than the color they were before. If they turn up missing you know I tiptoed into your house late and night and snatched them up.😉
I know, right!! The blue is for someone but just not me.
Oh! My father was a carver and I have a semi carved Chinese dragon plaque that he never finished due to arthritis. It looks like he carved the outlines of the piece. I wonder if the wax would settle in those lines but not color the raised area? I have kept up with oiling the piece but you just cannot see the pattern clearly. Your thoughts?