• Home
  • Blog
  • Meet Jennifer
    • Meet Jennifer Howard
    • Work With Me
    • Disclosure + Privacy
    • Contact
  • Shop
  • Nav Social Icons

  • Skip to primary navigation
  • Skip to main content
  • Skip to primary sidebar
  • Skip to footer
  • Home
  • Blog
  • Shop My Favorites
  • DECORATING
    • Decorating Tips & Tricks
    • DIY Decorating Projects
    • High End Dupes
    • Thrifting
    • Home Tours
    • Wreaths
    • Spring & Easter Ideas and Projects
    • Summer Decorating and Projects
    • Fall Decorating Ideas & Projects
    • Christmas Decorating Ideas & Projects
    • Shopping
  • GARDENING
    • Flower Gardening
    • Gardening Project Ideas
    • Vegetable Gardening
  • LIFESTYLE
    • Weekly Rewind
    • Recipes
    • Around New England
    • Visiting Magnolia
  • Meet Jennifer
    • Work With Me
    • Contact
    • Disclosure + Privacy
  • Mobile Menu Widgets

Cottage On Bunker Hill

Cottage On Bunker Hill

Home & Garden in New England

  • LIFESTYLE
    • Weekly Rewind
    • Recipes
    • Around New England
    • Visiting Magnolia
  • DECORATING
    • High End Dupes
    • Decorating Tips & Tricks
    • DIY Decorating Projects
    • Thrifting
    • Wreaths
    • Shopping
    • Home Tours
    • Spring & Easter Ideas and Projects
    • Summer Decorating and Projects
    • Fall Decorating Ideas & Projects
    • Christmas Decorating Ideas & Projects
  • GARDENING
    • Flower Gardening
    • Gardening Project Ideas
    • Vegetable Gardening
    • Grow With Me Gardening Series
  • Home
  • Blog
  • Meet Jennifer
    • Meet Jennifer Howard
    • Work With Me
    • Disclosure + Privacy
    • Contact
  • Shop

How to Make Vintage Style Easter Eggs

In: DECORATING, DIY Decorating Projects, Spring & Easter Ideas and Projects

Here is a pretty vintage-style Easter egg decoration that you can use in your Spring decorating this year.

Pretty Vintage Style Easter Egg Decorations

You will never know that this project started out with a bag of paper eggs from the Walmart kid’s Easter aisle! Wait until you see how I transform them into a really pretty decoration I will be using this Spring.

This post may include affiliate links; you can read my disclosure policy here.

Supplies:

  • Paper Craft Easter Eggs
  • Acrylic Paint (Peach & Brown)
  • Jute String
  • Mini Satin Roses(sewing dept)
  • Baby’s Breath
  • Scrapbook Paper
  • Mod Podge


Handcrafted Society

Welcome to this month’s edition of The Handcrafted Society. Our monthly get-together where we all share a themed project with our readers. This month Missy from Sonata Home Designs was the lead and she chose eggs as the theme ahead of Easter and we all are doing a different color. I am peach.

If you have headed over here from Regina down at Saved From Salvage and this is your first time here let me introduce myself. Hello, I’m Jennifer and you have landed at Cottage on Bunker Hill. I’m a lifelong New England girl living in coastal New Hampshire. I love decorating, DIYing, gardening, and everything about being a New Englander…and of course I have an L.L.Bean jacket and boots…it’s a requirement up here!!


How to Make the Eggs

Paint the Easter Eggs

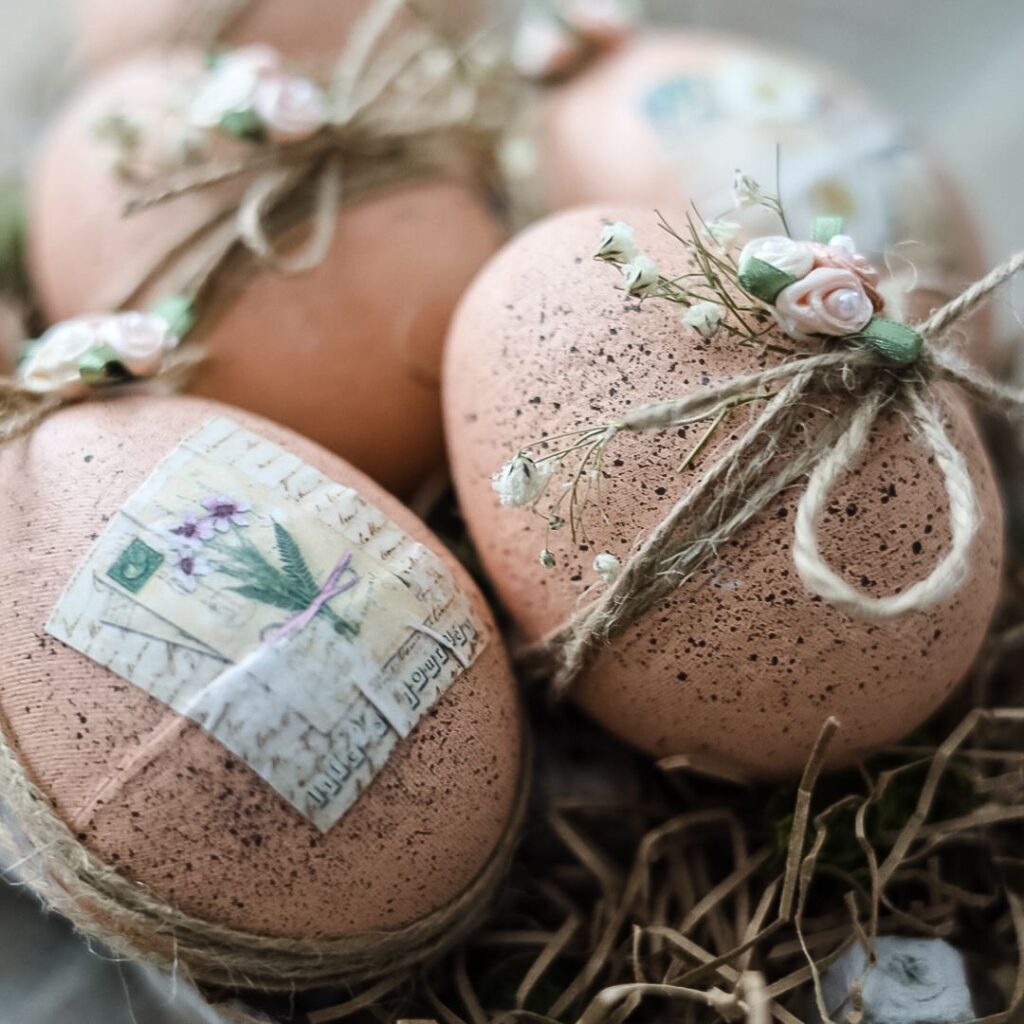
To make these vintage-style Easter eggs I am paper eggs that I found at Walmart. Any size and color of paper or paper mache eggs will work for this craft.

For this project, I am using a peach shade of acrylic craft paint and giving the eggs 2 coats of paint.

The paper eggs are porous and really needed 2 coats to evenly cover the eggs. Don’t worry about the line around the middle of the eggs…it will be hidden.

How to make speckles on Eggs

After the peach paint was completely dry it was time to make speckles on the Easter eggs.

For this step, you will need an old toothbrush and brown paint.

Pour a little paint onto a plate or napkin and completely wet the toothbrush.

Then dip the tip of the toothbrush into the paint and holding the toothbrush over the egg you will run your finger over the bristles.

By running your finger over the bristles small drops of paint will land on the eggs. Make sure to put a couple of pieces of newspaper down because the paint does splatter.

You may have to rewet the toothbrush to keep the paint on the thinner side and make tiny spots.

Embellishing the Eggs to Get a Vintage Look

To dress up the eggs I will be using thin jute twine, dried baby’s breath, flower stick-on embellishments, & small scrapbook paper flowers.

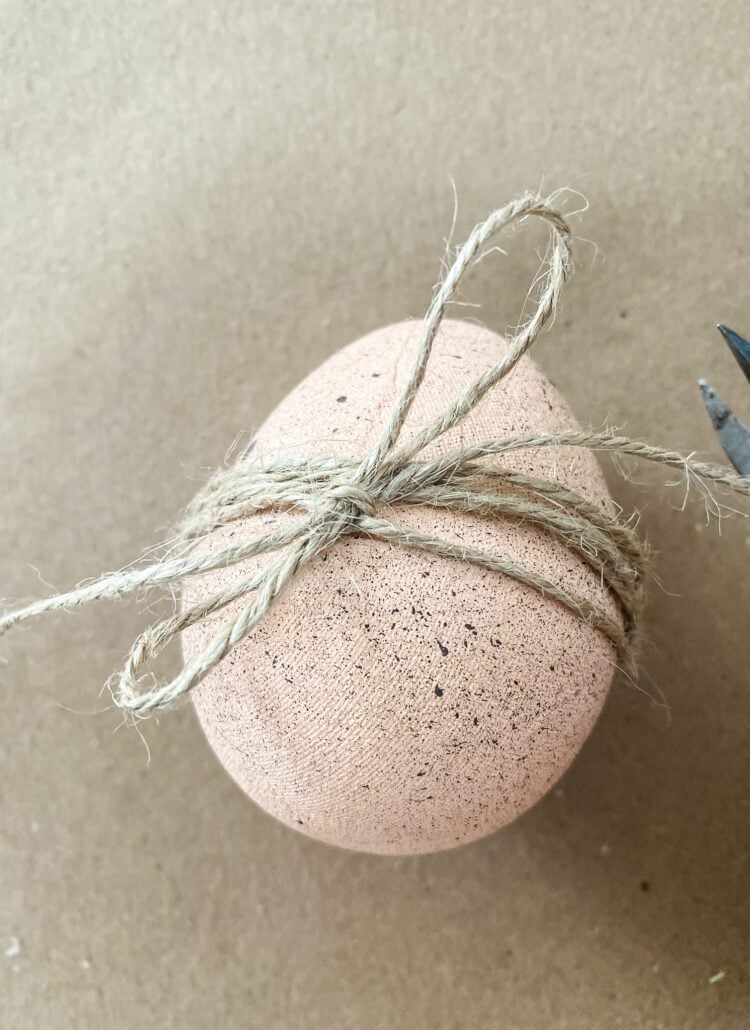
On half of the Easter eggs, I wrapped the jute twine around the center of the eggs a few times and tied a small bow.

From a sprig of dried baby’s breath, I cut small sprigs of the flowers off and tucked them under the jute twine.


Then I finished it off with the flower stick-on embellishment (sewing dept. at Walmart)

For the other half of the Easter eggs, I decorated them with small squares of scrapbook paper that I decoupaged onto the center of the egg.

I brushed Mod Podge on the back of the paper and put it in place.

Then brushed the front of the paper square with more Mod Podge and used my finger to smooth it over the egg.

This time I wrapped the jute twine around the entire Easter egg and tied a bow at the top of the egg.

Vintage Style Easter Eggs

For a cute display, I cut an egg carton down and filled it with paper grass and moss, and arranged the eggs on top.


vintage egg supplies

Next up, I would love for you to go check out Missy over at Sonata Home Designs to see her decorative Easter eggs.

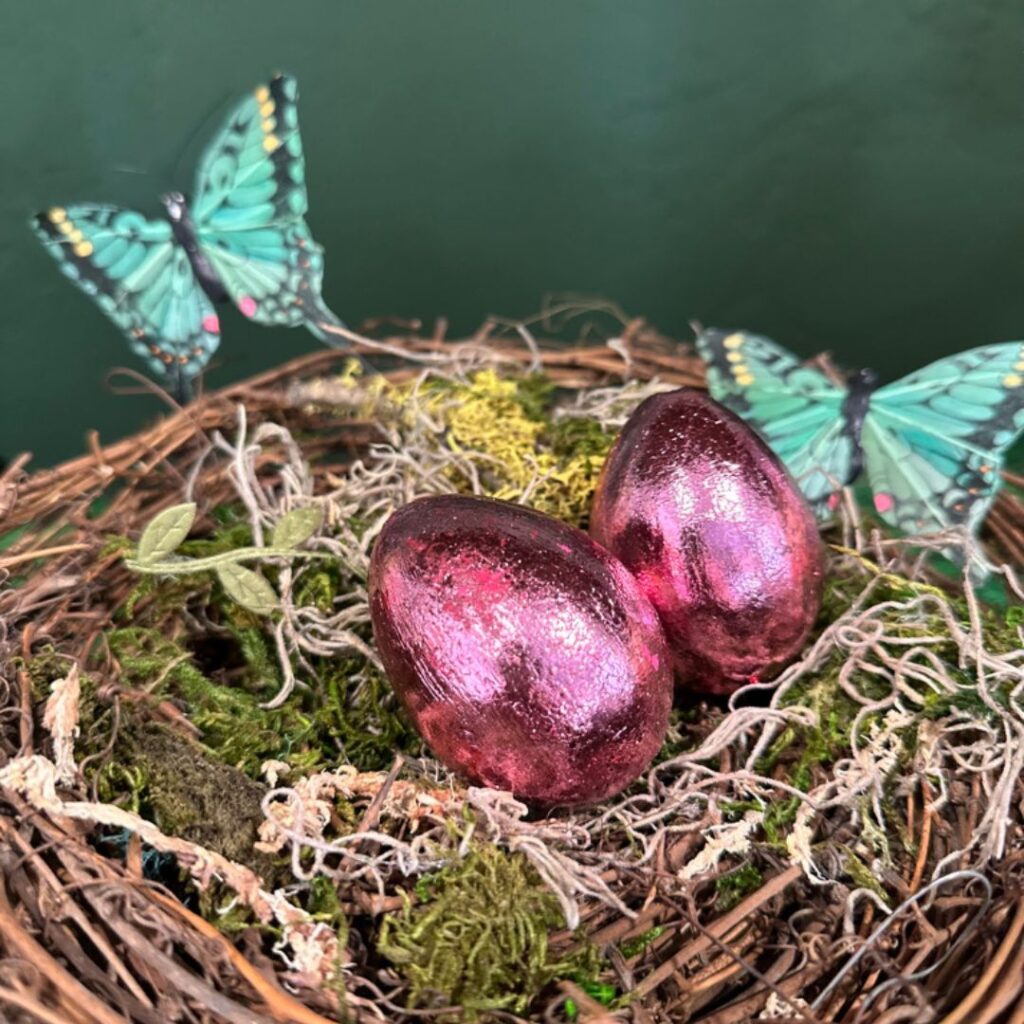
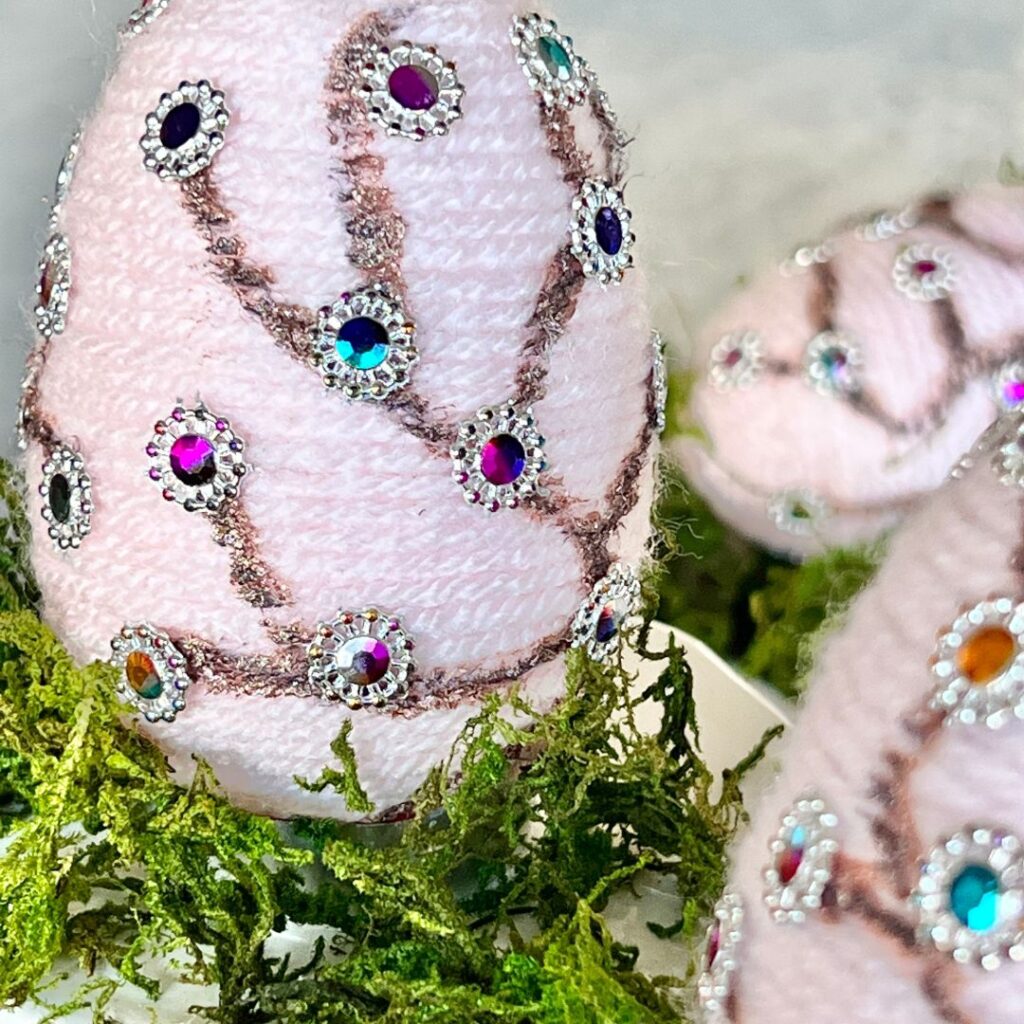
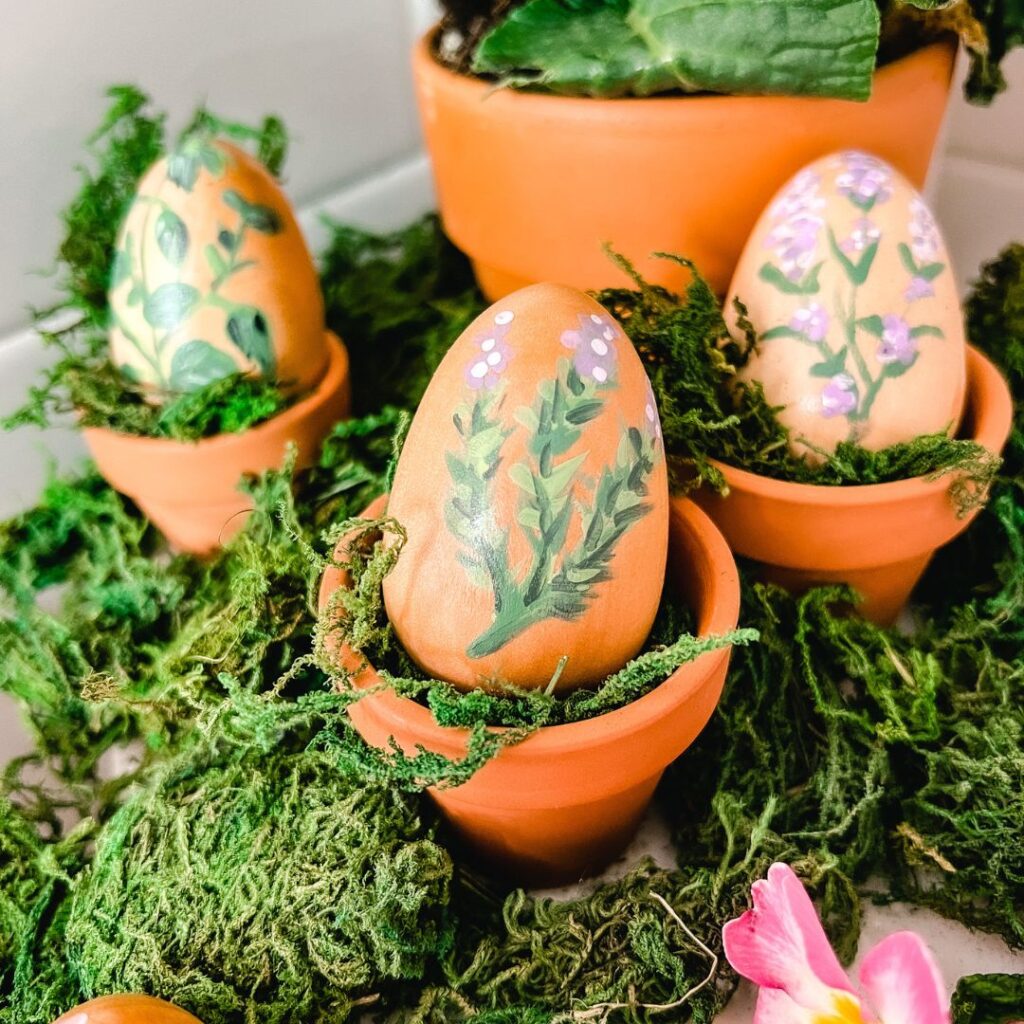
Handcrafted Society~ Easter Egg Projects

Thistle Key Lane
eggshell wreath floral arrangement - How to make natural dye
WM Design House
Easter egg basket on the door
Saved From Salvage
8 Handmade Society Easter Egg Projects
Amy Sadler Designs
Sonata Home Design
8 Handmade Society Easter Egg Projects
Tatertots and Jello
8 Handmade Society Easter Egg Projects
South House Designs
8 Handmade Society Easter Egg Projects
Cottage on Bunker Hill

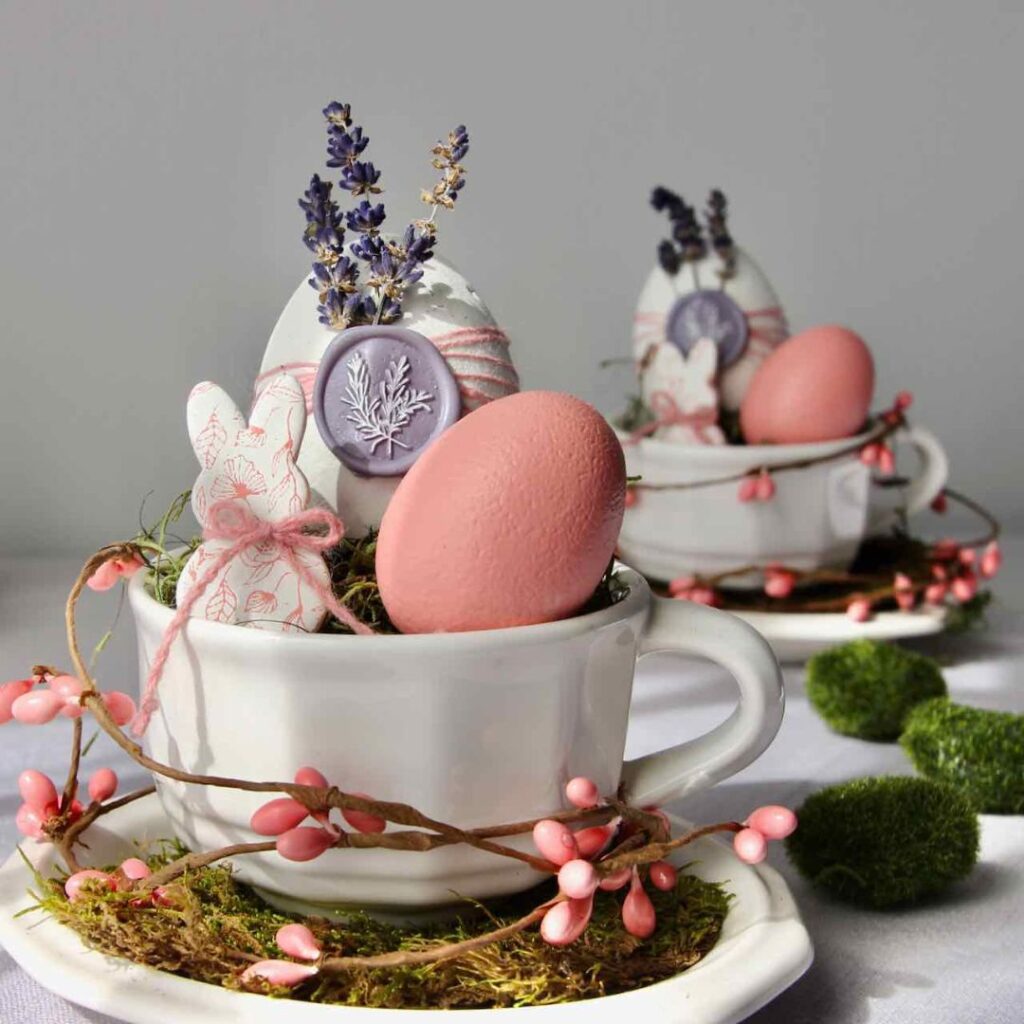
Other Easter Project Ideas

centerpiece made with bulbs

Spring Table

with flower centerpiece

Fresh flowers and pretty Spring colors are used to create a lovely table for Easter celebrations.
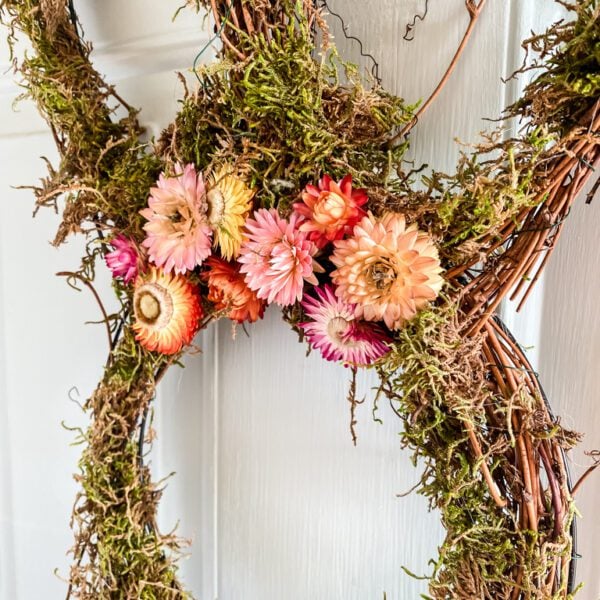
Easter table
moss wreath with dried strawflowers

Bunny Wreath

bunny head wreath

Make a pretty wreath to hang on your door for Spring using a bunny head wreath frame

See Wreath
Easter graphic for pinterest

19 Easter Ideas

easter inspiration

See a variety of Easter decorating, entertaining, & DIY ideas for a prettier Spring

see ideas

Keep Up With The Latest From Cottage On Bunker Hill! Follow Me On Pinterest | Instagram | Facebook

  • Share on Facebook Share on Facebook
  • Share on Pinterest Share on Pinterest
  • Share via Email Share via Email

Jennifer Howard

cottage on bunker hill

Thanks for stopping by today! Being able to share my projects, DIYs, and decorating ideas with you is amazing. Leave a comment below; I love hearing from you! Feel free to drop me a note here if you have any questions.

Get to know Jennifer.

  • Visit Facebook account (opens in a new tab)
  • Visit Instagram account (opens in a new tab)
  • Visit Pinterest account (opens in a new tab)
  • Visit YouTube account (opens in a new tab)

Pin for Later

By: Jennifer Howard · In: DECORATING, DIY Decorating Projects, Spring & Easter Ideas and Projects · Tagged: diy decor, spring decor

you’ll also love

gallery wall picture of a woman with basket on her headHow to Make a Budget-Friendly Living Room Gallery Wall
table centerpiece for spring in straw handled basket with daffodilsEasy Tips for a Pretty Spring Table
green bowl and saucer with bird eggs on vintage book stackSpring Decorating Ideas From the Thrift Store

Reader Interactions

Comments

  1. Wendy McMonigle says

    March 12, 2023 at 12:41 pm

    Jen, these eggs are adorable. I love how you tied the twine and added a sweet touch to each egg. And the color is fabulous with the touch of speckling. My apologies for being so late in responding. I have been laid up with an infected finger… that got out of control.

    Reply
    • Jennifer Howard says

      March 12, 2023 at 7:33 pm

      Sorry to hear about all your hand troubles this week Wendy! Hope you are healing up and will be back to crafting soon!!

      Reply
  2. Kim | Shiplap and Shells says

    March 11, 2023 at 3:16 pm

    I love these vintage-style eggs, Jennifer! They are so different from anything else I’ve seen. Thank you for the inspiration.

    Reply
    • Jennifer Howard says

      March 12, 2023 at 7:33 pm

      Thanks, Kim!!

      Reply
  3. Jennifer S. Hadfield says

    March 8, 2023 at 4:13 pm

    absolutely gorgeous, jennifer! I love the colors your used. I pinned them to my spring board to share 🙂

    xxox

    Reply
  4. Regina Jenkins says

    March 8, 2023 at 6:33 am

    Jennifer – In addition to be so cute on camera, your project is adorable. I have never tried to “speckle” my eggs and need to and I love the color and the scrapbook paper you added and of course the way they were styled in the carton. Pinned!

    Reply
  5. Michelle | Thistle Key Lane says

    March 7, 2023 at 7:45 pm

    I looked for paper eggs a few years ago and now I know where to find them. Yay! Jennifer, I must say these turned out so cute and I love the sweet rosettes! Pinning!

    Reply
  6. Amy Sadler says

    March 7, 2023 at 4:04 pm

    Well, I love everything you do and this one is no exception! Your color palette is so good! Love it! Pinned!

    Reply
  7. Missy says

    March 7, 2023 at 11:08 am

    These are so pretty, Jennifer! I love the toothbrush bristle technique! Your creativity is inspiring! Pinned!

    Reply
  8. Diane says

    March 7, 2023 at 9:51 am

    Oh, how cute Jennifer! Love your soft colors and the speckling. It has been such fun hopping along with you ladies!

    Reply

Leave a Reply Cancel reply

Your email address will not be published. Required fields are marked *

Next Post >

Easter Inspiration: 19 Pretty Easter Ideas to Inspire You

Primary Sidebar

Search

Catagories

Behind the blog

Behind the blog
Meet Jennifer

Hey friends, I'm so glad you are here! I'm a life-long New England gal who started Cottage On Bunker Hill as a hub to share all my DIYs, decorating ideas, budget shopping ideas and so much more!!

About Me

Stay Connected!

Get The Latest

Featured In:

Footer

Categories

Archives

 •••Cottage on Bunker Hill does not accept guest posts and I only link to sites that I find myself. No need to email me with requests•••

COPYRIGHT CONTENT PERMISSION

All images and tutorials on this blog are copyrighted material.

I’m happy to allow you to use ONE photo with appropriate credit and link back to cottageonbunkerhill.com

Please contact me if you would like to use any media, tutorials, or ideas from this blog.  Contact Jennifer via email: jennifer@cottageonbunkerhill.com

FEEL FREE TO PIN AWAY! IT’S APPRECIATED!

Cottage On Bunker Hill is a participant in several affiliate programs including the Amazon Services LLC Associates Program, an affiliate advertising program designed to provide a means for sites to earn fees by linking to Amazon.com and affiliated sites. For more information, see full disclosure statement (here)

Copyright © 2023 · Theme by 17th Avenue