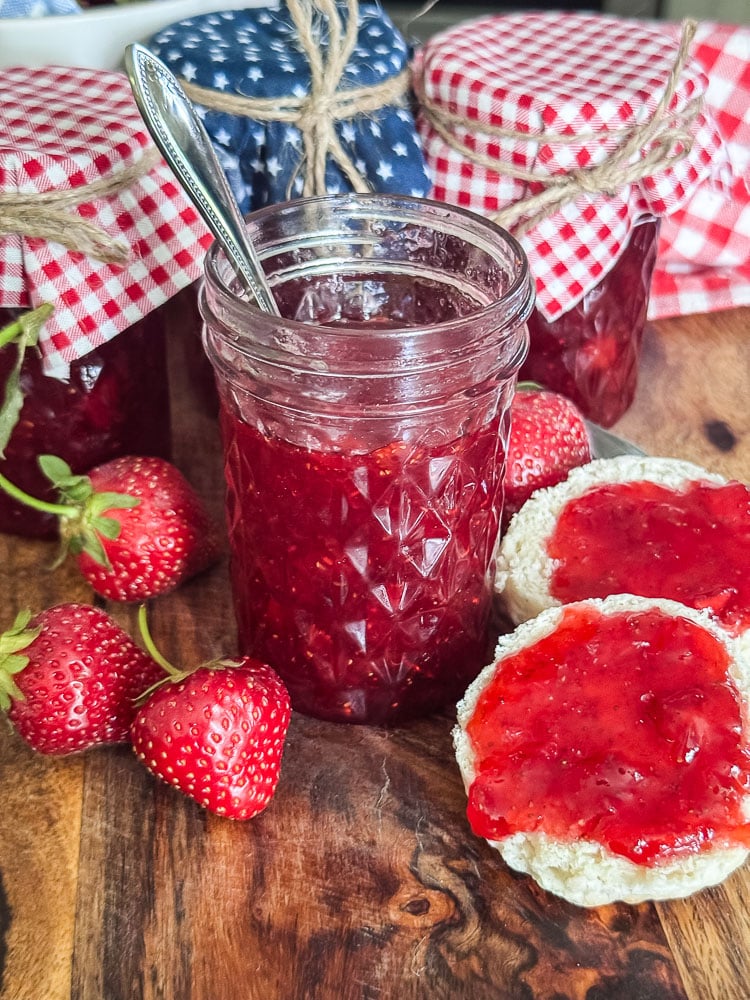
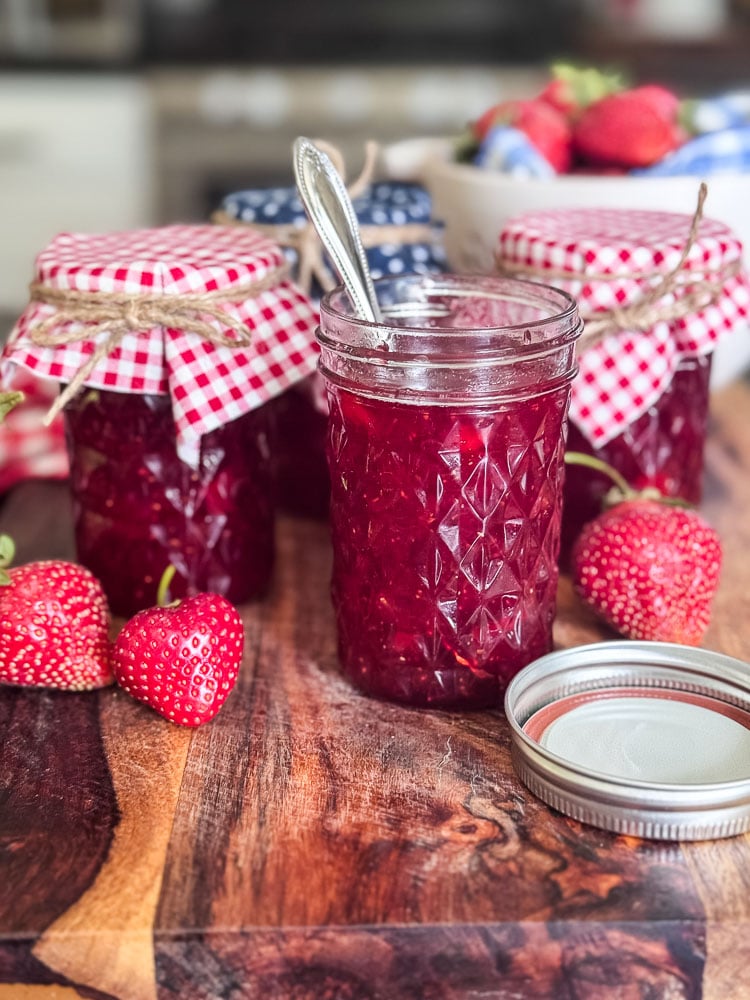
A simple small-batch stovetop strawberry jam, no pectin, no canning equipment required
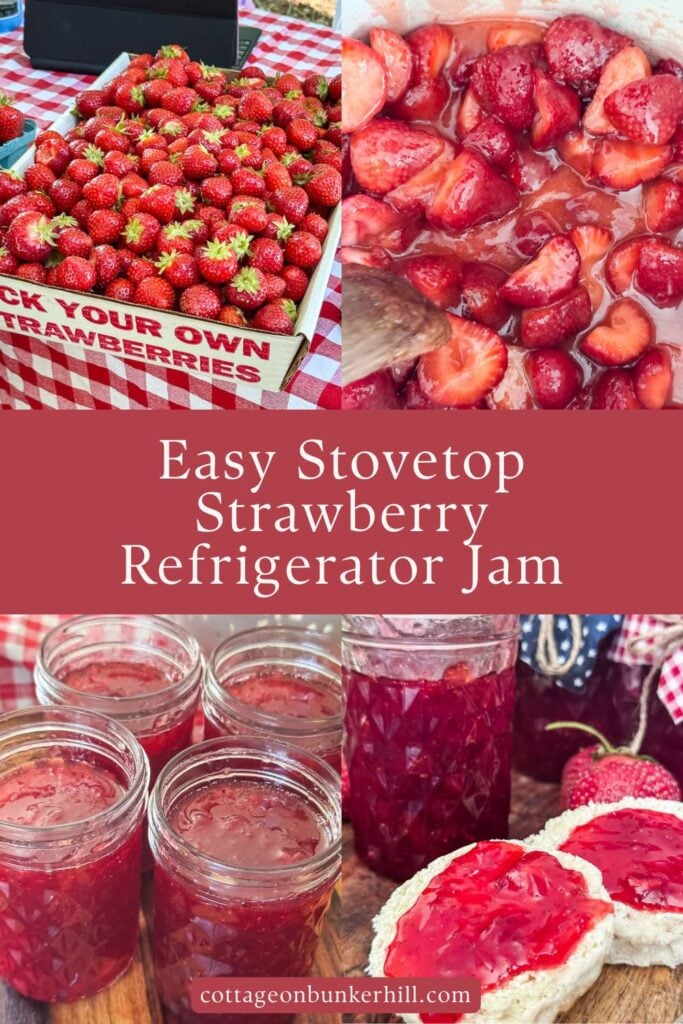
If you followed along last week when I went strawberry picking at Saltonstall Farm in Stratham, you already know I came home with a very full flat of berries. The next morning, with good light and a fresh cup of coffee, I got started making some easy strawberry jam. You don’t need any special canning equipment or pectin for this simple recipe. It’s just 4 ingredients (and 2 of them come from a single lemon!)
I’ll be upfront with you: this is not a quick recipe. You’re looking at 40 to 45 minutes of simmering on the stovetop. But here’s the thing, it’s not 40 to 45 minutes of standing over a hot stove white-knuckling a wooden spoon. It’s more like: stir, wander off, come back, stir again, repeat. Low and slow is what gives this jam that gorgeous, deep ruby color and that flavor that tastes exactly what you imagine a good homemade jam tastes like! It’s worth every minute.
I also tested this with different amounts of sugar, so you don’t have to. Three cups of sugar make a beautifully sweet jam, it’s l like summer in a jar! But if you prefer something less sweet and more tart, 2.5 cups or even 2 cups works beautifully too. I’ll give you all the details in the recipe.
No canning equipment. No pectin. Just strawberries, sugar, lemon, and a little patience.
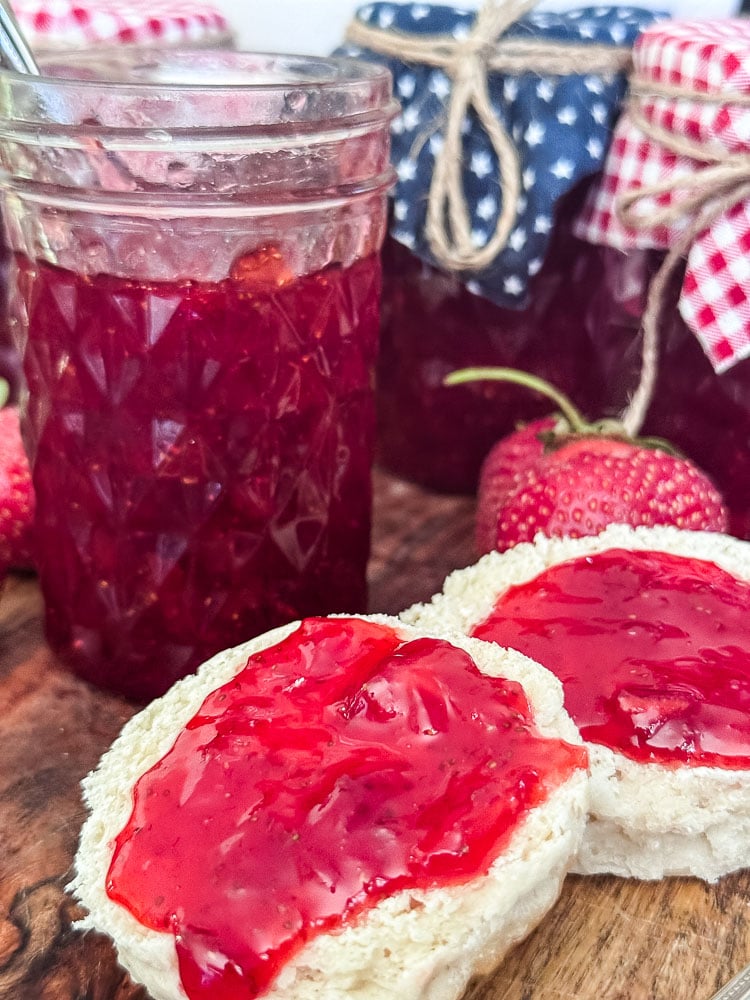
One jar was gone in less than 24 hours. Fair warning.

I’m Jennifer, a lifelong New Englander, gardener, enthusiastic home cook, and firm believer that the best recipes start with something you grew or picked yourself. Around here, recipes are simple, seasonal, and made for real life.
Welcome to my kitchen.
This post may contain affiliate links, which means we receive a small commission if you purchase through our links. See our disclaimer page for more information.
What You’ll Need
Nothing fancy here, which is kind of the whole point. A heavy-bottomed saucepan is the one thing I’d really encourage, as it distributes heat evenly and helps prevent scorching as the jam thickens. I used my Dutch oven because I love how it cooks everything.
Beyond that: a potato masher for breaking down the berries, a wooden spoon for stirring, a ladle for getting the jam into the jars, and a small plate popped in the freezer for the doneness test. Four clean 8 oz jam jars round out the list, or if you prefer, use 2 16 oz. jars.
That’s it. No special equipment, no canning setup, no candy thermometer. Just a stovetop and a little patience.
Easy Stovetop Strawberry Refrigerator Jam
Makes 4 eight-ounce jars
Strawberry Jam Ingredients
- 6 cups fresh strawberries, hulled and halved (about 2 lbs)
- 3 cups granulated sugar (see notes for less sweet options)
- 4 tablespoons fresh lemon juice (about 1 lemon)
- Zest of 1 lemon
Step 1: Prepare Your Strawberries
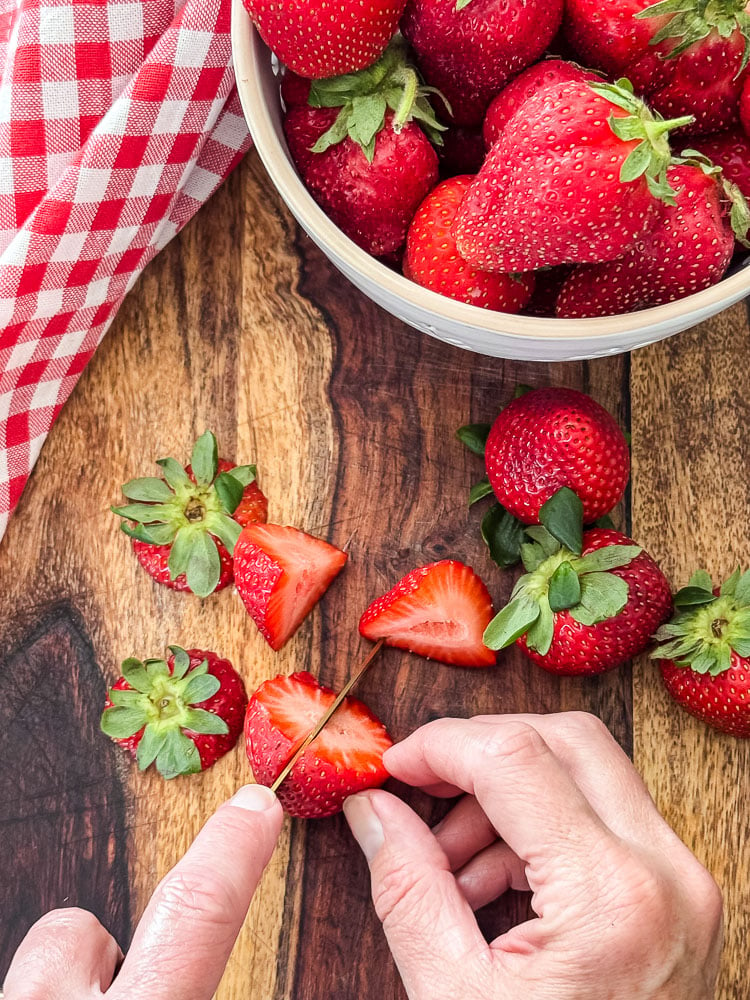
Hull and halve your strawberries. For this recipe, you will need 6 cups of strawberries or 2 1-lb containers.
Step 2: Zest & Juice A Lemon
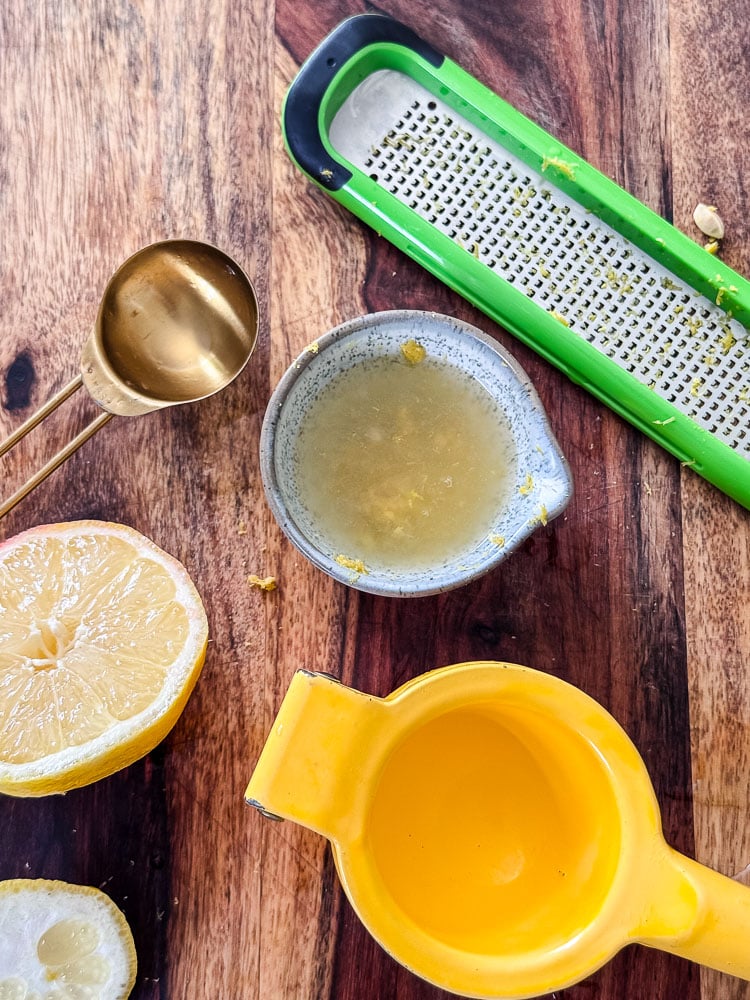
Zest 1 lemon, set aside. Cut the lemon in half and juice.
- Zest from 1 lemon
- 4 Tablespoons of lemon juice
Step 3: Add Ingredients to The Pan
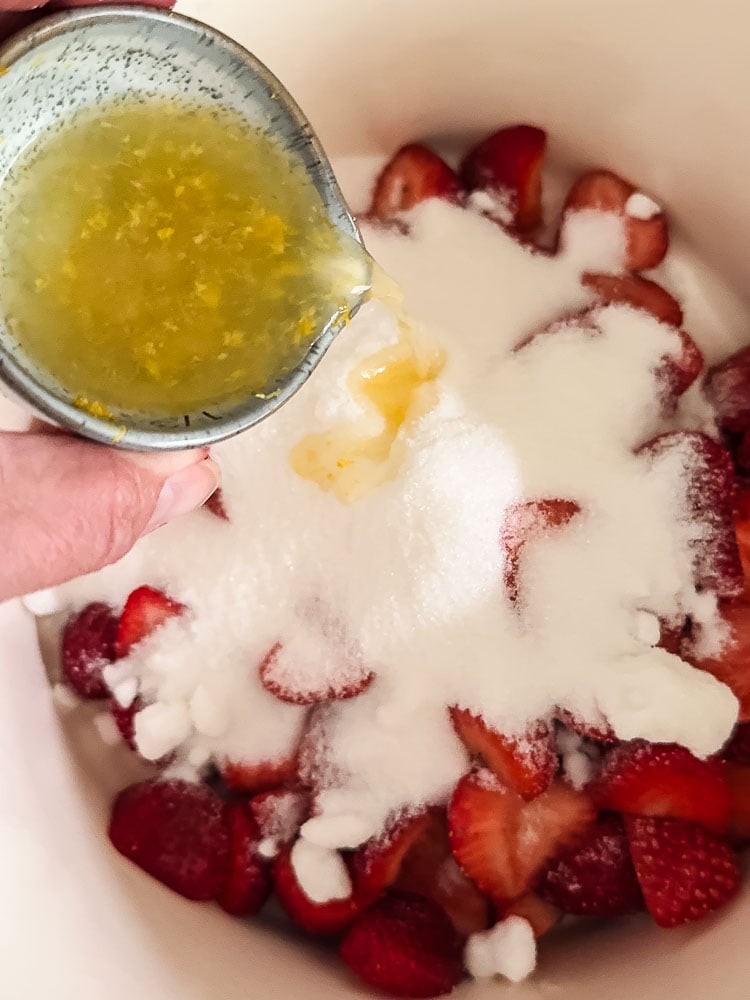
Add the strawberries to a heavy-bottomed saucepan. A heavy pan will work better for jam making, as it distributes heat evenly and helps prevent the jam from scorching as it thickens.
Add the sugar, lemon juice, and lemon zest. Stir to combine.
The sugar is flexible; adjust it to your taste.
Three cups of sugar make a sweet, classic jam. 2 ½ cups of sugar give you something a little more subtle, where the strawberry flavor really comes forward. I tested both and honestly loved them for different reasons.
If you’re unsure, start with two and a half cups; you can always go sweeter next time.
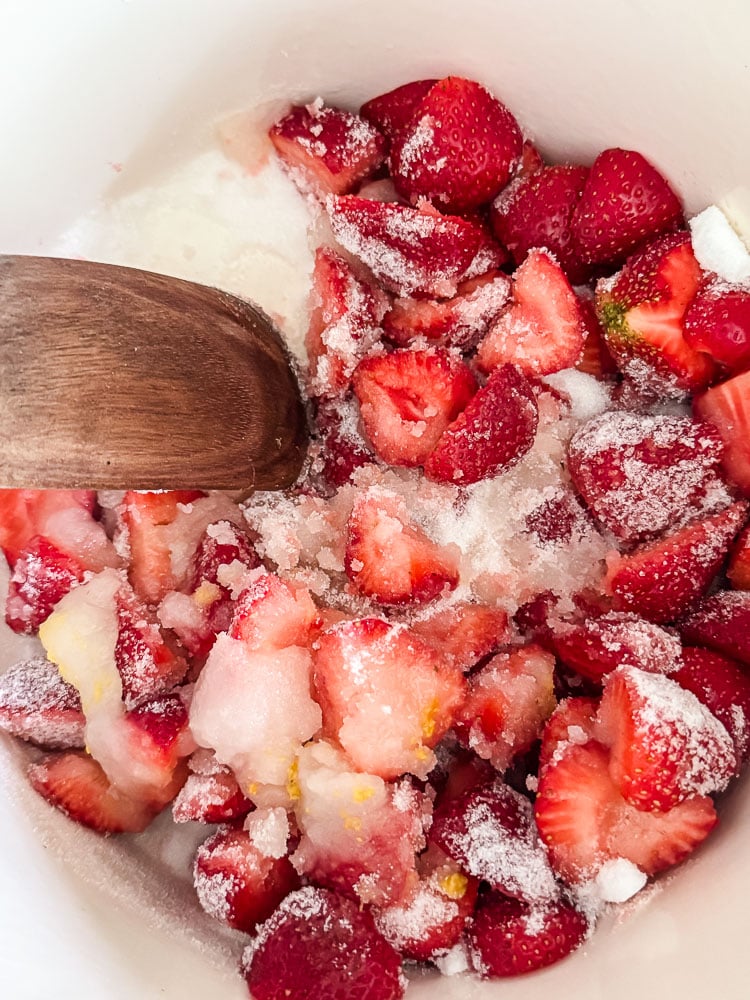
Step 4: Stir & Begin To Heat
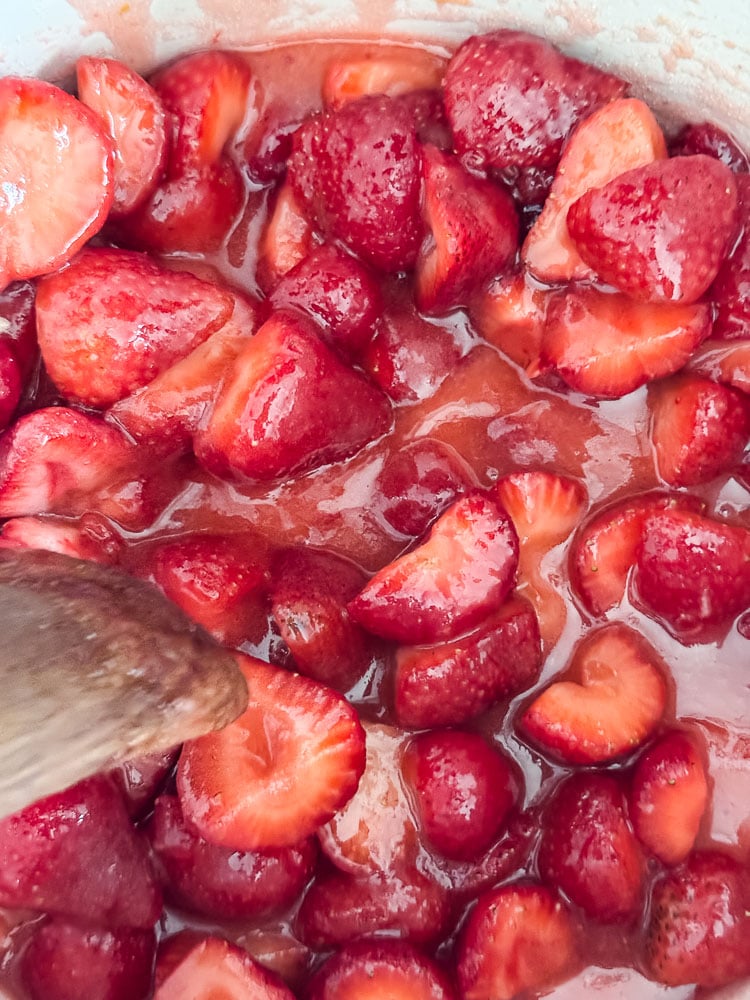
Place the pan over medium heat and bring to a rolling boil, stirring occasionally. As the berries soften, mash them with a potato masher to your preferred consistency. I left mine a little chunky, but you can mash it smooth, totally up to you.
Time: 10 minutes
Step 5: Let Slowly Simmer
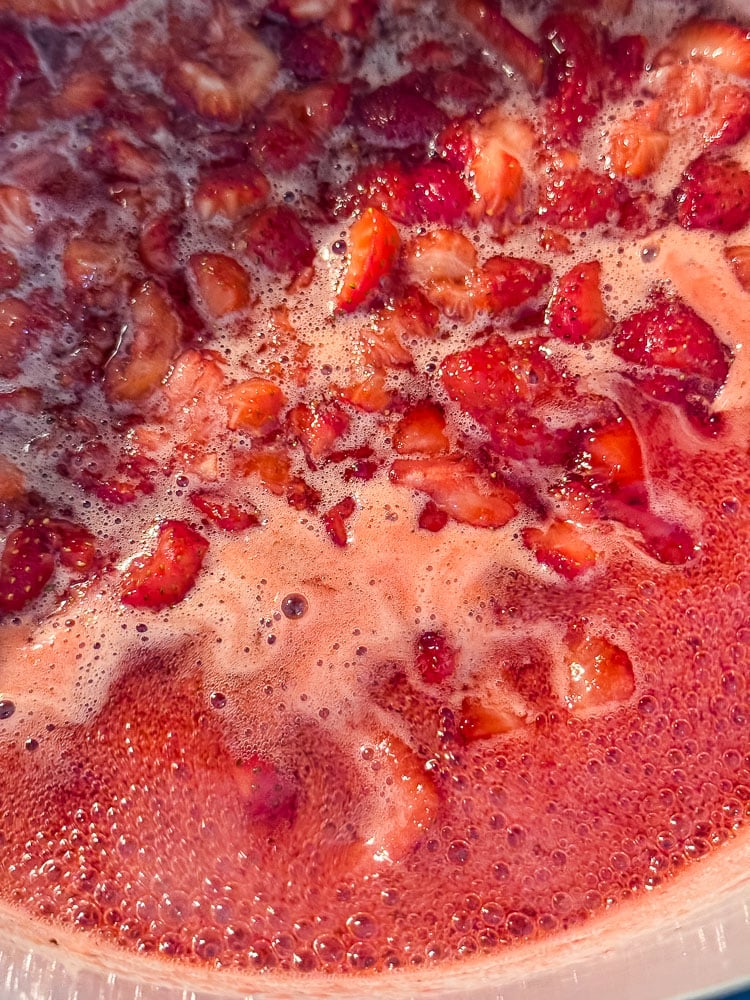
Reduce the heat and simmer, stirring frequently so the jam doesn’t catch on the bottom. Plan on 30 to 35 minutes of simmering. The jam is ready when it has thickened, the bubbles have slowed, and it looks glossy and deep red.
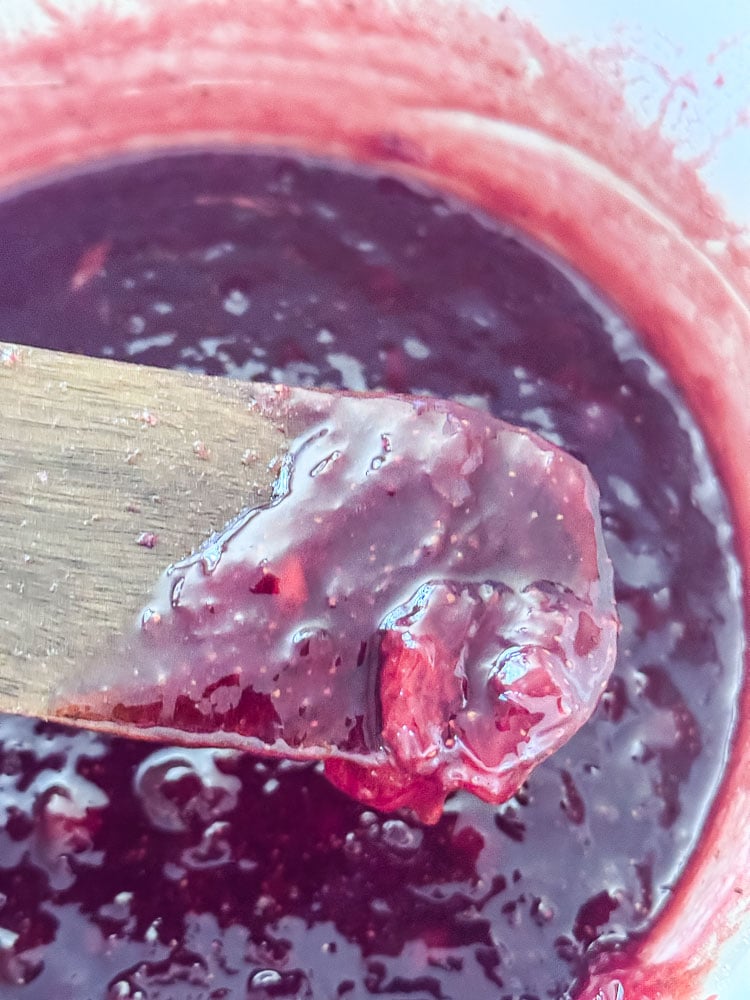
Start checking at the 30-minute mark using the cold plate test: drop a small spoonful onto a plate you’ve had in the freezer, wait one minute, then push it with your finger. If it holds its shape, it’s done. If it’s still runny, keep simmering and check again every 5 to 10 minutes.
Step 6: Cool & Fill Jam Jars
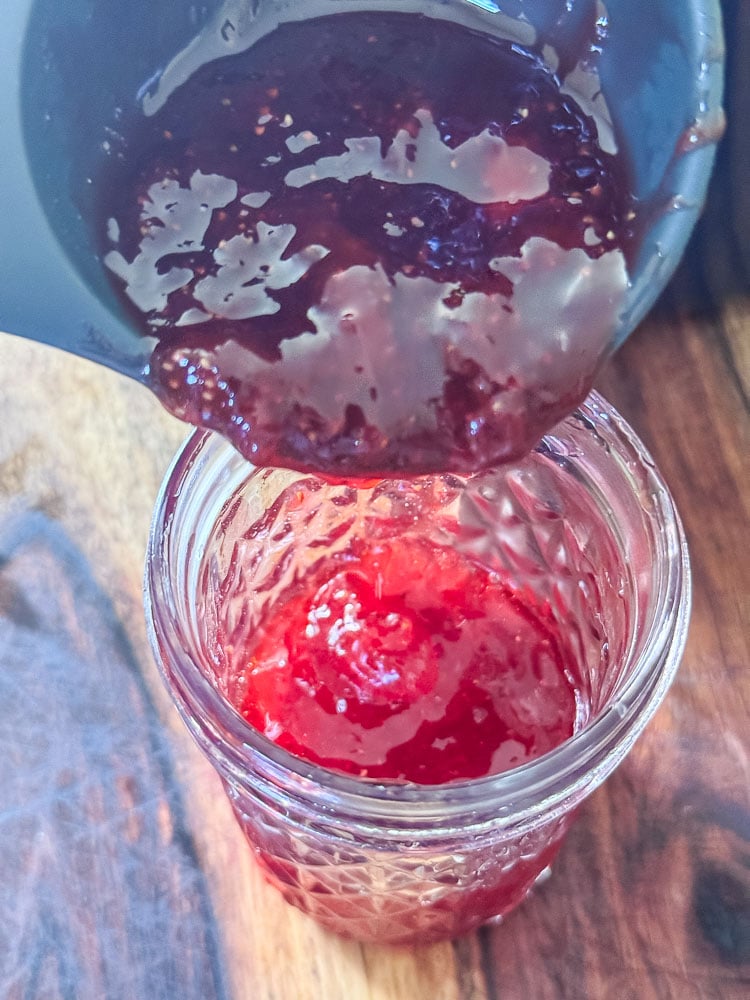
Remove from heat and let the jam cool in the pan for 15 to 20 minutes, stirring once or twice. Ladle into clean 8 oz jam jars. Let cool completely before sealing and refrigerating.

A Few Things I Learned Making This Jam
•Fresh-picked berries make a difference, but store-bought works too.
I made this jam with strawberries I had picked myself the day before at Saltonstall Farm, and the flavor is incredibly sweet, and the berries were so juicy! That said, this recipe will absolutely work with grocery store strawberries. Look for ones that are deeply red all the way through with no white shoulders, and make sure they smell like strawberries when you pick them up~and yes, I pick up and smell everything in the produce dept. before I put it in my carriage. If they don’t smell like anything in the store, they won’t taste like much in the jam.
•The sugar is flexible, so adjust it to your taste.
You know your own taste-I have a sweet tooth and prefer a sweeter jam. But the batch I made for my Mom, I used 2 ½ cups of sugar because she doesn’t love things too sweet. Both versions are delish!
•Don’t rush the simmer.
I know 45 to 50 minutes sounds like a lot. But high heat will give you jam that’s darker, duller, and more likely to scorch on the bottom of the pan. Medium-low and patient is the move. Set a timer, stir every few minutes, and go do something else in between.
•Do the cold plate test~ don’t skip it.
I checked mine at 30 minutes, and it wasn’t ready. At 45 minutes, it was perfect. Every batch of berries is a little different depending on how juicy they are, so the cold plate test is your real doneness indicator, not the clock. Pop a small plate in the freezer before you start so it’s ready when you need it. This was so helpful because visually the jam didn’t look different to me, to be honest, but at 30 min it dripped when I tipped the plate, and at 45 min it stayed put.
•This jam freezes beautifully!
If four jars feel like more than you’ll use in three weeks, freeze a jar or two. Leave a little headspace in the jar if you’re freezing glass, or use a small freezer-safe container to store it (you can always transfer it back to a glass jar when it thaws). Frozen strawberry jam in January tastes like the best kind of time travel.
Go Make Some Jam!
If you picked strawberries this season at Saltonstall Farm, like I did, or anywhere near you, this is what you should do with them. Clear an hour on a quiet morning, put some good music on, and make jam. It’s one of those kitchen projects that feels a little ambitious until you’re doing it, and then you realize it’s mostly just stirring and waiting, and the whole house smells incredible.
And if strawberry season has already passed by the time you find this post, bookmark it for next June. Because once you’ve made jam from berries you picked yourself, that jar of store-brand jam is never quite going to cut it again!
If you missed the farm visit post, catch up here: Strawberry Picking at Saltonstall Farm, and if you make this jam, I’d love to see it! Send me pics so I can see your jars! Email them to me at cottageonbunkerhill@gmail.com
xo, Jennifer
Readers’ favorite Recipes


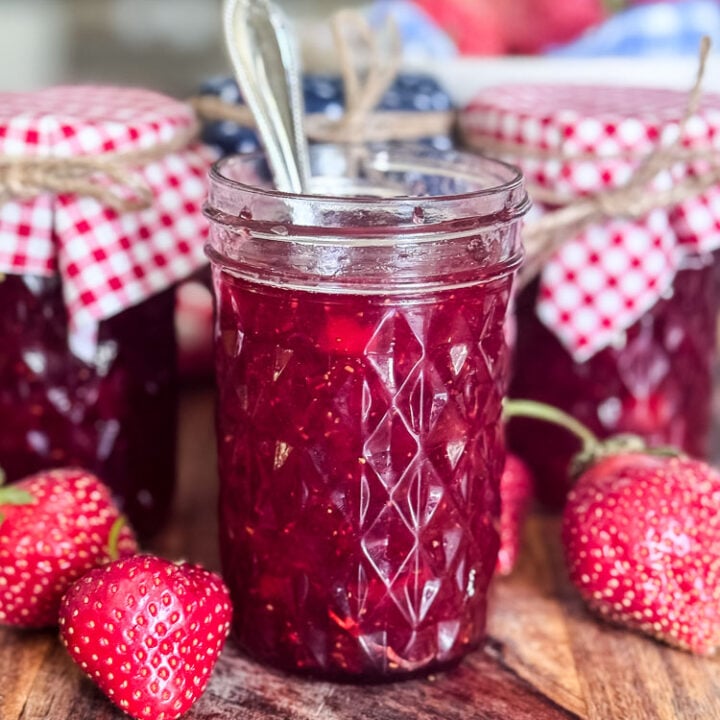
Small Batch Strawberry Refrigerator Jam: No Pectin, No Canning!
A simple small-batch stovetop strawberry jam, no pectin, no canning equipment required!
Ingredients
- 6 cups fresh strawberries, hulled and halved (about 2 lbs)
- 3 cups granulated sugar (see notes for less sweet options)
- 4 tablespoons fresh lemon juice (about 1 lemon)
- Zest of 1 lemon
Instructions
- Hull and halve your strawberries and add them to a heavy-bottomed saucepan. A heavy pan is important here- it distributes heat evenly and helps prevent the jam from scorching as it thickens.
- Add the sugar, lemon juice, and lemon zest. Stir to combine.
- Place the pan over medium heat and bring to a rolling boil, stirring occasionally for 10 minutes. As the berries soften, mash them with a potato masher to your preferred consistency, leave it a little chunky or mash it smooth, totally up to you.
- Reduce the heat and simmer, stirring frequently so the jam doesn’t catch on the bottom. Plan on 35 to 40 minutes of simmering. The jam is ready when it has thickened, the bubbles have slowed, and it looks glossy and deep red.
- Start checking at the 30-minute mark using the cold plate test: drop a small spoonful onto a plate you’ve had in the freezer, wait one minute, then push it with your finger; if it holds its shape, it’s done. If it’s still runny, keep simmering and check again every 5 to 10 minutes.
- Remove from heat and let the jam cool in the pan for 15 to 20 minutes, stirring once or twice. Ladle into clean 8 oz jam jars. Let cool completely before sealing and refrigerating.
- Stays fresh in refrigerator for 2-3 weeks.
- Is freezer friendly! Leave a little headspace in the jar if you’re freezing glass, or use a small freezer-safe container to store it (you can always transfer it back to a glass jar when it thaws).
Notes
The sugar is flexible; adjust it to your taste.
Three cups of sugar make a sweet, classic jam. 2 ½ cups of sugar give you something a little more subtle, where the strawberry flavor really comes forward. I tested both and honestly loved them for different reasons.
Nutrition Information:
Yield: 64 Serving Size: 1Amount Per Serving: Calories: 54Total Fat: 0gUnsaturated Fat: 0gSodium: 1mgCarbohydrates: 13gFiber: 0gSugar: 13gProtein: 0g