

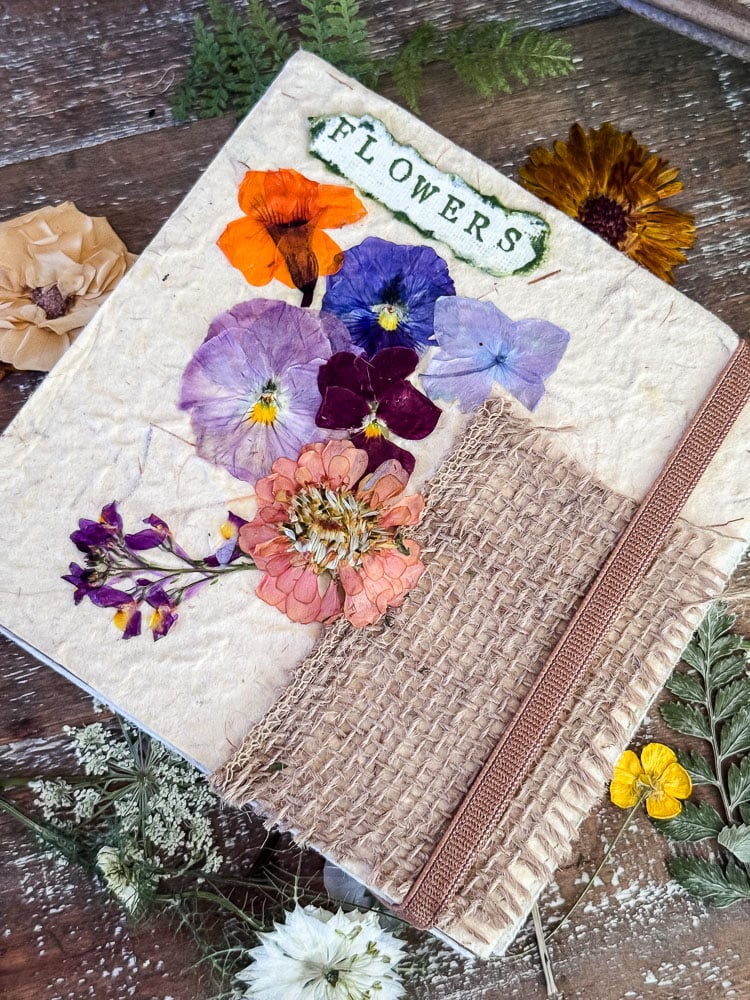
DIY Pressed Flower Journal: How to Preserve Your Garden & Travel Memories
You know I’m always looking for a new hands-on project, and this one was so fun to put together. My flower pressing hobby and my love of journaling finally collided.
I recently got myself a tiny flower press small enough to toss in my pocketbook, and have started collecting flowers wherever I have ended up this Summer: 4th of July in Maine, a boat ride to the Isle of Shoals, a day trip to Rockport.
Then I had the idea to create a flower journal where I could make myself a memento of some of my favorite blooms. I’m sure it will cheer me up to flip through the pages on a snowy January day here in New England!!

Welcome! I’m Jennifer, and I’ve always believed nature is the most beautiful art supply. For years, I’ve been preserving New England’s blooms and foliage through pressing, drying, and crafting. Let me show you how to capture a little bit of the season and bring it indoors—simply and beautifully.
This post may contain affiliate links, which means we receive a small commission if you purchase through our links. See our disclaimer page for more information.
What Even Is a Flower Journal?
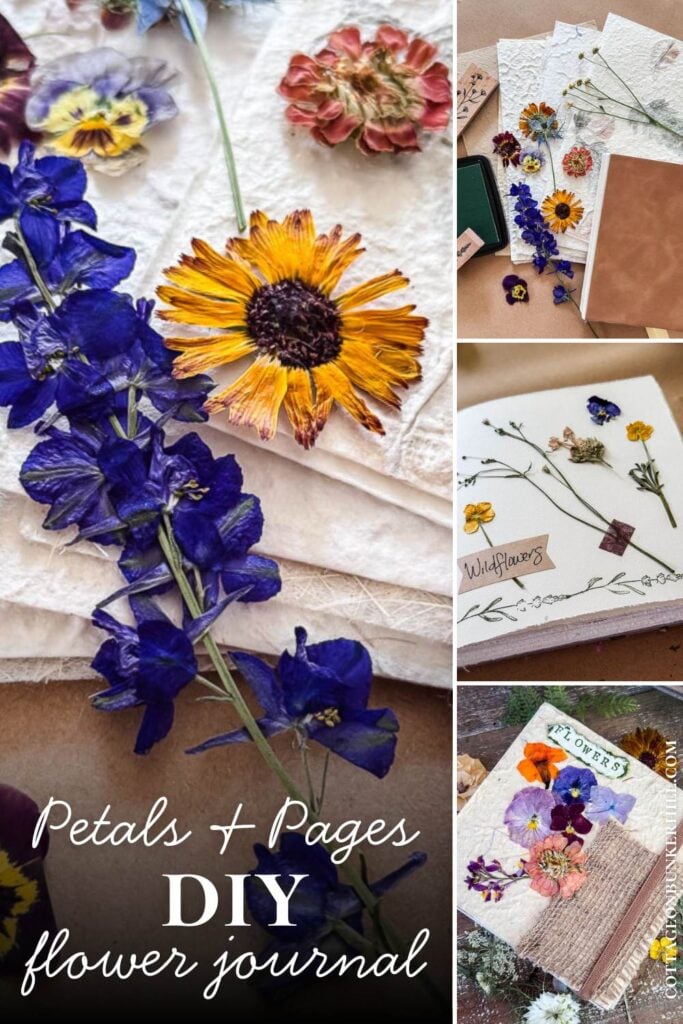
It’s part scrapbook, part nature diary. You press flowers you collect from your garden, a farm stand, a walk, wherever, and then mount them into a journal along with the date, a location, or just a little note about the day. So far this is how mine has progressed: spring flowers, wildflowers, my Maine trip, flowers from Isle of Shoals, flowers from Rockport. It’s basically a travel journal that happens to be made of flowers instead of words.
What You Will Need: Supply List
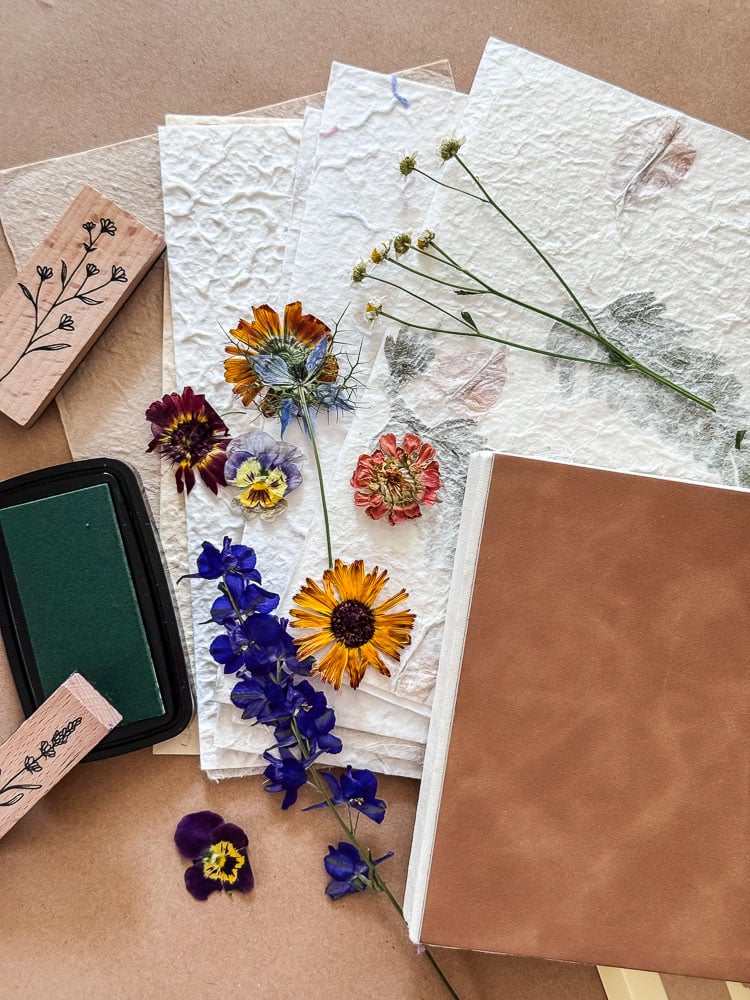
Materials for this Project
- A journal with thick, acid-free pages. Regular lined notebook paper will warp under glue, so look for something marketed as a mixed-media or watercolor sketchbook — mine is a deckle-edge handmade sketchbook with nice heavy pages that hold up well.
- A flower press.
- My go-to large press
- A tiny travel one is great for pressing blooms on the go
- Microwave press for pressed flowers in minutes
- Archival, acid-free glue. I use a neutral-pH PVA glue made for bookbinding and paper crafts. It dries clear, stays flexible, and won’t yellow your pages over time. Regular craft glue can discolor things eventually, and I want this book to last.
- Tweezers, for handling delicate pressed petals without crumbling them.
- Extras for decorating, if you want them: handmade paper, scraps of burlap or fabric, letter and flower stamps, washi tape, labels
Making A Flower Journal: Step-by-Step
There are really two parts to this project. First, decorating the cover of your journal book. Then filling it with pressed flowers. I will give you the basic step-by-step and tips, and then you can get creative with your own DIY flower journal.
Step 1: Press Your Flowers First
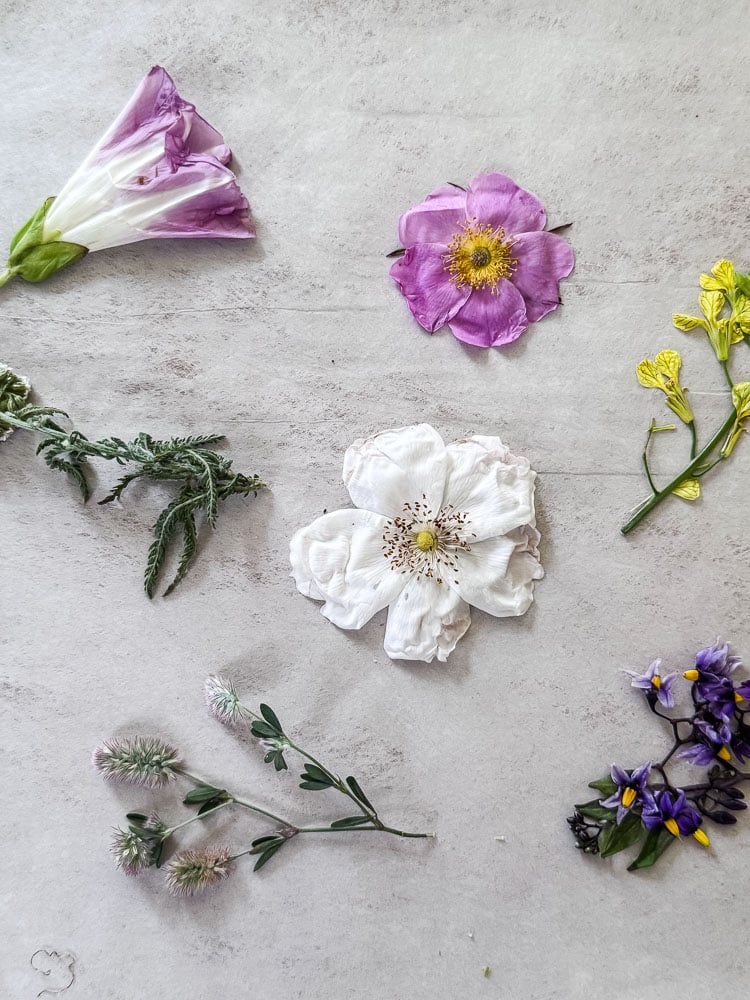
Press your flowers first, not directly in the journal. This one trips people up. You need to press the flower separately first and let it dry completely before it ever touches the journal.
If you press straight into the journal pages, you risk trapping moisture against the paper, which can lead to mold or warped pages. Pressing separately also means you can collect a whole afternoon’s worth of flowers, let them dry over a week or two, and journal the page later, whenever you actually have time to sit down with it.
Learn more about how to use a flower press in my beginner’s guide
Step 2: Give Your Cover Some Personality.
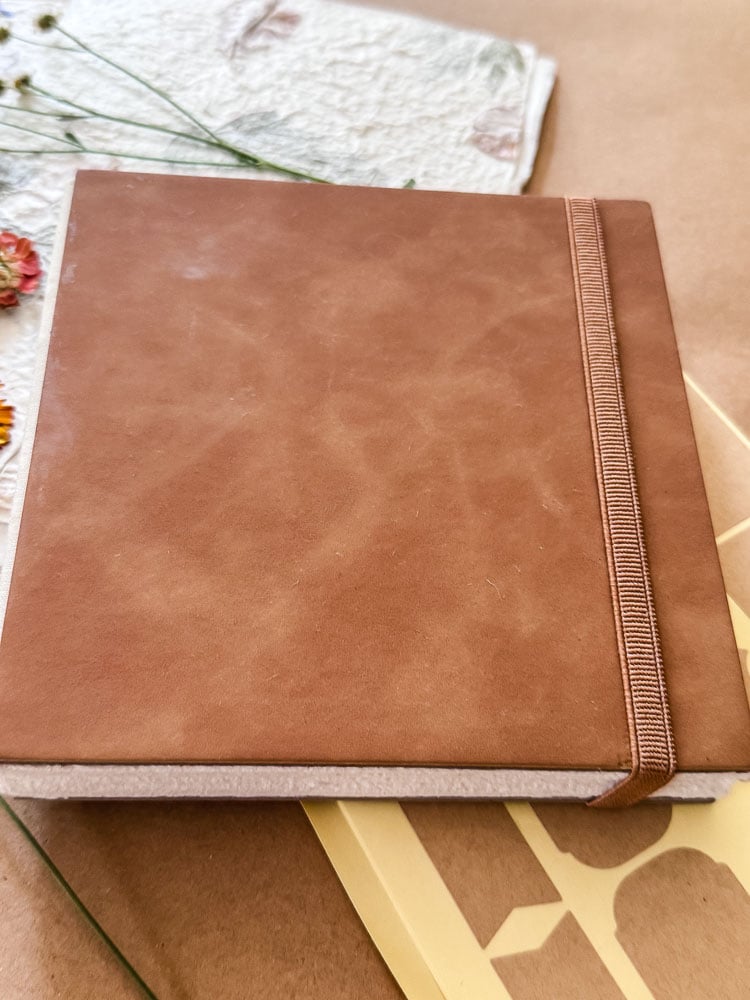
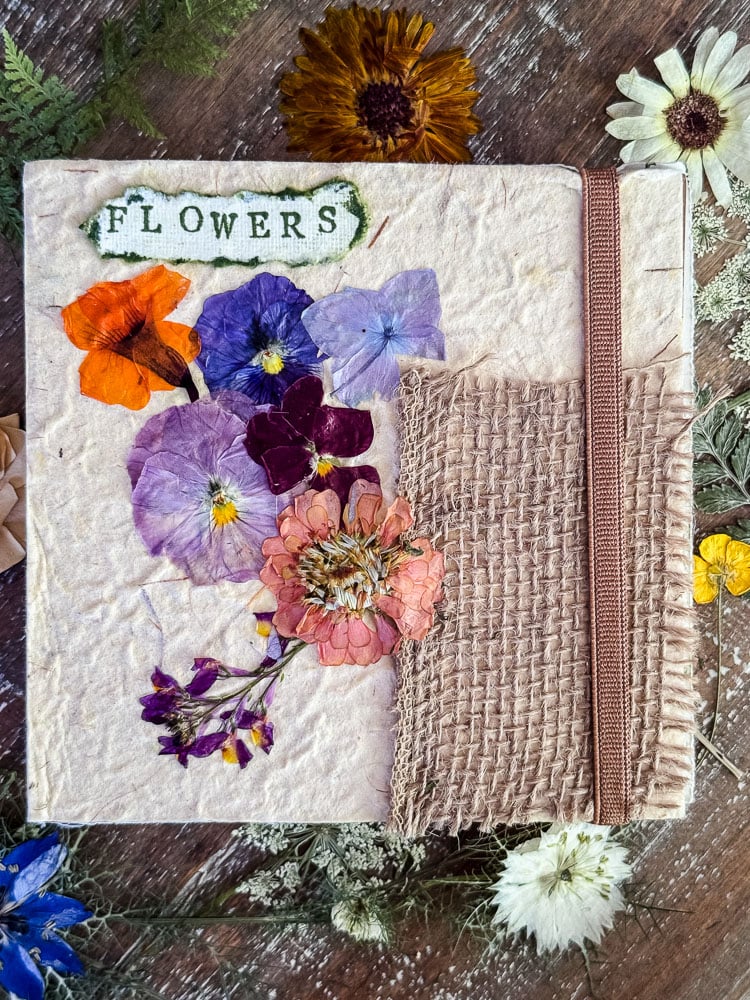
This is the fun part. I jazzed up my cover with handmade paper, a scrap of burlap, pressed flowers, and a hand-stamped “FLOWERS” tag
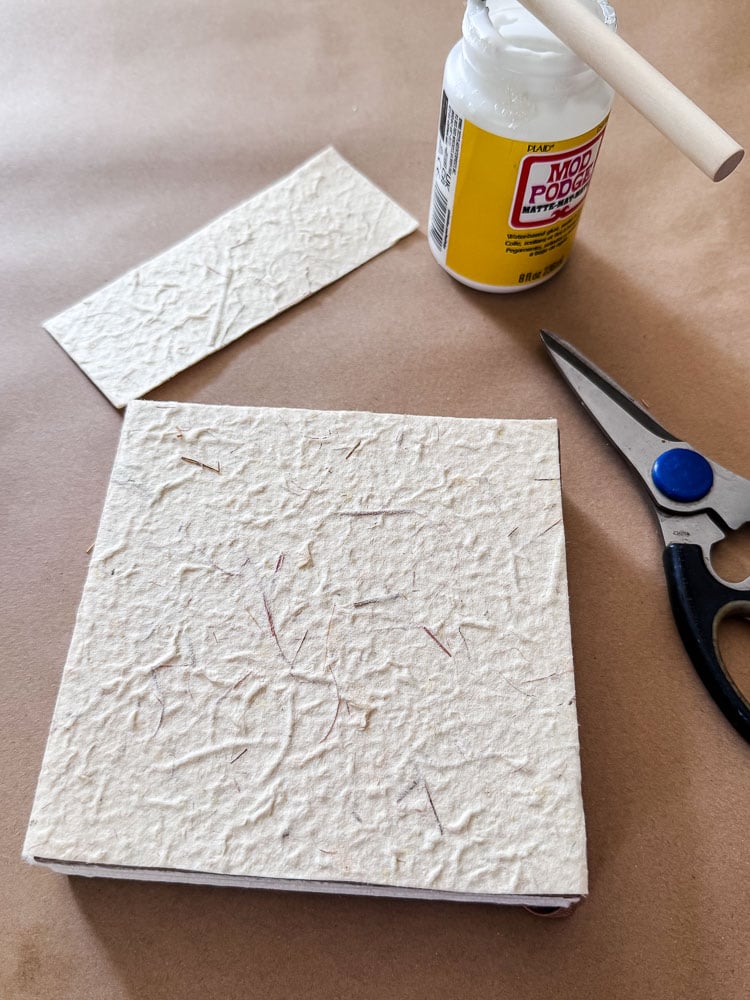
I started by cutting a piece of handmade paper to cover the basic journal cover. Then used Mod Podge to glue it into place. I cut a small piece of burlap and glued that on the corner of the journal.
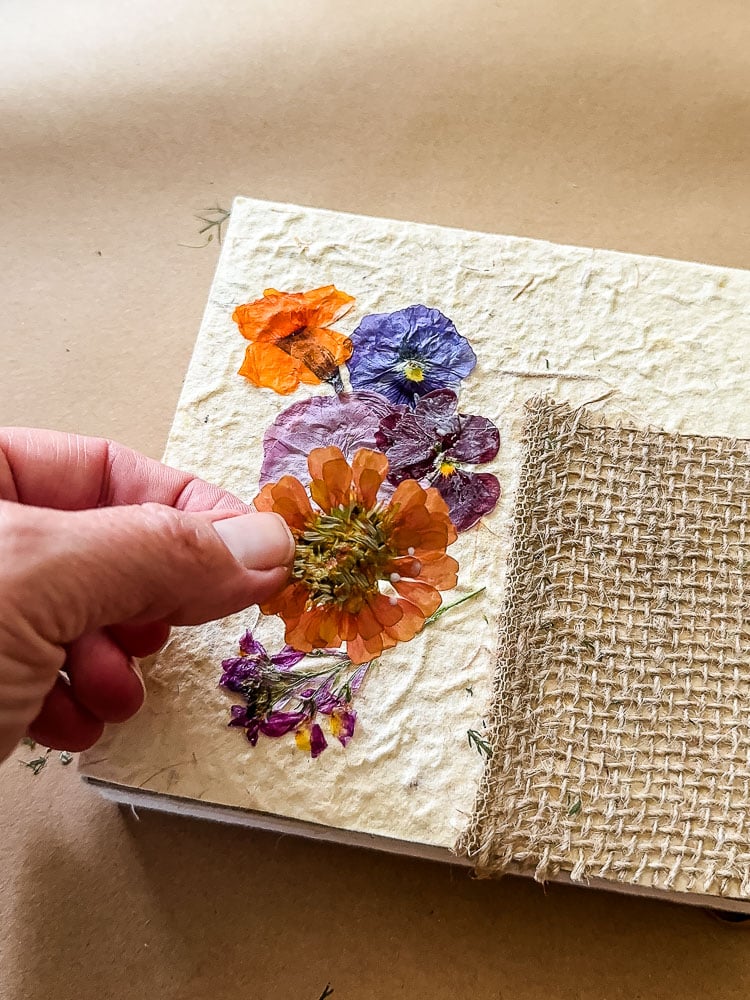
Then I got busy gluing a few pressed flowers on top of the paper using archival craft glue (it dries clear and is great for pressed flowers).
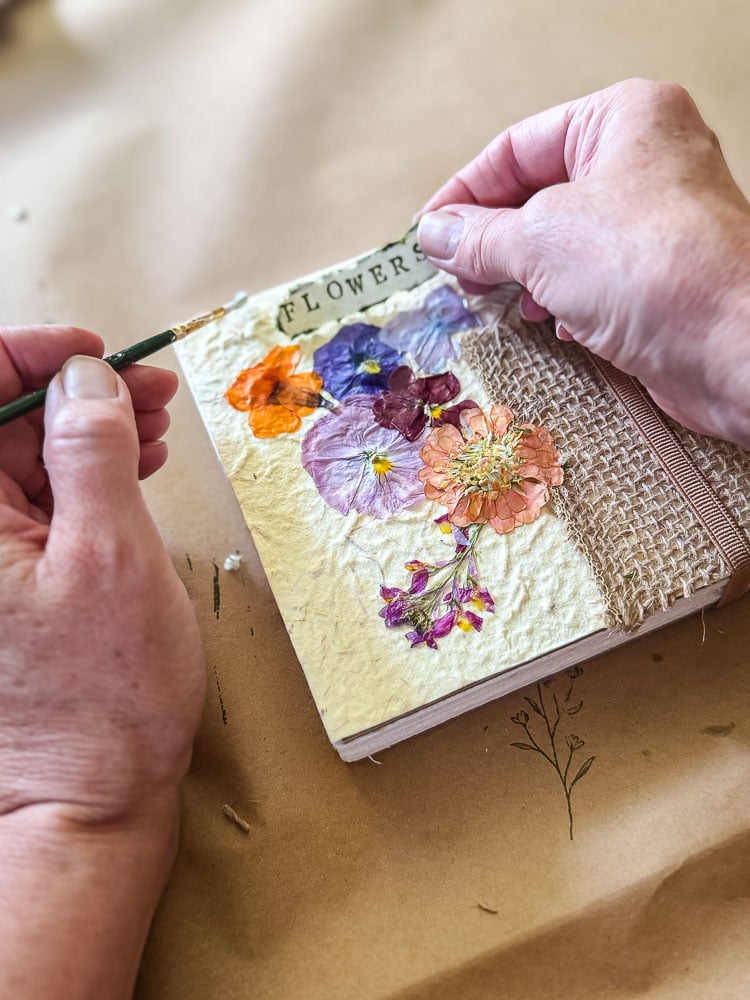
Here’s my honest confession: I cannot stamp in a straight line to save my life. You may notice as we go through the tutorial: my rows drift, my flowers overlap in places they probably shouldn’t, and if you look closely, you’ll catch a stamp or two that’s slightly crooked. And you know what? I love it anyway. This isn’t a project chasing perfection. A slightly wonky stamped flower field still looks like a flower field, and honestly, the imperfection is what makes it look handmade instead of printed.
Step 3: Build Your Pages
Once your flowers are fully pressed and dry, I would recommend arranging them on the page before you commit to gluing anything down. I like to lay a few options out and actually look at it for a minute before I decide.
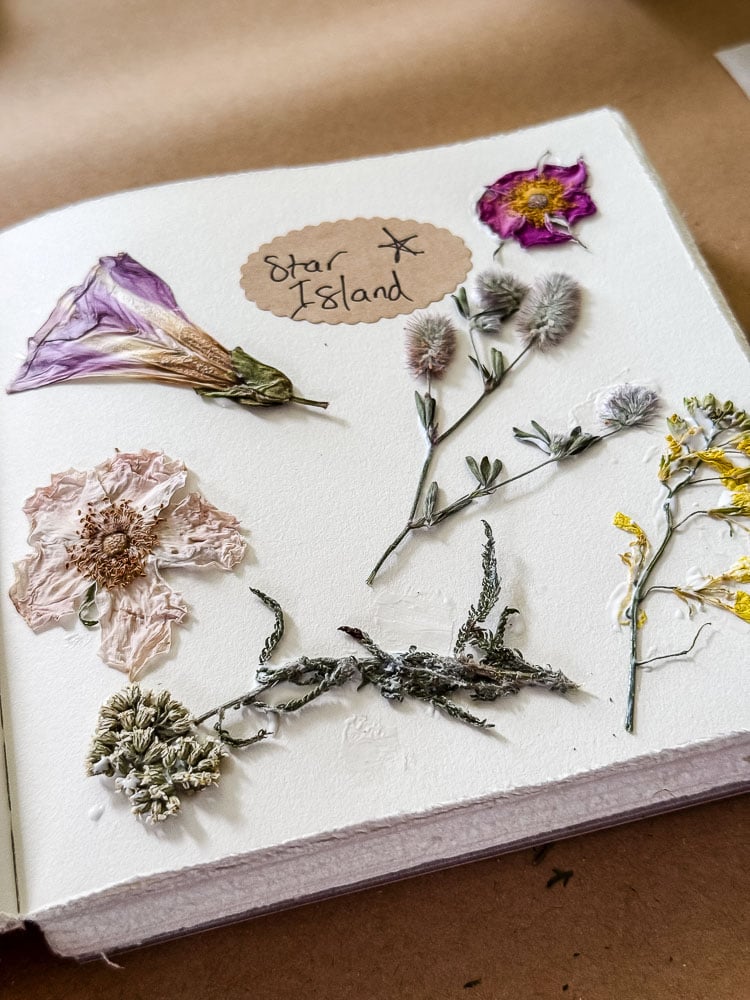
Then a thin layer of glue ( I use a small paintbrush to brush it on the back of the bloom), gently pressed into place, and hold it for a few seconds so it sets. You can then lightly brush some of the glue over the edges to secure. The archival craft glue I am using dries clear (it’s what pressed flower artists use for framed art).
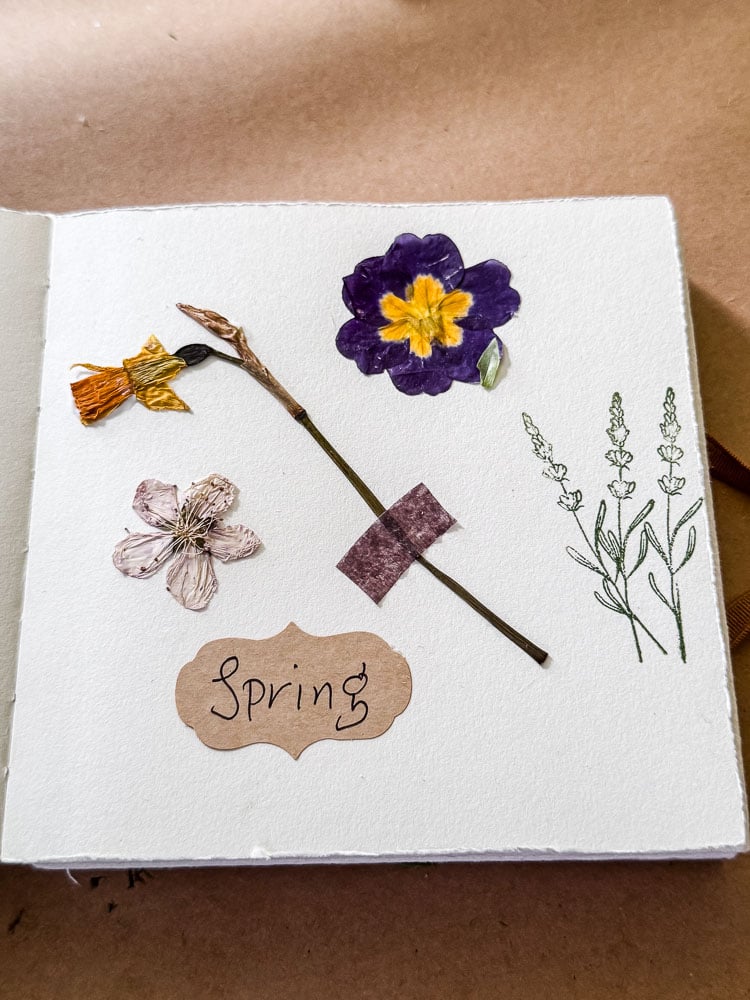
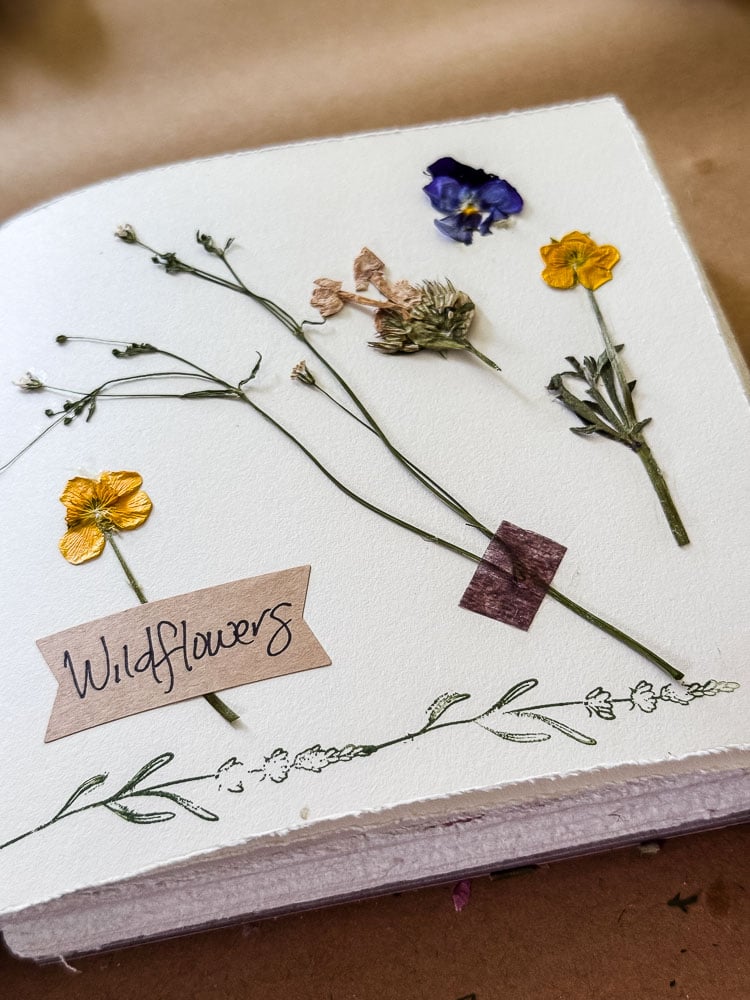
I organize my pages by theme or trip rather than randomly filling the book. A spring flowers page, a wildflowers page, a Maine page, a page from our Isle of Shoals boat ride, and one from our Rockport day trip. It gives the book some structure and turns it into more of a travel record than a random collection.
Step 4: Label As You Go
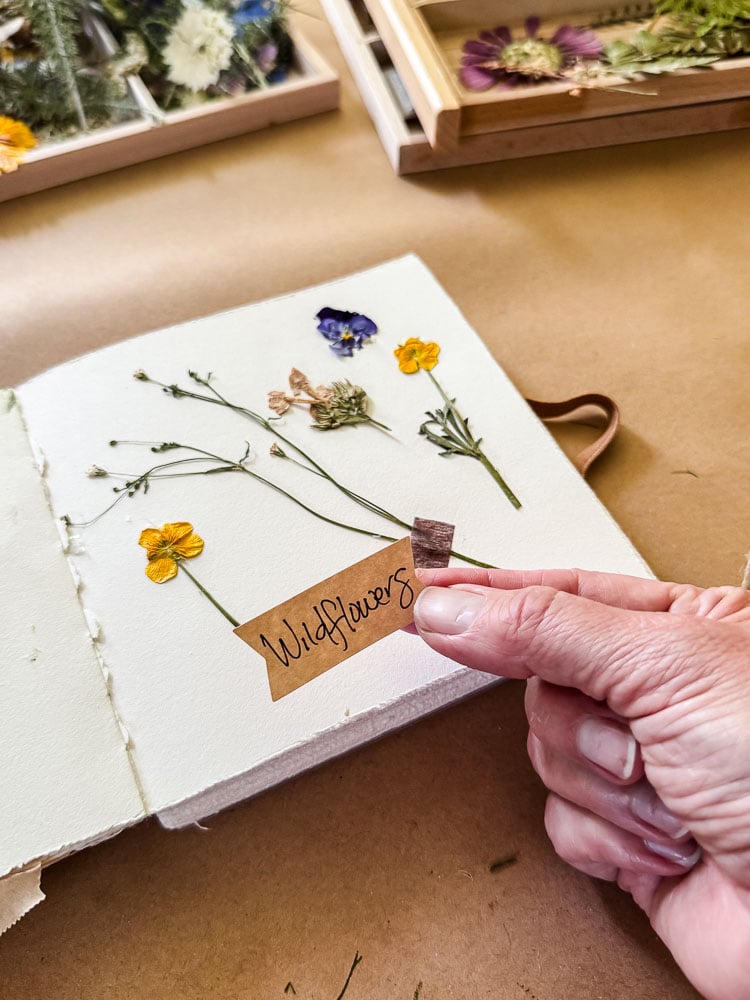
Label as you go, and let each page have its own personality.
Even a few words help: the flower name if you know it, where you found it, the date. Beyond that, this is where you can really make the journal yours.
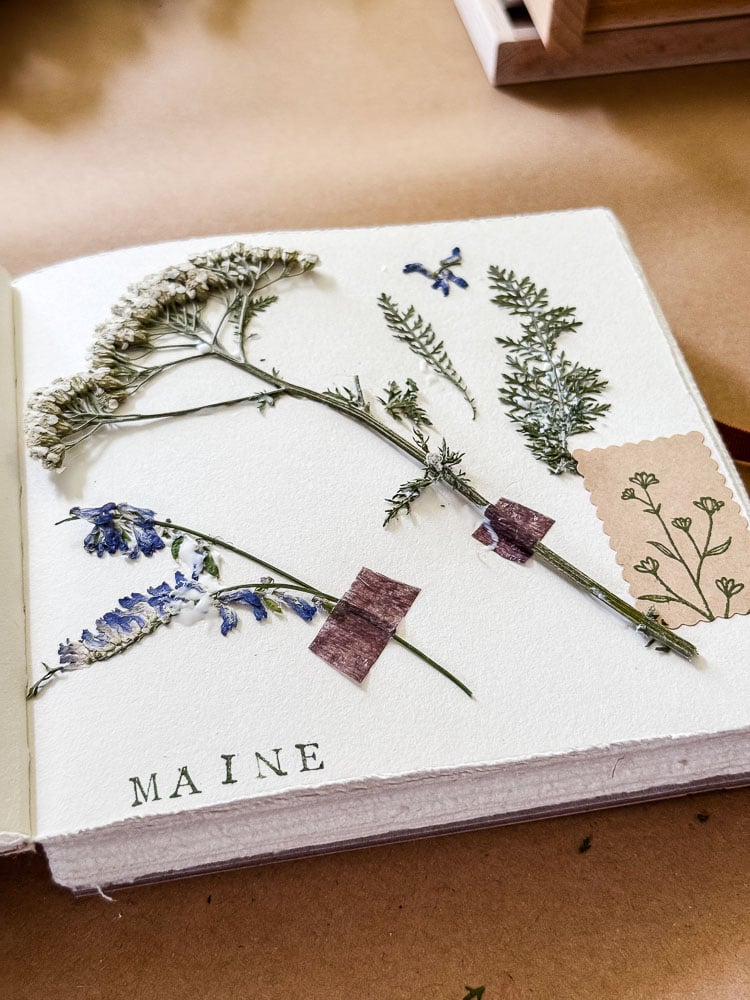
On my Maine page of flowers, I added little strips of washi tape over some of the stems purely for looks, not to hold the flowers in place. On other pages, I hand-stamped the location, or just added a flower stamp for a little extra charm.
You could just as easily use scrapbook paper or stickers instead. Make it reflect your own style. There’s no one right way to decorate a page.
Step 5: Add Additional Details
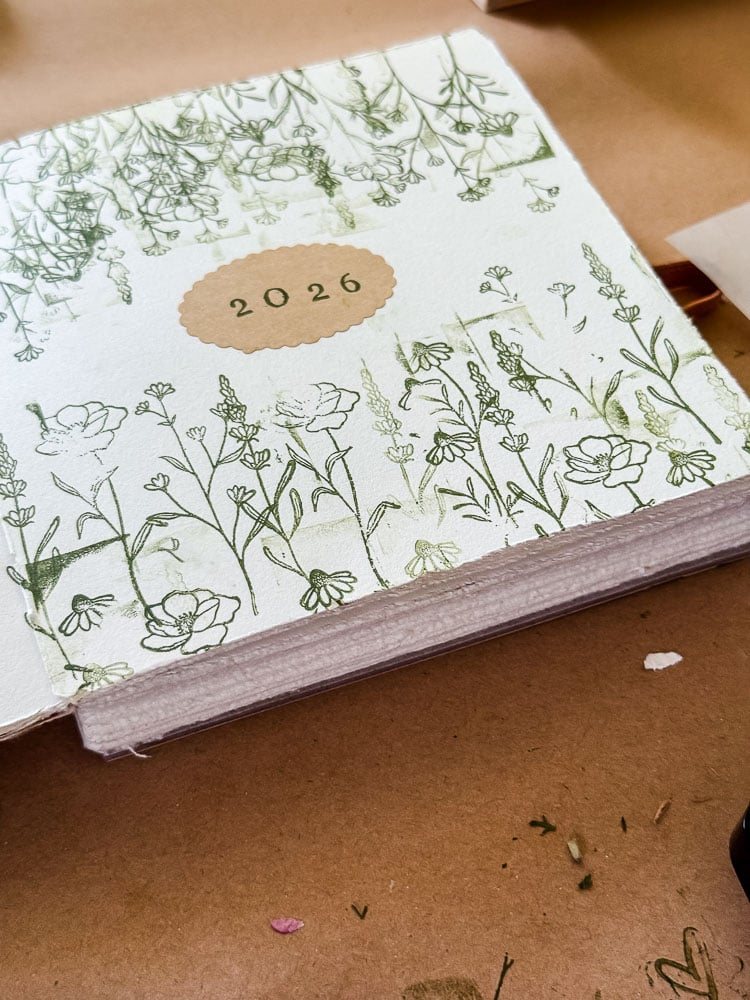
On the inside cover, I added a sticker with 2026 in the center and then had fun with a set of flower stamps & a green ink pad.
A Few Tips For You
- Different flowers press at different speeds: thinner ones like Queen Anne’s lace or cosmos are usually ready sooner, while thicker blooms like zinnias or roses need more time. Give it a full one to two weeks and check before you assume they’re done.
- Matte paper holds glue better than glossy, if you’re shopping for a journal.
- Don’t overthink your journal! Make it as simple or as decorated as you want. You are creating this for yourself, for you to enjoy.
Why I Love This One
This would also make a really fun girls’ night or crafting night project. Order enough journals for everyone and supplies to decorate the covers. Have your friends gather flowers a couple of weeks before the crafting night and press them-even in a book. Then you spend an evening putting pages together. It’s the kind of low-key, hands-busy activity that’s perfect with a glass of wine and good conversation.
Out of everything I’ve made lately, this might be my favorite! It’s not really about the finished pages; it’s about noticing a flower on a walk and actually stopping to save it, instead of just snapping a photo and scrolling on. Slow, simple, a little messy, entirely mine.
If you start one, I’d love to see it. Either tag me or send me a photo of your first page, crooked stamps and all!!
See your projects featured! If you are inspired by this or any of my other DIY projects, I would love to see them and add you to the Reader’s Spotlight gallery. Send a photo to me at jennifer@cottageonbunkerhill.com
xo, Jennifer
Love projects like this? Don’t miss out! Join my newsletter family for more cozy, budget-friendly DIY ideas delivered right to your inbox. You’ll get exclusive tips, early access to tutorials, and all the inspiration you need to make your home feel handmade and heartfelt.

Pressed Flower Ideas To Try
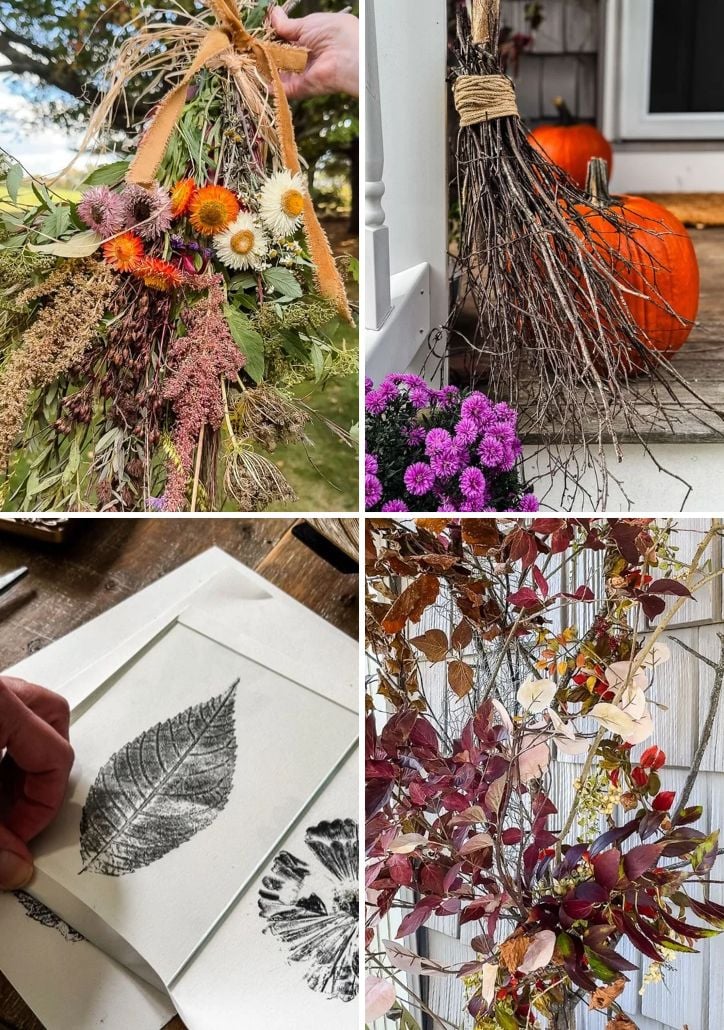
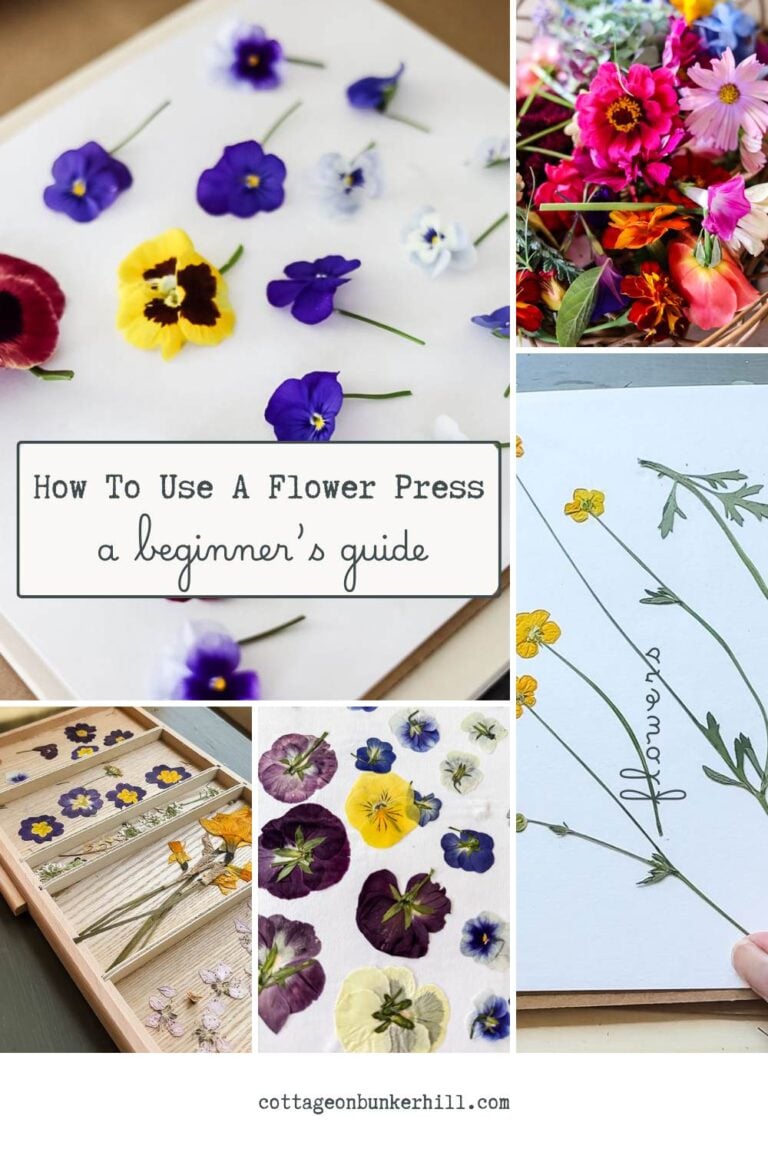
- How To Use a Flower Press: Learn the basics
- Bookmarks: Laminate pressed flowers for a functional keepsake.
- Decoupage Vases: Turn your pressed flowers into beautiful vases
- Framed Art: Create a beautiful botanical display for your home.
- Greeting Cards: Add a personal touch to handmade cards.
- Flower Plaques: Using vintage book pages & flowers



Everything you create is so inspiring to us all! Keep creating!🌺❤️