Have you walked into a store lately? It’s like Fall & Halloween threw up in every aisle. Foam pumpkins, glittery leaf garlands, plastic everything. I’ve seen it called “landfill core,” and honestly, I couldn’t agree more.
Here’s the thing, though. There’s this idea that Fall is something you can buy and bring home in a shopping bag. But Fall isn’t really a thing. It’s a feeling. It’s crunchy leaves, golden light, the smell of woodsmoke, and that first cool morning when you grab a sweater. And you can capture that feeling with what’s growing right outside your door so much better than with a foam pumpkin.
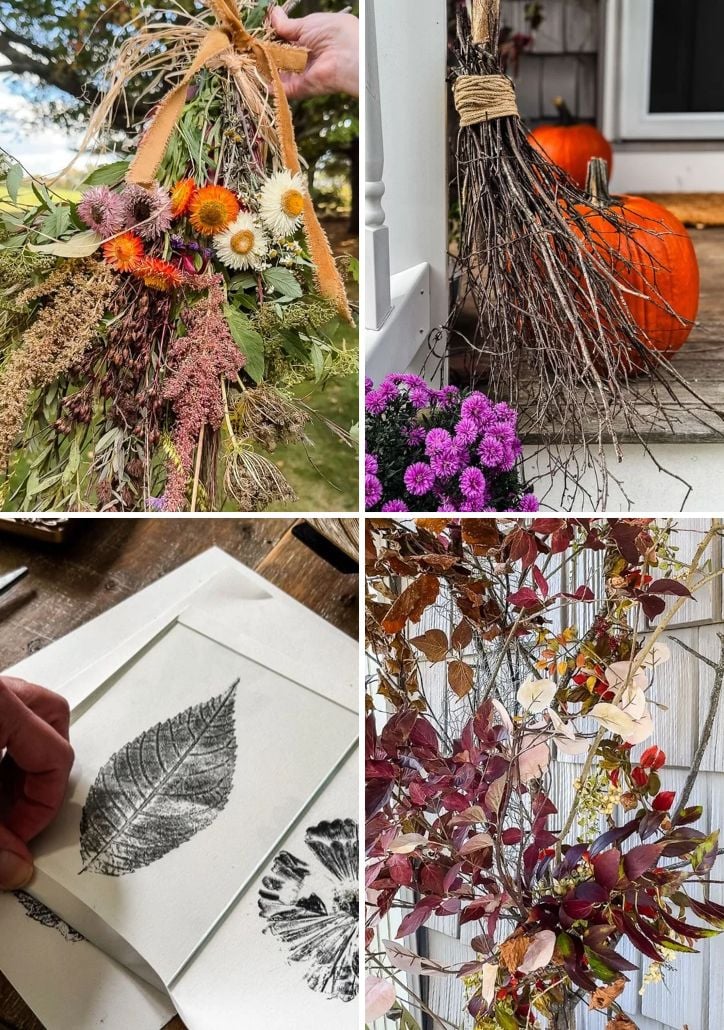
That’s what I set out to do this year. Before buying anything, I took a walk. Through the woods, along the edges of fields, and around my own garden, and I came home with armfuls of branches, grasses, seed heads, and leaves. Those turned into a door swag, a couple of witch brooms, a barrel planter for the porch, and a set of leaf prints, for next to nothing.
And you can absolutely do this too. You don’t need acres of land or a fancy garden. A trail, a park edge, or a few things in your own yard are plenty to get started. Here’s everything I made, with links to the full tutorials so you can make your own.

Welcome! I’m Jennifer, and I’ve always believed nature is the most beautiful art supply. For years, I’ve been preserving New England’s blooms and foliage through pressing, drying, and crafting. Let me show you how to capture a little bit of the season and bring it indoors—simply and beautifully.
Foraged Fall Door Swag
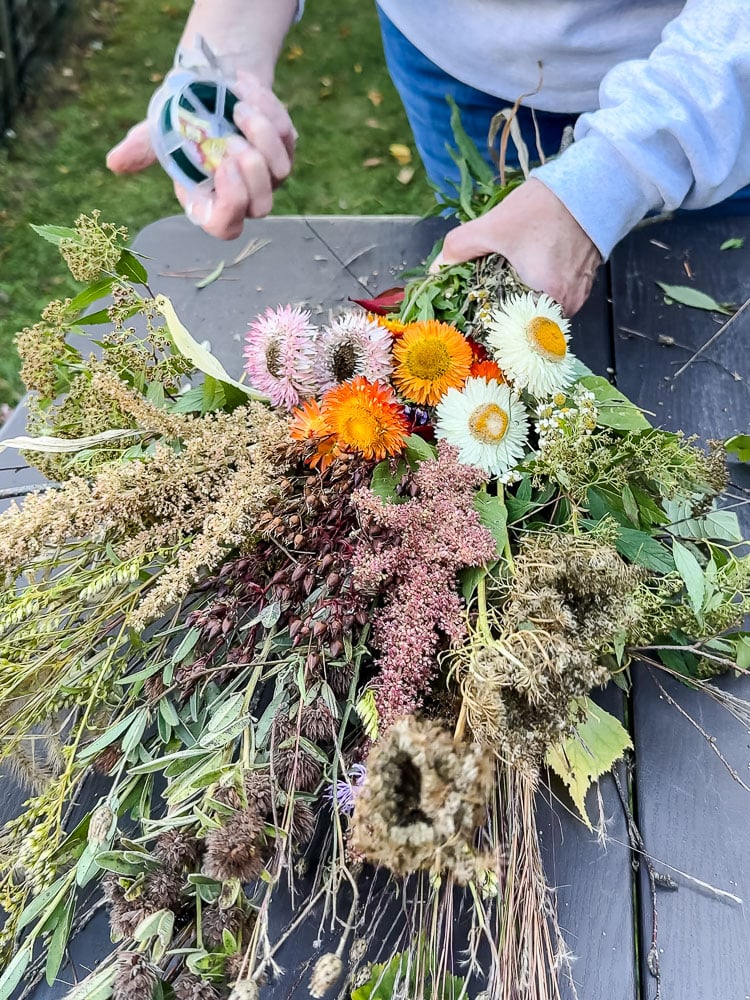
This one started it all. One walk in the woods plus a quick trip through my garden, and I had a wild, loose door swag made from birch branches, flowering weeds, dried grasses, spirea, monarda seed pods, and strawflowers. Even the foxtail weeds I gave up pulling in September made the cut!
It’s a simple alternative to a wreath, with no frame and no foam, and it dries right on the door as the season goes.
Witch Broom, Two Ways
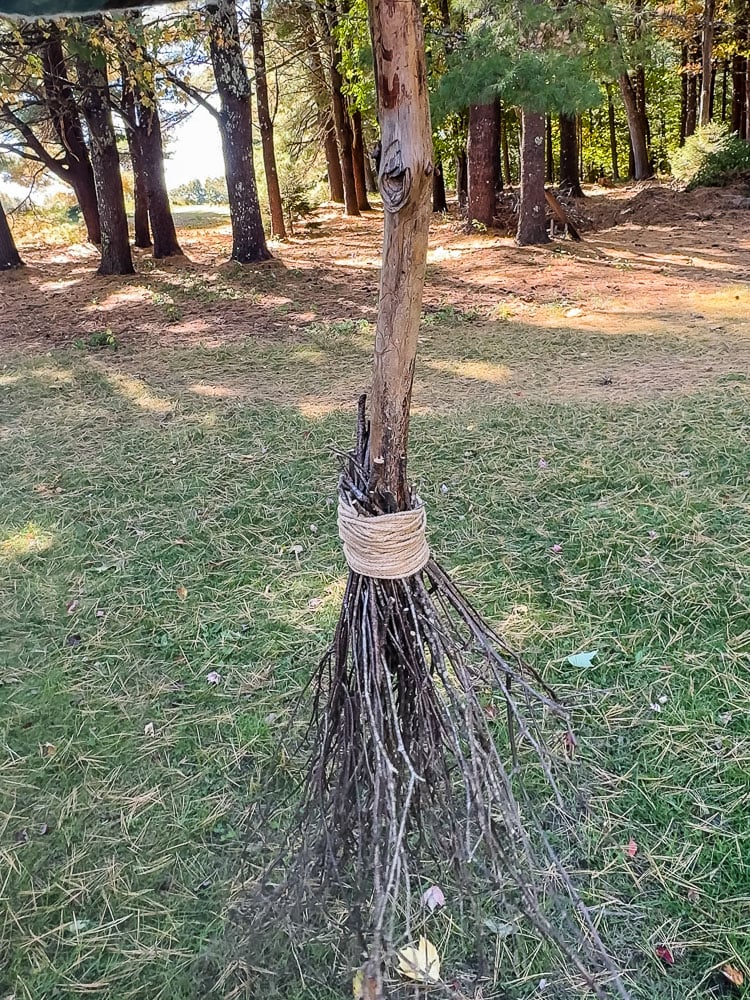
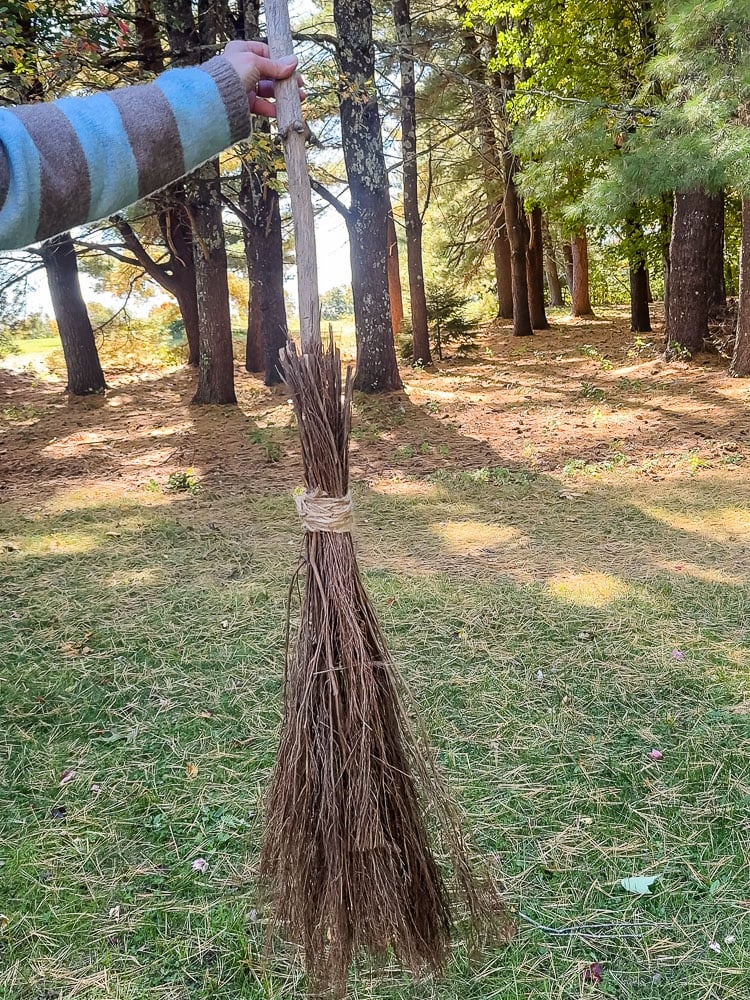
I remade a project from a few years ago: a witch broom made from a crooked branch I found in the woods and a big bundle of birch twigs. Then I made a budget-smart version using two grocery store cinnamon brooms and a branch, which is perfect if you don’t have woods out your back door.
Growing up not far from Salem, witch brooms always feel like a little piece of New England history on the porch.
Vintage Barrel Fall Planter
Instead of buying a big Fall planter this year, I filled a small vintage barrel with branches, grasses, and dried flowers. It has way more height and drama than a pot of mums, and it’ll look good right through November.
What I Used:
- A small vintage wood barrel
- A couple of big branches
- A few faux fall leaf stems
- Chicken wire
- Preserved leaf branches
- Ornamental grass
- Amaranth
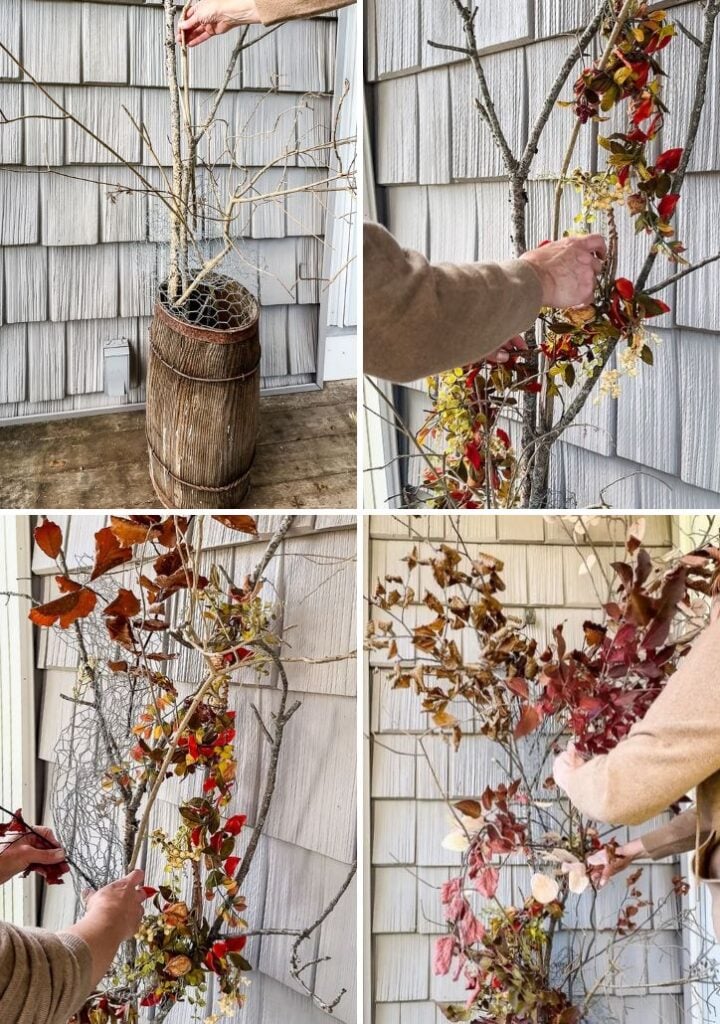
How I put it together:
- Set the branches. I added a small, scrunched-up piece of chicken wire over the opening of the barrel. Then stood the branches up in the barrel. My barrel is narrow at the top, which actually helps.
- Using what I have. I used a colorful Fall garland that I have had for 15 years and wove it through the branches running up the ‘tree’
- Add the chicken wire. Loosely wrap a small piece of chicken wire around the branches. It gives you something to tuck stems into and holds everything in place.
- Wrap in the faux stems. Wind a few faux fall stems around the branches. They add color right away, and since they’re reusable, they earn their keep year after year.
- Layer in the dried stuff. Tuck the preserved leaf branches, ornamental grass, hydrangeas, and amaranth into the chicken wire. Start with the tallest pieces and work your way down, so the planter looks full from the front.
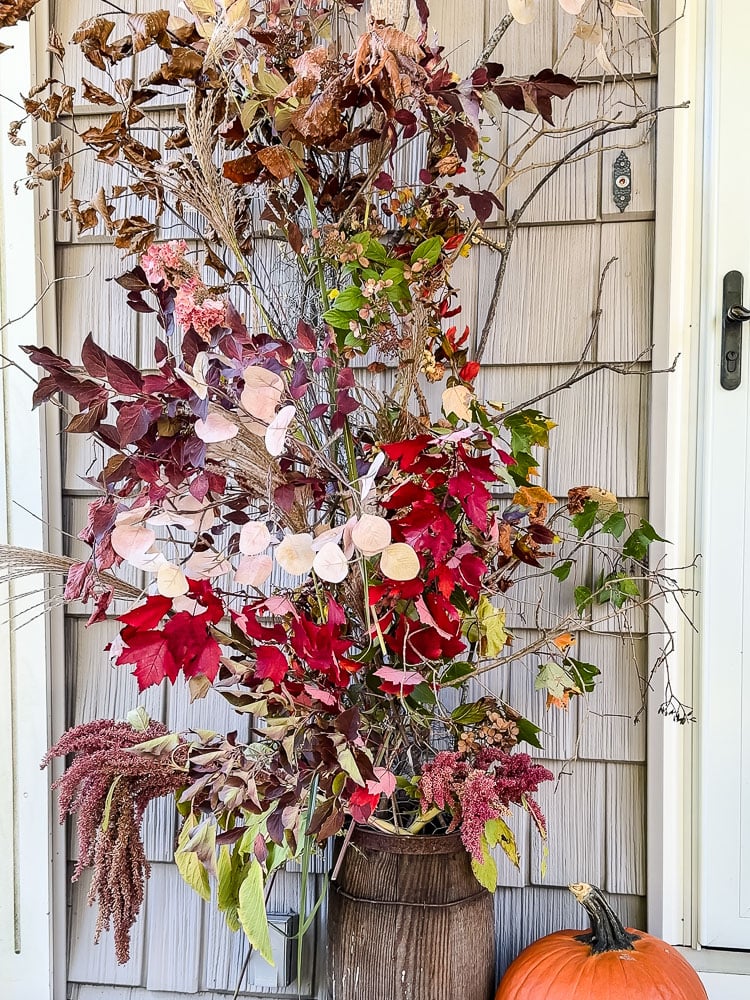
Tip: Mixing a few faux stems in with the real thing is a great way to stretch what you’ve foraged. Pull them out at the end of the season and save them for next year.
Fall Leaf Nature Prints
This summer I fell in love with nature printing, which is just inking a flower, herb, or leaf and pressing it onto paper. So of course I had to try it with Fall leaves.
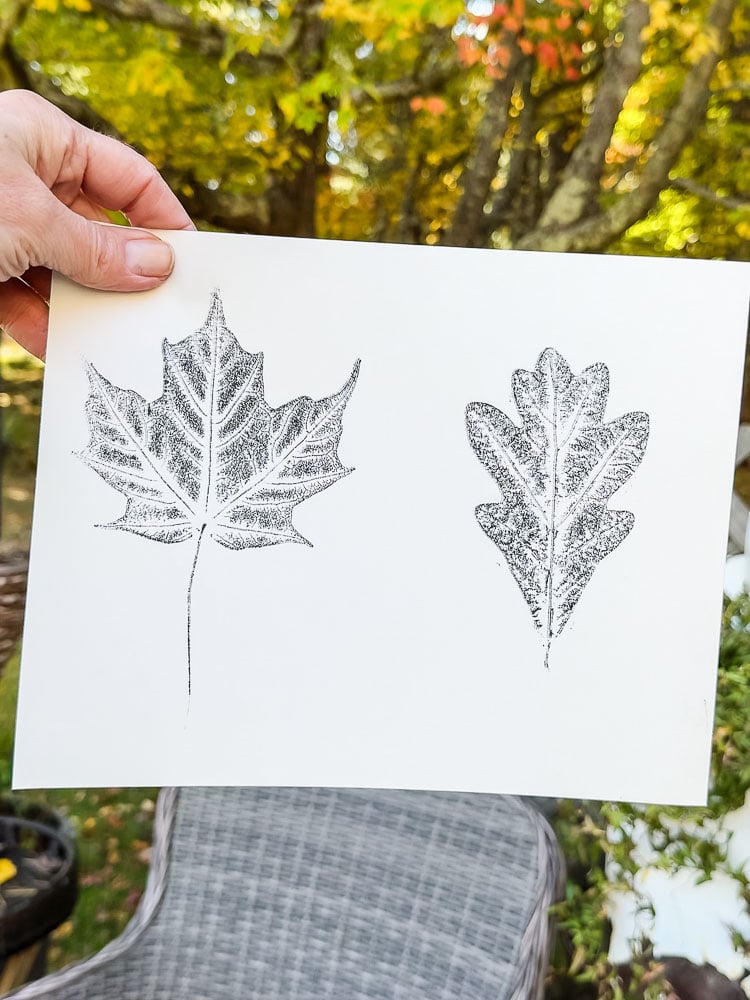
I gathered a few leaves on my walk: a maple, an oak, and a few others. I printed them in black ink, and the vein detail came out so crisp that they look like vintage botanical engravings. Then I popped them into frames I already had for instant fall art.
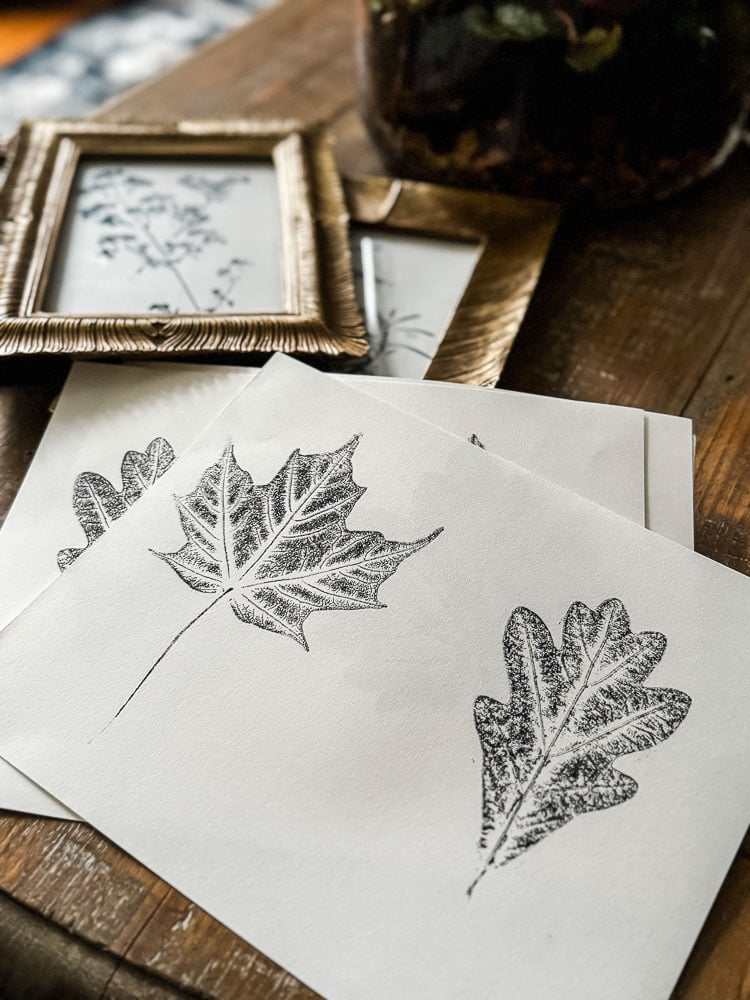
All it takes is an archival ink pad, some paper, and whatever is falling from the trees in your yard-you want leaves that are subtle, not dried out.
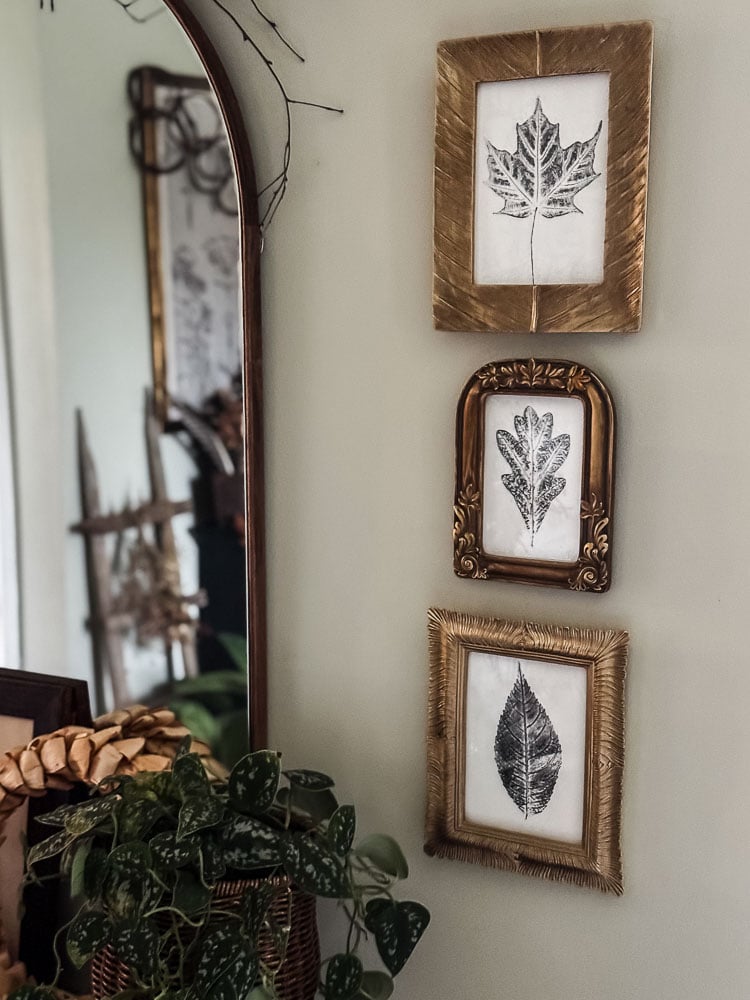
If you already have frames, you can swap in your prints and have new fall art for free.
More Ways To Use What You Have This Fall
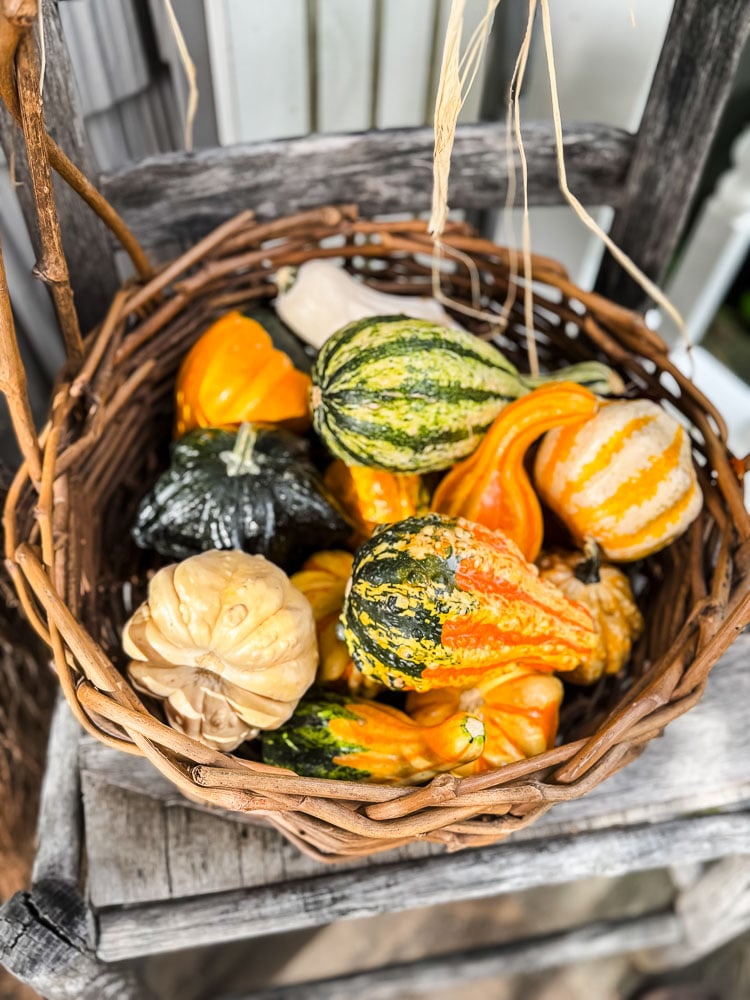
Looking for more? Here are a few of my favorite fall projects that start with what’s already in your garden or craft stash:
Now It’s Your Turn!
I went into this fall wondering if decorating without shopping would feel like missing out. It didn’t. It felt like paying attention. I noticed the goldenrod along the trail, the seed heads in my own garden, and the branches that came down in the last windstorm.
The prettiest fall decor I’ve ever had didn’t come from a store. It came from a walk.
I love decorating for fall with natural elements, and they don’t all have to be part of a project. Sometimes it’s just about displaying what you’ve found.
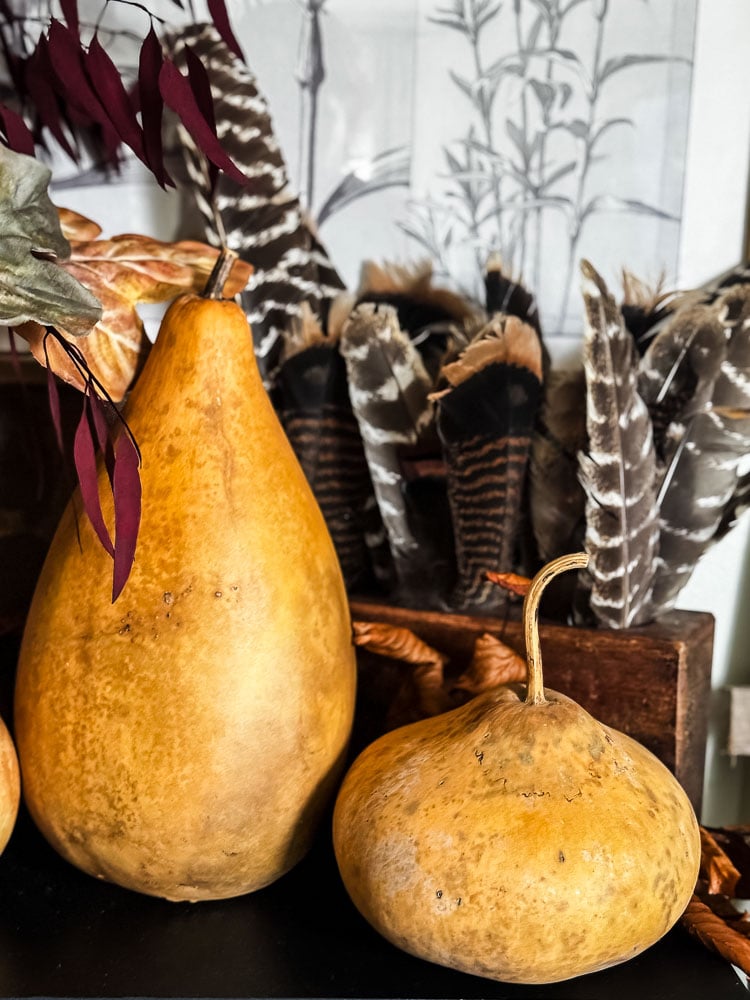
For the past few years, I’ve either grown and dried my own big gourds or picked them up whenever I spot them. The ones in this photo came from a farm store in Maine. They honestly get better with age, and at the end of the season I just pack them away to use again next year.
Next to them is an old sugar mold I found at an antique shop years ago, filled with wild turkey feathers I’ve collected from my own backyard. Wild turkeys wander through our area all the time, and finding their feathers feels like a little treasure hunt. Plus, it makes up for all the racket they make parading through at the crack of dawn every summer! Together, the gourds and feathers have more warmth and character than anything I could pick up in a store.
So before you head out to shop this season, grab your clippers and take a look around. I have a feeling you’ll come home with more than you expected.
See your projects featured! If you are inspired by this or any of my other DIY projects, I would love to see them and add you to the Reader’s Spotlight gallery. Send a photo to me at jennifer@cottageonbunkerhill.com
xo, Jennifer
Love projects like this? Don’t miss out! Join my newsletter family for more cozy, budget-friendly DIY ideas delivered right to your inbox. You’ll get exclusive tips, early access to tutorials, and all the inspiration you need to make your home feel handmade and heartfelt.
Cozy Fall Finds