

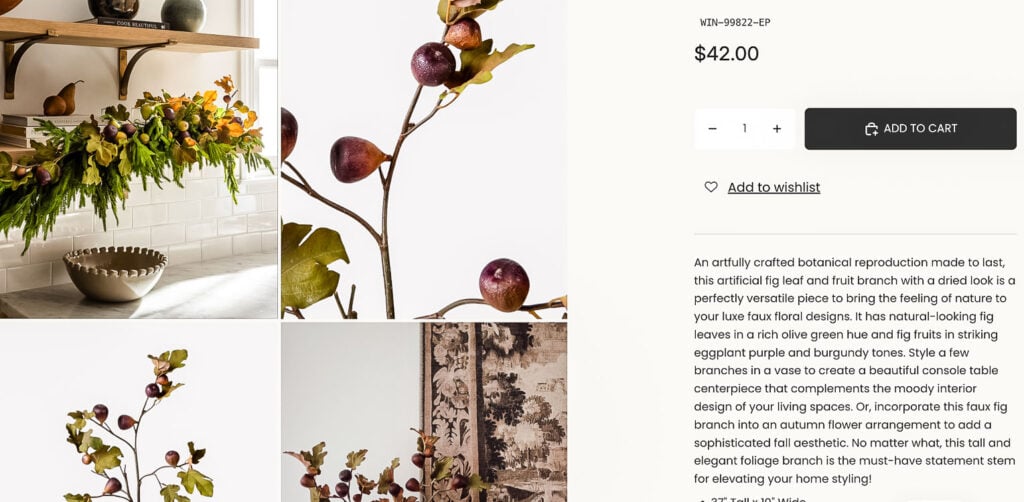
I was scrolling around one of those gorgeous floral sites (you know the one, beautiful stems, but slightly pricey) when I spotted the most stunning faux fig branch. Eggplant-toned figs, a dried, slightly curled leaf, that sprawling, not-too-perfect branch shape. I was smitten. And then I saw the price: $42. Per stem.
Reader, I did not buy it. I made it instead for a fraction of the price, using a few things I already had on hand and a couple of quick stops on Amazon and Hobby Lobby.

Welcome! I’m Jennifer, and I’ve been sharing my home’s journey since 2019, always with a focus on budget-smart and achievable style. If you love the charm of New England but need it to work for real life, you’re in the right place. I break down my projects to help you create a home that tells your story, without the overwhelm.
This post may contain affiliate links, which means we receive a small commission if you purchase through our links. See our disclaimer page for more information.
The Inspiration
I want to be clear: the original is genuinely beautiful. It’s 37 inches tall, loaded with fig fruits and leaves, and it has that dried, moody look that’s everywhere in Fall decor right now. It’s just… $42-a-stem! Gosh, that’s so incredibly expensive, I think. (Here is the inspiration if you want to take a look) So I set out to get the same look for a lot less.
What You’ll Need
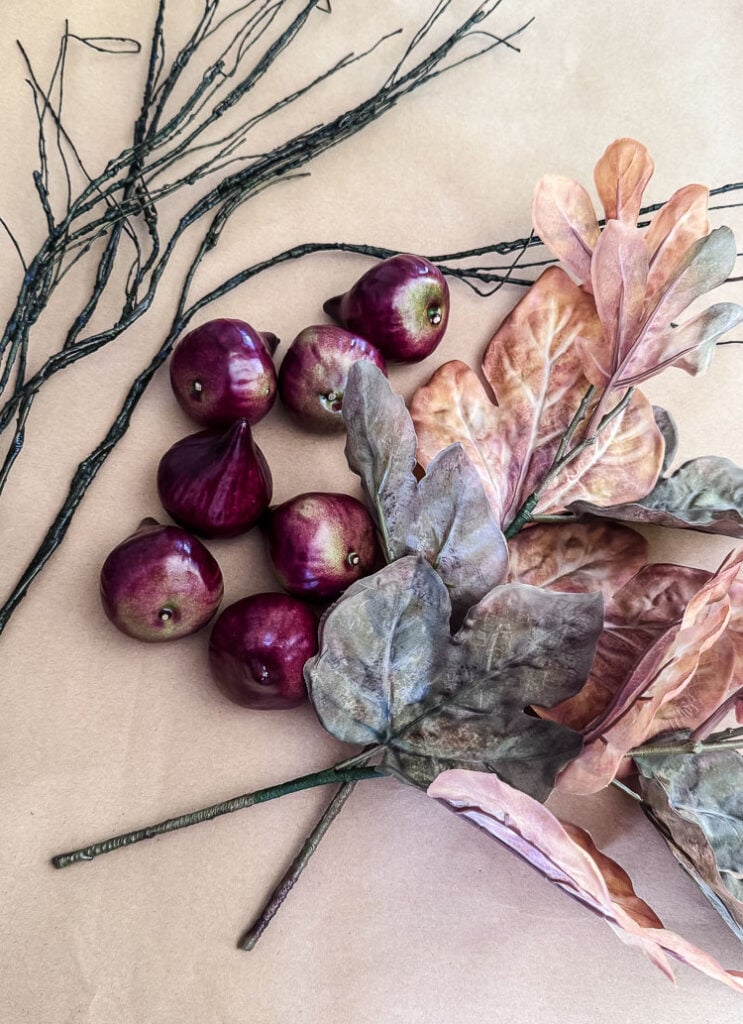
- Faux Willow Branches (Amazon)- These are one of my favorite materials to keep on hand. They’re pliable, natural-looking, and each branch has tons of smaller offshoot twigs, which is exactly what makes this project work.
- Artificial Figs (Amazon)- Here’s a set of 20, a set of 12
- Faux Autumn Leaf Picks- I found mine at Hobby Lobby
- A Nail- yes, really; more on that below
- Hot Glue Gun
- Brown Floral Tape
How I Made The Fig Branches
This is genuinely one of those projects where gathering the supplies is the hardest part! The assembly itself is pretty straightforward and simple.
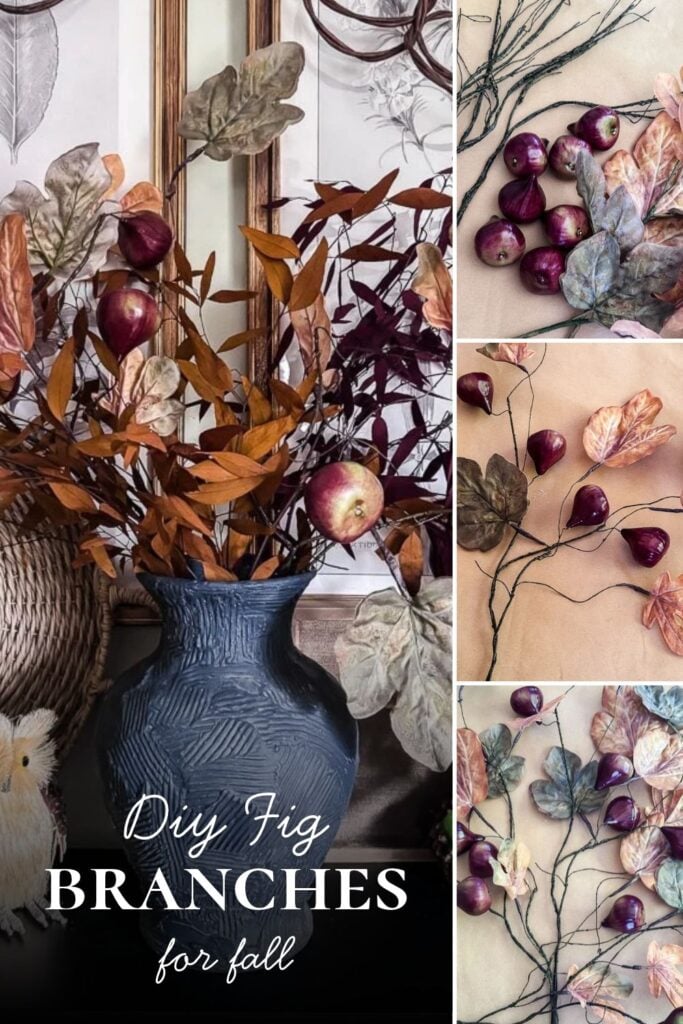
You really don’t need to make that many of these to have a big impact in a Fall arrangement. Once you see my finished set, you’ll notice I only made 3 stems with figs plus one stem of just leaves, no fruit at all.
While I was making mine, I also experimented with how many figs to put on each branch. My takeaway: 3, 4, or 5 figs per branch all look great. It really just depends on whether you’re using the stems on their own or mixing them in with other botanicals in your vessel.
Step 1: Start With The Willow Branches
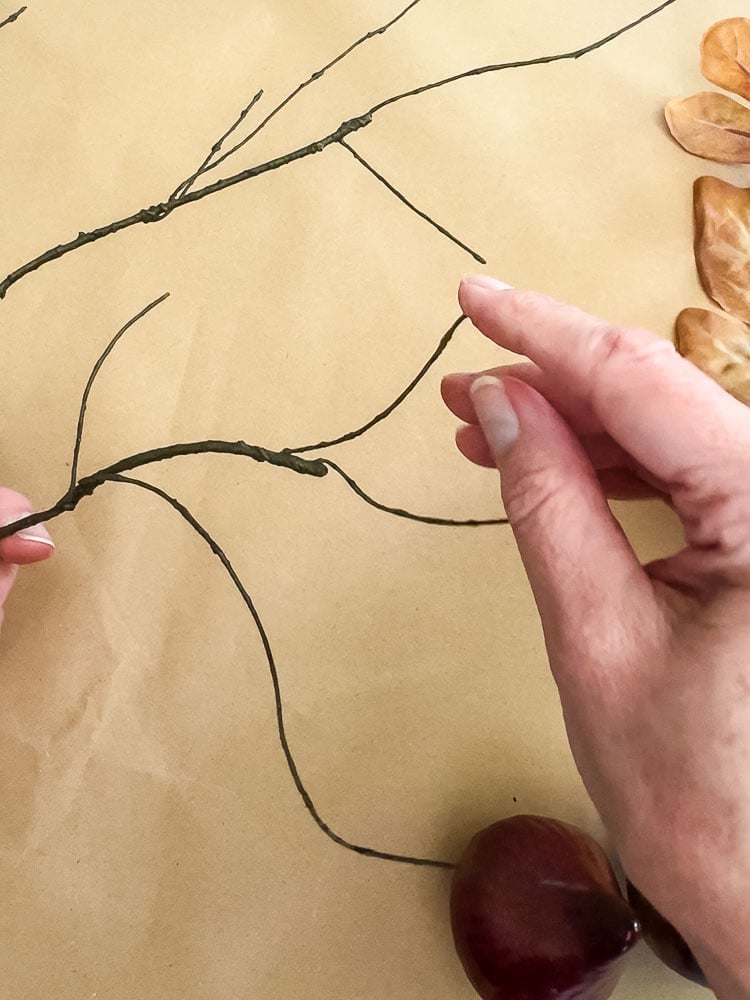
I love these branches for exactly this reason: they’re pliable, and each one gives you multiple smaller twigs to work with, so a single branch can hold several figs and leaves. Take the time to arrange the different branches before getting into the project. There are smaller offshoot twigs that are perfect for the artificial figs. I used the longer twigs to hold the leaves.
Step 2: Attach The Figs
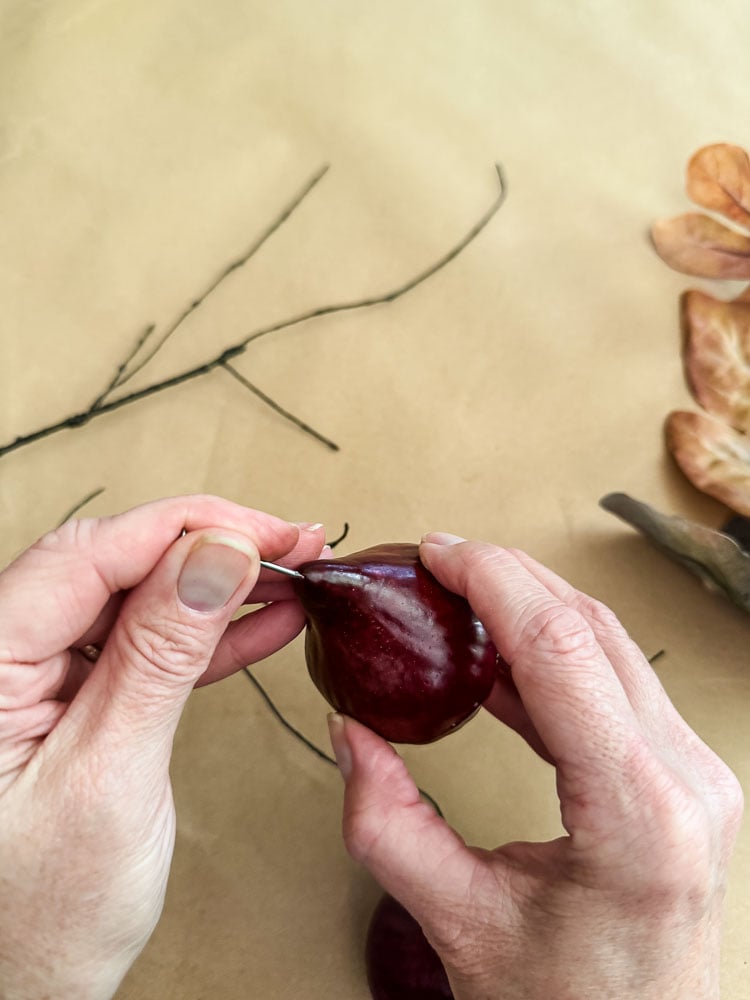
Since the figs are styrofoam, use a nail to poke a small hole into the top of each one. This gives the twig somewhere to go.
Attach the figs. Add a small drop of hot glue to the end of a smaller willow twig, then insert it into the hole in the fig. Hold for a few seconds until it sets. Really easy!
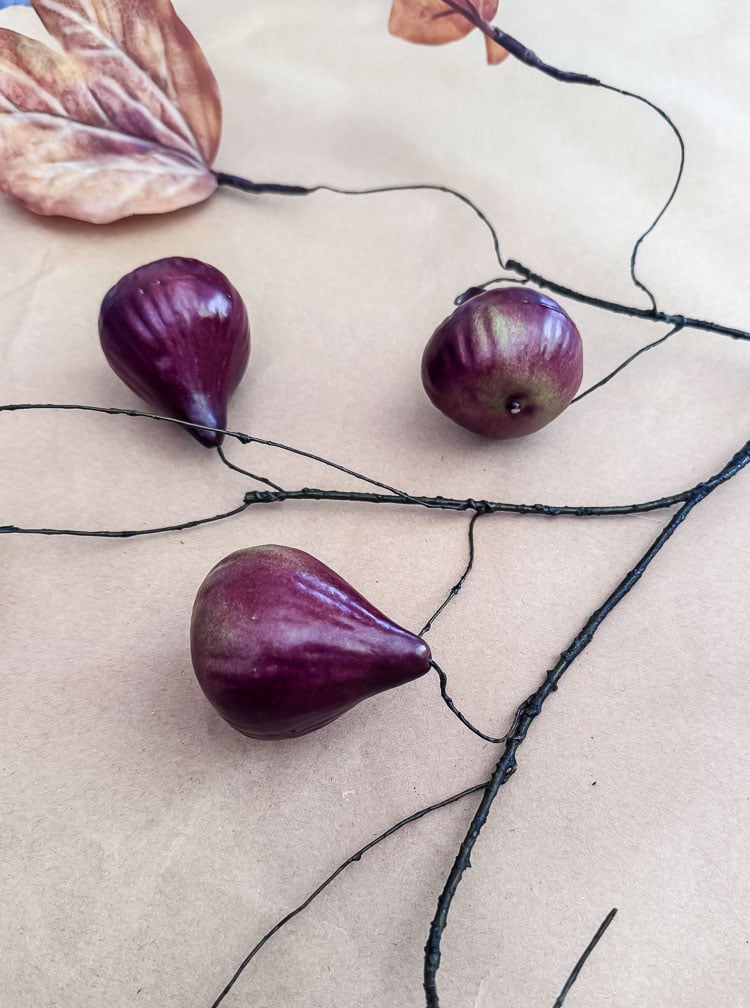
- Artificial Figs: Here’s a set of 20, a set of 12
Step 3: Add The Leaves
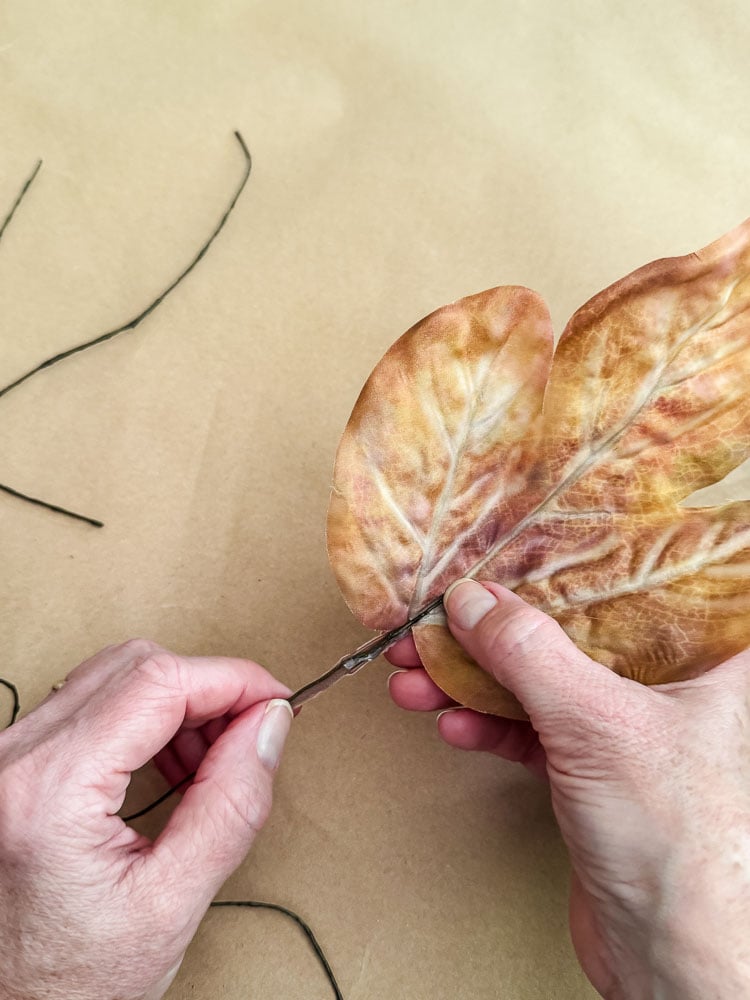
Prep the leaves. Remove the individual leaves from the leaf picks. You just need the leaf itself, not the whole stem.
Attach the leaves. Run a bead of hot glue down the stem portion of each leaf, then hold it in place along the willow branch until set.
The Fall leaf picks I used are from Hobby Lobby, but a heads-up: I found mine over with the fall merchandise in cardboard bins, not in the floral section where you’d normally look.
Before you run out and buy new ones, though, check your own artificial flower stash first. You might already have something that’ll work. Always best to use up what you’ve got!
Step 4: Reinforce The Leaves
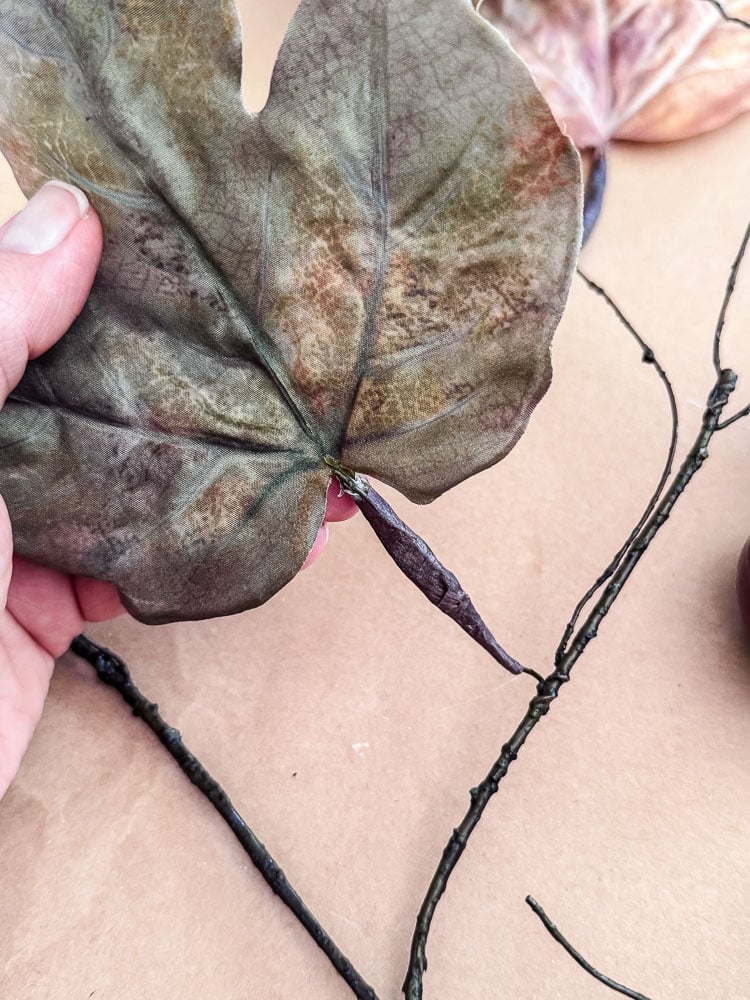
Disguise & reinforce. Wrap brown floral tape around each stem/leaf junction. This hides the glue and gives everything a little extra hold.
If you have never worked with floral tape before, it’s so simple! It is a self-sticking tape, so just wrap it around the leaf stem and the branch where they meet and down the twig a bit. Just pull the tape taut as you are wrapping.
Step 5: Shape Your Branch
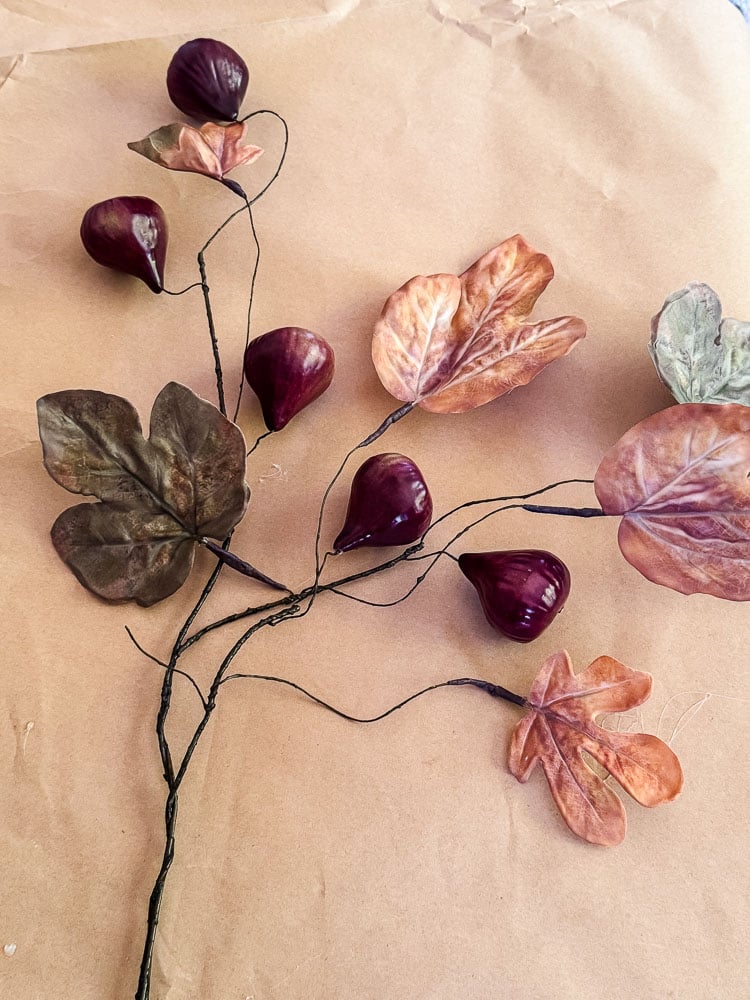
Shape it. Bend and arrange the branches until you get that natural, slightly wild look. Don’t be afraid to make it a little imperfect.
Make It Your Own
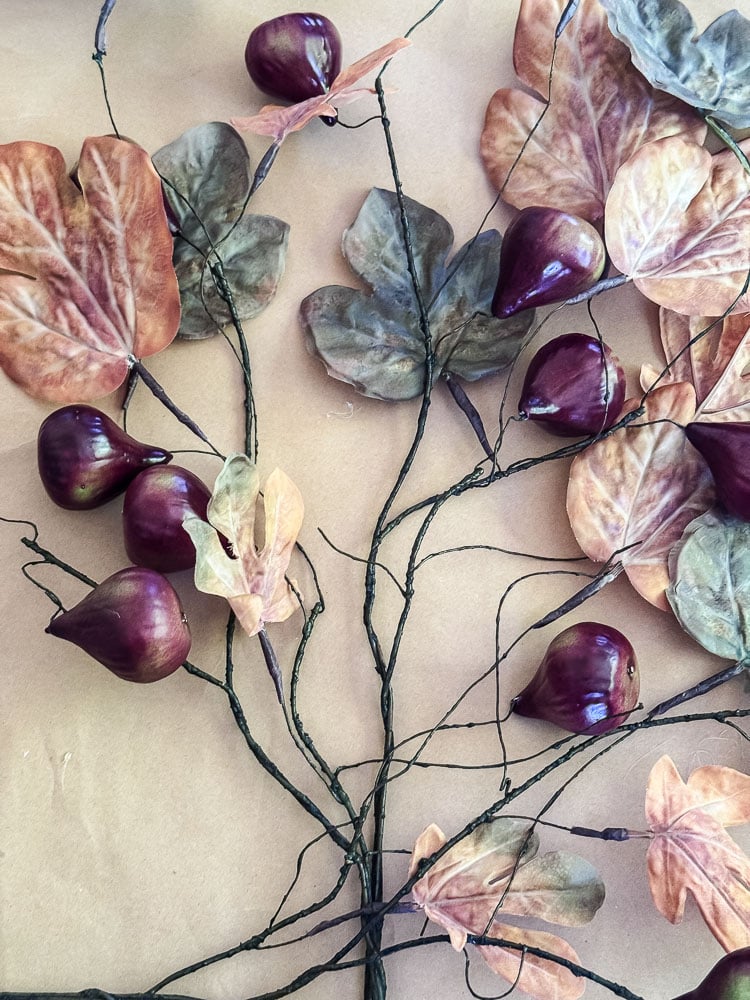
As I made my set of stems, I thought about how many other interesting fruits could substitute for the figs. This same technique works with almost any faux fruit:
- Apples: a classic, cozy harvest look
- Lemons: bright and fresh, could even pull this into spring or summer styling
- Pears or Pomegranates: that same moody, jewel-tone feel as the figs
Just match the fruit to whatever palette you’re already working with, and you’ve got a whole new stem without buying a whole new technique.
Styling It
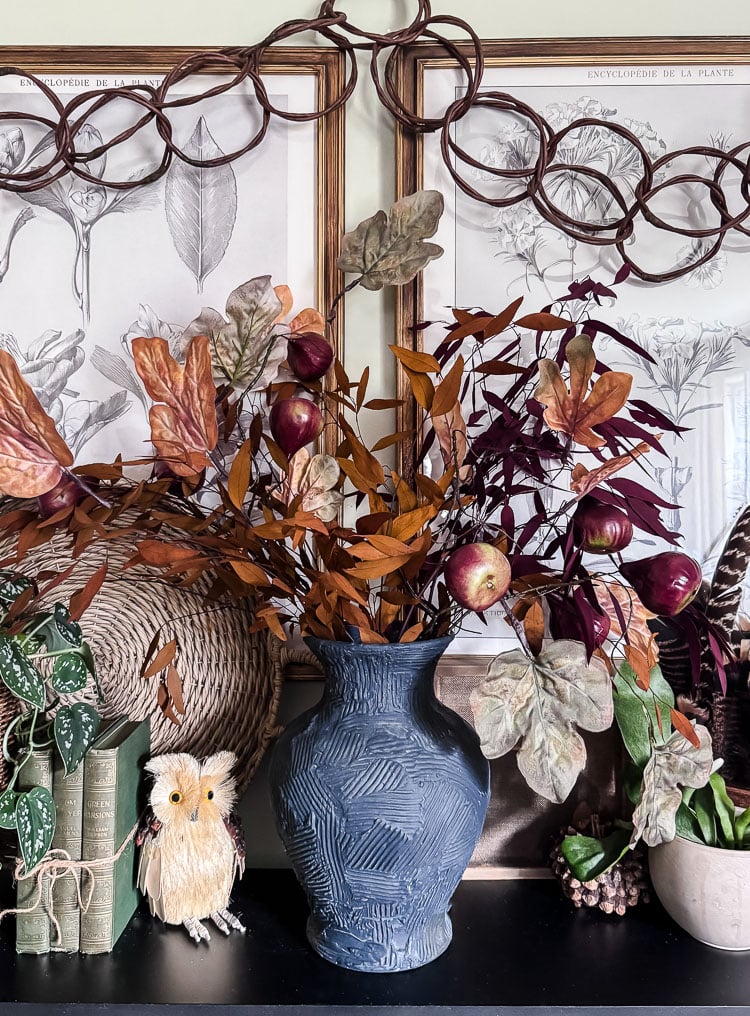
I didn’t stop at the faux branches on their own. I mixed in some preserved Fall leaf stems too. There’s something about combining real (preserved) botanicals with faux ones that makes the whole arrangement feel more believable. The preserved stems bring in texture and imperfection that’s hard to fake, and the faux figs and leaves fill in the color and structure where preserved material alone can’t hold up.
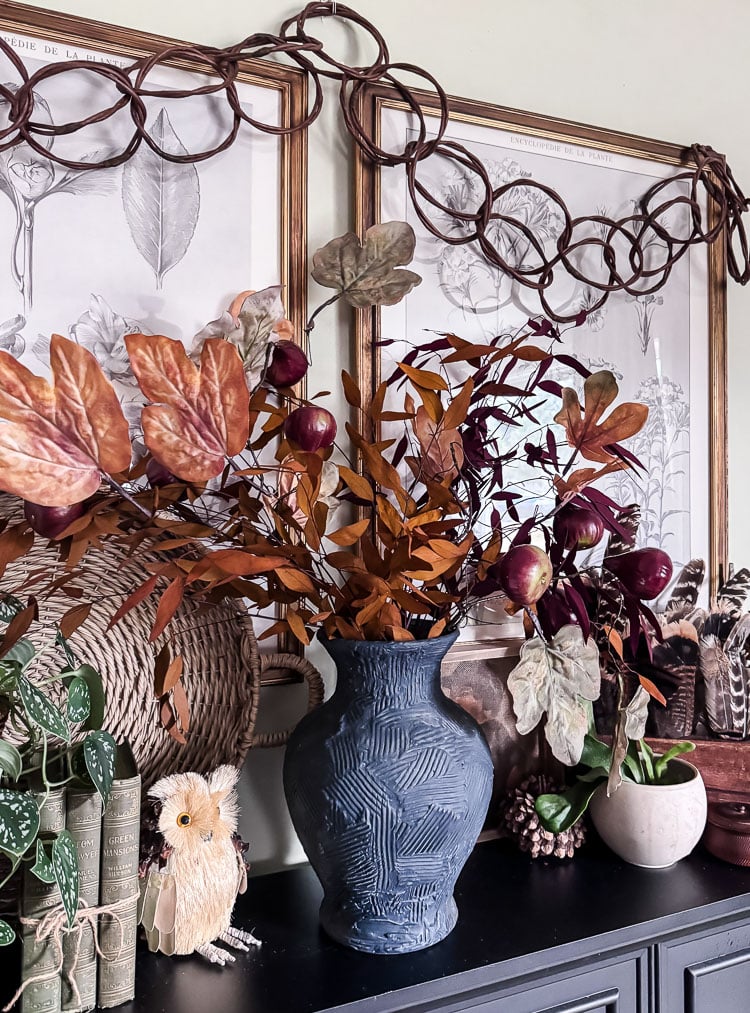
I styled mine in a dark, textured vase that was a thrift store makeover on my mantel to create an early Fall look. I layered in a trailing plant, vintage books, and a rustic little owl figure, my collection of wild turkey feathers from my frequent guests that cut through the yard, and a DIY framed art portrait. All a very moody Fall vibe!
Pro Tip: Mixing preserved botanicals with faux stems is my go-to for arrangements that need to last through the season but still look organic. The preserved material adds texture the faux pieces can’t fake on their own.


So there you have it! A designer-look fall stem for a fraction of the price, made with things you can grab in one Amazon order and a quick Hobby Lobby run. If you try this one (with figs or your own fruit swap), I’d love to see it!
See your projects featured! If you are inspired by this or any of my other DIY projects, I would love to see them and add you to the Reader’s Spotlight gallery. Send a photo to me at jennifer@cottageonbunkerhill.com
xo, Jennifer


