After a few chilly nights, my cutting garden is officially done for the year. But before I pull a single plant, there’s one last harvest I never skip: seeds.
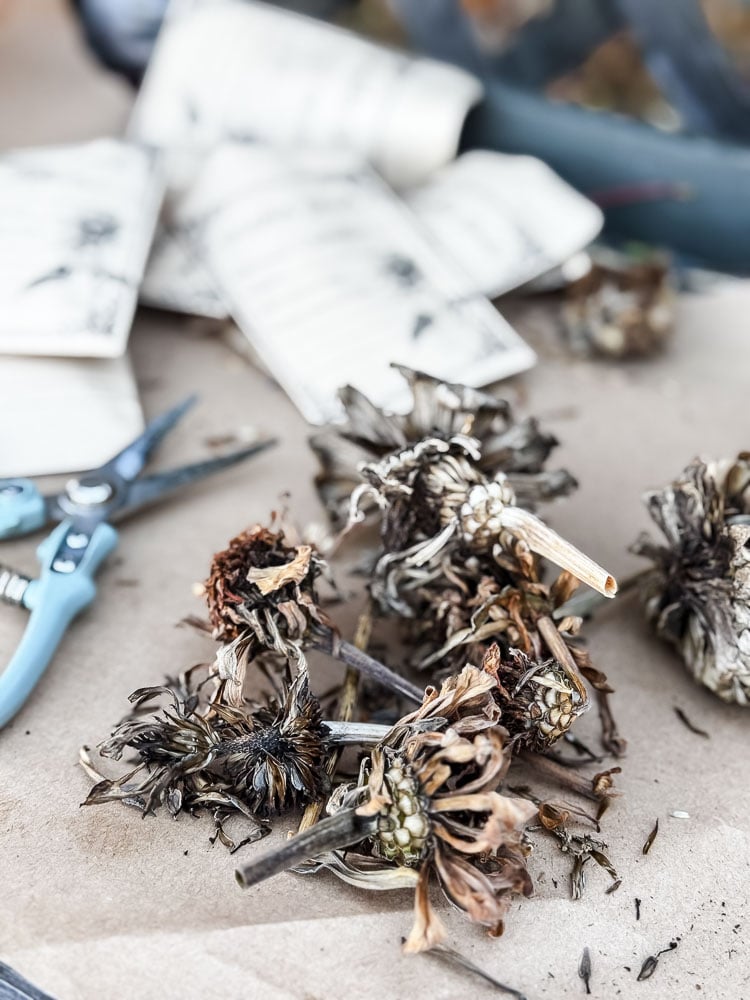
This weekend I made the rounds with my clippers, snipping spent zinnia heads, cosmos, and rattly nigella and poppy pods. Then I headed to the potting bench with a stack of seed envelopes. It’s a quiet, satisfying little job, and it means next year’s garden is already started.
Seed saving is one of the most budget-smart things you can do as a gardener. It costs nothing, and it’s simpler than you think. Here’s exactly how I do it, flower by flower.
Welcome! I’m Jennifer from Cottage on Bunker Hill. A home gardener for over 20 years, I’ve spent the last 5 specializing in our cut flower garden, learning through trial, error, and a lot of dirty knees what actually works. My focus is on growing flowers with a purpose, whether for a vase on the kitchen table or for lasting projects, using simple, repeatable methods that fit into a real, busy life.
Why Save Flower Seeds?
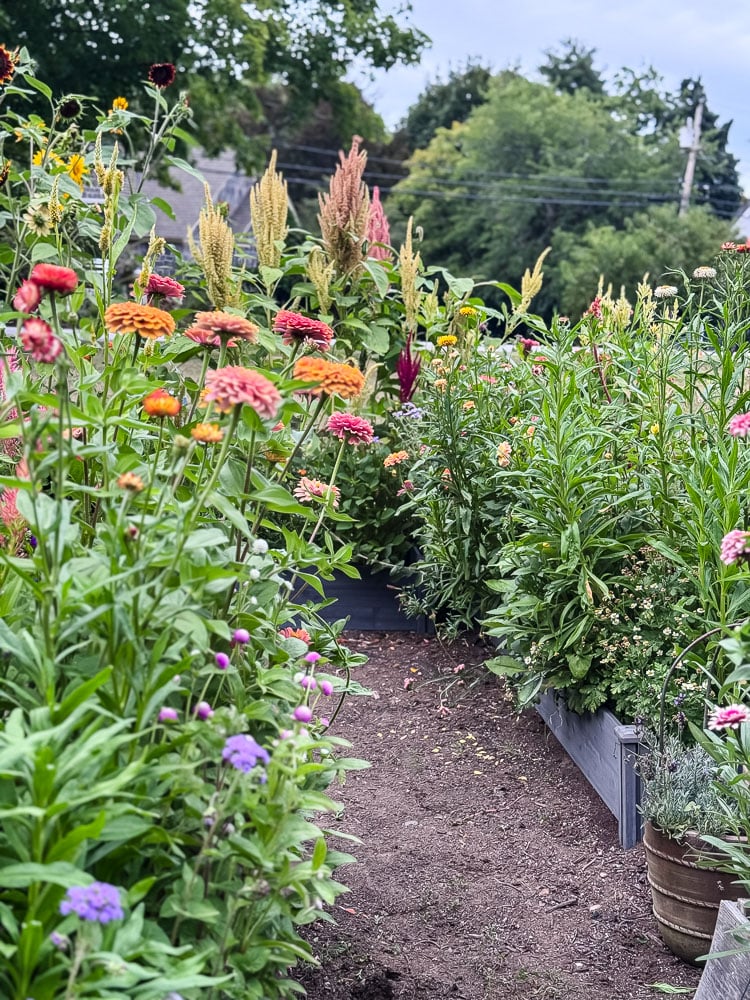
- Because it’s free. One zinnia head holds dozens of seeds. A single plant can fill a whole bed next year!
- It works. I’ve grown poppies, nigella, celosia, amaranth, and zinnias from my own saved seeds.
- It’s shareable. Saved seeds make a lovely gift for gardening friends. I’m sharing some of mine this year.
This post may contain affiliate links, which means we receive a small commission if you purchase through our links. See our disclaimer page for more information.
What You Will Need
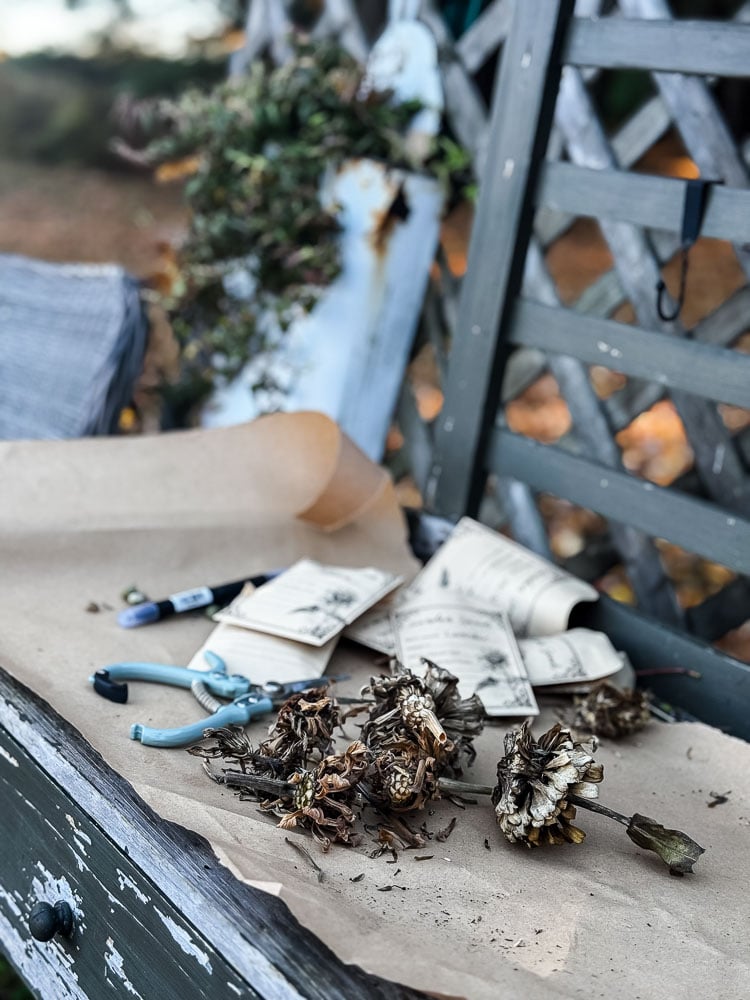
Nothing fancy, and probably nothing you need to buy:
Materials for this Project
- Clippers or scissors
- A basket or bucket for collecting
- Paper seed envelopes or small paper bags (lunch bags work great)
- A pen for labeling
- A clean table or potting bench to work on
How To Tell When Seeds Are Ready
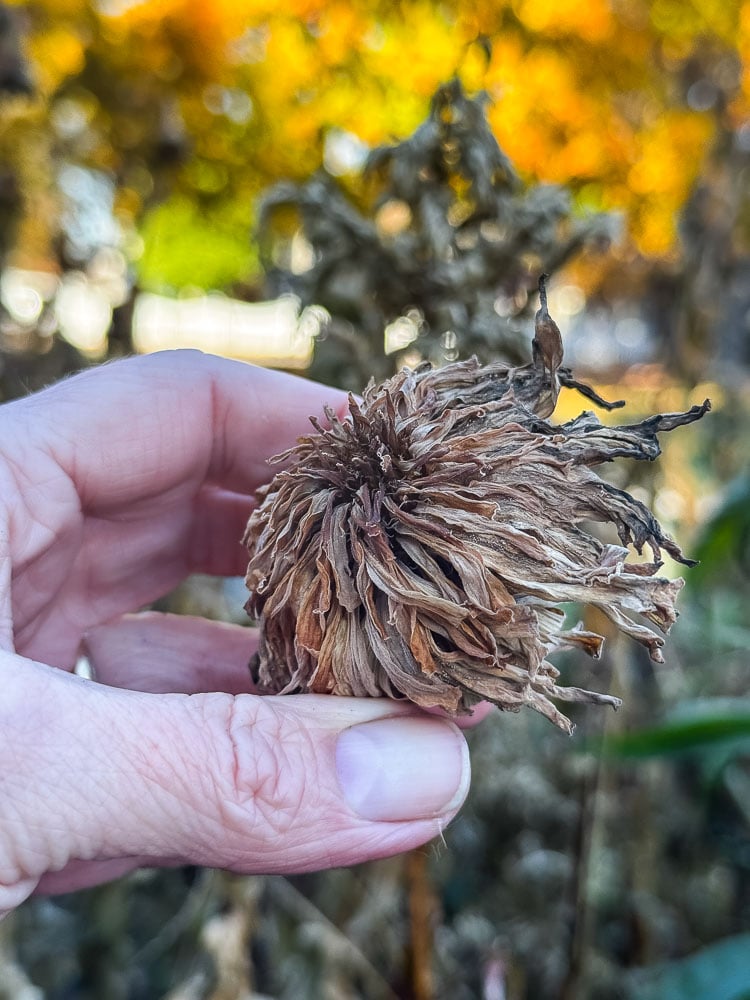
The golden rule: let the flowers dry on the plant. Crispy is the word that comes to mind! Ready seeds are dry, firm, and usually dark or tan. Seed pods should rattle when you give them a shake.
Skip anything that’s still green, pale, or soft when you pinch it. Those seeds haven’t finished ripening, and they won’t keep developing once the plant is gone.
What about frost? A question I get a lot. A few nights below freezing won’t hurt seeds that were already mature. Just collect on a dry afternoon, and toss anything that looks mushy or moldy.
How I Collect Seeds Step-by-Step
1. Set Up First
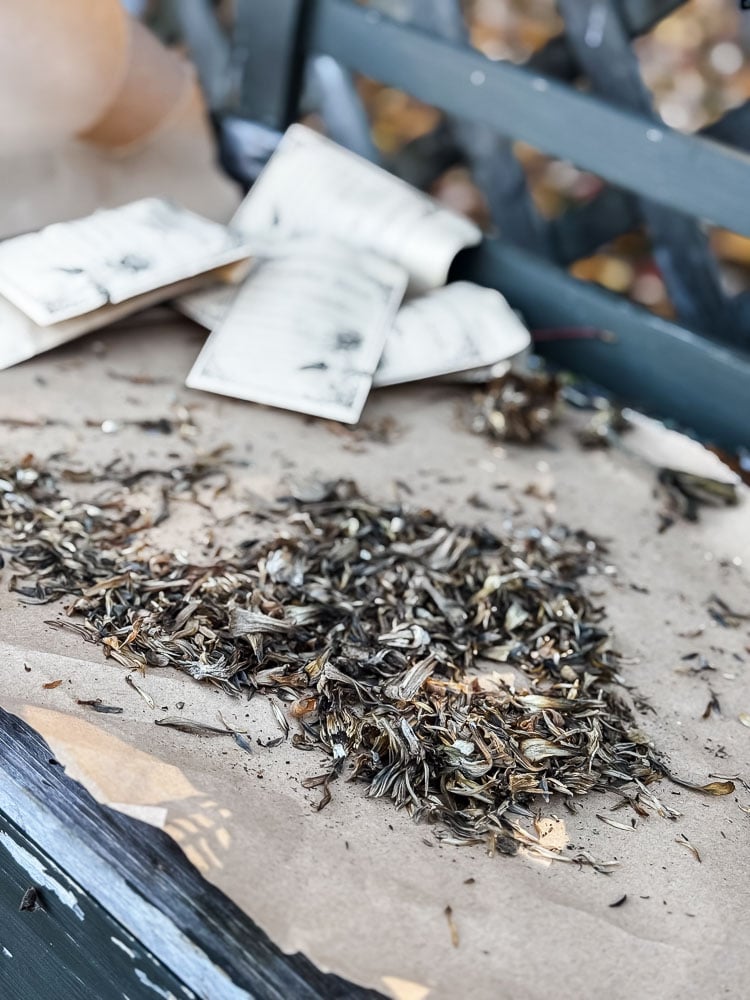
Before heading out, I get my area cleaned off on my potting bench with seed envelopes and a marker ready to label each one with the flower and variety.
You don’t need an outdoor table to save seeds; any flat surface will work.
I would also suggest having some paper towels handy to wipe off your work area between flower varieties to prevent seeds from getting mixed together.
2. Make The Rounds
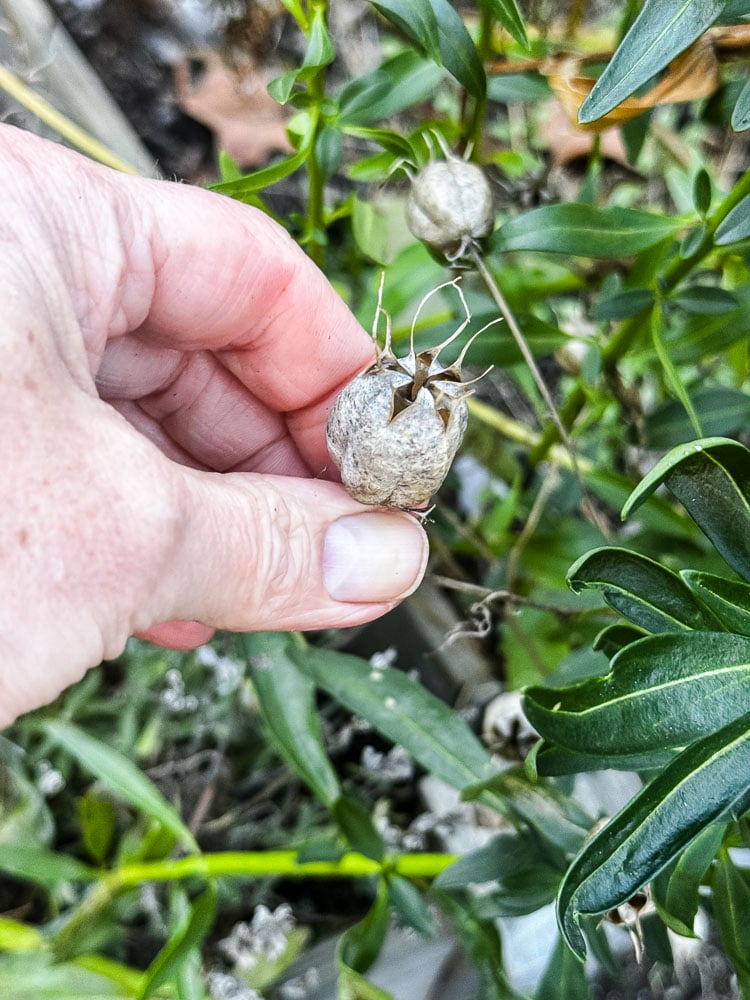
Walk the garden and cut the spent flower heads or dried pods from each plant you want to save. I like to work one variety at a time.
Sure, I could tell myself, “Aurora is in my left hand, Agave is in my right.” But I can pretty much guarantee that by the time I get back to the potting bench, I’ll have no idea which is which!
3. Collecting The Seeds
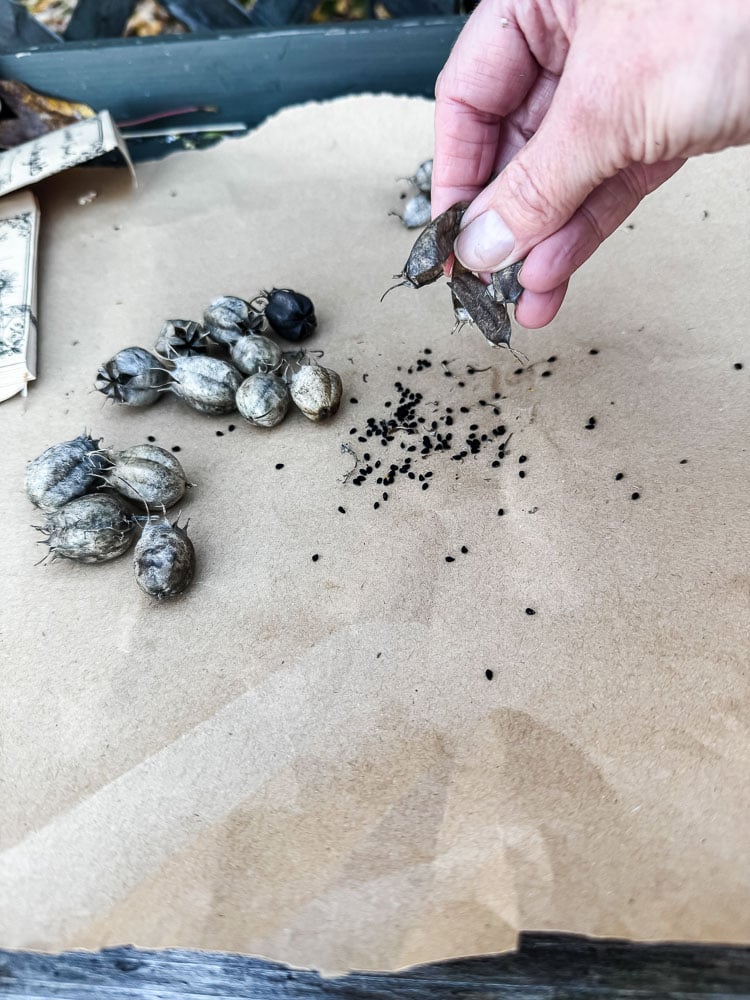
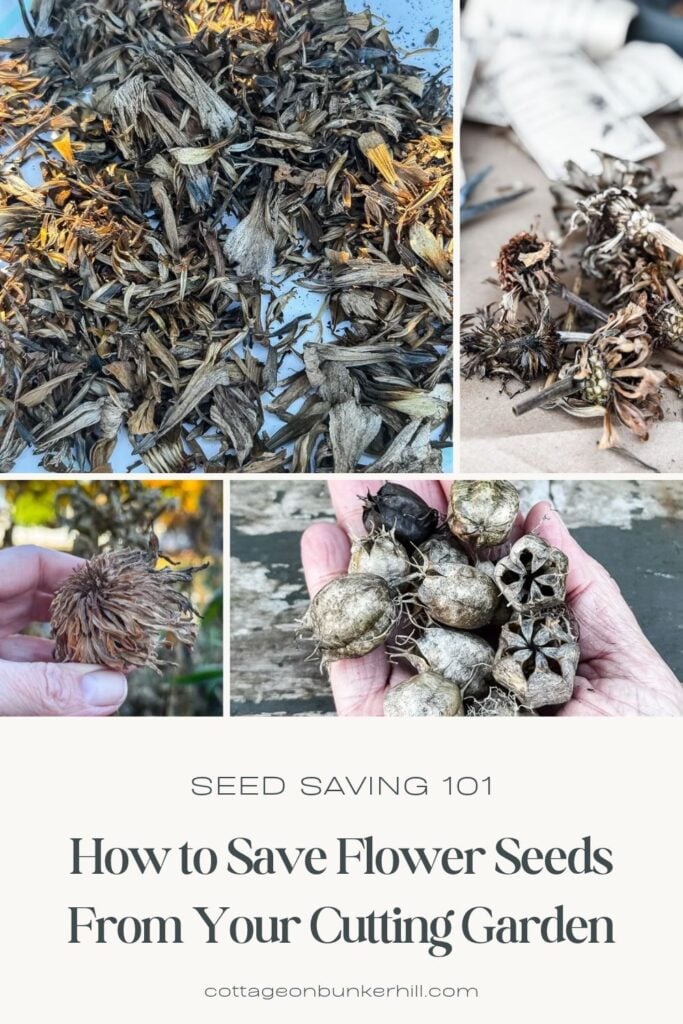
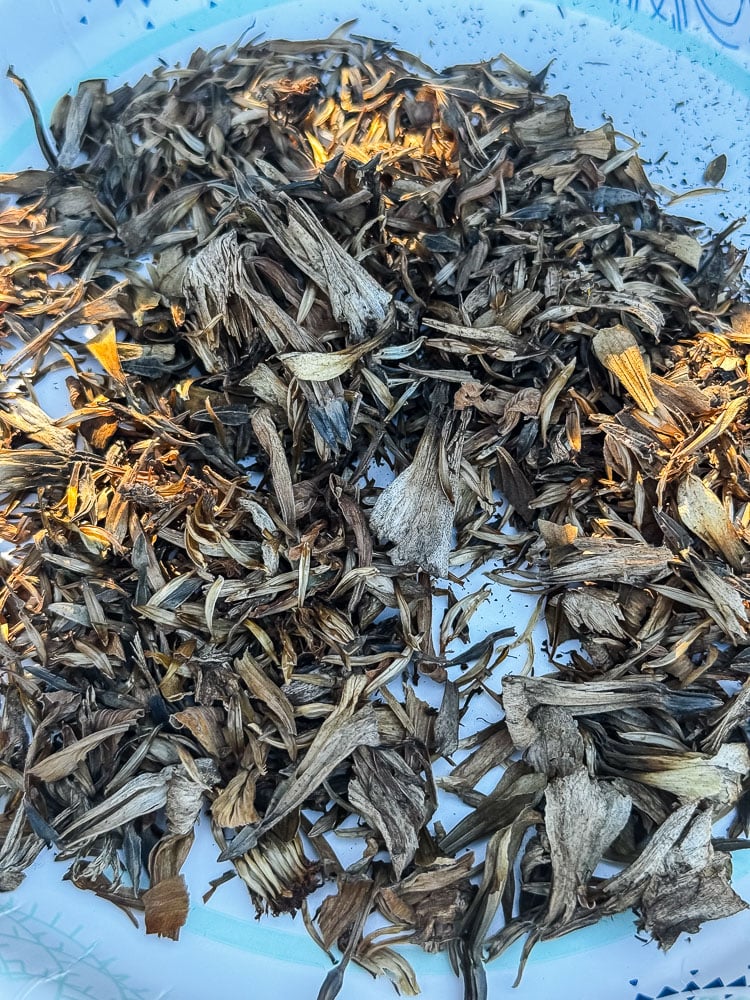
Back at the bench, pull the petals off the flower heads to get to the seeds. For pods like nigella and poppies, just tip them over and shake the seeds out.
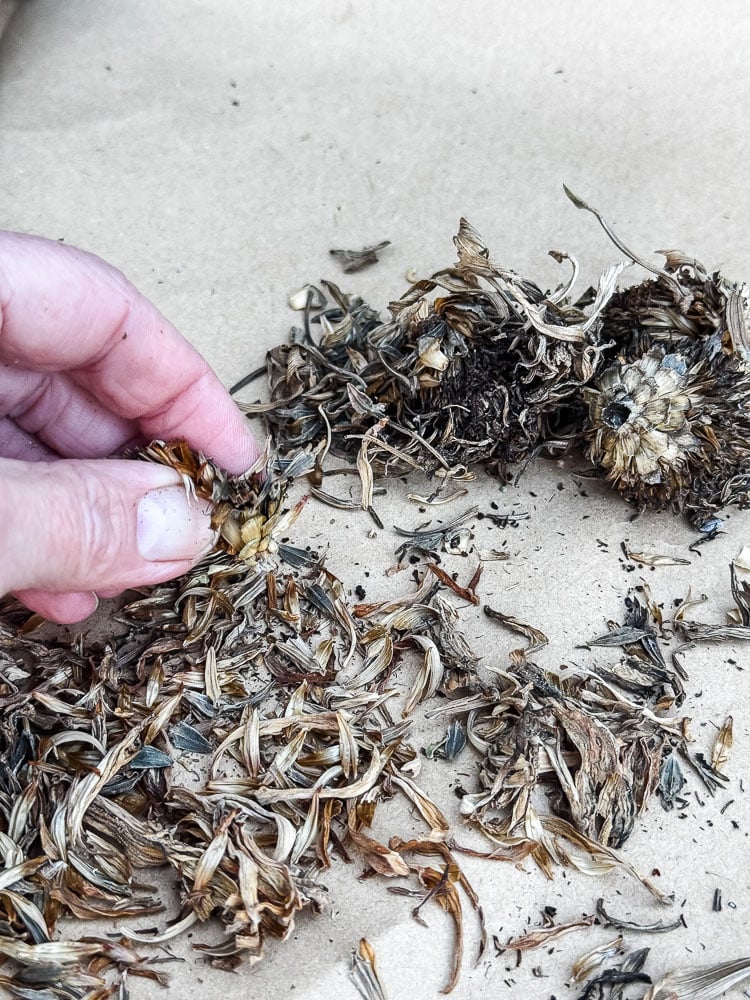
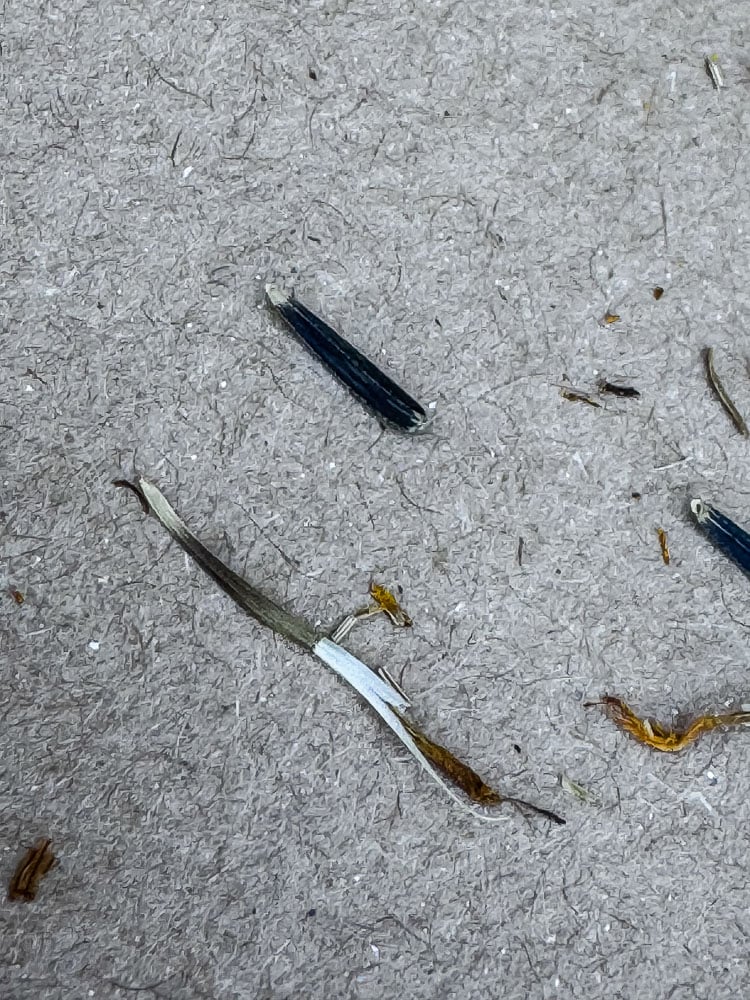
This is the time-consuming part of the process. Pulling apart the spent flowers and going on the hunt for the seeds. Some flowers have larger, easy-to-collect seeds, like zinnias with their arrowhead-shaped seeds (probably the easiest flower!)
Try to separate the seeds from the chaff (flower debris) as much as you can. Sometimes it’s very easy; other times, when the chaff is fluffy, it’s a little more of a challenge. You could try a colander or strainer. I’ve even seen people use a rimmed cookie sheet and shake/tap the sheet to try and separate the two.
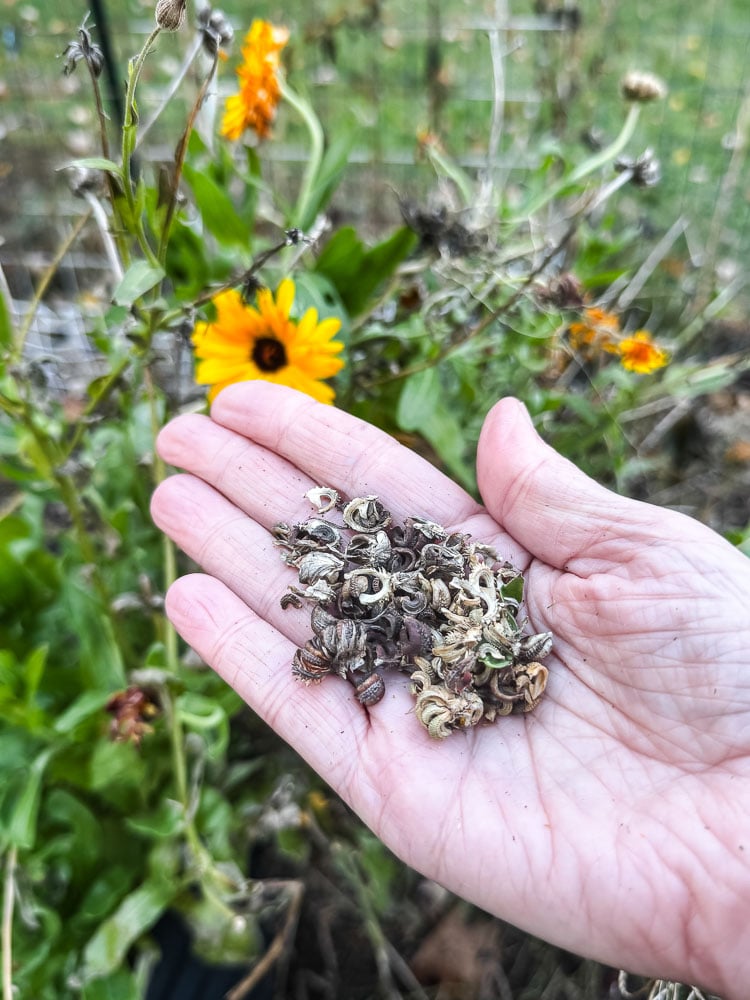
Collecting Calendula Seeds 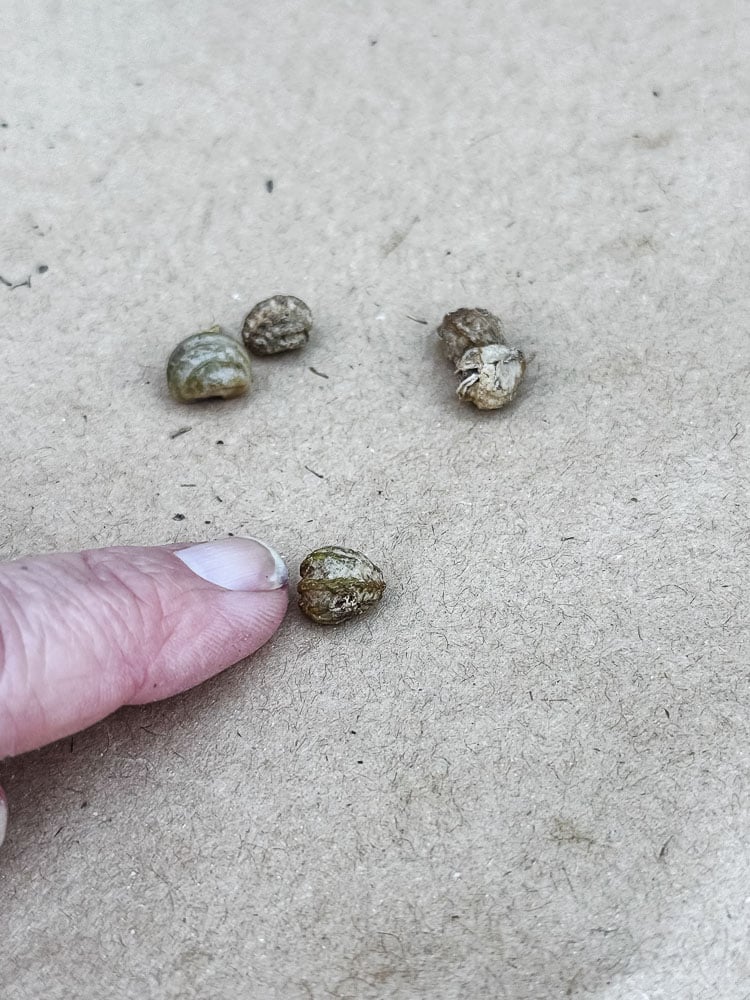
Nasturtium Seeds Are Large Like A Pea 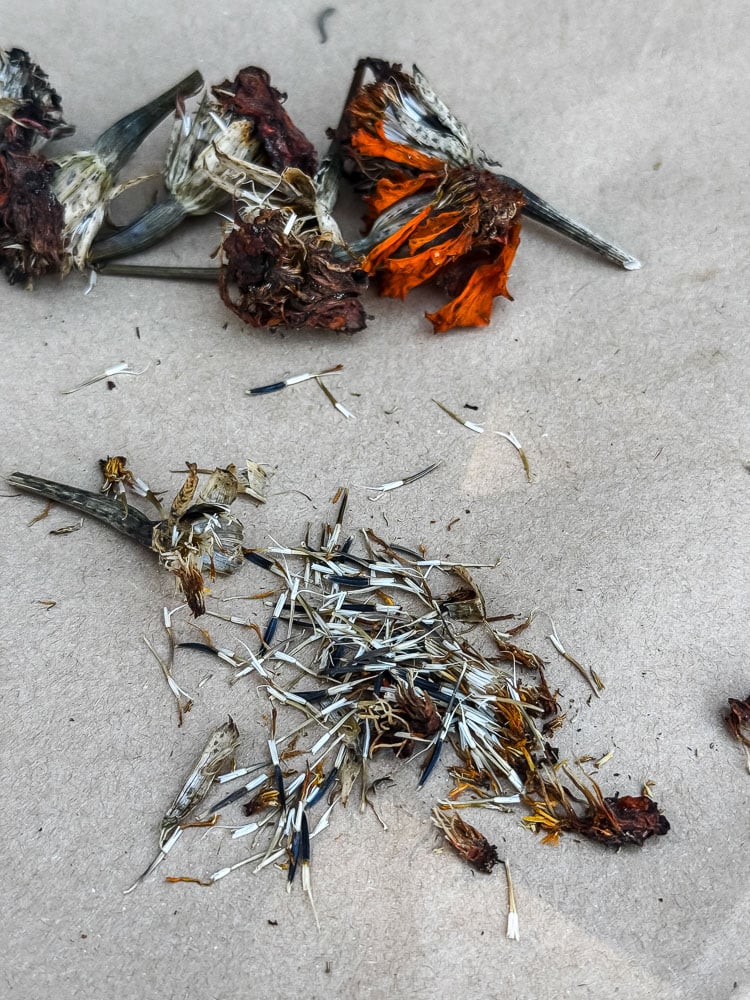
Marigold Seeds
4. Clear The Table As You Go
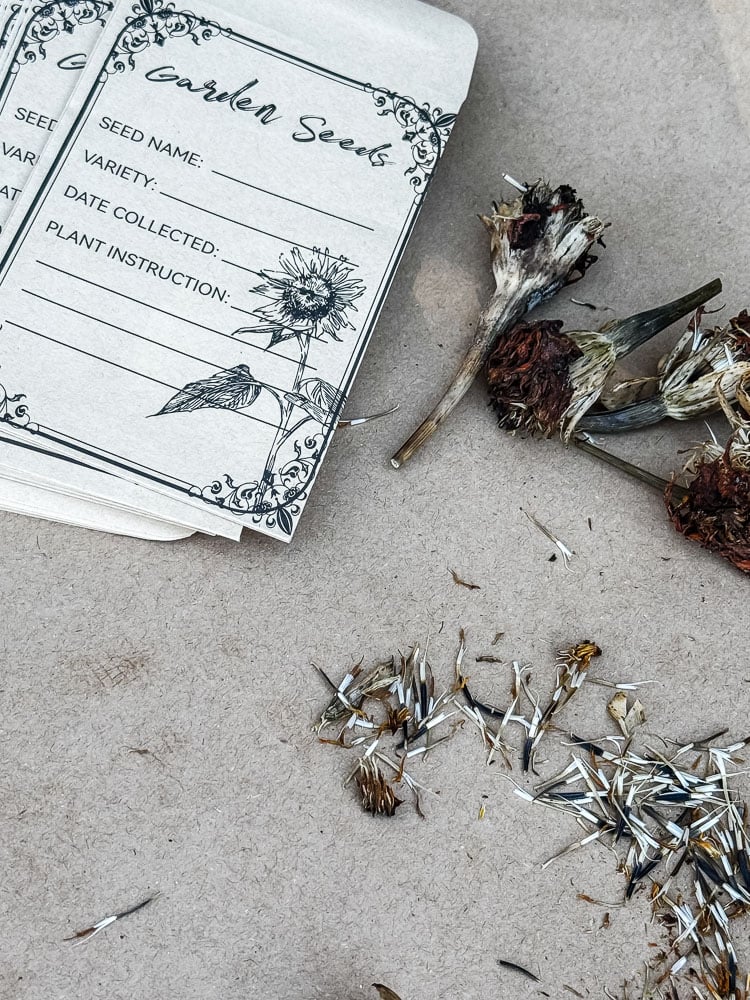
Before you move to the next variety, sweep every last seed and bit of chaff off your work surface. It’s so easy to mix seeds up, especially when working with flowers that have tiny seeds.
5. Make Sure To Label
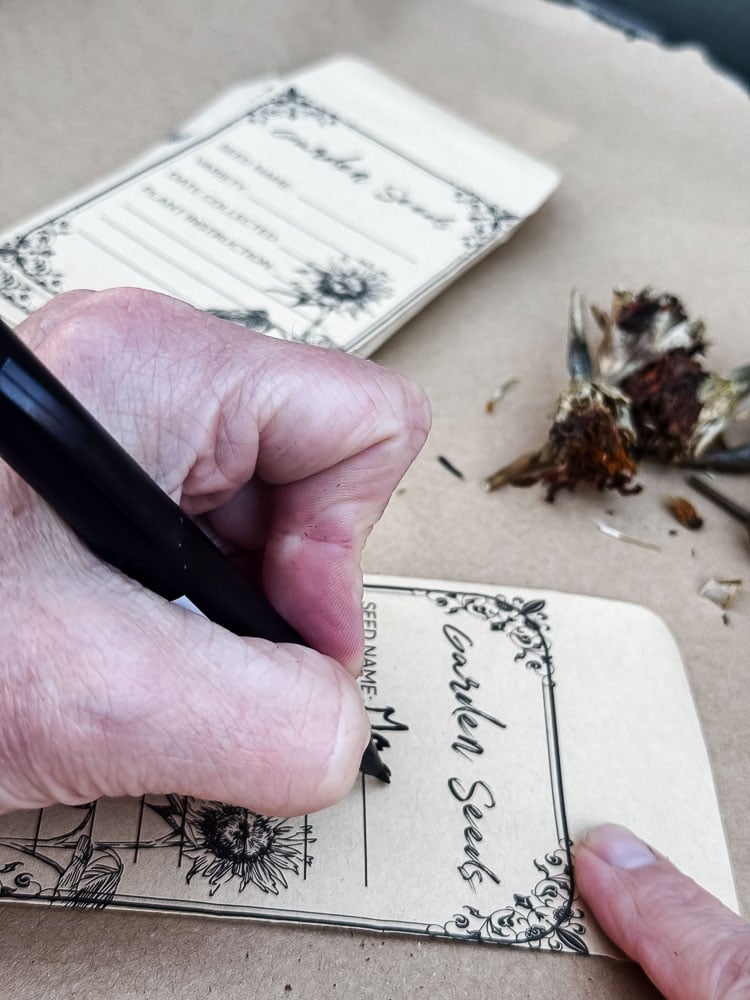
Pop each batch straight into its labeled envelope. Trust me, you will not remember which is which later. Most seeds look alike in an envelope.
Here’s A Seed Saving Guide To Help!
|
Flower |
What I’m saving |
Ready when |
How to collect |
|---|---|---|---|
|
Zinnias |
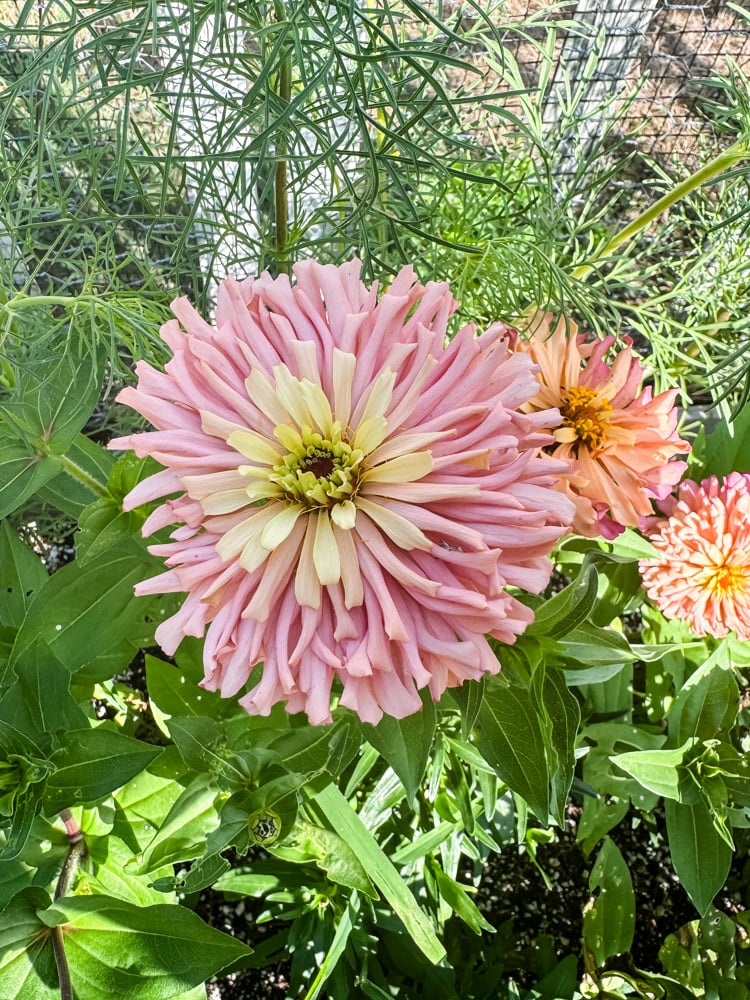
Aurora, Agave, Mazurkia, Illumination |
Heads are brown and crispy |
Pull the petals; the arrow-shaped seeds sit at the base of each one |
|
Cosmos |
Double Click |
Centers turn brown |
Pull out the long, slender dark seeds |
|
Marigolds |
A super tall variety from my local farm |
Heads are dry and papery |
Slide the long, thin seeds out of the base |
|
Calendula |
Flashback, Oopsy Daisy |
Seed heads turn brown |
Pick off the curled, crescent-shaped seeds |
|
Nasturtiums |
Bloody Mary |
Seeds turn tan and hard |
Gather from the ground; skip any that are mushy |
|
Nigella |
Albion Black Pod, Albion Green Pod, |
Pods are dry and rattle |
Shake the seeds out of the pod |
|
Poppies |
Imperial Pink, Drama Queen, Feathered |
Pods are dry and rattle |
Tip the pod like a salt shaker |
|
Celosia |
Spun Sugar |
Plumes are dry |
Shake into a bag to catch the tiny, shiny black seeds |
|
Floss flower |
Timeless Mix |
Fluffy heads are dry |
Rub the heads gently over a plate |
|
Sunflowers |
Gummy Bear |
Back of the head turns brown |
Rub the seeds loose by hand |
|
Strawflowers |
Swiss Giants |
Center opens fully and turns fluffy |
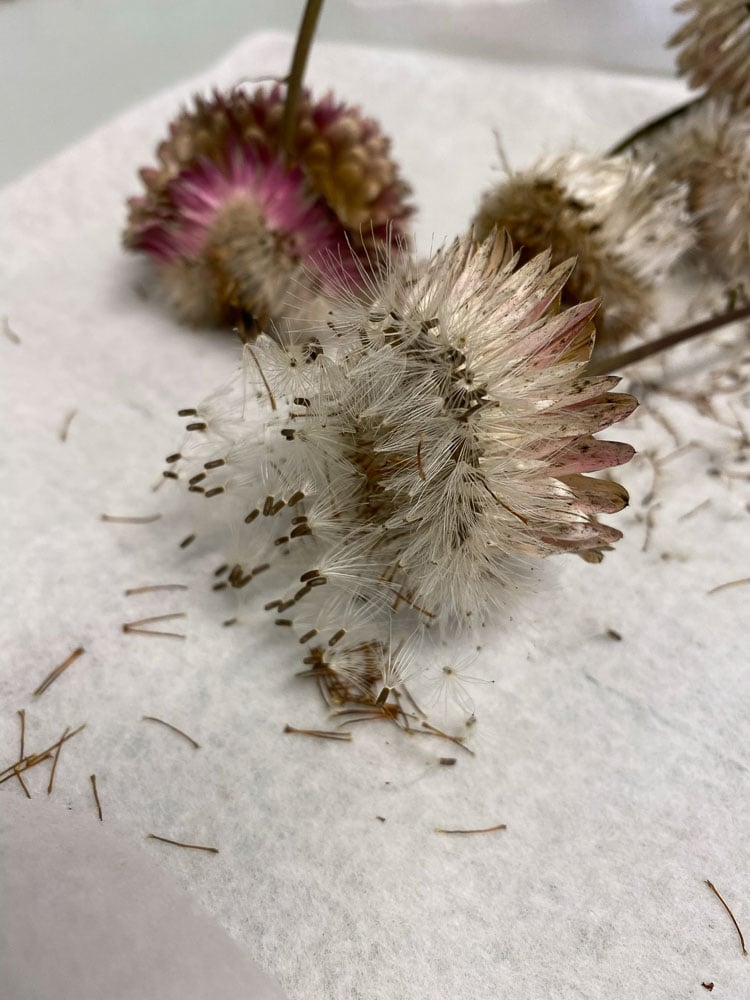
Pull out the fluffy center; the tiny seeds are attached to the fluff (think dandelion) |
A note on sunflowers: I save a few, but I leave most of my dried sunflower heads standing for the birds. They’re a free winter buffet.
in the garden
Drying & Saving: Why Paper Comes First
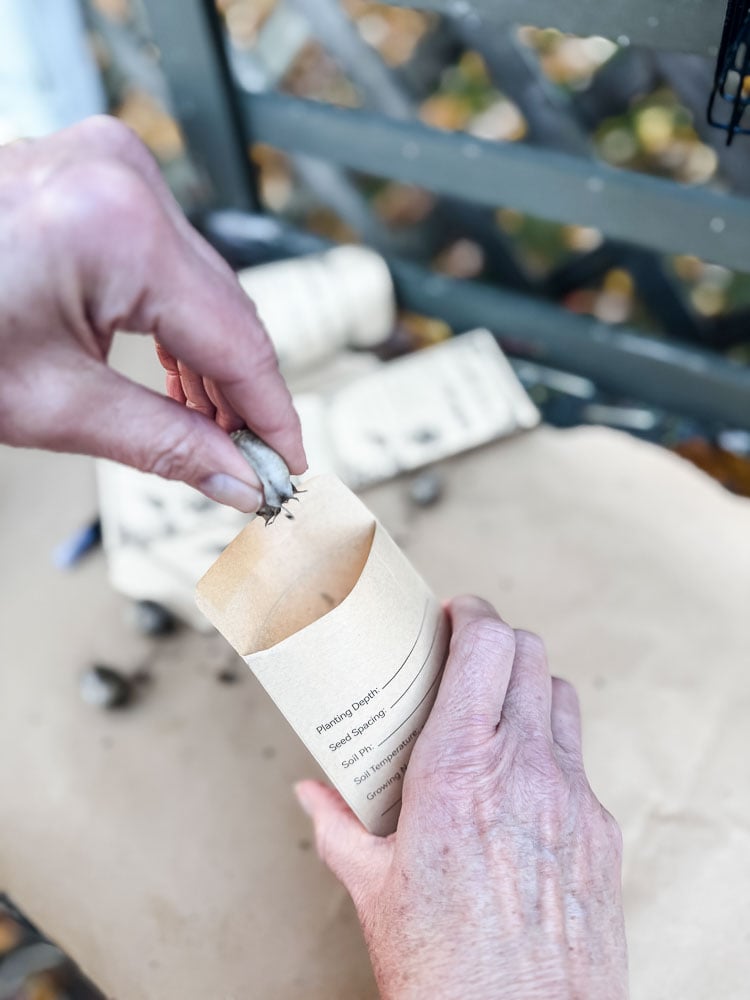
This is the most important step in the whole tutorial. Always store freshly collected seeds in paper first, never a jar or plastic bag.
Even seeds that feel dry can hold a little moisture. Paper breathes and lets that moisture escape. A sealed jar traps it, and one damp seed can mold the whole batch.
I learned this the hard way. A few years back, I went to grab my seeds in the spring and found a baggy fuzzy with mold. Lesson learned.
Right now, all of my seeds are in paper envelopes. Keep yours somewhere cool, dry, and dark, like a closet or a drawer. Once they’ve had a few weeks to fully dry out, you can move them into jars or tins if you prefer.
The Honest Part: Will They Look The Same Next Year?
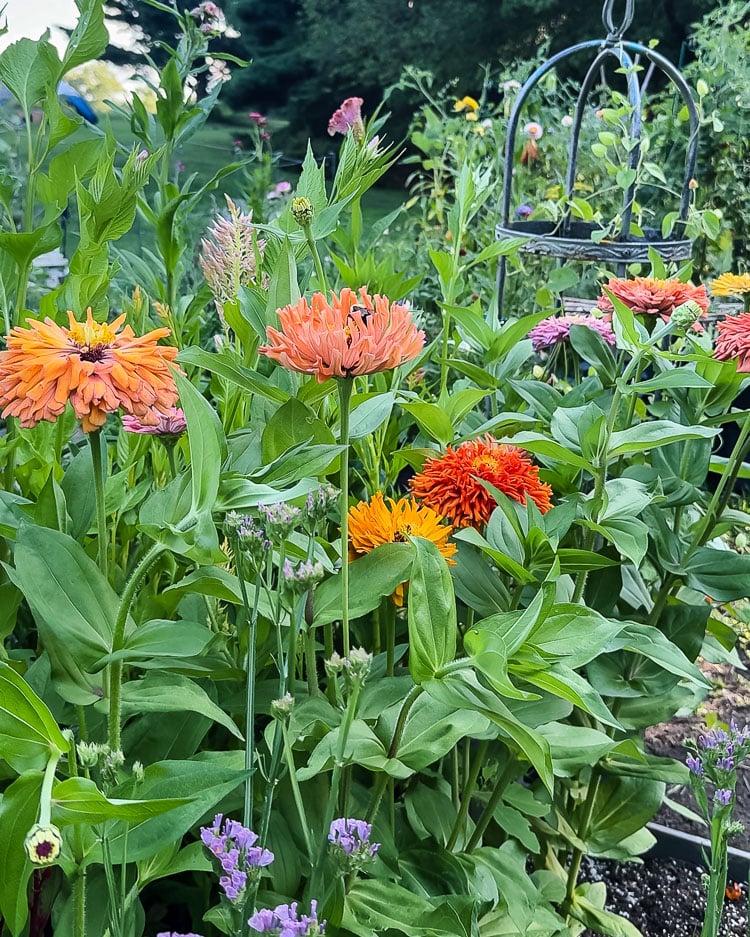
Maybe, maybe not. Bees don’t care about your color plan, and flowers like zinnias, cosmos, and marigolds cross-pollinate freely. If you grow several varieties side by side, your saved seed might give you something a little different next year.
This year I’m only saving seeds from four zinnias: Aurora, Agave, Mazurkia, and Illumination. With Double Click cosmos, don’t be surprised if some come back with single petals instead of doubles. Same goes for the zinnias; if you have smaller single-petal varieties near your giant fluffy zinnias, you could very well get the smaller single flower head.
So, if you are set on having the same true variety of any flower, sometimes you are going to just have to buy fresh seeds in the Spring.
Personally, I think the surprises are half the fun. Self-sowers like nigella, poppies, and celosia tend to stay pretty true to their parents.
Feeling Lazy? Try The Lunch Bag Method
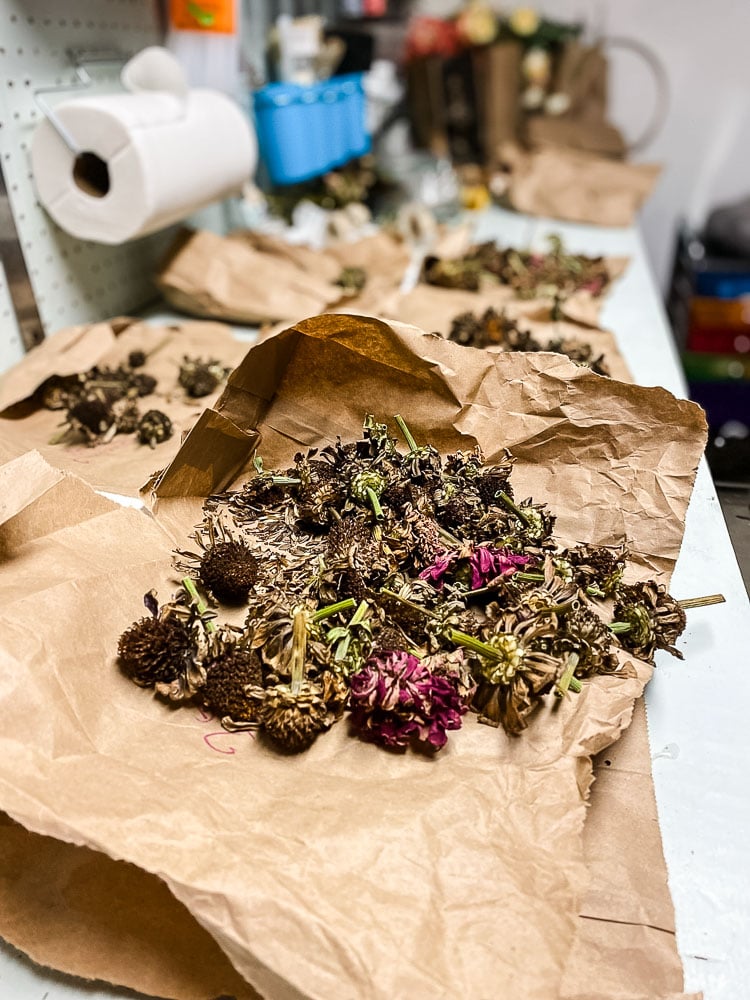
No time to pick through petals this fall? Just snip your dried zinnia heads (or whatever flower), drop them into a paper lunch bag, label it, and deal with them during the winter when you miss your garden!
One tip before you do: pull a couple of petals off a few heads first. If you see plump, firm seeds at the base, you’re good to go. Flat, papery seeds won’t sprout.
Helpful Tips: Mistakes To Avoid
- Don’t start in a jar. Paper first, always. (Ask me about my fuzzy seed disaster.)
- Don’t mix varieties on your work surface. Clear the table completely between each one.
- Don’t wait to label. Write on the envelope before the seeds go in.
- Don’t collect wet seed heads. Pick a dry afternoon, ideally after the morning dew burns off.
- Don’t save from green heads. If it’s not dry on the plant, it’s not ready. Think crispy!
Test Before You Sow
Not sure if a batch is any good? Try a simple germination test in late winter:
- Fold 10 seeds into a damp paper towel.
- Slip it into a plastic baggie and set it somewhere warm.
- Check in a week or two and count how many sprouted.
If 7 out of 10 sprout, about 70% of that batch is viable.
Next Year’s Garden Already Started
There’s something special about tucking a stack of seed envelopes away for winter. It’s next year’s garden in a drawer, and it didn’t cost a thing.
If you have extras, share them with a gardening friend. That’s half the joy of saving seeds.
Now it’s time to rest from a busy gardening season, take a breath, and start planning for next year!!
xo, Jennifer
Cottage Garden
Favorite Products
Shop my gardening favorites! Raised beds, plant supports, & tools to make your garden grow.