Every October I do the same thing. I walk around the yard, see a sugar maple leaf that’s practically glowing, and think, “I need to keep this one.” Then I bring it inside, set it on the counter, and three days later it’s a brown, curled-up crisp. Every single year.
Short Answer:
Mix 1 part vegetable glycerin with 2 parts hot water. Fully submerge your leaves in a flat container for about 5 days, then blot them between paper towels for a day. They’ll stay soft and pliable, deepen in color, and last for months to a couple of years.
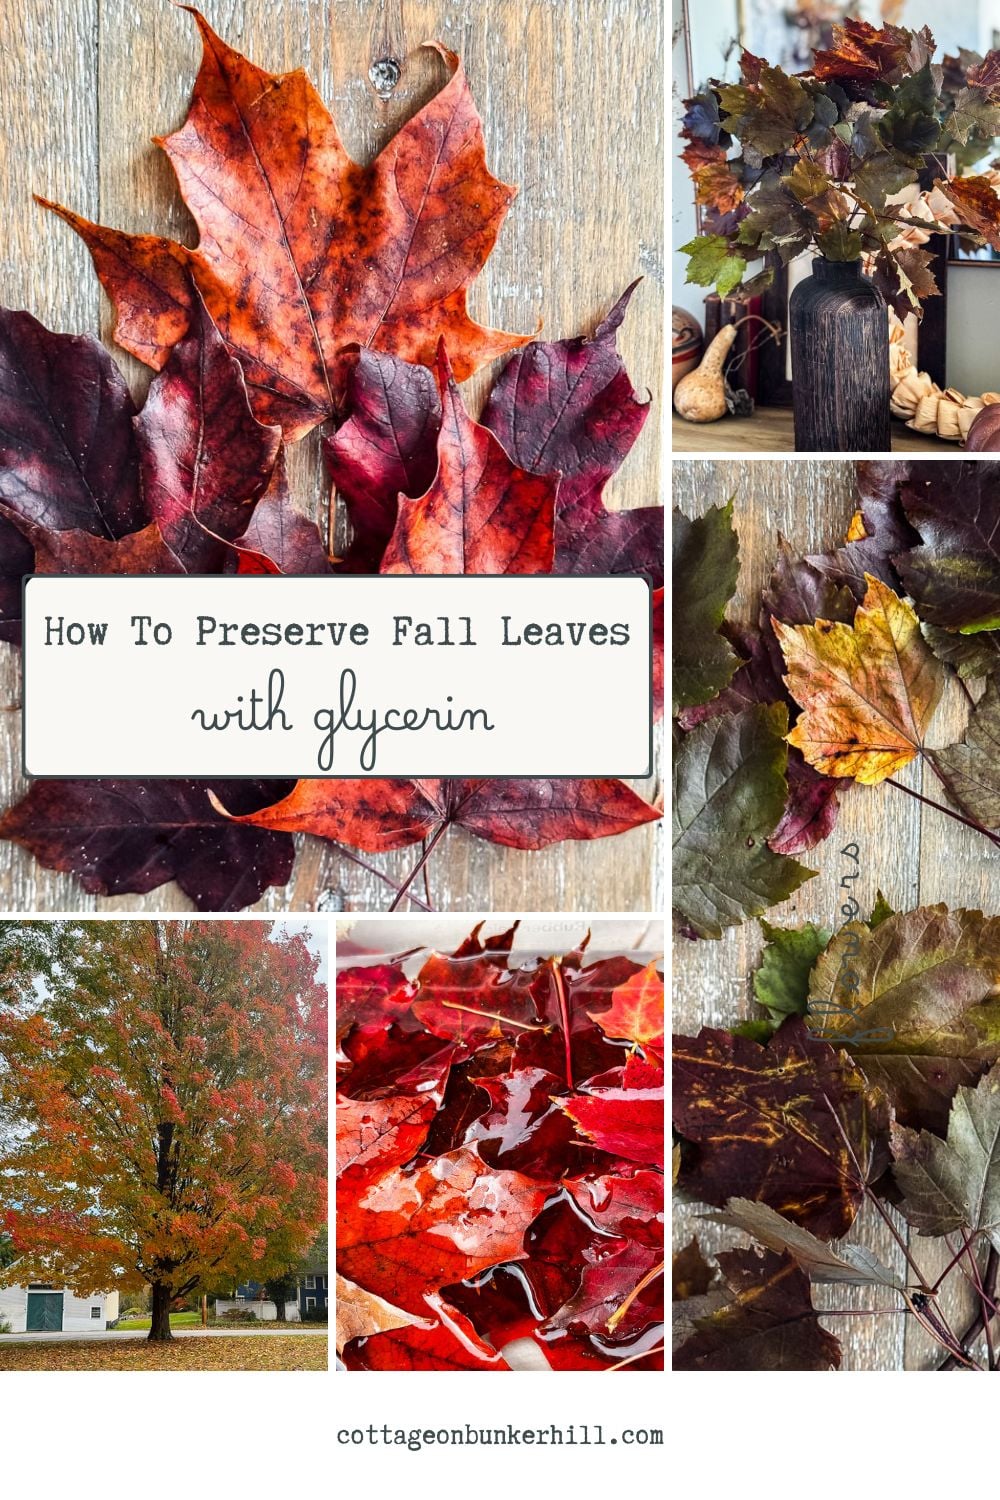
This year I finally did something about it. I preserved a big batch of fall leaves with vegetable glycerin, and I’m honestly kind of obsessed with how they turned out. Instead of drying out, the leaves stay soft and bendy, almost like leather, with a pretty little sheen. And the colors actually got deeper. More on that in a minute.
It’s a simple process with almost no hands-on time. Most of it is just waiting. And it’s a much better option than buying plastic leaf stems from the craft store, which never look quite right anyway. If you have trees, you already have the most expensive part of this project covered.
Here’s exactly how I did it, step by step.

Welcome! I’m Jennifer, and I’ve always believed nature is the most beautiful art supply. For years, I’ve been preserving New England’s blooms and foliage through pressing, drying, and crafting. Let me show you how to capture a little bit of the season and bring it indoors—simply and beautifully.
Why Glycerin Works
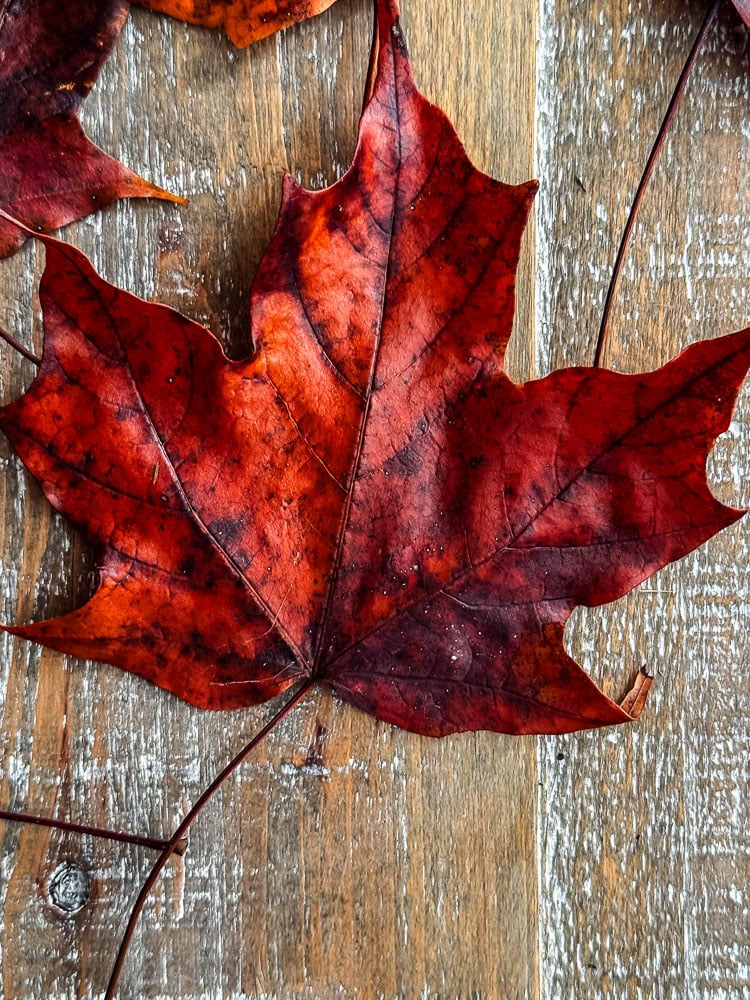
When a leaf dries out on its own, it loses all its water and turns brittle. Glycerin swaps itself in for that water. The leaf soaks up the glycerin mixture and holds onto it, so it stays flexible instead of crumbling.
You’ve probably seen vegetable glycerin in the health + beauty section of your dept. store or pharmacy. It’s the same stuff. It’s a thick, clear liquid that’s too gloopy on its own, so you thin it with hot water before using it.
The big difference from pressing leaves is texture. Pressed leaves are flat and papery. Glycerin leaves still look and feel like leaves, with their natural curves and a soft, supple feel.
This post may contain affiliate links, which means we receive a small commission if you purchase through our links. See our disclaimer page for more information.
What You’ll Need
Another plus of this project is that preserving leaves is simpler than you might think. Bonus: you probably have everything except the vegetable glycerin at home already!
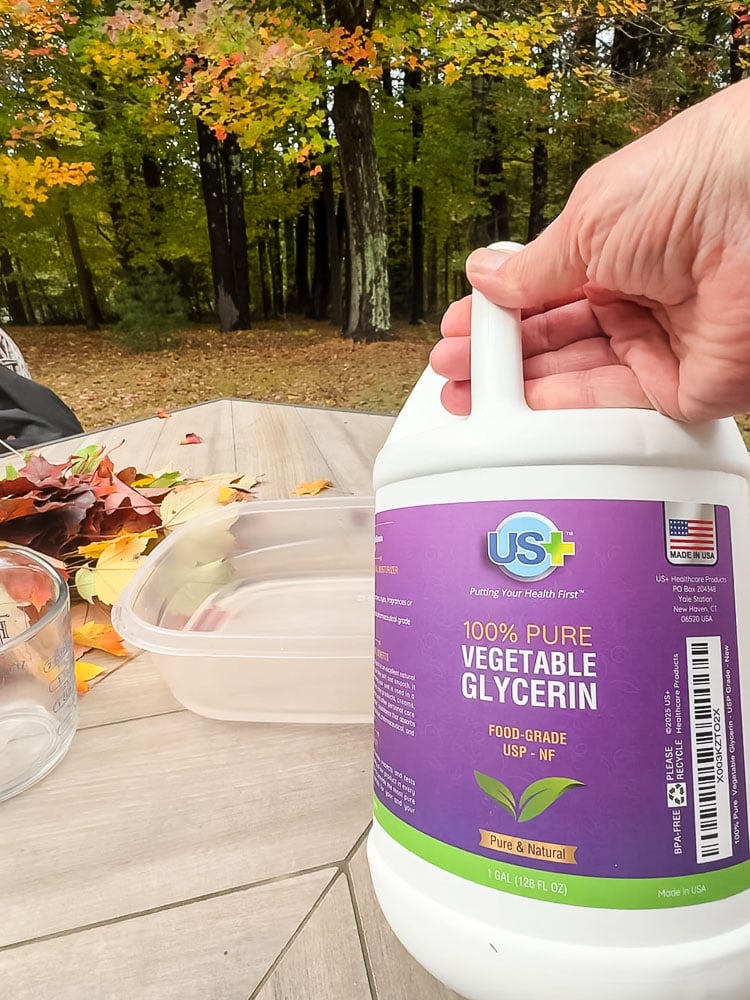
Materials For This Project
- Fall leaves: single leaves, small branches with leaves attached, or both. I used maple, oak, and forsythia.
- Vegetable glycerin: find it at the drugstore, craft store, or online. If you’re doing a big batch, a larger jug is the budget-smart buy.
- Hot water
- A flat container: a large, shallow food storage container works great for single leaves.
- A bigger flat tub for branches: I used an old storage tub.
- Something to weigh the leaves down: another container, a plate, or a tray.
- Paper towels
- A large tray or baking sheet for the drying step
The one thing that really matters: your container needs to be flat and wide enough that every leaf can be completely submerged. Tall and narrow won’t work here.
How To Preserve Leaves With Glycerin
Let me walk you through the step-by-step tutorial with photos to help you understand the process (hey, I’m a visual learner too!)
Step 1. Collect Your Leaves
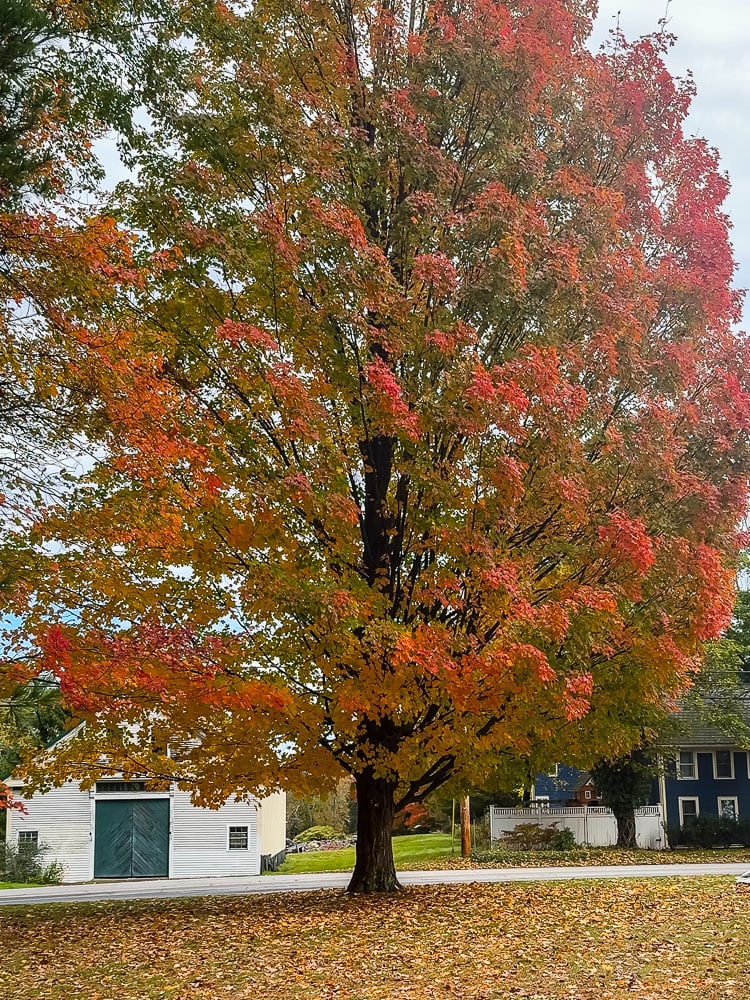
Head out and gather the prettiest leaves you can find. I went around the yard and into the woods and grabbed single maple leaves plus a few small branches with the leaves still attached. I also snipped some oak and forsythia to see how they’d do.
Look for leaves that are colorful, still a little soft, and free of holes or brown spots. Fresh is better here. A leaf that’s already dry and crunchy won’t soak up the glycerin.
I did pick up colorful leaves that had already fallen but were still very fresh.
Step 2. Mix The Glycerin Solution
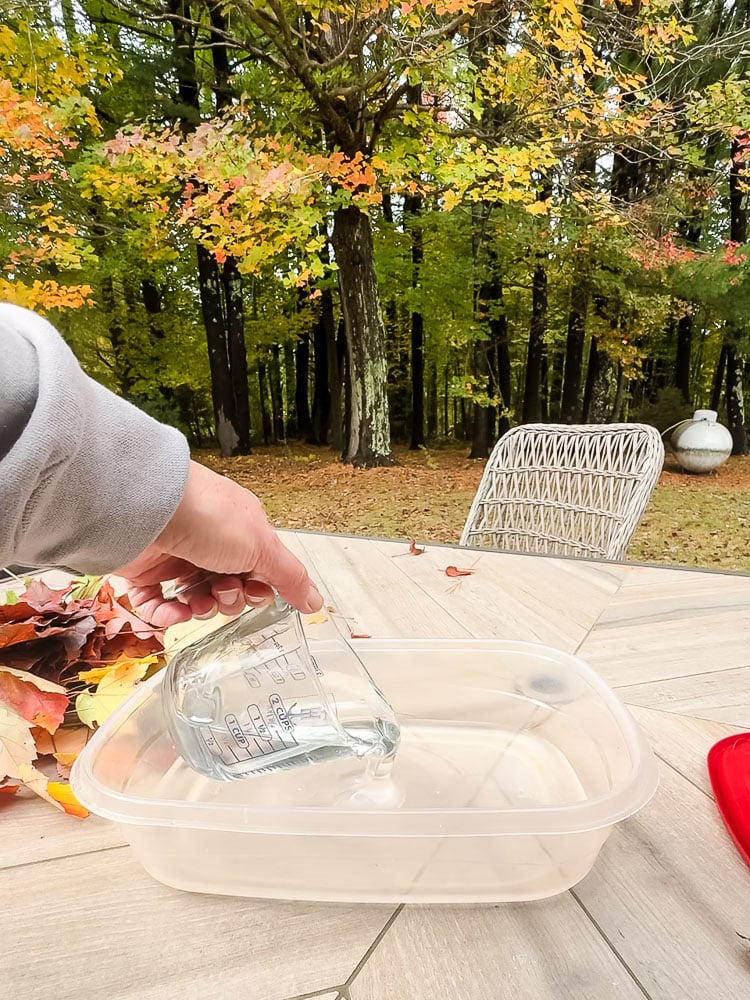
Mix 1 part glycerin to 2 parts hot water. So if you use 1 cup of glycerin, add 2 cups of hot water.
The water really does need to be hot. Glycerin is thick and won’t blend into cold water, but hot water helps it dissolve and combine. Stir until the mixture looks clear and even. Make enough to fully cover your leaves.
Let the mixture cool off before adding the leaves
- Vegetable Glycerin Gallon (if you plan on doing lots of leaves, it was the most cost-effective I found, although you can find glycerin in lots of smaller sizes; here’s a 32 oz bottle)
Step 3. Submerge The Leaves
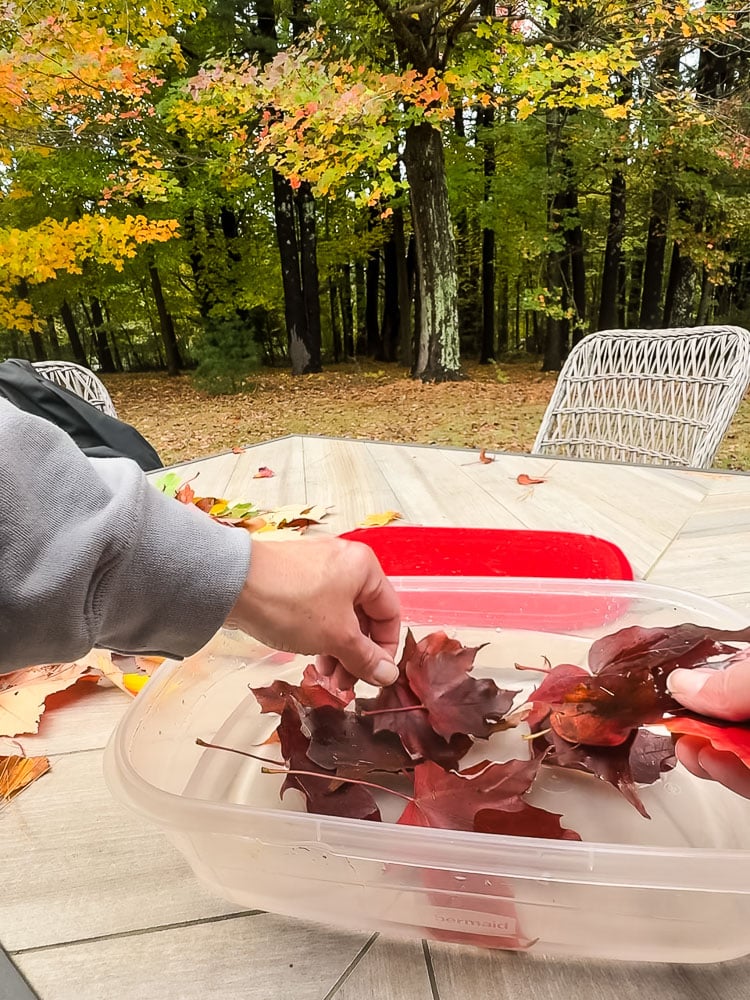
For the single leaves, I am using a plastic food storage container; you need something with a flat bottom for this project.
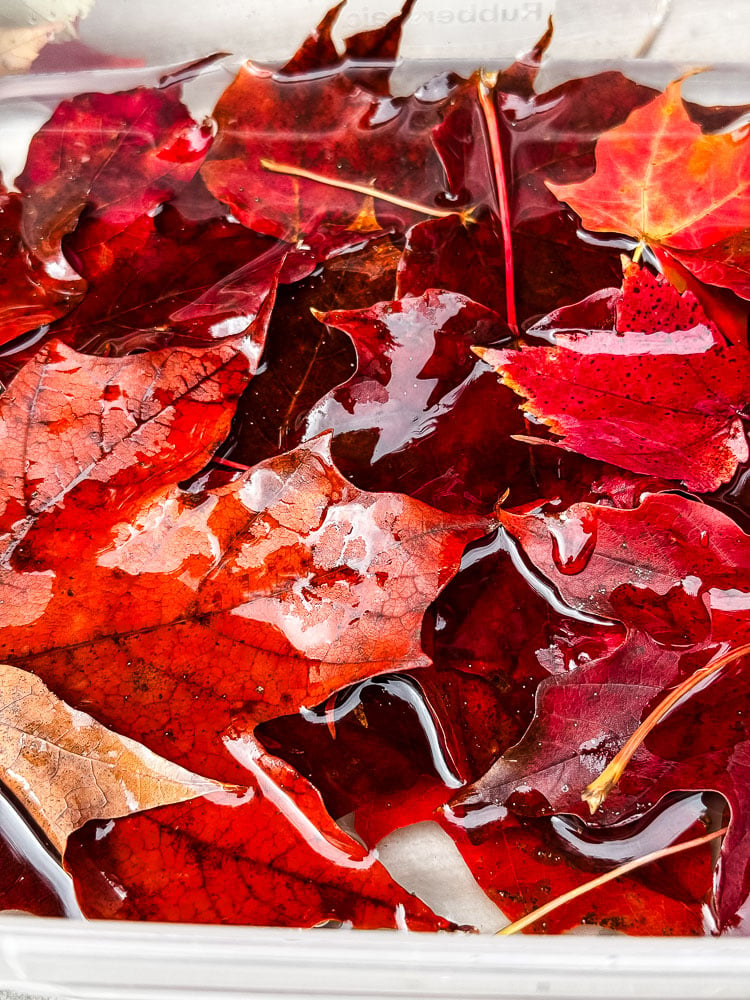
For the branches, I used the bigger storage tub. Everything needs to be completely submerged. Any part sticking out of the liquid won’t preserve. My single leaves actually stayed under on their own.
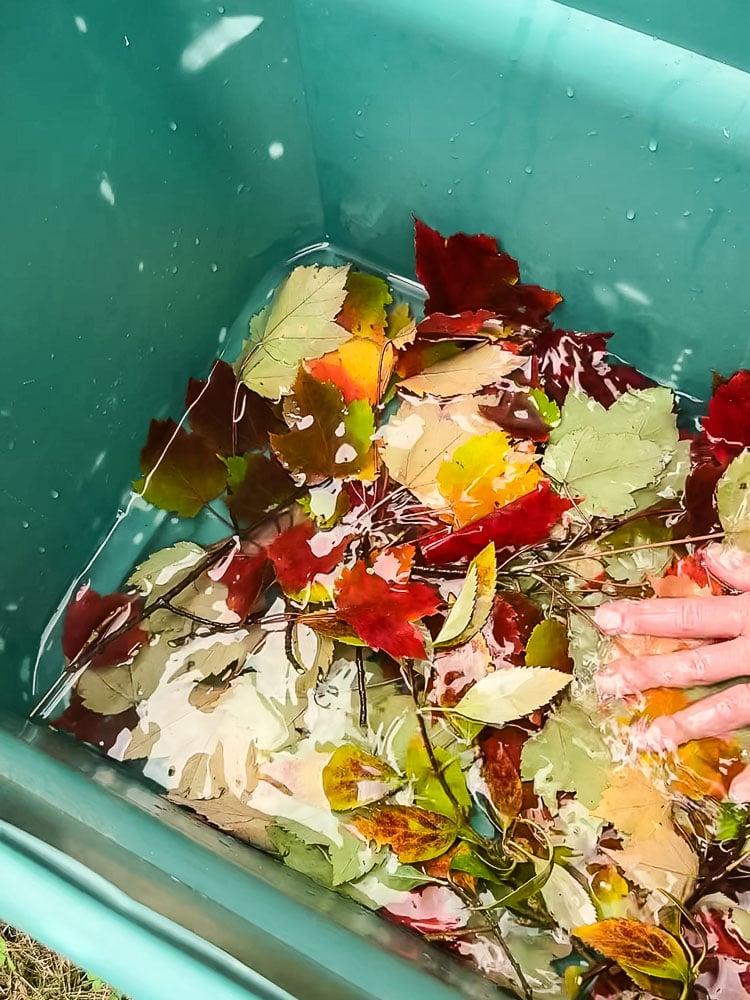
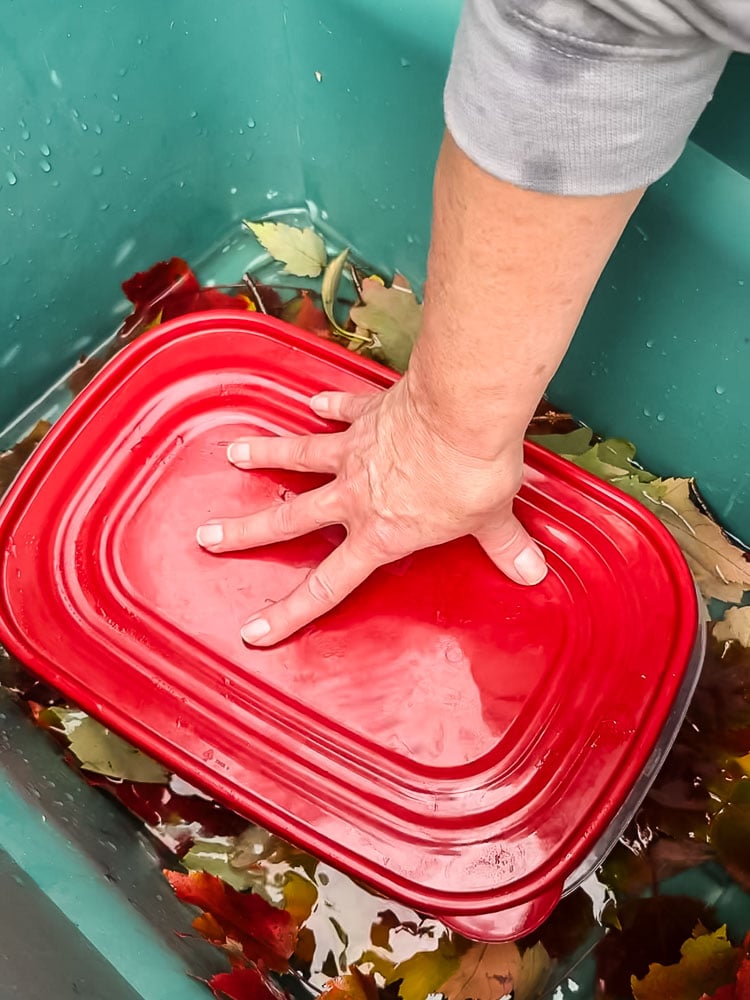
The branches wanted to float, so I set the food storage container right on top of them to weigh them down. Use whatever you have: a plate, a tray, another container.
Step 4. Wait About 5 Days
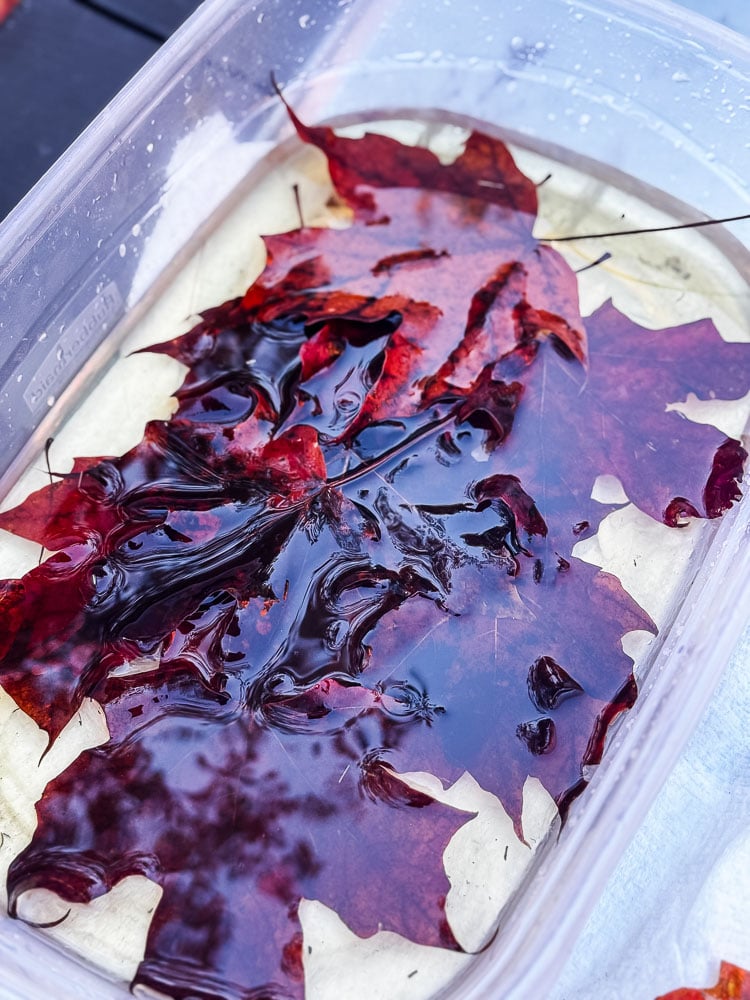
Leave the leaves alone for about 5 days. You’ll know they’re ready when they feel soft, pliable, and a bit leathery.
Smaller, thinner leaves may finish sooner, and bigger, woodier branches may need a week or more, so feel free to check on them.
A helpful tip to encourage the twig to absorb the mixture: you can cut the end at a sharp angle or even give it a good whack with a mallet-both create more surface area.
Step 5. Remove The Leaves
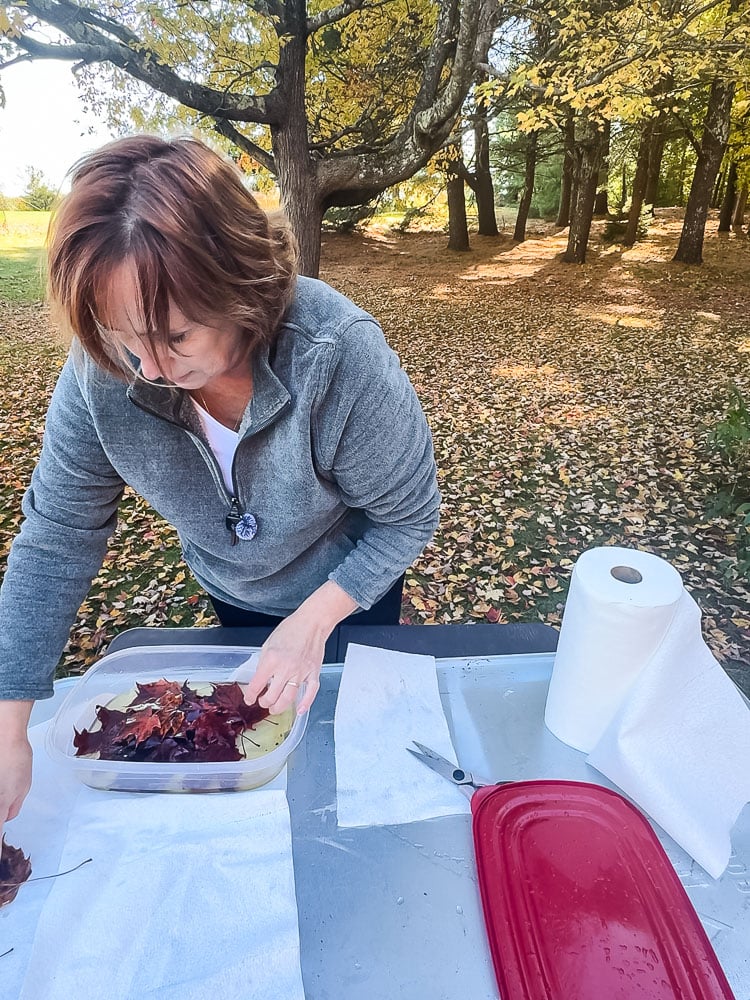
Line a large tray with paper towels. Pull the leaves out of the solution, spread them out in a single layer, and cover them with another layer of paper towels. This soaks up the extra glycerin/water mix on the leaves.
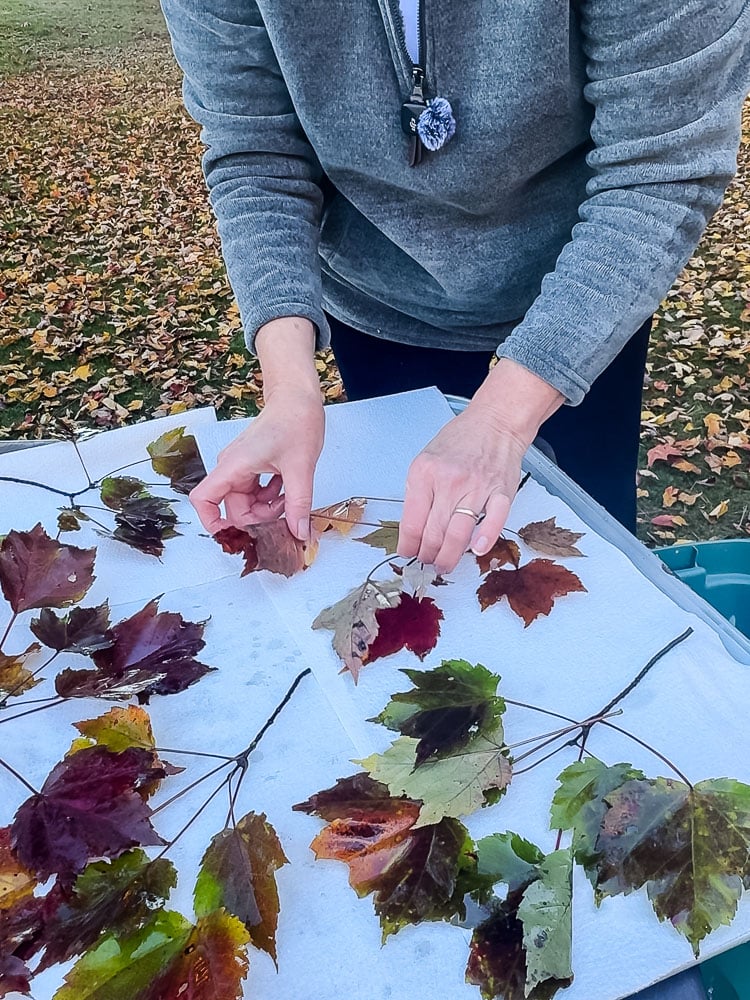
This process can get a little messy; I am doing it outside so I didn’t have to worry about the dripping glycerin. If you are working indoors, just cover your counter with paper or a towel.
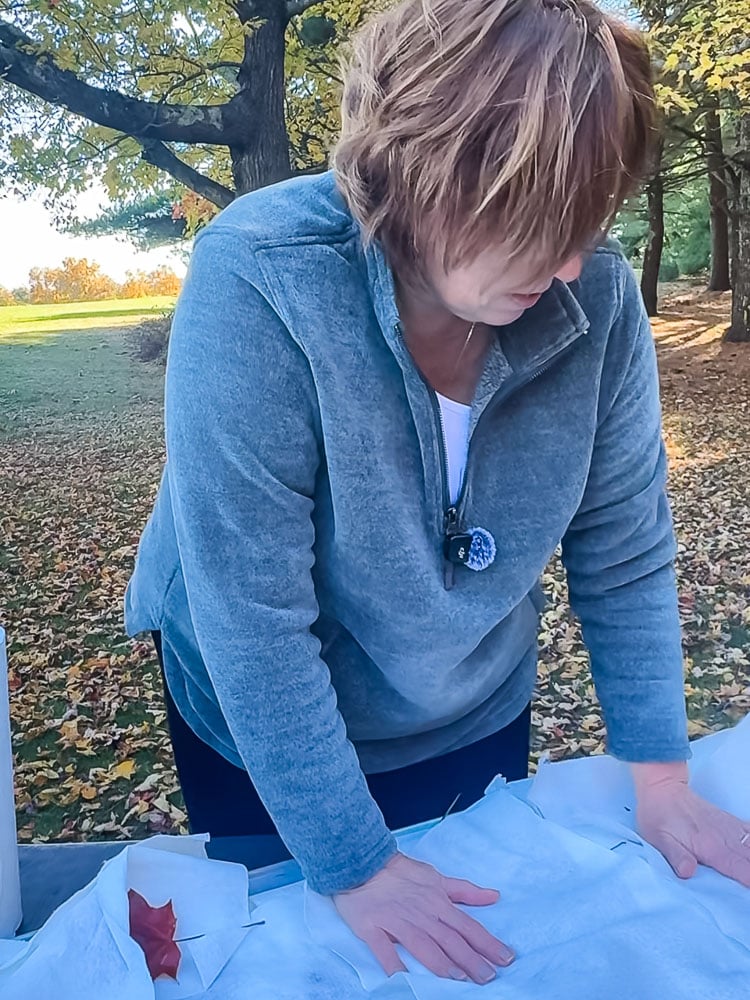
Step 6. Let Dry Completely
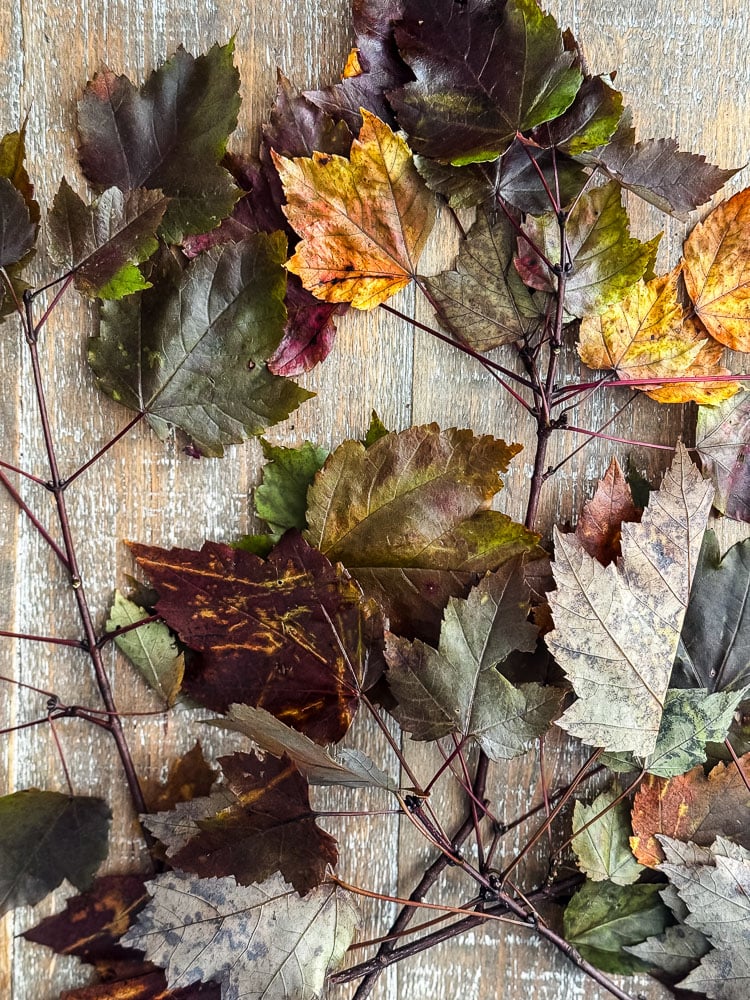
I left mine to dry for 2 days, but honestly, I think 1 day would have been enough. Once they look dry, you’re good
That’s it. They’re ready to decorate with!
What To Expect
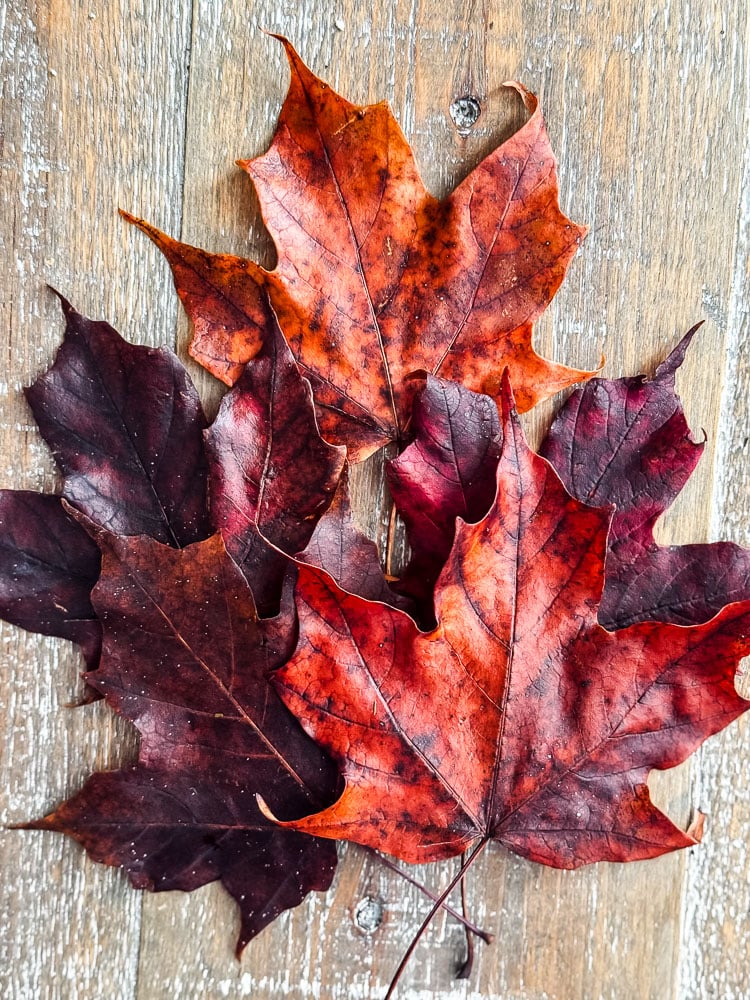
Your preserved leaves will come out soft, pliable, and a little leathery, with a slight sheen. You can bend them without them cracking, which makes them so much easier to work with than dried or pressed leaves.
The biggest surprise for me was the color. The glycerin deepened almost everything. My bright red sugar maple leaves turned a rich, deep burgundy-red or deep orange.
The branches and leaves that were more orange and yellow before going into the glycerin came out more like antique, vintage-y versions of themselves, which I actually love, and they look beautiful bundled together in a vase
So go in expecting a darker, richer palette rather than an exact copy of the colors you picked. Greens and yellows tend to shift the most, I think.
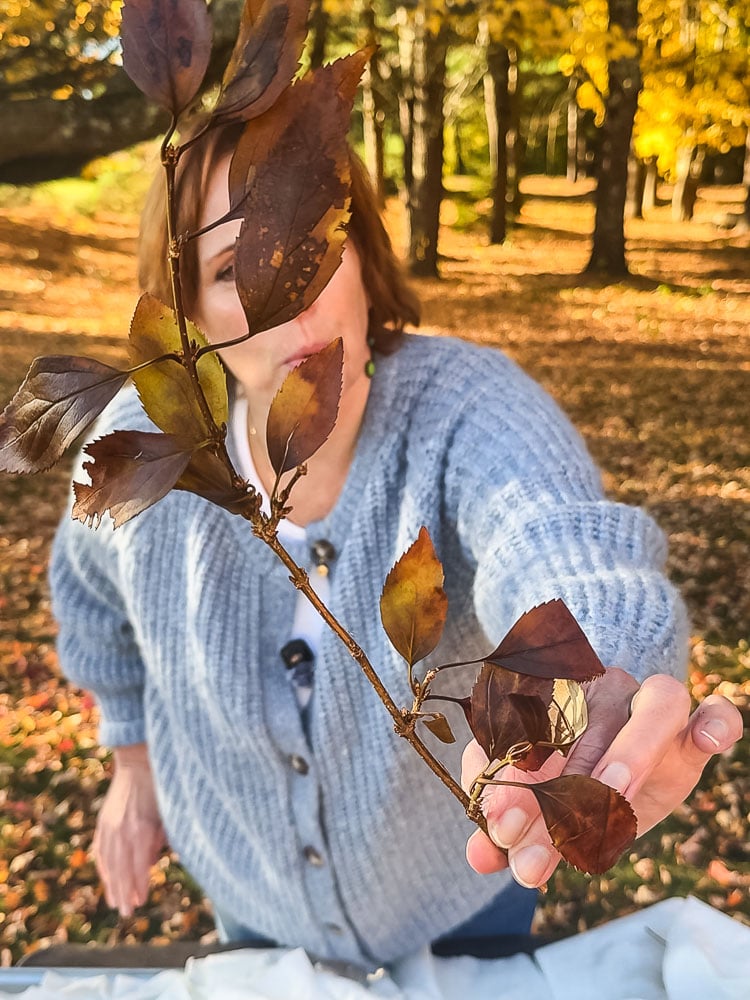
I tried oak leaves and also forsythia branches. The oak branches were yellow and came out more golden. The forsythia was red and green and came out a two-tone burgundy and greenish yellow.
Tips For Best Results
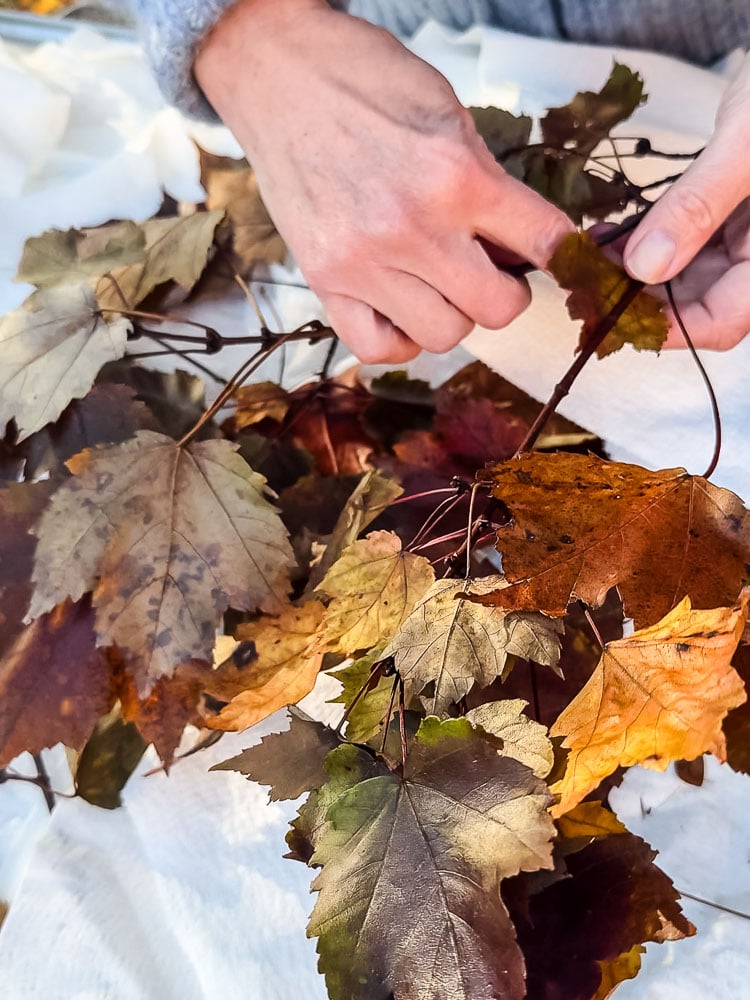
- Collect before a hard frost. Frost damages the leaf structure, so frozen leaves don’t absorb the glycerin well. Here in New Hampshire, that means not waiting too long into the season.
- Fresher is better. Pick leaves that are still supple, not ones that have been sitting on the ground drying out for days.
- Flat container, full coverage. I can’t say this enough. If part of a leaf is above the liquid, that part won’t preserve.
- Try branches, not just single leaves. The small branches were my favorite. They look so pretty standing in a vase or pitcher.
- Don’t stop at fall leaves. This works on lots of foliage, not just autumn color. (I’m testing eucalyptus right now. More on that below.)
- Keep finished leaves out of direct sun and humidity. Both will fade them faster.
- Save leftover solution. Store any extra mixture in a sealed container somewhere cool and dark for your next batch.
How Long Do Glycerin-Preserved Leaves Last?
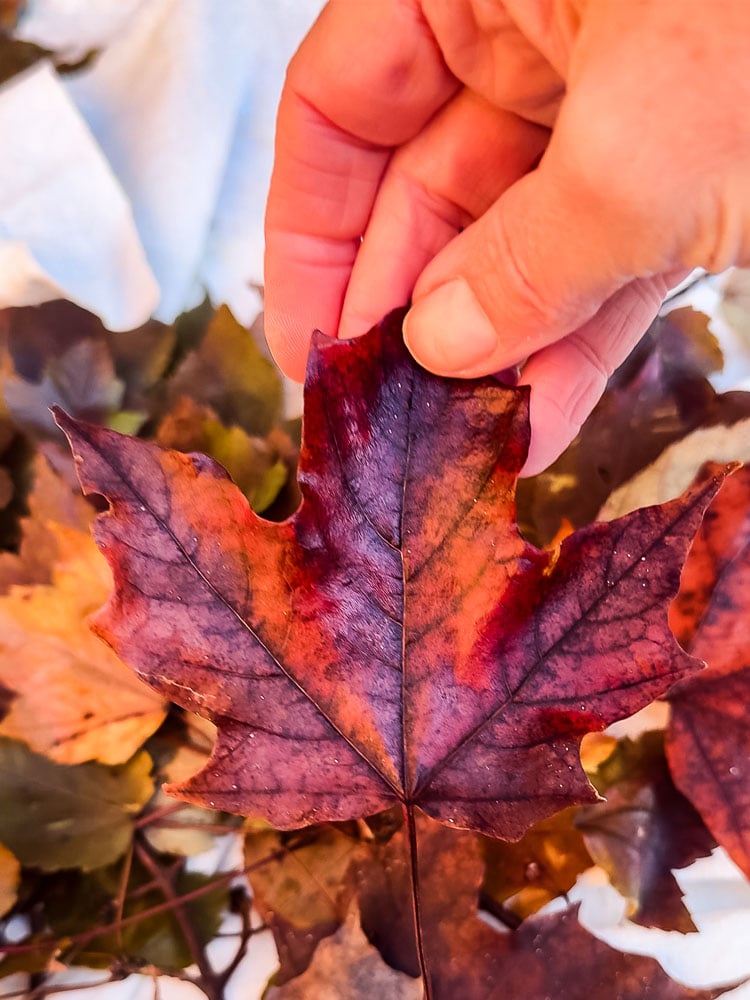
Glycerin-preserved leaves can last for months, and often a couple of years, if you treat them well. The leaves themselves hold up a long time. The color is what changes. Expect some gradual fading, especially in yellows and greens, and especially if the leaves sit in a sunny window.
I know from the preserved branches that I bought a few years back from Terrain that they looked fabulous for a couple of years.
To get the most life out of them:
- Display them away from direct sunlight
- Keep them out of damp spots like bathrooms
- Store them between sheets of tissue paper in a box when fall decor comes down
I’ll report back next Fall on how mine held up!
Ways To Decorate With Preserved Fall Leaves
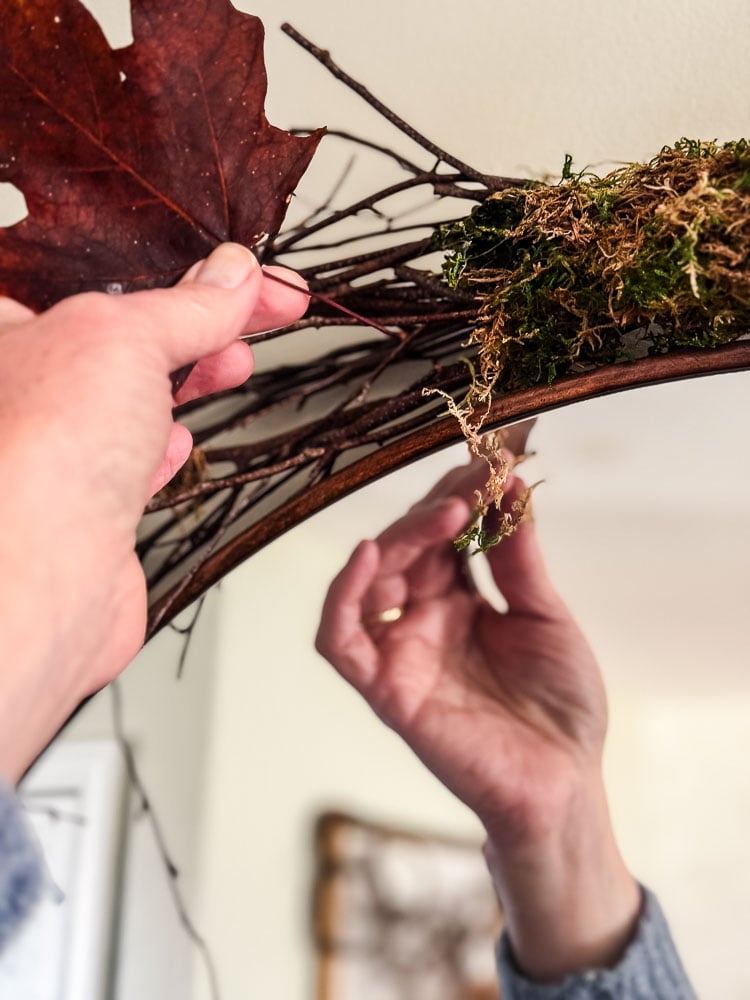
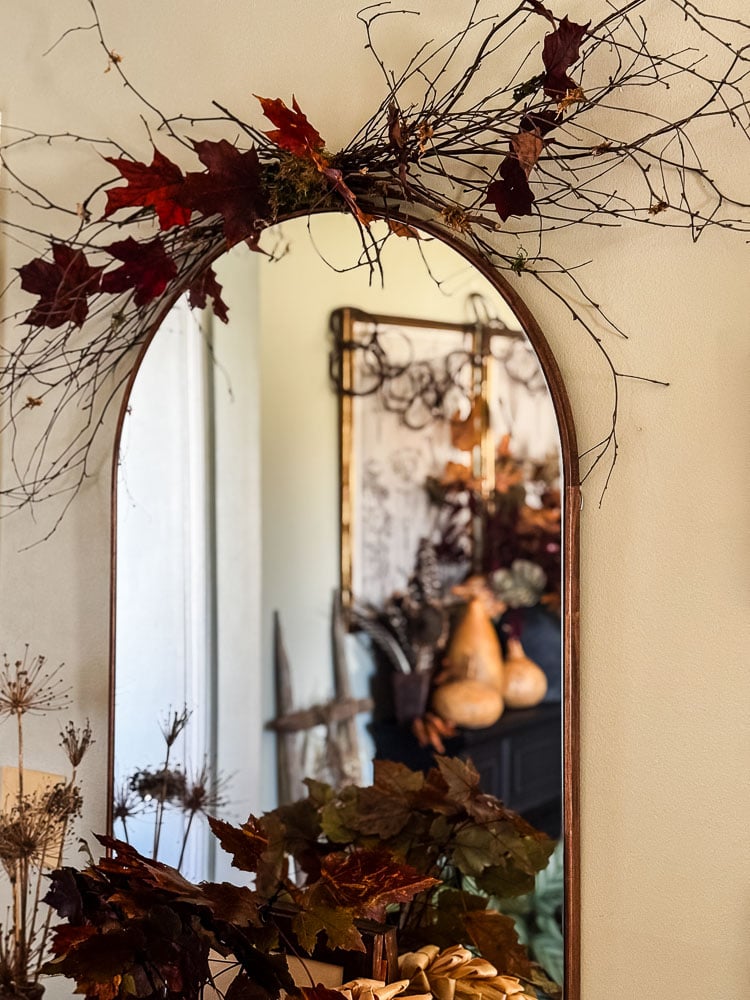
Because they bend instead of crumble, glycerin leaves are so much more useful than pressed ones. A few ideas:
- Stand the preserved branches in a vintage pitcher or crock
- Scatter single leaves down the center of your Thanksgiving table
- Tuck them into a fall wreath or garland
- Layer them under candles, pumpkins, or gourds on a mantel or tray
- Use them as place cards with names written in gold or white paint pen
- Tie a leaf onto a wrapped gift or jar of something homemade
Now It’s Your Turn!
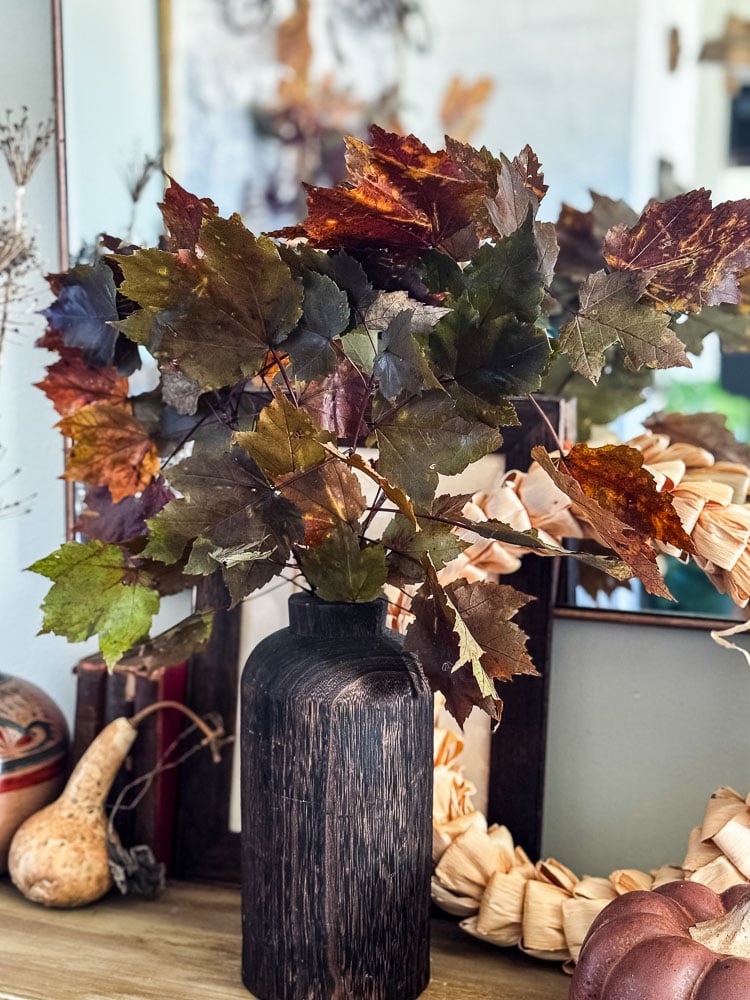
This was one of those projects where the effort-to-payoff ratio is just about perfect. A little glycerin, some hot water, a flat container, and a few days of patience, and you’ve got real leaves from your own yard to decorate with for seasons to come.
No plastic stems, no craft store run, no throwing out a bag of fake foliage when it starts to look tired. Just a little piece of your own backyard, brought inside.
If you try it, I’d love to hear which leaves you preserved and how the colors came out. Tell me in the comments!
More Fall Projects from the Cottage
- Kitchen Herb Wreath: dry the last of your garden herbs into something pretty
- Nature Printing with Leaves: another way to use those fall leaves
- Pressed Flower Pumpkins: a fall craft night favorite
- Foraged Fall Door Swag: garden-to-home decor for free
- What to Do with Your Garden at the End of the Season: put your beds to rest before winter
See your projects featured! If you are inspired by this or any of my other DIY projects, I would love to see them and add you to the Reader’s Spotlight gallery. Send a photo to me at jennifer@cottageonbunkerhill.com
xo, Jennifer
Love projects like this? Don’t miss out! Join my newsletter family for more cozy, budget-friendly DIY ideas delivered right to your inbox. You’ll get exclusive tips, early access to tutorials, and all the inspiration you need to make your home feel handmade and heartfelt.
Cozy Fall Finds