When it comes to Halloween decorations, carving pumpkins is a classic tradition. But if you’re looking for a new way to decorate your pumpkins this year, why not try using pressed flowers? It’s a unique and creative way to add some natural beauty to your Halloween decor. Today I will show you not only how to decorate your pumpkins with pressed flowers but also the microwave method of drying and pressing flowers which takes only minutes to do!
Decorating a Pumpkin with Pressed Flowers
To get started, you’ll need to gather some supplies. You’ll need a pumpkin, of course, as well as some flowers and foliage to press. You can use any flowers you like, but it’s best to choose ones that are relatively flat and thin, like pansies or daisies. Once you have everything you need, you’re ready to start decorating your pumpkin!

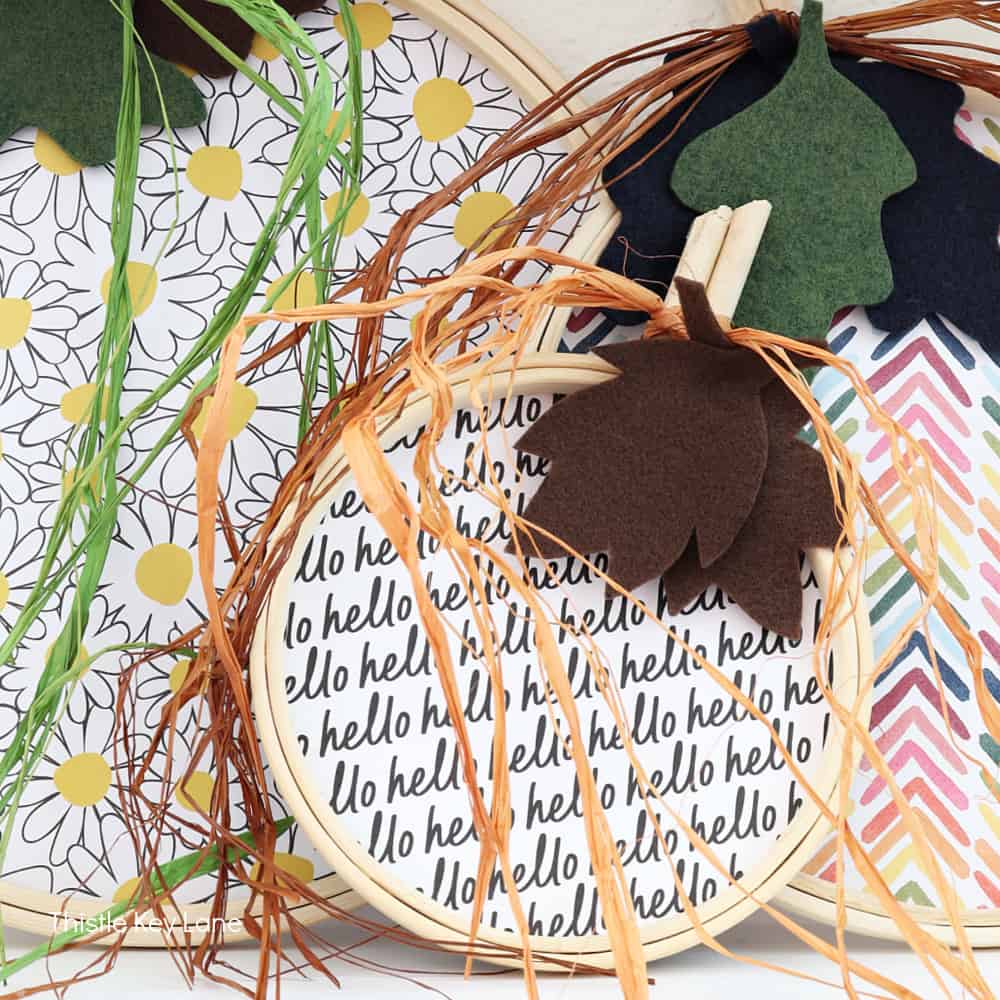
This month’s theme for the Handcrafted Society is pumpkins. You will love all the creative projects that the members came up with for Fall including this clever wall art. You will find the rest of the projects linked at the end of this DIY.
Materials for Pressed Flower Pumpkins:
- Pumpkins
- Flowers
- Mod Podge
- Paint Brushes
- Toothpicks
- 2 Dinner Plates
- Paper Towels
Choosing the Right Pumpkins

When it comes to decorating a pumpkin with pressed flowers, choosing the right pumpkin is important. Here are a few things to keep in mind when selecting your pumpkin:
Size and Shape
The size and shape of your pumpkin will depend on your personal preference and the design you have in mind. Keep in mind that larger pumpkins will provide more space for your pressed flower but will take more flowers and longer to complete. Similarly, odd-shaped pumpkins can add character to your design, but they may also be more difficult to work with.
Color and Texture
When selecting your pumpkin, consider the color and texture of the skin. A smooth, unblemished surface will provide a better canvas for your pressed flowers (imperfections really stand out when they are framed with flowers!) Additionally, lighter-colored pumpkins may make the colors of your flowers stand out more, while darker pumpkins may provide more contrast.
Health and Condition
Finally, be sure to choose a pumpkin that is healthy and in good condition. Look for pumpkins that are free of mold, soft spots, and other signs of decay. A healthy pumpkin will not only provide a better canvas for your design, but it will also last longer. Remember to never pick up your pumpkin by the stem to prevent breaking!!
So when picking up pumpkins for your pressed flower designs, consider the size and shape, color and texture, and the health and condition of the pumpkin.
Choosing Flowers

Flower Types
Not all flowers are suitable for pressing. Some flowers have thick petals that are difficult to press, while others have a high water content that can cause them to rot.
Here are some types of flowers that are ideal for pressing:
- Daisies
- Pansies
- Zinnias
- Marigolds
- Cosmos
- Phlox
- Baby’s breath
- Hydrangeas
- Lavender
- Morning glories
- Leaves
Size and Shape of Flowers
The size and shape of the pressed flowers also matter. You want to choose flowers that are small enough to fit on the pumpkin but not too small that they get lost in the design. Here are some tips:
- Choose flowers that are around 1-2 inches in diameter for larger pumpkins, and under 1 inch for small pumpkins.
- Mix and match flowers of different sizes to create a more interesting design.
- Consider the shape of the flower. Some flowers, like daisies, have a round shape that can complement the round shape of the pumpkin.
Flowers From My Garden

For this project, I only had to head out to my garden to collect flowers to use. I walked around and snipped everything that was flowering! The largest flowers were the cosmos and then I gathered some teeny flowers like phlox, pinks, gaura, radish, & borage flowers.
Pressing Flowers Using The Microwave Method
This is the easiest and quickest way to dry and press flowers that you will ever see!! Imagine, you can make them in just 2 minutes!
Flower Preparation
To prepare the flowers, you will need to gather a variety of fresh flowers. Choose flowers that are flat and have thin petals, such as pansies, daisies, and cosmos. Avoid flowers with thick stems or bulky petals, as they will not press well.

Once you have gathered your flowers, cut off the stems and leaves. Try to cut the flowers so that they are almost flat, and cut off any excess stem.
Arrange Flowers On A Plate

To press flowers in the microwave you will need 2 dinner-sized plates that can stack on top of each other and that are microwave-safe. Line the plate with paper towels.

Now arrange the flowers and leaves on the paper towel, and make sure that they don’t touch.

Once the flowers are arranged on the plate, give any of the flowers that aren’t sitting flat a gentle push with your fingertips.

Add another layer of paper towels on top of the flowers and cover that with the second plate. The paper towels will absorb the moisture from the flowers as they dry in the microwave.
Microwave the Flowers
Now it’s time to do the quick flower-pressing microwave method! Remember, the strengths of microwaves vary greatly so your flowers may require more or less time depending.
But I microwaved the flowers for 30-second intervals and then would check them. It took 2 minutes for my flowers to be dried and pressed.

You will be able to tell when they are dried by looking at them so don’t be worried if you have never tried pressing flowers this way.

In addition to a large variety of flowers, I clipped different leaves from my perennials that looked interesting.

You can see more about microwave-Quick & Easy Microwave Flower Pressing: Preserving Blooms in Minutes pressed flowers and another project idea here.
Designing Your Pressed Flower Pumpkins
Decorating a pumpkin with pressed flowers is a fun and creative way to add a touch of nature to your fall decor.
Before you start decorating, think about the overall look you want to achieve. Do you want a simple, minimalist design or something more intricate? Consider the size and shape of your pumpkin, as well as the colors and textures of the flowers you plan to use.

Once you have a design in mind, it’s time to start placing your flowers. Here are some tips to help you create a beautiful and balanced arrangement:
- Start with a focal point: Choose a large, eye-catching flower to serve as the centerpiece of your design.
- Mix and match colors and textures: Use a variety of flowers in different colors and textures to add depth and interest to your design.
- Vary the sizes and shapes of your flowers: Use both large and small flowers, as well as flowers with different shapes, to create a dynamic and visually appealing arrangement.
- Consider the placement of your pumpkin: If you’re planning to display your pumpkin on a table or shelf, make sure the design looks good from all angles.
With these tips in mind, you can create a beautiful and unique pumpkin decoration that will impress your friends and family.
Application Process
Decorating a pumpkin with pressed flowers is a fun and creative way to add a unique touch to your fall decor.
To make a pressed flower pumpkin you are going to need a bottle of matte Mod Podge and a paintbrush (a brush works better than a sponge-tipped applicator ).
Note: have wet paper towels handy because your fingers will get sticky, this is a little messy. Also, line your work surface with newspaper or cardboard.

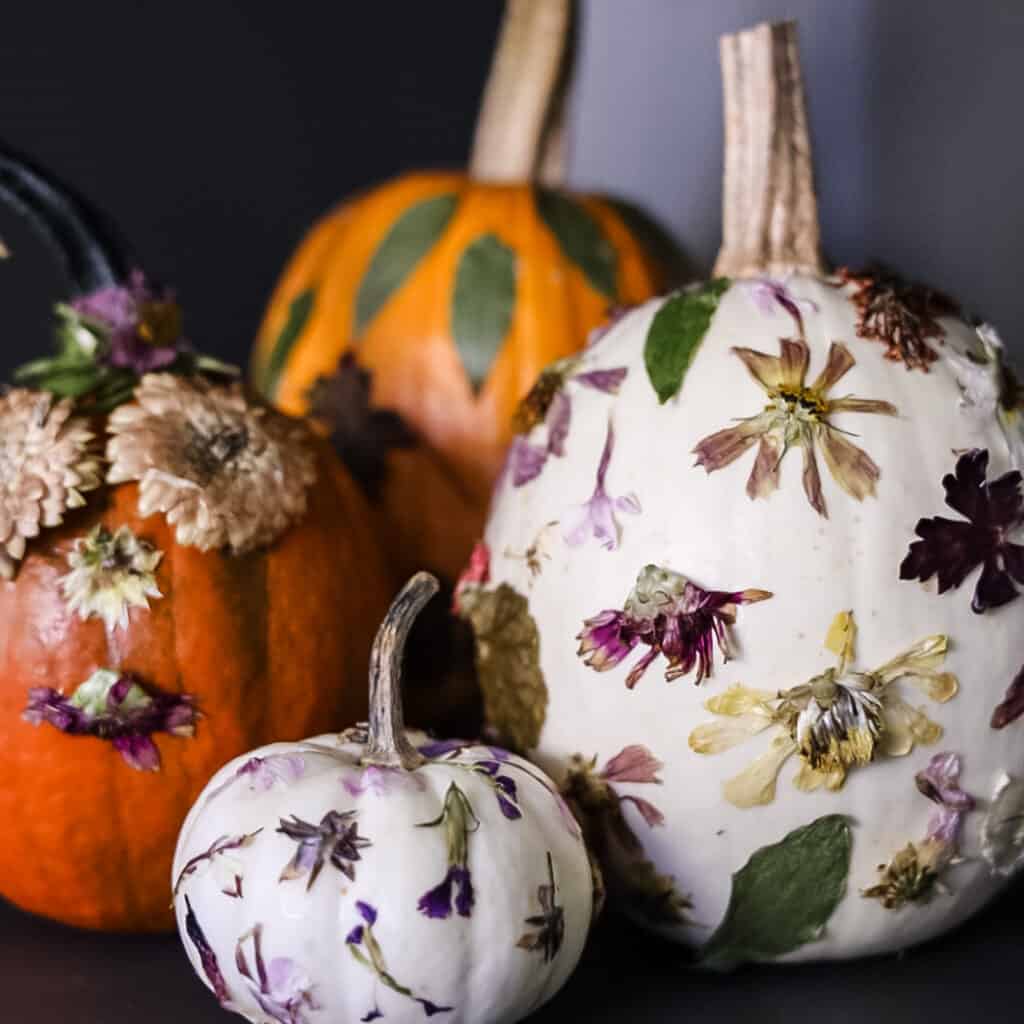
I started in the middle of the small white pumpkin, brushed Mod Podge onto the pumpkin gently put a Cosmo in place, then brushed the Mod Podge over the entire flower.
Brush the pumpkin with Mod Podge, apply a flower, then brush the Mod Podge over the flower.
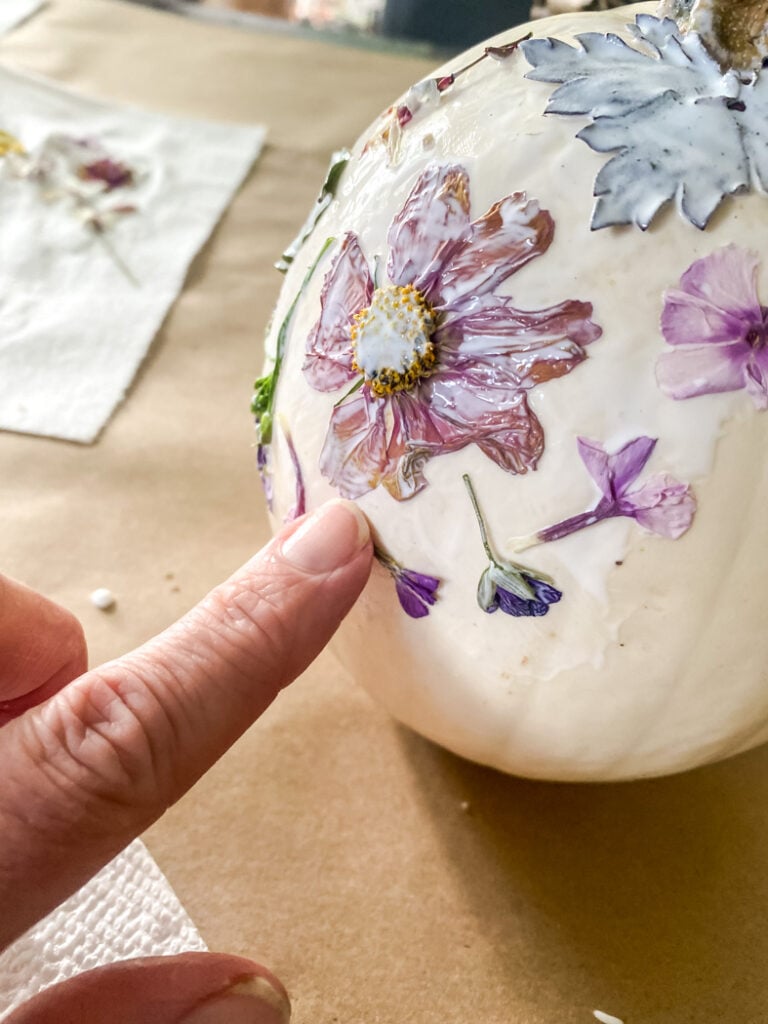
To apply some of the smaller flowers it was easier to use my fingertip or a toothpick. Also, use your finger to smooth any of the petals that may get crumpled.
I repeated this process until I was satisfied with the design. For this pumpkin, I just tried to place flowers and leaves that I thought complement each other together. But feel free to get creative and experiment with different patterns and arrangements.

They don’t look like much when they are all goopy with Mod Podge but trust me they look beautiful once it dries!

Pressed Leaf Pumpkin

For this taller orange pumpkin that I had, I wanted to try just using a variety of dried pressed leaves for the design. Even though I had pressed a few Boston fern leaves I found them impossible to keep on the pumpkin! Friends, I tried and tried but they were such a hassle, so I do not recommend…save yourself the heartache!!

Mini Pumpkin with Pressed Flowers

You can even make a mini pumpkin with pressed flowers!! This little cutie was right from my garden (one of the only things that had a good growing year here in NH!)
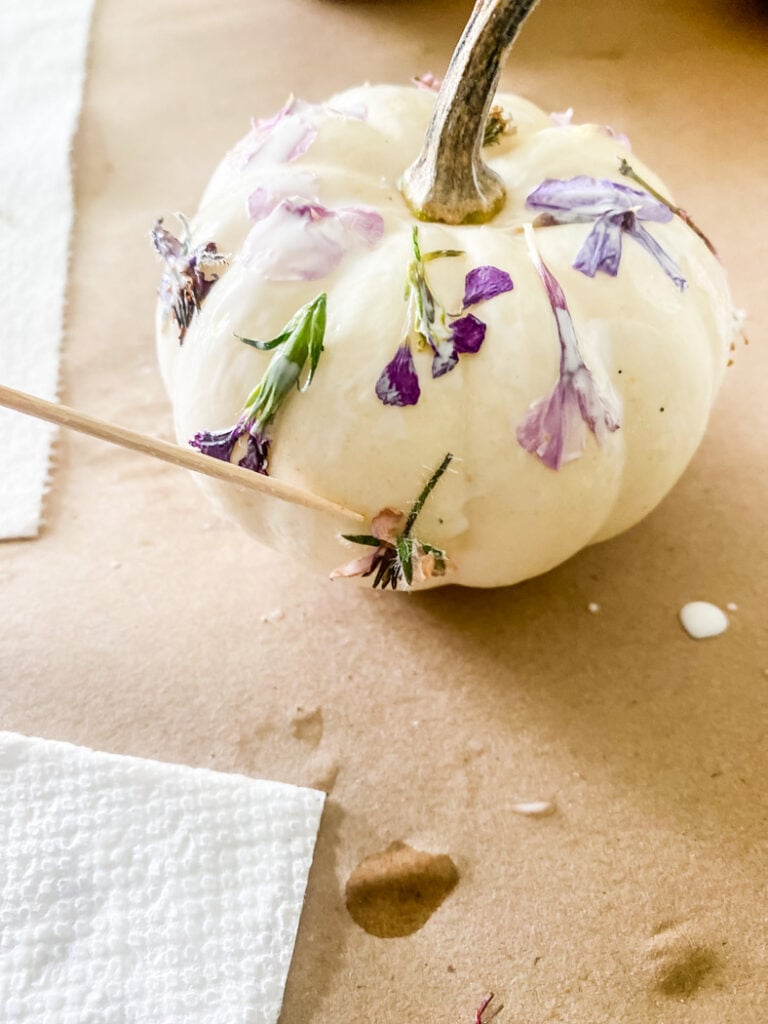
Since this pumpkin was so small I only used small flowers to decorate it. It really helped to use a toothpick to get the flowers into place.
Once you are done decorating your pumpkins with flowers set them aside until the Mod Podge dries completely.
Funny Flower Face Pumpkin

For my last pressed flower pumpkin, I thought that I would have a little fun! This time I used 2 strawflowers to make eyes, and mum for her nose, and a zinnia for lips. The eyes kept sliding down so I did end up hot gluing the eyes to the pumpkin.

Care and Maintenance
Taking proper care of your pumpkin with pressed flowers is essential to ensure it lasts as long as possible. Here are some tips for indoor and outdoor display:

Indoor Display
When displaying your pumpkin indoors, keep it in a cool, dry place away from direct sunlight. Sunlight can cause the flowers to fade and the pumpkin to rot more quickly.
If you notice any mold or soft spots on the pumpkin, remove the affected flowers and discard them immediately. This will help prevent the mold from spreading and damaging the rest of the pumpkin.
Outdoor Display
If you plan to display your pumpkin outside, choose a cool, dry location that is protected from the elements. Direct sunlight, rain, and wind can all damage the flowers and cause the pumpkin to rot more quickly.
To protect your pumpkin from the elements, consider placing it under a covered porch or awning.
As I said previously, If you notice any signs of rot or mold on the pumpkin, remove it from display immediately.
By following these simple tips, you can keep your pumpkin with pressed flowers looking beautiful for weeks to come!
Decorating a pumpkin with pressed flowers is a fun and creative way to bring the beauty of nature into your home during the fall season. It’s a simple and inexpensive DIY project that can be enjoyed by people of all ages.
Finished Pressed Flower Pumpkins
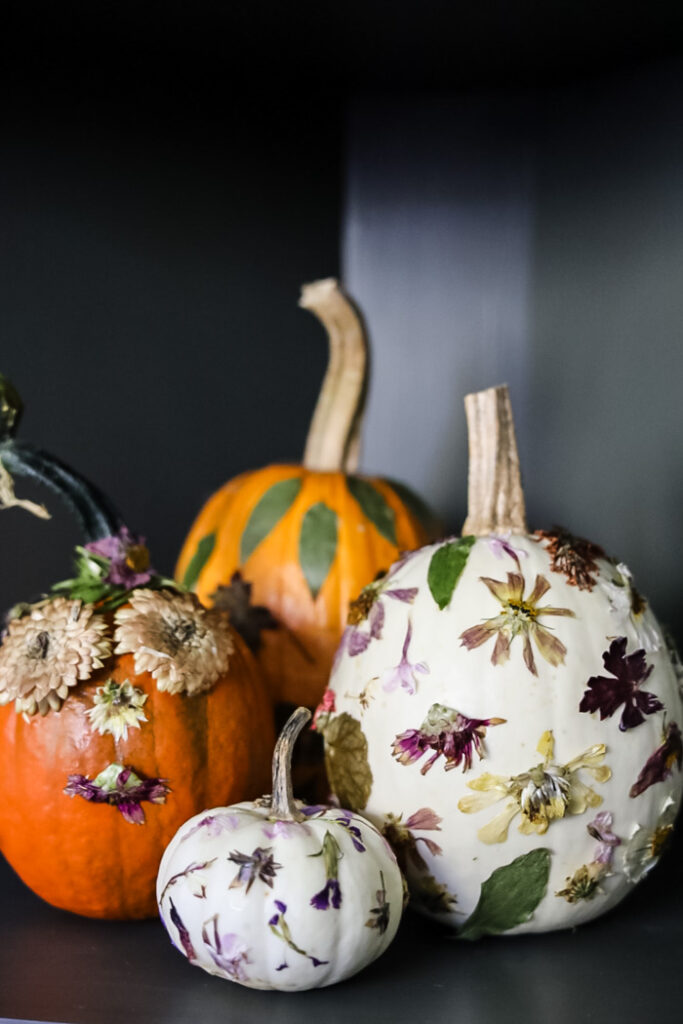
One of the great things about this project is that it can be done with materials that you may already have on hand. All you need is a pumpkin, some flowers, and a few basic supplies like glue and scissors. You can also experiment with different types of pumpkins, such as white or heirloom varieties, to add even more interest to your design.
Decorating a pumpkin with pressed flowers is a fun and easy way to add a touch of natural beauty to your home during the Fall season. So why not give it a try and see what kind of unique and beautiful designs you can come up with?
xo, Jennifer
Next, I’d love for you to visit my West Coast friend Wendy to check out her pumpkin project idea!
More Fall Flower Ideas For You
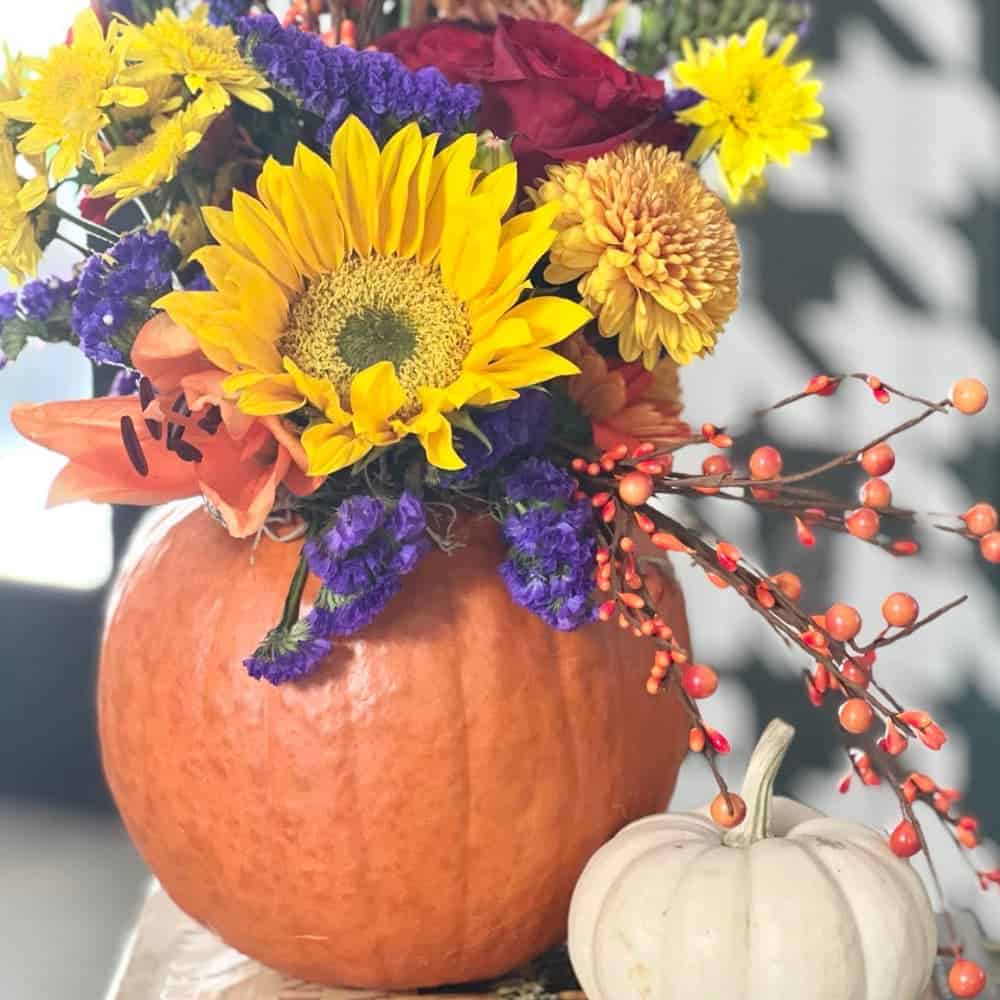
Flower Filled Pumpkin

Are you looking for a whimsical Fall centerpiece? This flower-filled pumpkin would be so fun for your next Fall get-together, perfect for a Fall bridal shower too!
Fresh flower Wreath
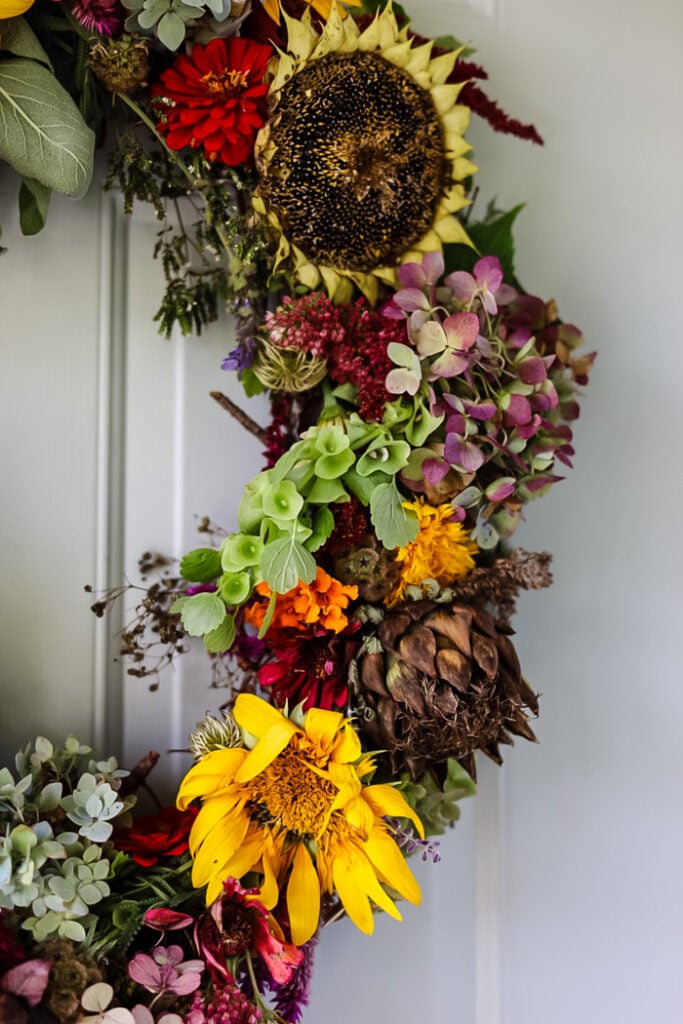
Every year I love to make a wreath for my front door using my Fall flowers. Come see how this year’s wreath came out, I think it’s my favorite!
handcrafted society: Pumpkin Theme
25 DIY Projects Using
flowers & botanicals




I love seeing your posts Jennifer! They are always so lovely and creative. Using the pressed flowers was the perfect way to embellish your pumpkins and elevate the look.
Thanks so much, Sue!!
Jennifer, I love using pressed flowers (although I’ve never dried them myself) and your pumpkins are unique and look like a way to really challenge your creative efforts. so pretty and the jack-o-lantern is a fun way to get ready for Halloween.
These are such elegant pumpkins, Jennifer! Great tutorial on pressing flowers with such beautiful results! Thanks for another great Handcrafted project!
Such a clever idea. The pumpkins are beautiful!
Thanks so much Renae! Hope you are having fun at the conference!
Jennifer
This is a cute idea.
Thanks, Rach!!
Hi Jenn
I have used the cleaned out pumpkin as a vase for flower arrangements but I must say this method of putting pressed flowers on the outside is going to be a really creative and fun idea!!!! Thank you!
Thanks so much, Kathy!!
Another super creative project! Love them, Jennifer!
Such a fun idea to add pressed flowers to pumpkins! Love it Jennifer — and I love how your creative brain works.
I had NO idea you could microwave flowers!!!! I can’t wait to try that! As usual, you have knocked it out of the park my friend! I love these!
You know how much I love pressed flowers and I love how your pumpkins turned out! Each one is a work of art! Pinning!
So creative, Jen!! Such a pretty way to use free and natural elements to create decor.
I absolutely love pressing flowers so this project is perfect! Thanks for all the details. The face one is wonderful – it makes me smile! They all are gorgeous!
Jennifer, these are really pretty on the real pumpkins. I bet they would look great on faux too. Love how your dried the flowers using the microwave. Such a great idea!