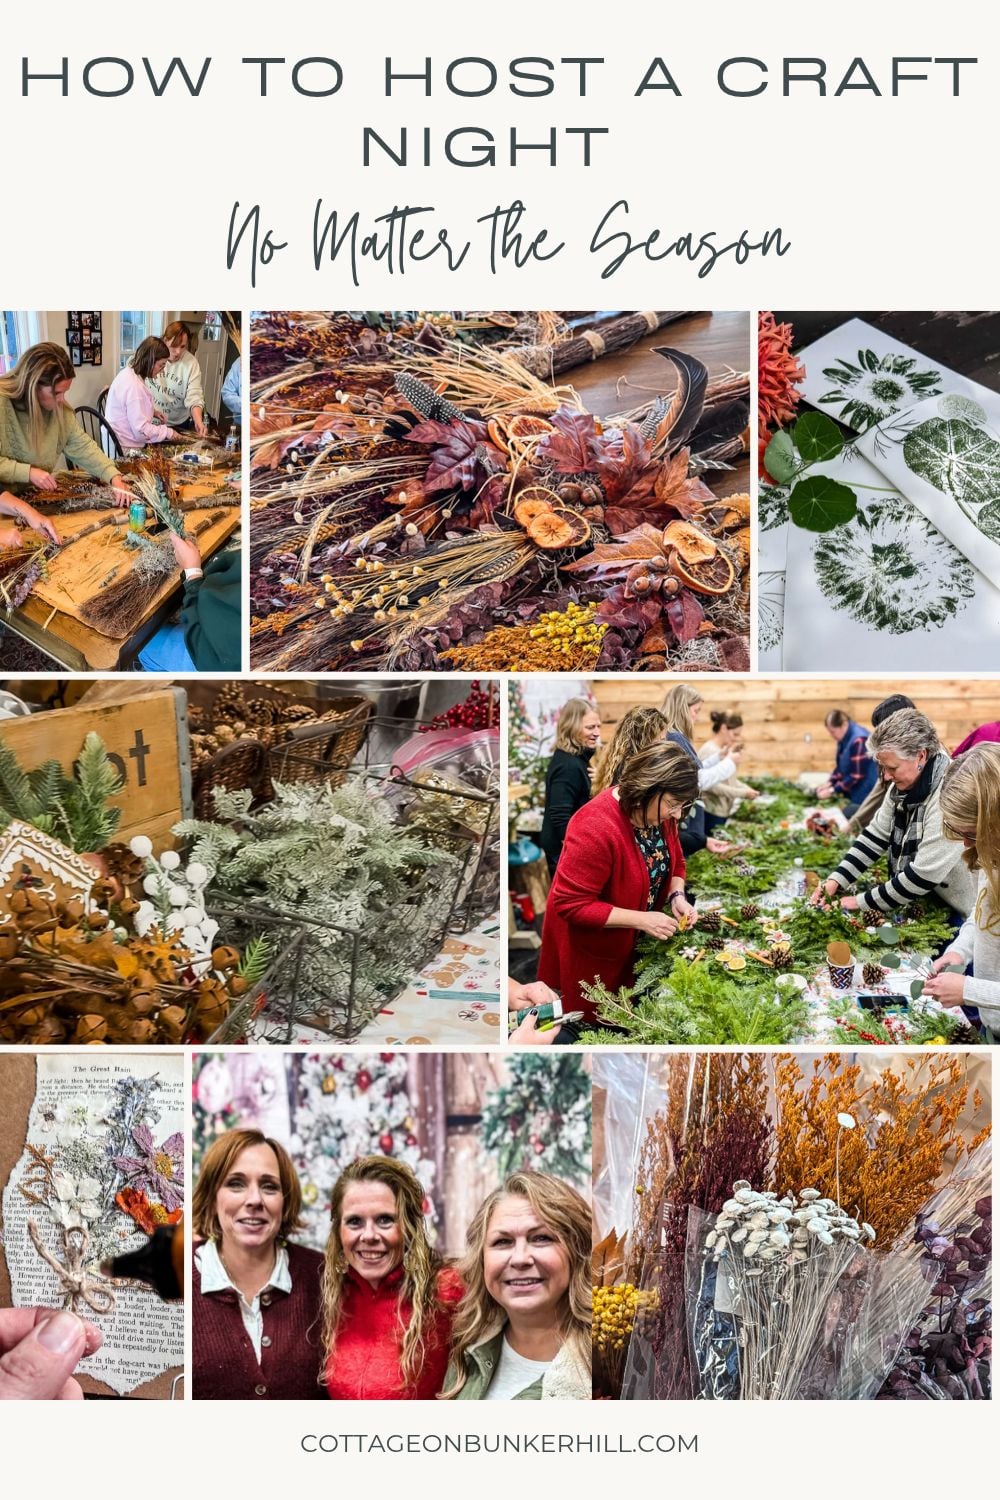
Have you noticed “craft night” popping up all over your feed lately? Shops hosting candle-making evenings, friend groups doing embroidery over wine, that whole “analog girls’ night” thing where everyone puts their phones in a basket and just… makes something together? I love that this is having a moment. But I’ll be honest with you, I’ve been doing this for years with my girlfriends.
I round up my friends, cover a table in supplies, and we spend a couple of hours making a mess, having some good laughs, and making memories. And after doing it enough times, I’ve landed on a framework that works no matter what you’re actually making.
So today I’m pulling back the curtain on the whole playbook: the planning, the supply math, the hosting tips nobody tells you. Plus craft ideas for every season, so you can throw one of these any time of year. Let’s get into it.

Welcome! I’m Jennifer, and I’ve been sharing my home’s journey since 2019, always with a focus on budget-smart and achievable style. If you love the charm of New England but need it to work for real life, you’re in the right place. I break down my projects to help you create a home that tells your story, without the overwhelm.
The Framework: What Every Great Craft Night Needs
Pick a date & timeline
Give yourself 2–3 hours. That’s enough time for people to arrive, settle in, chat while they work, and actually finish something, without the night dragging. Weeknight evenings or a weekend afternoon both work well; just be realistic about how tired everyone will be if you’re picking a Monday after work.
Send invites & get a headcount
Send invites 3–4 weeks out. This isn’t just etiquette; you genuinely need a firm number before you can buy supplies, and most crafts have a per-person cost that adds up fast if you’re guessing. A simple text thread if it’s a small group, group email, or private Facebook event works fine. You don’t need anything fancy.
Split costs fairly
Decide upfront whether you’re covering the whole thing or charging guests a flat fee to cover supplies. If you’re charging, land on one simple number per person (I’ve done $30 a head for a wreath night) and stick with it; nobody wants to do math on how much their ribbon cost. Price it out with your actual supply list before you commit to a number.
Setting up your space
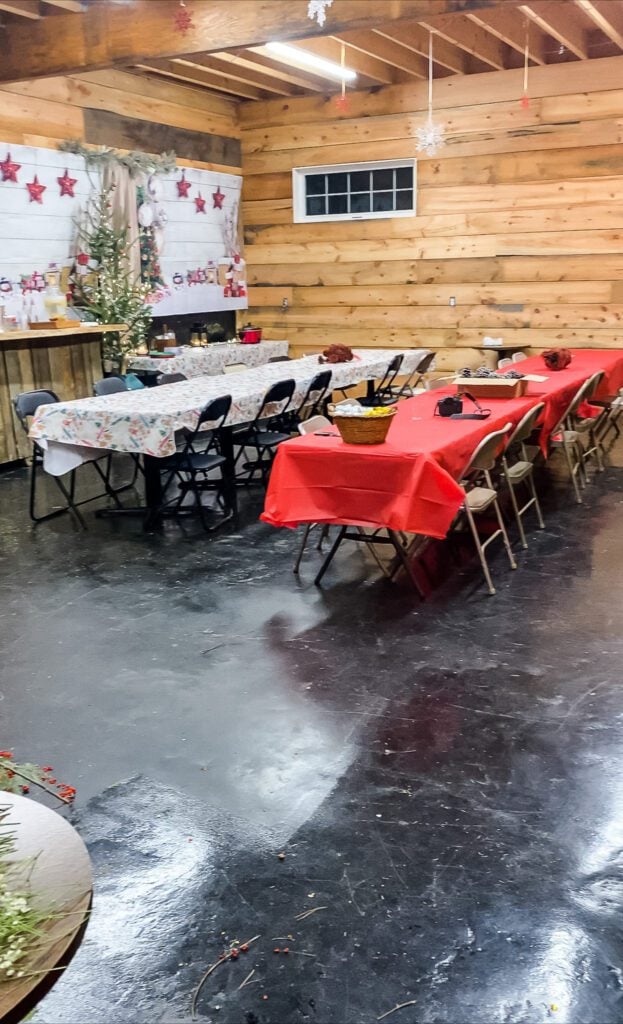
You need table space, good light, and something to protect your surfaces. Long folding tables work great for bigger groups; a dining table with a disposable tablecloth is plenty for a smaller one. Whatever the craft, guests need enough elbow room that they’re not bumping glue guns, so it’s better to have less on the table and more within reach than to overcrowd every seat.
Food and drink that won’t fight for table space
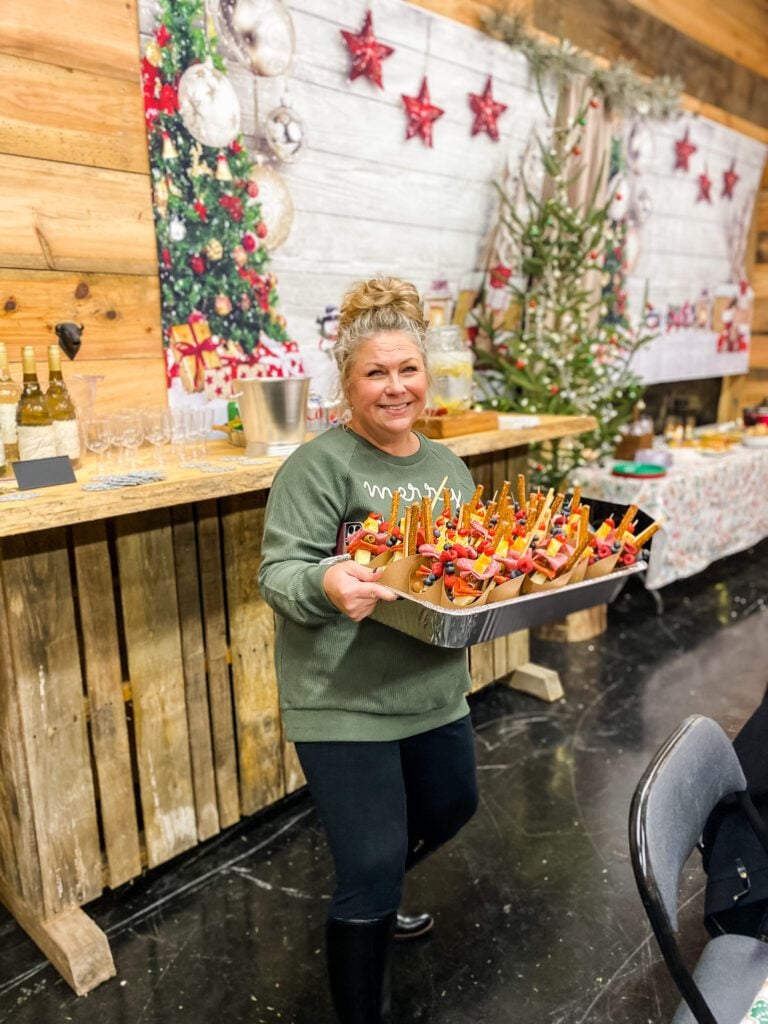
Here’s a lesson I learned the hard way: once your supplies are spread out, there isn’t a lot of room left for plates and wine glasses. Stick to easy, one-handed finger foods and simple drink stations rather than anything plated. A charcuterie cup situation (little cups with cheese, meat, and fruit skewered together) is a genuinely great grab-and-go option, and a coffee, cocoa, or wine bar lets people serve themselves without you playing bartender all night.
This post may contain affiliate links, which means we receive a small commission if you purchase through our links. See our disclaimer page for more information.
How Much to Buy: Estimating Supplies for Your Group
This is the part that trips people up most, and it was the single most useful thing I learned from hosting my own wreath parties, so I want to walk through it properly instead of just saying “buy some extra.”

Start With a Per-Person Baseline, Then Buy a Buffer
Figure out what one guest realistically needs of each item, multiply by your headcount, then add 10–15% on top. Someone always uses more glue, more wire, or more ribbon than you’d expect, and running out mid-party is a much bigger buzzkill than having a little leftover.
Consumables vs. Shared Tools Are Different Math
Some supplies need to be one-per-guest: a card blank, a mini pumpkin, a wreath. Other things can be shared across the table and don’t need a full set per person. As a rough rule of thumb, plan on one shared tool (a glue gun, a good pair of scissors) per 3–4 guests, so nobody’s stuck waiting too long for their turn.
This is where I would ask your group if they have glue guns or scissors they could bring along with them-but make sure you have a multi-outlet extension cord.
Variety Over Volume
This is straight out of my wreath party playbook: it’s better to offer a smaller amount of several different embellishments, colors, or textures than a giant pile of just one or two things. Give people options, and they’ll surprise you with how different everyone’s projects turn out. That’s half the fun of the night.
A Rough Shopping Template
No matter which craft you land on, the bones of a good craft night are basically the same. Here’s what to nail down first.
- Base craft item: one per guest, plus 1–2 spares in case of mistakes
- 2–3 “make it your own” embellishment or material options. Buy variety, modest quantity of each
- Shared tools: based on table size and headcount, not one-per-person
- Packaging or transport materials for take-home projects (more on this below)
When in Doubt: Overbuy Cheap, Underbuy Expensive
Ribbon, glue sticks, and embellishments are forgiving; a little extra doesn’t hurt your budget much. But hold off on over-ordering the pricier base item (wreaths or pumpkins, for example) until you have a confirmed headcount in hand.
Keep It Beginner-Friendly and Ready to Travel
Two things I think get overlooked in a lot of ‘craft night’ content, but more than almost anything else on this list: the group craft you choose & how it will travel home with your guests.
Pick a Craft With a Low Skill Floor
Your guests are there to relax and socialize, not to feel like they’re failing a project in front of their friends!
Choose crafts that are pretty basic. There’s no “wrong” way to decorate a wreath or arrange pressed flowers on a card. Save the trickier, more precise crafts for your own solo project time, not for a room full of first-timers.
Think About How the Craft Leaves the Party
This one matters more than people expect. Some projects are ready to walk out the door the second they’re done, like a decorated wreath, a finished card. Others need real drying or curing time before they can survive a car ride home, and if you don’t plan for that, you’ll end up with a smudged mess in someone’s passenger seat.
A few ways to handle it:
- Do the craft early in your party window so there’s built-in drying buffer time before people leave.
- Have a flat box, tray, or shallow bin on hand per guest for anything wet or sticky, like a pressed flower pumpkin with Mod Podge; for example, you need something sturdier than a tote bag.
- Mention it in the invite. A simple “bring a box or bag for your project!” heads-up means nobody’s caught off guard.
- If something genuinely needs hours to fully cure, just say so upfront. Frame it as a “leave it overnight and admire it tomorrow” situation rather than letting people find out the hard way.
Pick Your Craft: Ideas for Every Season
Here’s where you get to have some fun. I’ve broken out a few options per season; some are great for a first-timer group, some lean a little more involved, so pick based on your crowd.
Winter: Wreath Decorating

This is the original craft night for me, and it’s a classic for a reason. Everyone leaves with something they’ll actually hang on their front door. I’ve got a full breakdown of how to plan and run one, cost per person and all, right here.
A few things worth planning for as a host:
- Hold it right after Thanksgiving, when fresh wreaths are easy to find, and craft stores tend to run ribbon sales.
- Plan on about 2-3 yards of ribbon per guest and one paddle of floral wire for every 4 people.
- The rest (sourcing wreaths, the supply list, the cost breakdown) is all in the wreath party post, so I won’t repeat it here.
Spring: Card Making or Pressed Flower Bookmarks
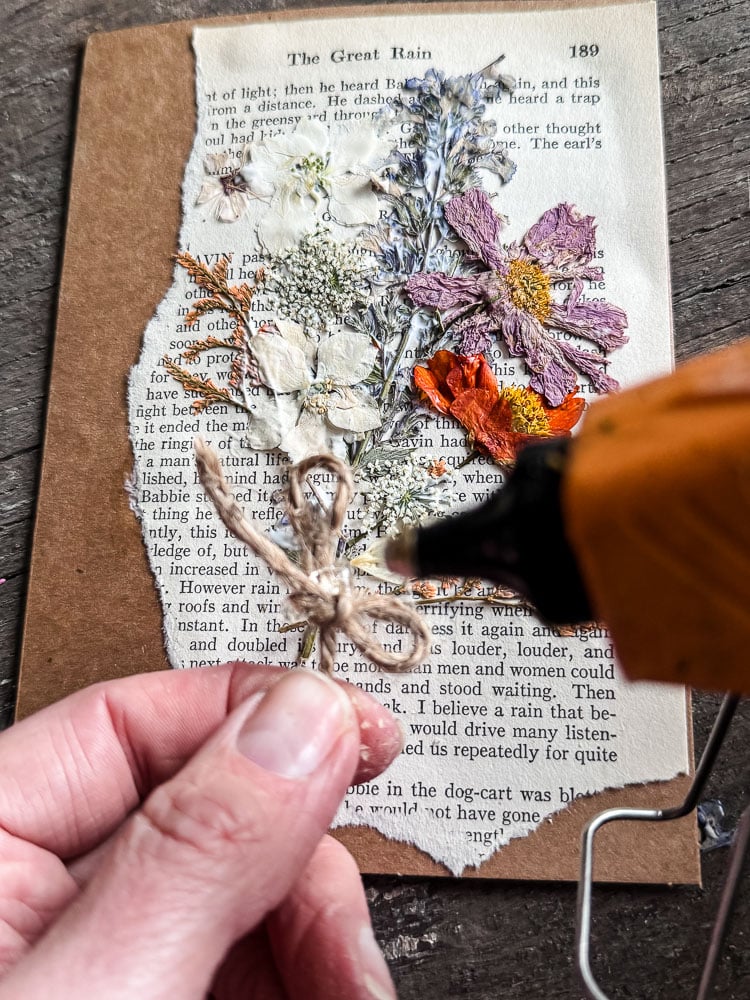
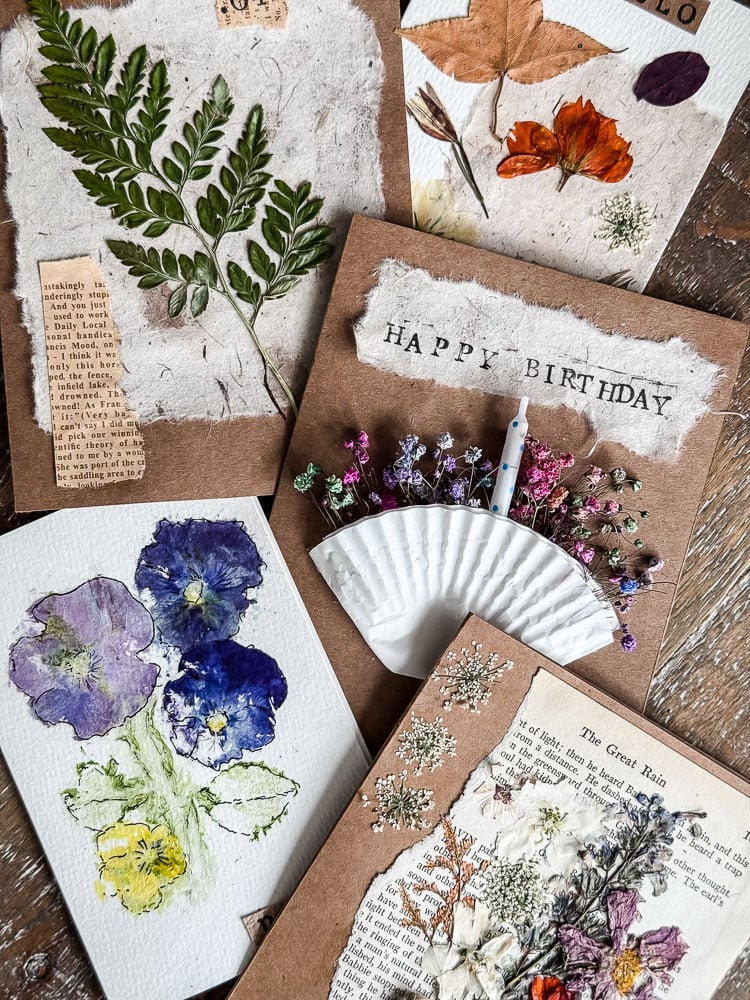
Both of these are wonderfully low-mess and low-pressure, which makes them a great pick if this is your first time hosting a craft night. Card making in particular gives everyone a useful end product. A birthday, thank-you, or just-because card they’ll actually use. I’ve got 5 handmade card ideas that look far more polished than the effort they actually take.
I’ve put together the supplies for card making here to save you a little time
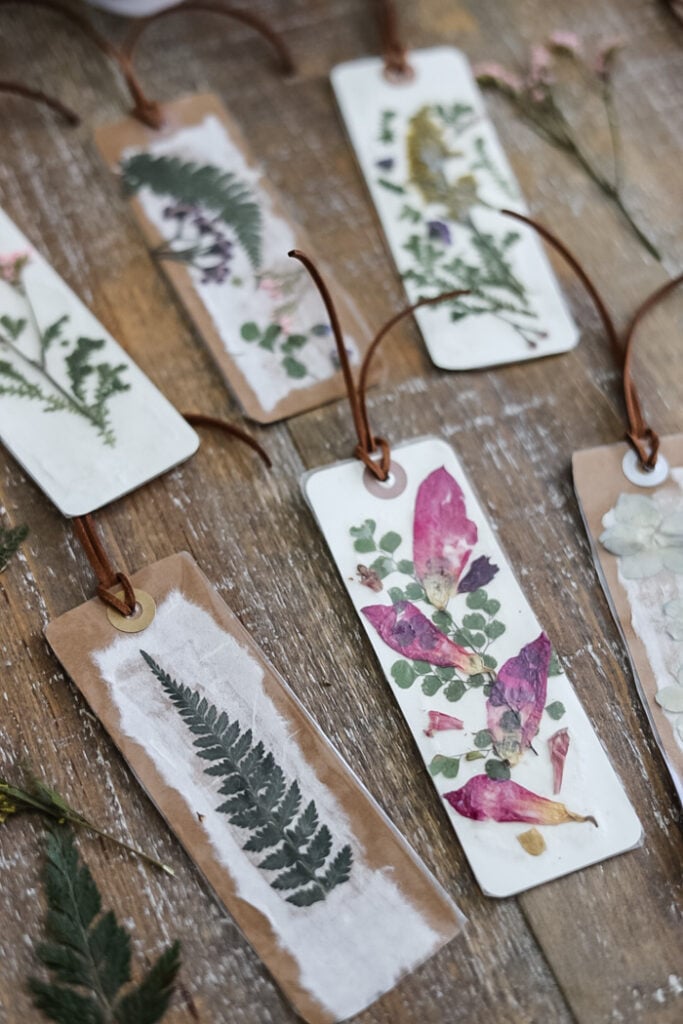
Pressed flower bookmarks are just as approachable, ready to take home the moment they’re laminated or sealed, and a nice way to use up pressed blooms from your own garden if you’ve got some on hand.
A few things worth planning for as a host:
- Press your flowers ahead of time. Both crafts depend on pressed blooms, so start early, or use the fast route in my microwave flower pressing guide.
- Offer one or two card designs instead of all five. Each uses a slightly different mix of supplies, so fewer designs means a shorter shopping list and less to explain.
- Build in drying time. Mod Podge layers need to dry before the next step, while hot glue sets fast, so keep the glue gun in mind for the group. Stamped greeting strips can be made in advance.
- Decide how you’ll seal the bookmarks (laminating sheets or clear contact paper, for example) and have it on hand before the night starts.
- Cards and bookmarks travel well. Let anything with Mod Podge dry open, then send it home in a flat folder or large envelope.
featured
pressed flower art
My top choices & supplies that I have used in my pressed flower tutorials
Summer: Nature Printing
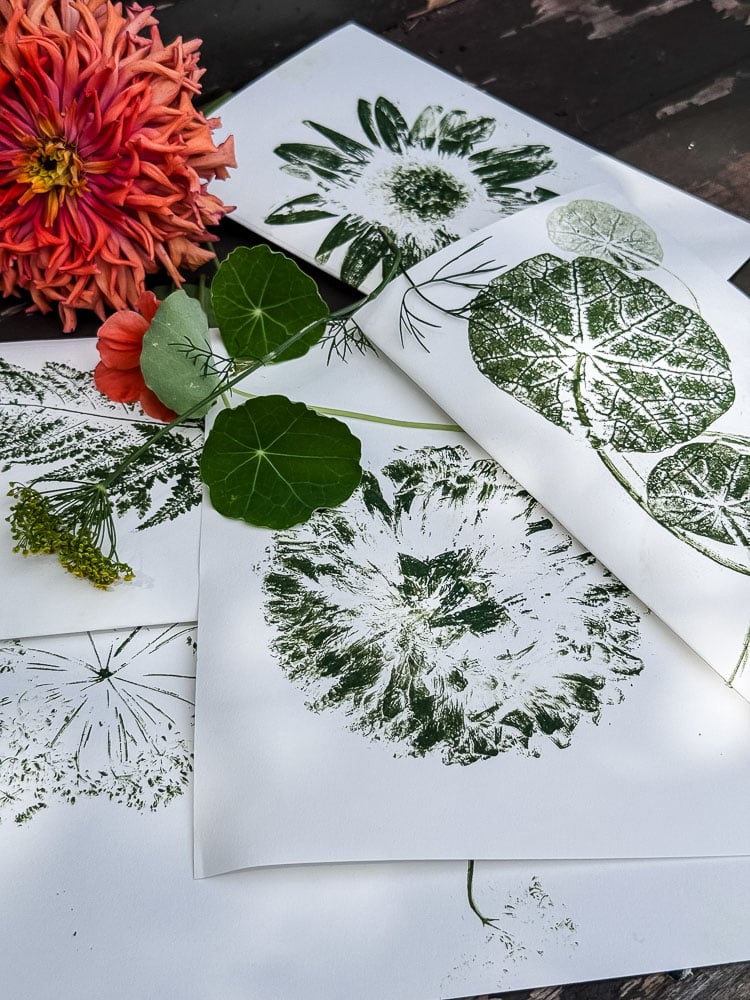
This is the one I’d pick for a summer night, and the best part is that it doesn’t depend on the weather. Nature printing means inking up a fresh flower or leaf and pressing it straight onto paper, and the results look like vintage botanical prints. No artistic ability required, which makes it a great fit for a group of mixed skill levels. My full tutorial is here for you, including which flowers print well (and which ones flopped for me).
It’s also one of the simplest crafts to plan around. You need archival ink pads (that’s the one place not to cut corners, since regular craft ink gets muddy and faded), printmaking or lightweight watercolor paper, scrap paper to work on, and fresh botanicals. If your own garden is overflowing, great. If not, a few grocery store or market bouquets will do the job, and nasturtium leaves, herbs, ferns, and hydrangea all printed beautifully for me.
A few things worth planning for as a host:
- Offer a couple of ink colors. Green, midnight blue, and black each give a totally different look, and guests love choosing.
- Keep a few jars of water on the table so clipped flowers stay fresh until it’s their turn. Wilted botanicals don’t lie flat against the paper.
- Share the ink pads across the table, and put down plenty of scrap paper to protect your surfaces.
- Transport is a breeze. Archival ink dries quickly, so after a short rest, the prints can go home in a flat folder or a large envelope. They’re also ready to frame, or to turn into notecards.
Fall: Decorated Cinnamon Brooms or Pressed Flower Pumpkins
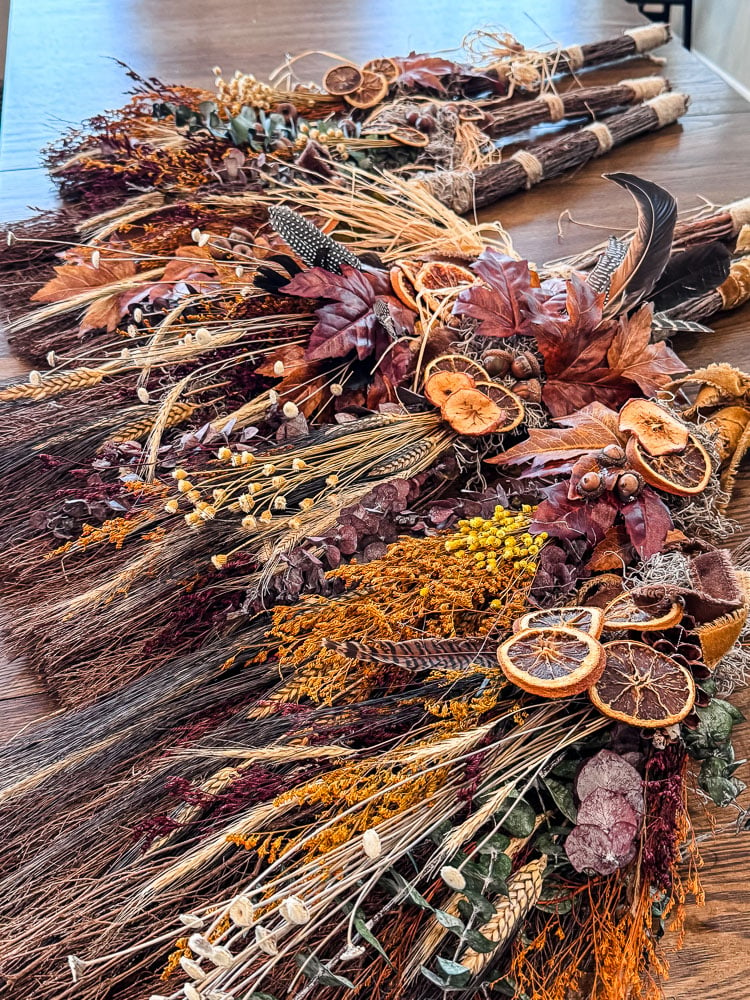
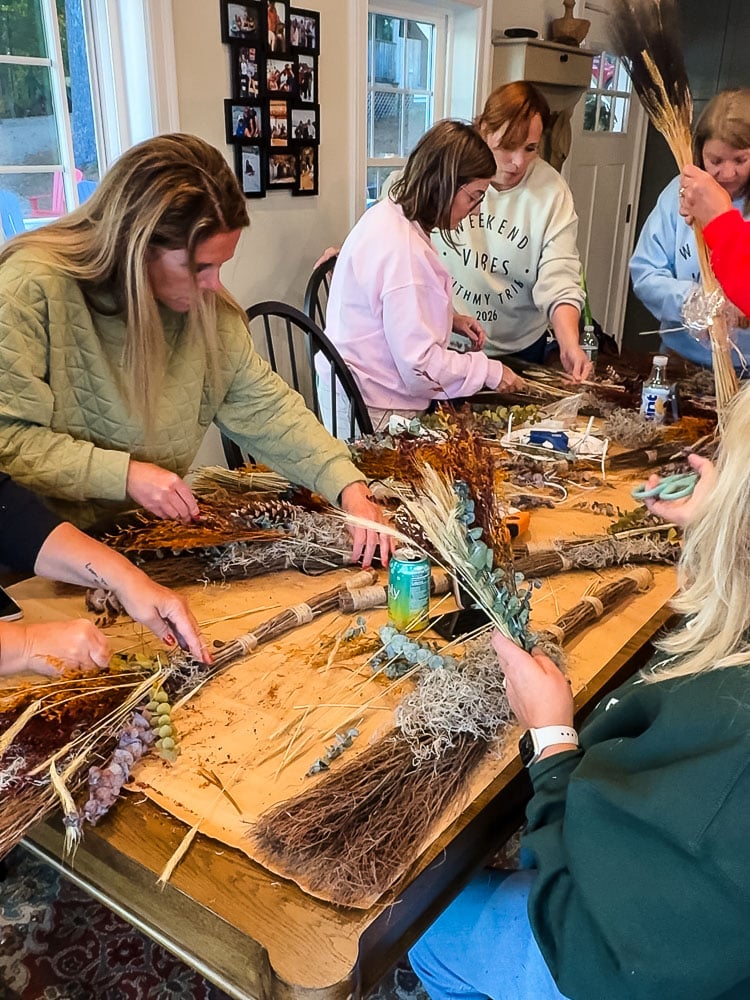
I have seen so many craft night events in my area this Fall where you go and decorate a cinnamon broom with dried flowers. It’s the perfect type of craft to make for your own go at a craft night! They’re quick, they smell incredible, and they double as instant front-porch decor. I walk through the whole process in my 20-minute cinnamon broom makeover, and it scales beautifully for a group.
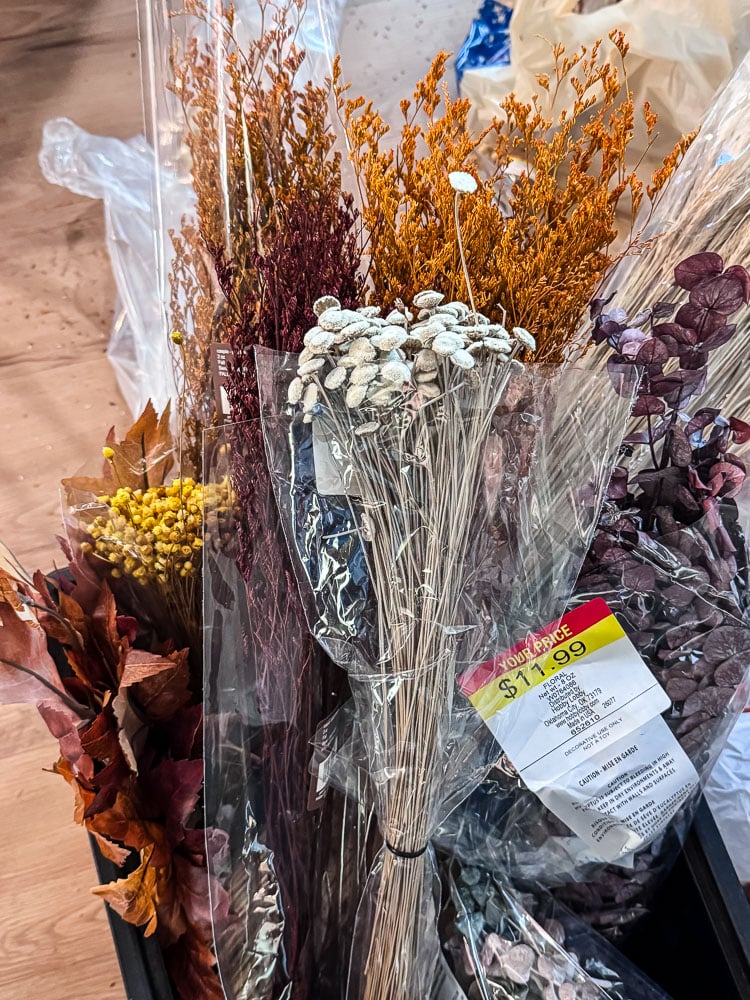
Just last month, a friend hosted our group for a girls’ weekend at her lakehouse in Maine, and I was in charge of the craft. I bought the brooms at Trader Joe’s ($4.99 each) and the dried flower bundles at Hobby Lobby. We had such a fun time, and every single broom came out completely different, which is always a kick for me to see!
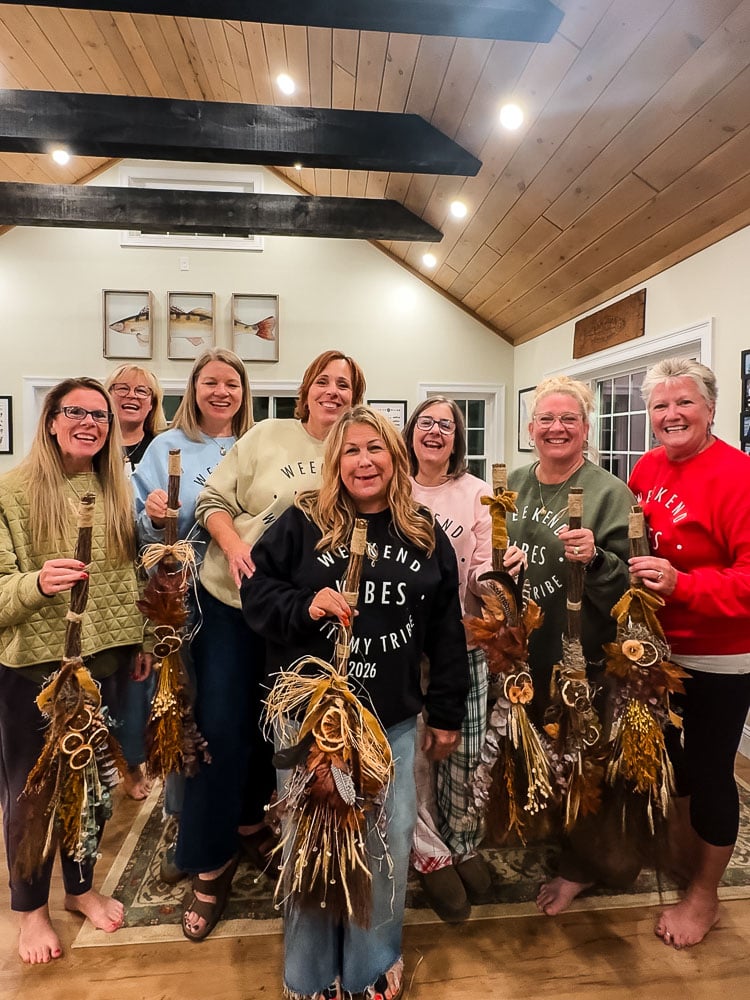
Pressed flower pumpkins are the prettier, slightly more involved option and a perfect one to keep in mind as you plan around the transport tips above, since they typically need some drying time before they can be safely moved.
Do them earlier in the night, and send everyone home with a box. And to make things easier for you if you don’t press flowers on your own, it’s so easy to find them online. Amazon has some lovely selections that are quite affordable even for a group project.

A few things worth planning for as a host:
- Buy the brooms early. Trader Joe’s, grocery stores, and craft stores all carry them in the fall, but seasonal stock can run out.
- Floral wire is the main shared supply for brooms. I’d start with the same ratio as the wreath party (one paddle for every 4 guests) and adjust from there.
- Pre-trim the dried flower stems to about 6-8 inches so guests can dive right in.
- Brooms are bulky, so mention it in the invite for anyone carpooling.
- If you offer pressed flower pumpkins, press the flowers ahead of time, do that craft first, and have boxes ready for the ride home.
Tips for Hosting Success
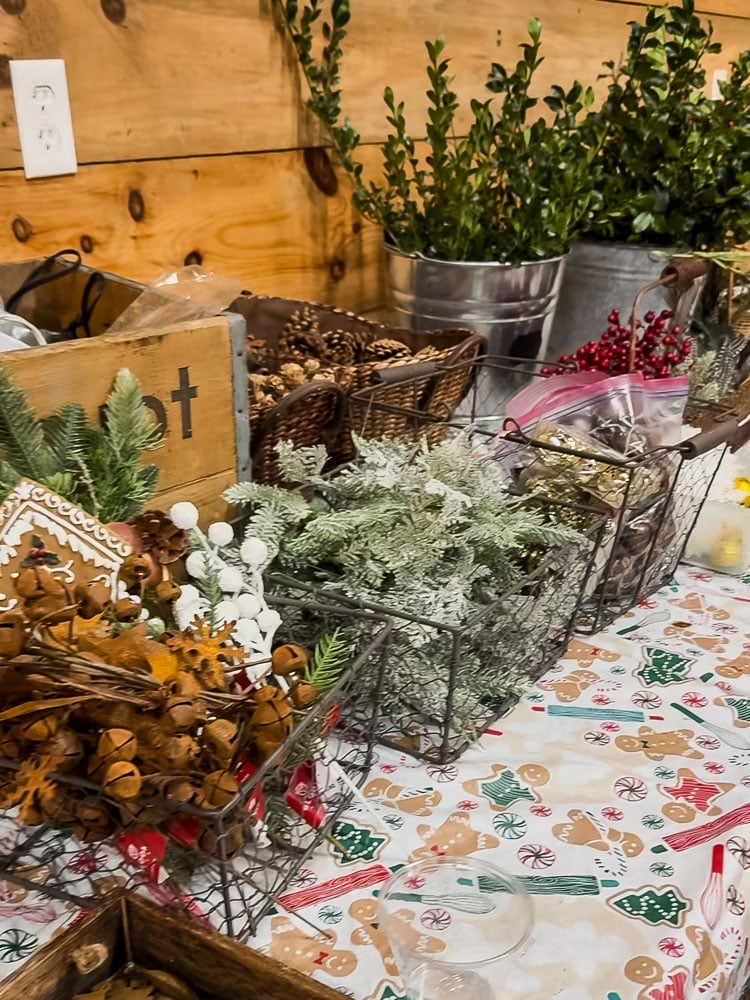
- Buy a little of everything rather than a lot of one thing; variety is what makes every finished project look different.
- Stock enough of the “boring” tools. Scissors, wire, and glue guns run out faster than the pretty stuff, and a stalled table is a frustrated table.
- Some supplies sell out fast, especially seasonally. Shop early rather than the week of.
- It’s not about anyone’s project being Pinterest-perfect. It’s about getting your people around a table, hands busy, phones away, for a couple of hours.
Now It’s Your Turn
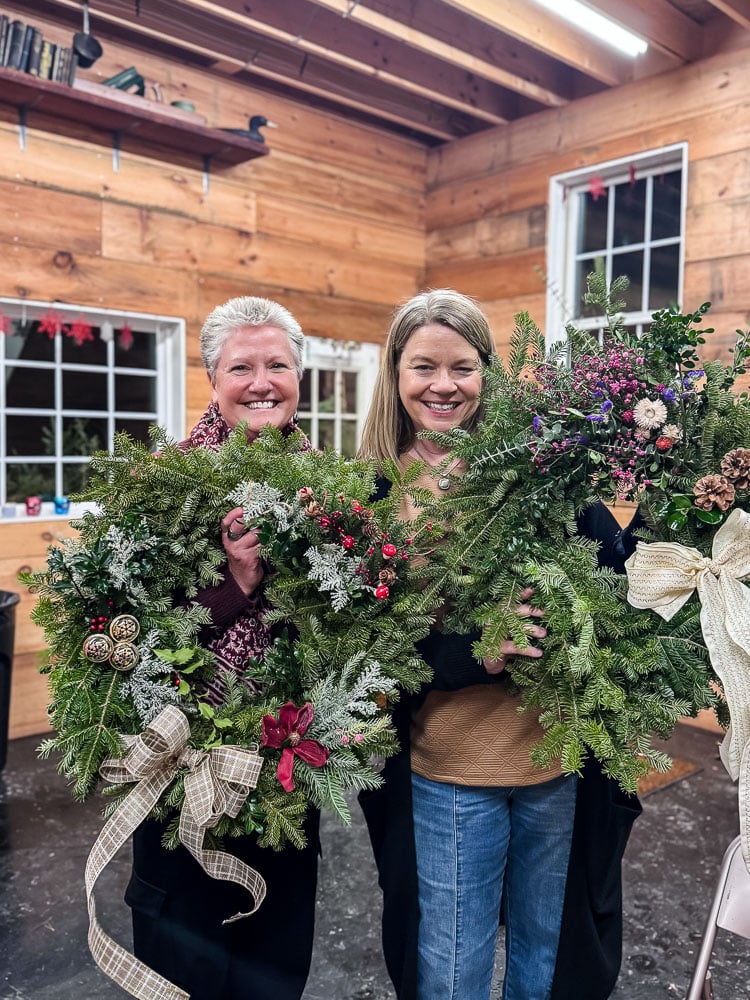
Whatever you call it, craft night, girls’ night in, the heart of it is the same: pick a craft, gather your people, and make something together. Pick a season, pick a project from the list above, and get that invite out. It’s such a fun idea to spend time with others and get creative.
See your projects featured! If you are inspired by this or any of my other DIY projects, I would love to see them and add you to the Reader’s Spotlight gallery. Send a photo to me at jennifer@cottageonbunkerhill.com
xo, Jennifer
Love projects like this? Don’t miss out! Join my newsletter family for more cozy, budget-friendly DIY ideas delivered right to your inbox. You’ll get exclusive tips, early access to tutorials, and all the inspiration you need to make your home feel handmade and heartfelt.