Are you looking for a quick and easy Fall DIY project you can make in under 30 minutes? Let me show you how to make a festive pumpkin garland…and you don’t even have to be that crafty to make this adorable project for Fall!
Fall is in the air, and that means it’s time to start decorating! If you’re looking for a simple and festive way to dress up your home, look no further than a pumpkin garland. This easy DIY project is perfect for even the most uncrafty person, and it’s sure to add a touch of autumn charm to your space.
In this blog post, I’ll show you how to make a pumpkin garland using painted wood pumpkin ornaments, ribbons, and wood beads. I’ll also share some tips for making your garland unique and special. So gather your supplies and let’s get started!

DIY Pumpkin Projects
Today there are 13 other DIY friends sharing their cute pumpkin ideas that you can make this Fall that are all linked at the end.
If you are hopping over from my West Coast friend Wendy at WM Design House didn’t you just love her pumpkin topiary??
Pumpkin Garland: A Step-by-Step Guide
This festive pumpkin garland is really easy to make…even for my non-crafty friends!! There aren’t very many supplies either! You may even have them on hand.

This post may contain affiliate links, which means I may earn a small commission if you make a purchase through my links, at no extra cost to you. Read my disclosure policy here.
Pumpkin Garland Supplies Needed:
- Wood Pumpkin Ornaments (Dollar Tree)
- Acrylic Craft Paint (I’m using a terracotta shade)
- Jute Twine (6 feet)
- Wood Beads
- 3 Assorted Rolls of Ribbon
- Raffia (Dollar Tree)
I ended up scrapping the idea of using the burlap ribbon (seen in the photo above) and went with raffia instead.
Wood Pumpkin Jack O’ Lantern Ornaments
You will need a pack of wood jack o’ lantern ornaments or other Fall shapes. The ornaments that I am using are from Dollar Tree but most craft stores sell similar items.

Ribbons
To make this pumpkin garland I also used 3 coordinating rolls of ribbon, I picked my Fall ribbons up on clearance last year at Michael’s but they have similar ribbons this year.
Here is where you can get creative and come up with a trio of ribbons that suits your own decorating taste!

jute twine
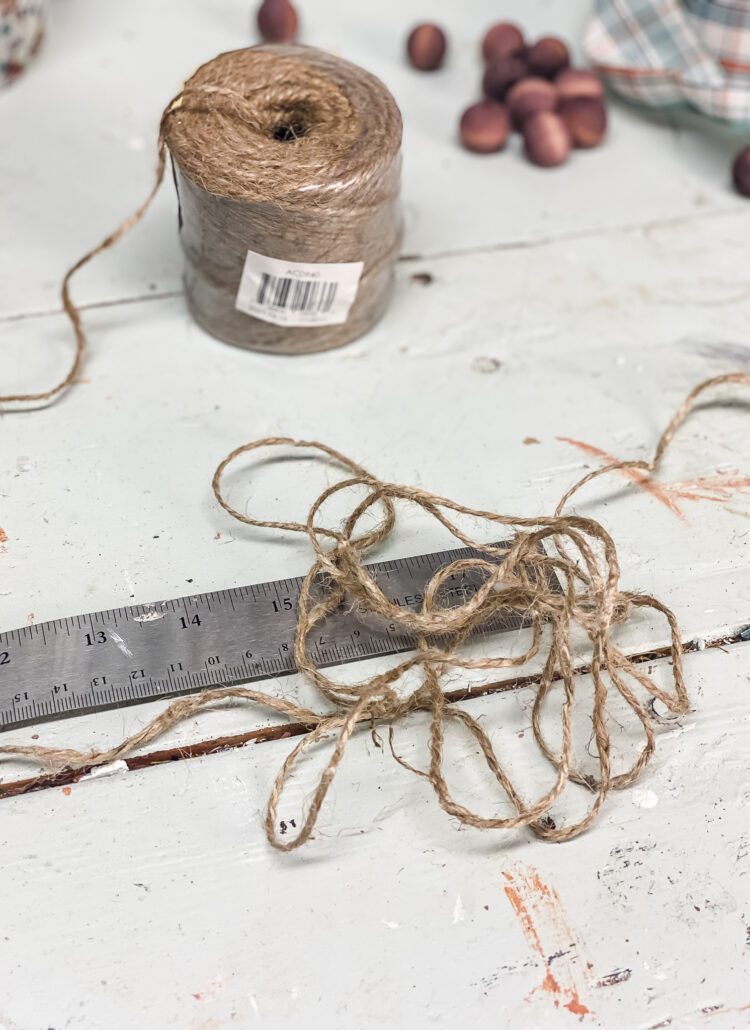
I then cut a 6-foot length of jute twine. This will be the base of the garland.
wood beads
The other supply I used was 48 16 mm-sized wooden beads. The beads come unfinished and would work great for this garland as is.
I had the beads left over from another project where I dyed them with RIT fabric dye.
It’s one of my favorite DIY tricks, mainly because I don’t like working with stains. All I do is mix a little RIT dark brown dye in a container of hot water and give the beads a bath for a few minutes (the longer they stay in the darker they will get).
You may be able to find painted beads at the craft store too.

Painting The Pumpkin Ornaments

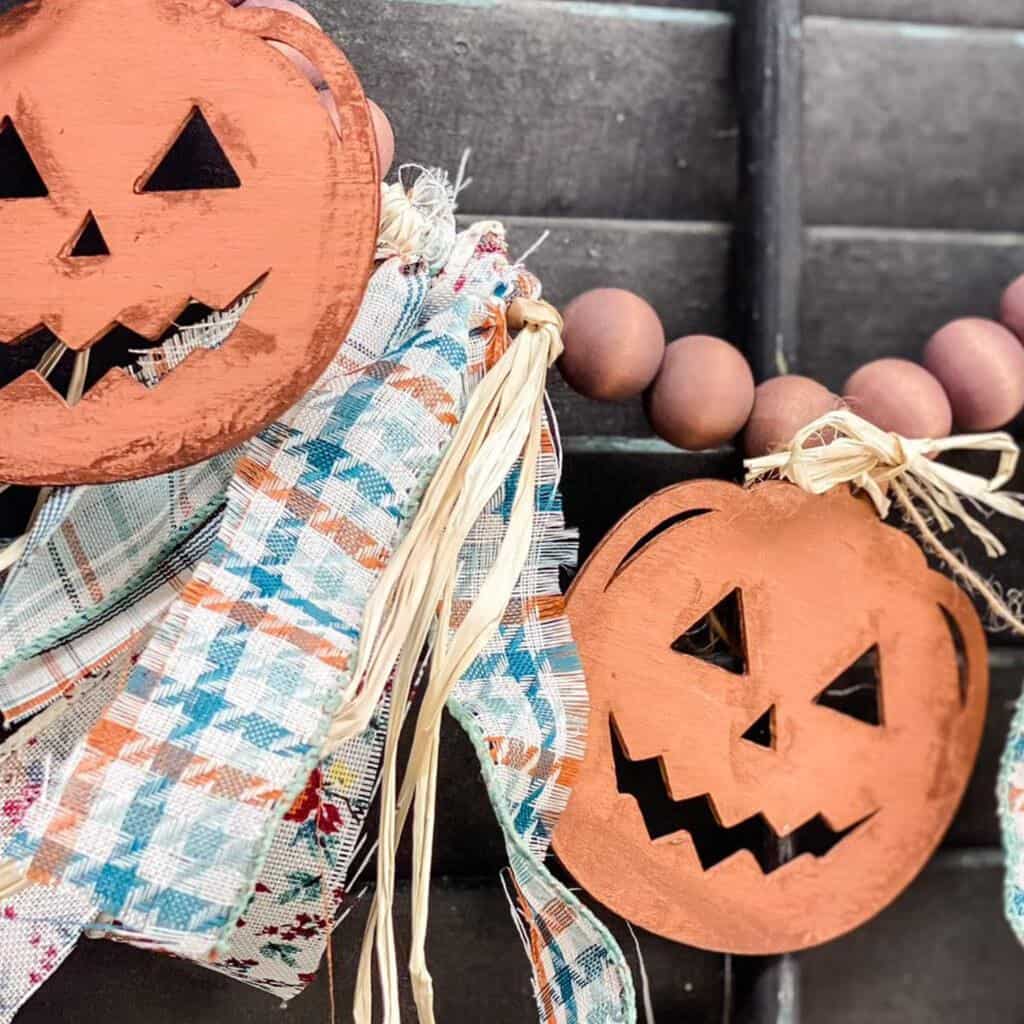
The first thing I did was to paint all the pumpkins in a terra cotta shade of paint. Feel free to personalize your garland with whatever color pumpkin works with the ribbons you are using!

Completely up to you, but I wanted to add a little more detail to my pumpkins and added a bit of antique copper paint around the edges and in the face spaces (because I just can’t leave well enough alone!!)
Cutting the Ribbons

For this pumpkin garland, you will need 9 1-foot pieces of each color ribbon for a total of 27 pieces of ribbon.
Since I wanted to use the ribbon that I already had in my craft stash instead of buying new ribbon it happened to be wide 2.5 inch rolls. I cut each of those 1-ft pieces of ribbon right down the middle. So the ribbons are just a little more than an inch wide.
When you are shopping for ribbon you can either buy the wider rolls and cut it like I did or grab rolls of 1-inch or 1.5-inch ribbon. It just seems like the wider rolls that the craft stores sell tend to be nicer patterns.

Putting the Garland Together

Starting in the center of the length of jute twine I tied on the first pumpkin ornament. Just use a small piece of twine to attach it to the garland.

Then I added 3 wooden beads to each side of the pumpkin. To make life easier, wrap a tiny piece of Scotch tape at each end of the jute twine to cover the frayed ends. That way the beads will slide on easily.

Next up was tying on the ribbons. On each side of the beads, I tied the 3 assorted ribbons.
To tie the ribbons onto the jute twine first fold the ribbons in half over the twine, then pull the tails through the loop and pull to tighten it to the twine.
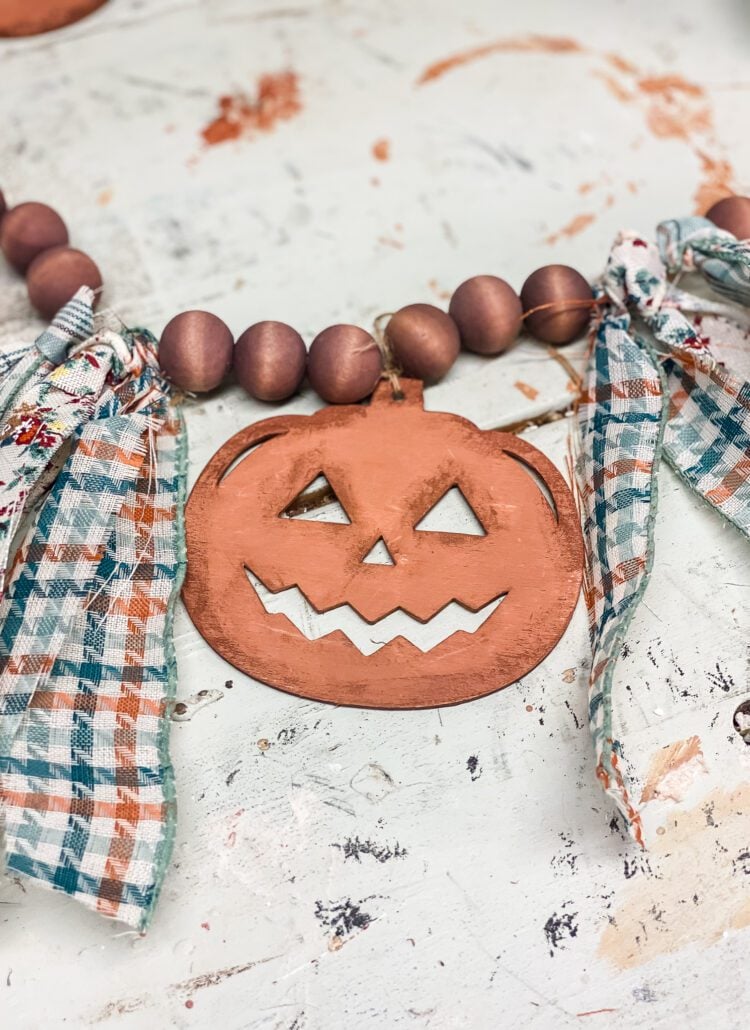
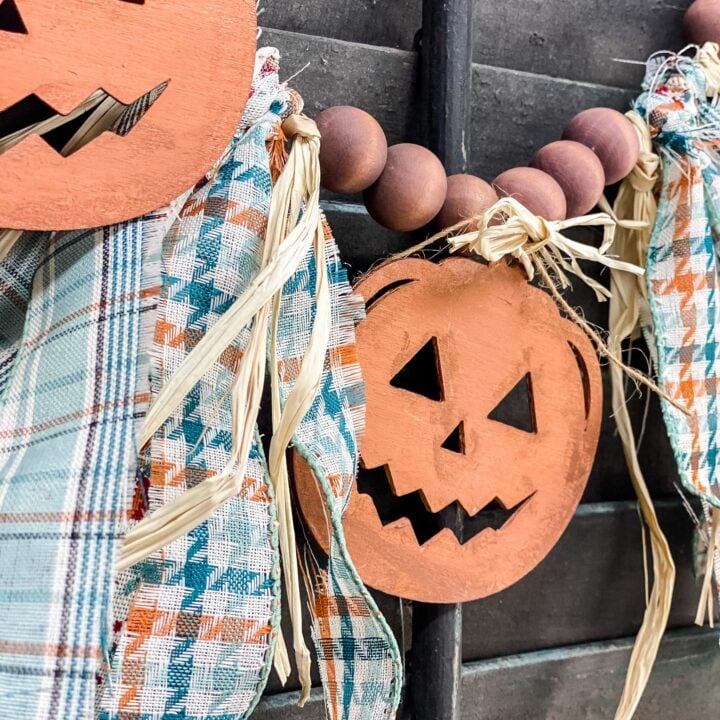
I did go back in and I added pieces of raffia to each end of the ribbon bunches. It gives the garland a more rustic Fallish feel.

All you have to do is keep repeating the steps down each side of the jute twine ending with ribbons on each end.
Finish by tying a knot in the jute twine on each end.
Finished Festive Pumpkin Garland

It’s ready to hang out on my front porch! I strung it across the potting bench that I have decorated for Fall.
This festive garland could definitely be strung across your mantle or even across a china cabinet to add a touch of Fall inside your home as well.

The pumpkin garland was perfect for my pumpkin-filled front porch this year!I loaded up the back of the Jeep with all of these pumpkins and ornamental gourds from the farm around the corner from my house.

On my small front porch, I was going for a rustic New England Fall feel and the pumpkin garland was the perfect accent for this look!
If you happen to make this project or any of my others, please send me a photo! It makes my day to get an email from you! Just drop a line to jennifer@cottageonbunkerhill.com
xo, Jennifer
Festive Fall Pumpkin Garland
Create a festive Fall garland using common craft supplies
Materials
- Wood Pumpkin Ornaments (Dollar Tree)
- Jute Twine (6 feet)
- Wood Beads
- 3 Assorted Rolls of Ribbon
- Raffia (Dollar Tree)
- Acrylic Paint (I used a terracotta shade)
Instructions
- Paint the wooden pumpkin ornaments with acrylic paint, I used a terracotta shade. Let dry.
- Cut a 6-foot-long piece of jute twine.
- You will need 27 pieces of 1 ft long ribbon. I used 3 different ribbons (9 pieces of each). If using wide ribbon cut it down the center. You want ribbon that is around 1 inch in diameter for this garland.
- Find the center and use a small piece of jute to attach one of the pumpkins to the twine.
- String 3 wood beads on either side of the pumpkin
- Follow by 3 ribbons on each side of the wood beads.
- Repeat the pumpkin, bead, and 3 ribbons down both sides of the jute twine.
- For a more rustic look you can tie pieces of raffia on each end of the ribbon bunches.
Notes
Wrap a small piece of clear tape on each end of the frayed jute twine so the beads will slip over the ends easily.
Cozy Fall Finds

Fall Inspiration
decorating + DIY ideas:
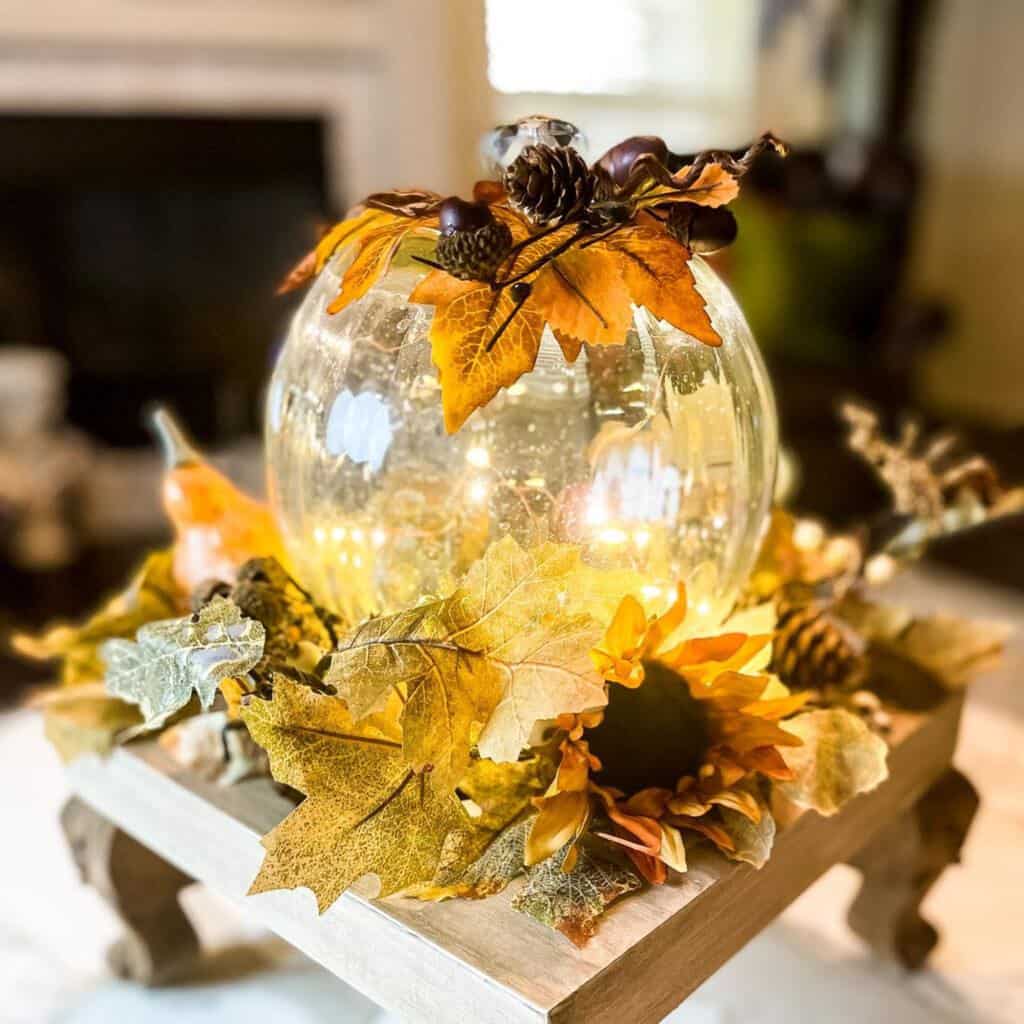
Now I’d love for you to go see what my girl Amy over at Amy Sadler Designs made! So go check out how she made a glass pumpkin out of a round vase.
14 Inspirational Pumpkin Projects







Omg I love this! So cute!
WOW!!! You’ve been very busy Jenn!!! Love all your Fall suggestions. Sitting on my “Summer” front porch right now imagining what it will look like soon!! We are so fortunate to live in an area of changing seasons so nothing gets boring. Fall is my favorite and I’m itching to get started!!! Thank you for all the tips!!!
It really heated up today! It’s felt like Fall this week in the mornings. I even have leaves on the front lawn (my husband is already complaining)!!
Jennifer, this pumpkin garland is so cute. It looks great displayed on your porch.
Thanks Tam!!
I love this garland idea Jennifer! So creative and it came out beautifully!
Thanks so much, Susan!
Such a cute project! Love the tip for dying the wood beads!!! So fun to hop along with you!
It’s a fun tip and you can use different colors of the RIT dye too!
Girl, you killed it, I adore this garland. And your bead hack is fabulous. I too am not a stain lover.
Thank you for making the hop a success.
What is it about stain?? I dislike using it so much!!
This is SO cute! I love that you used dollar store pumpkins to create something so unique! I also loved the ribbon patterns that you chose! So great to hop with you…you always inspire me! Thanks! ~Missy
Thanks so much, Missy!! I’m so glad I remembered I had this ribbon from last year!!
I love your garland, Jennifer! On my way to Dollar Tree!!!!! Sandra
Thanks, Sandra!!
This turned out so cute, and I love how you decorated your potting bench for Fall!
Thanks, Lora!! I have to finish the rest of the porch but the weather has not been cooperating!!
What a great DIY I love it!
Thanks, Stacy!!
Jennifer!!! This project turned out sooooooo cute! I love this one and feel inspired to try it! Thank you for sharing this cute fall pumpkin decor. You are so creative!
Thanks, friend!!!
That is so adorable and such a great idea.
Thanks so much, Anita!!
This is so cute, Jennifer! You do so many creative crafts with beads! I love the ribbon rolls you used!🧡
Thanks, Kim!