I have a confession. When I walk into a thrift store, I’m not looking for anything in particular. I’m looking for potential.
A jar that could hold a forest. A creamer that wants to be a planter. A colander begging for succulents to spill through its holes. I can’t always explain why I grab something-I just know it has more life left in it.
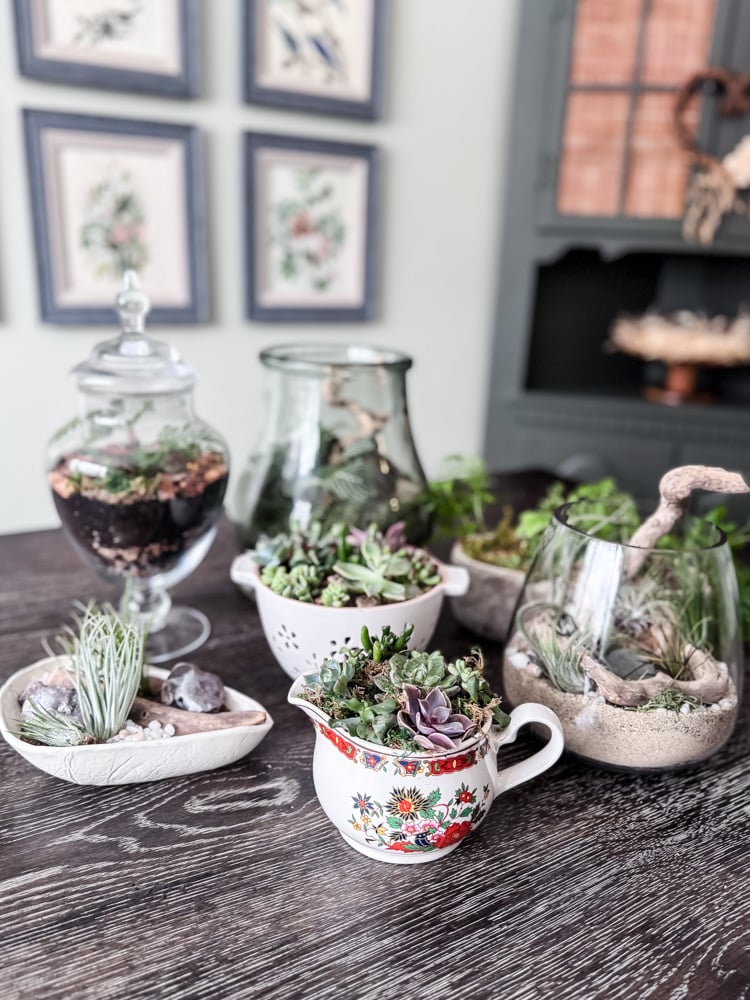
This is the moment when two of my favorite things, thrifting and plants, collide. Today I’m sharing five thrifted vessels and what they became. Some are terrariums. Some are planters. All of them were waiting on a shelf for someone to see what they could be. Spoiler: I brought them home. And now they’re thriving.
Before We Begin: A Note on Thrifting for Planters
When I’m hunting for vessels to transform, I keep a few things in mind:
- Shape matters more than purpose. A candle holder can become a terrarium. A sugar bowl can become a succulent pot.
- Ignore the label; look at the lines. No drainage hole? No problem. I’ll show you how to work around it.
- Narrow openings require tools. Chopsticks, long tweezers, and patience are your friends.
- Trust your gut. If you can’t stop thinking about that weird little dish, go back and get it. I speak from experience.
Now let’s get to the good stuff!

Hi, I’m Jennifer. I believe the best homes tell a story-and mine is written with found treasures. For me, thrifting isn’t just about saving money; it’s about curating a home with soul, character, and a bit of New England history, one secondhand find at a time.
This post may contain affiliate links, which means we receive a small commission if you purchase through our links. See our disclaimer page for more information.
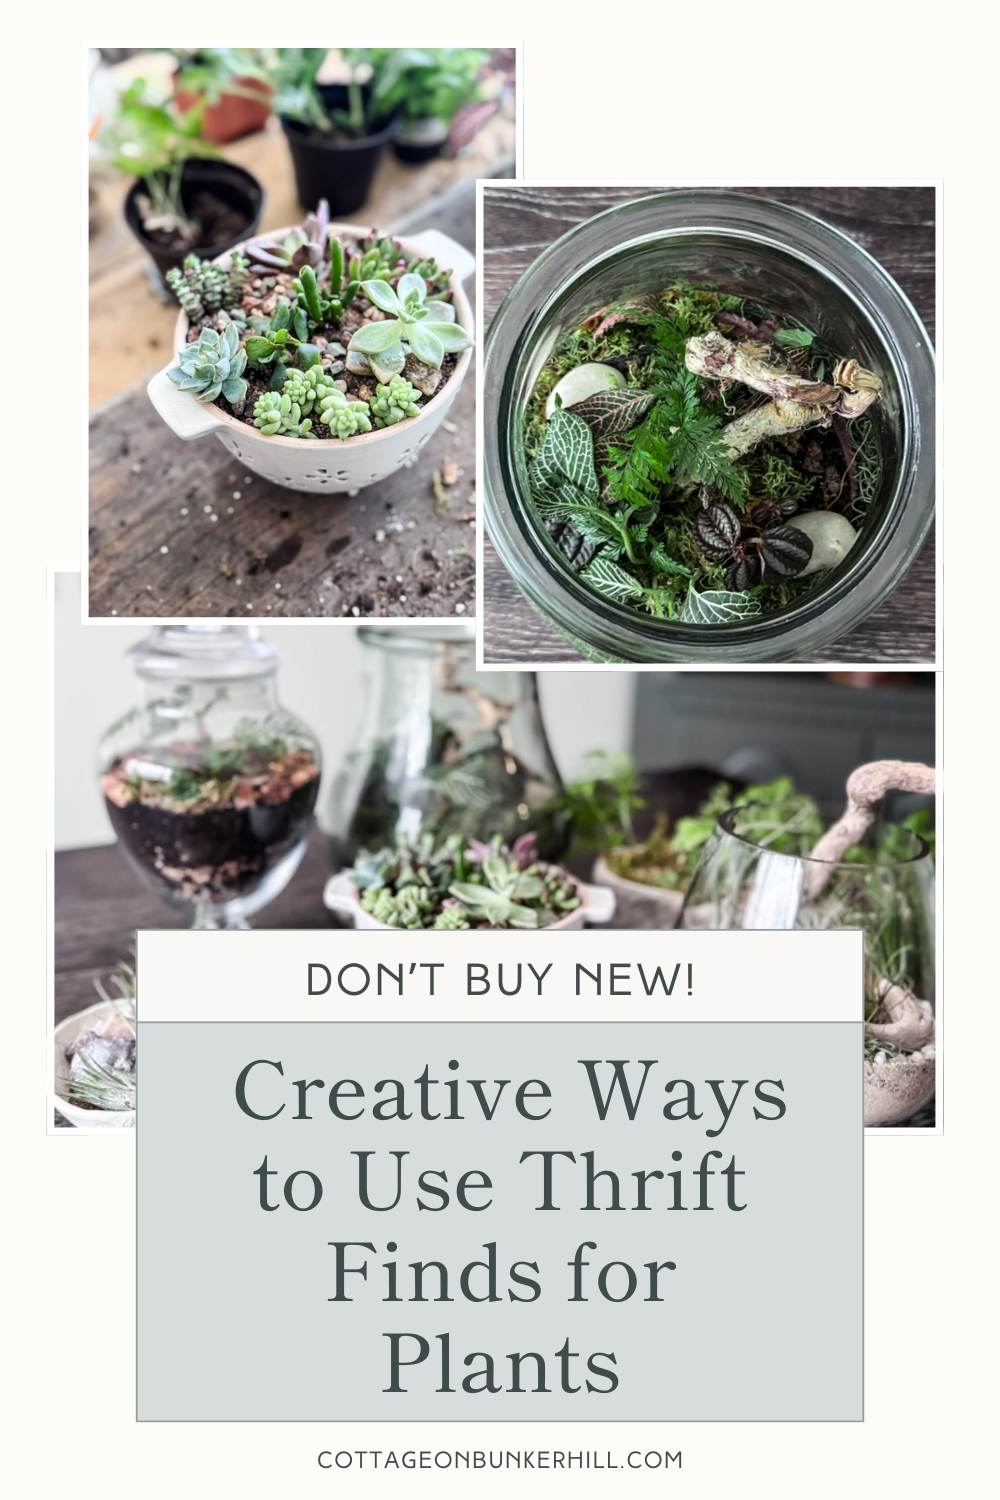
Before & After: 5 Thrift Store Scores Transformed Into Plant Displays
Why I Love Them
There’s something quietly magical about rescuing an object from a thrift store shelf and giving it a second life. A jar that held nothing for years becomes a self-sustaining forest. A creamer that once poured milk now spills succulents. A colander meant for berries becomes an overflowing basket of green.
This is that kind of project collection. Five vessels. Five transformations. Zero rules about what a “planter” is supposed to look like.
Whether you’re an experienced plant parent or just starting out, I hope these ideas inspire you to look at thrift store shelves a little differently. The next time you’re browsing, that weird little dish might not look so weird anymore. It might look like potential.
Project 1: The Apothecary Jar Closed Terrarium
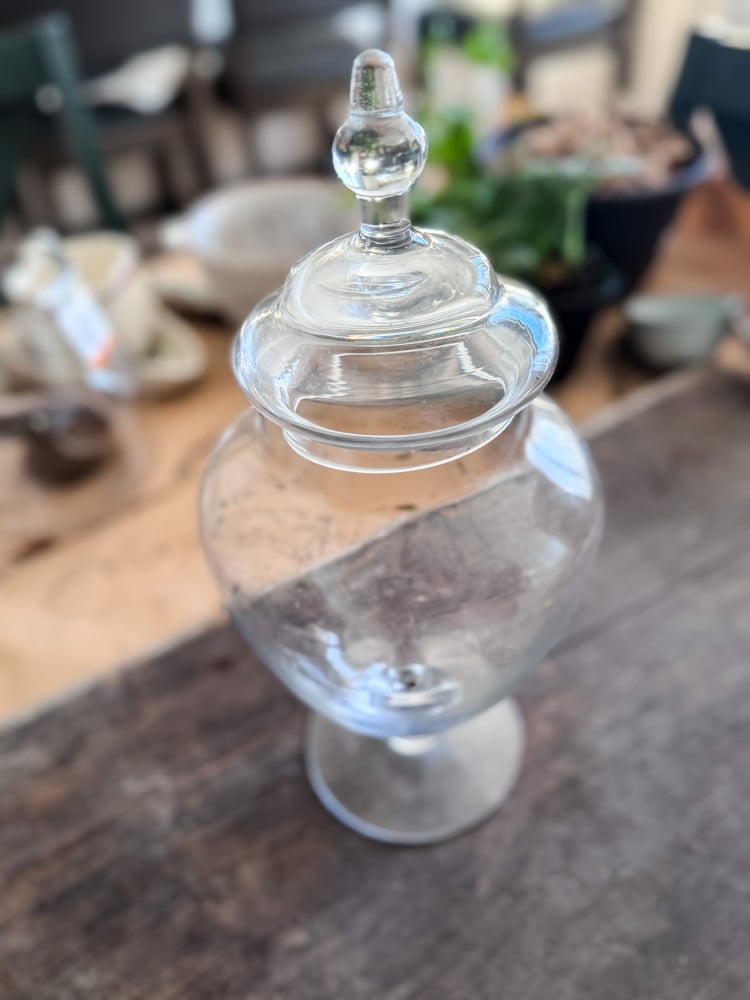
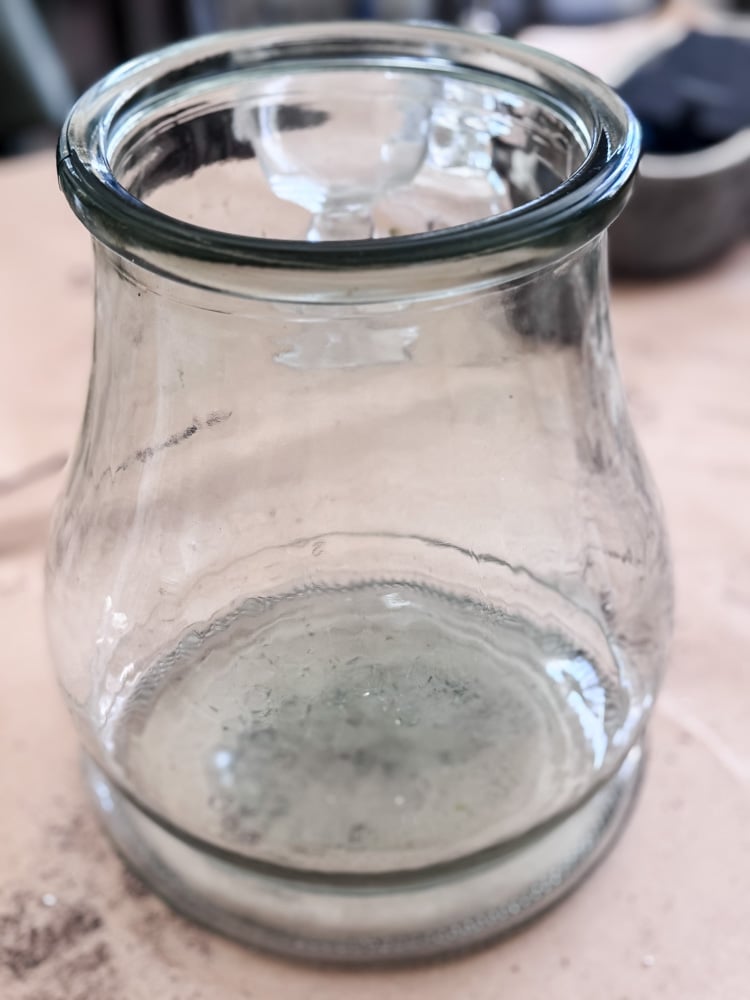
The Find:
A glass apothecary jar with a domed lid, found on a dusty bottom shelf. It cost me $5. I turned it over in my hands, checked for cracks, and it looked pristine. I’ve used it to hold my sea glass collection before, but now it was ready for something new: a self-sustaining tiny forest
The Vessel:
Tall, clear glass with a generous opening and the best part-a lid that actually sealed. For a closed terrarium, this is gold. The lid creates that magical water cycle: evaporate, condense, rain, repeat.
How To Build The Terrarium
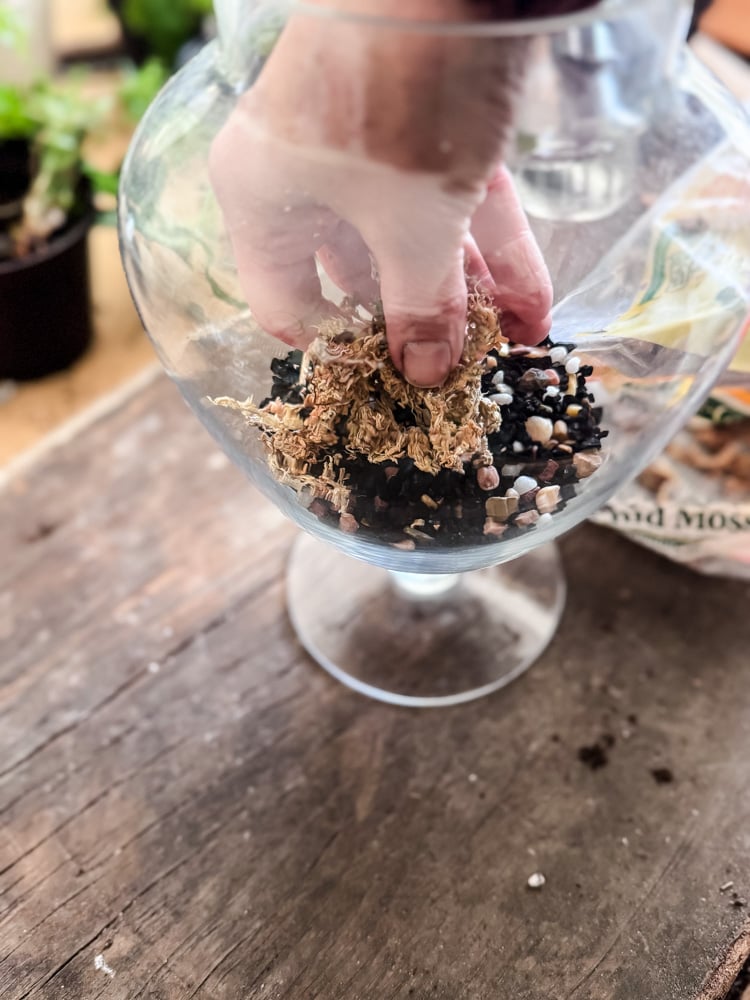
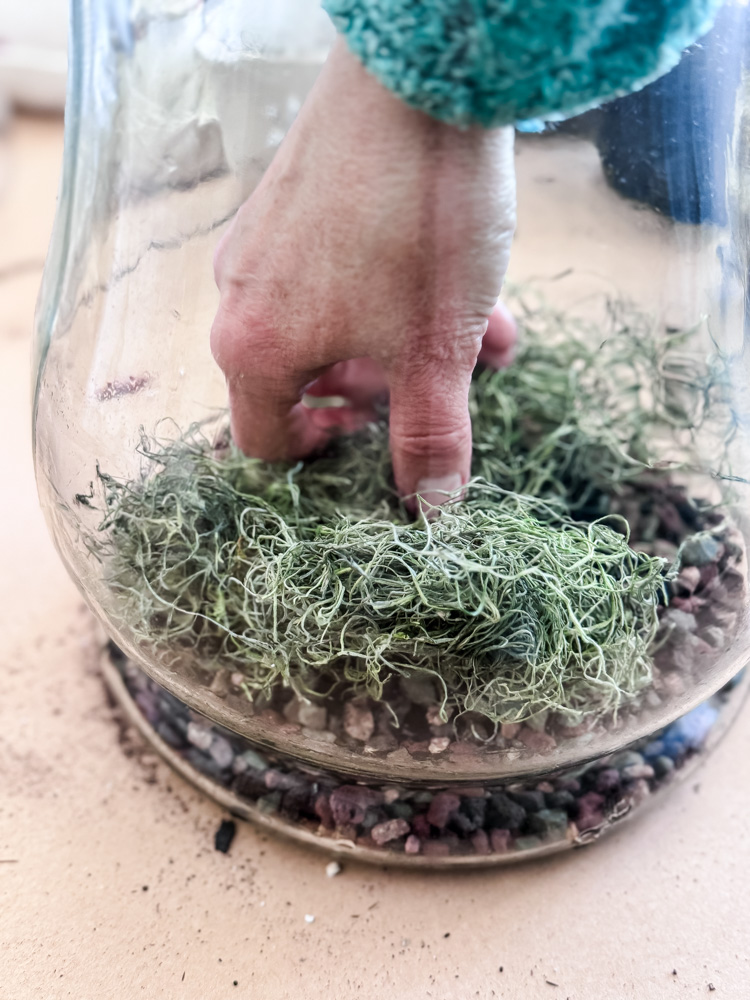
Whether you’re building a large terrarium or something on a smaller scale, you need to follow the same layering technique for a closed terrarium. Start with a layer of pebbles or gravel for drainage, a small amount of activated charcoal to keep everything fresh and healthy, a layer of sphagnum moss (which will create a barrier between the drainage and the potting soil), and a few inches of potting mix before adding your small plants.
The Layers:
- Pebbles for drainage
- Activated charcoal to keep things fresh
- Sphagnum moss as a barrier
- Potting soil mixed with a little orchid bark for aeration
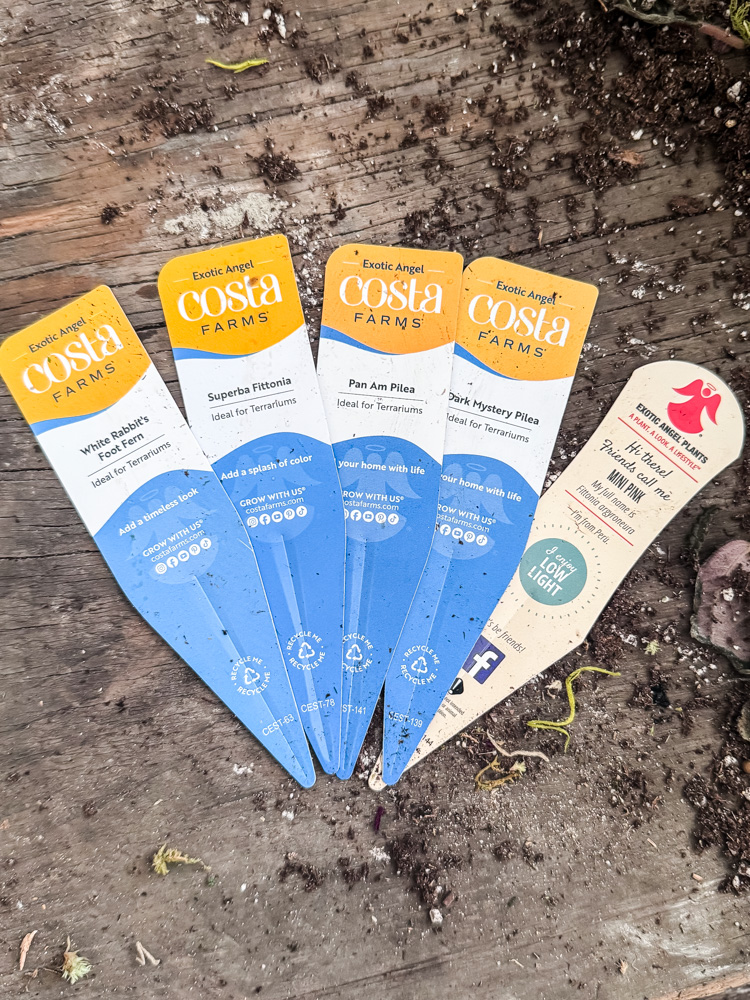
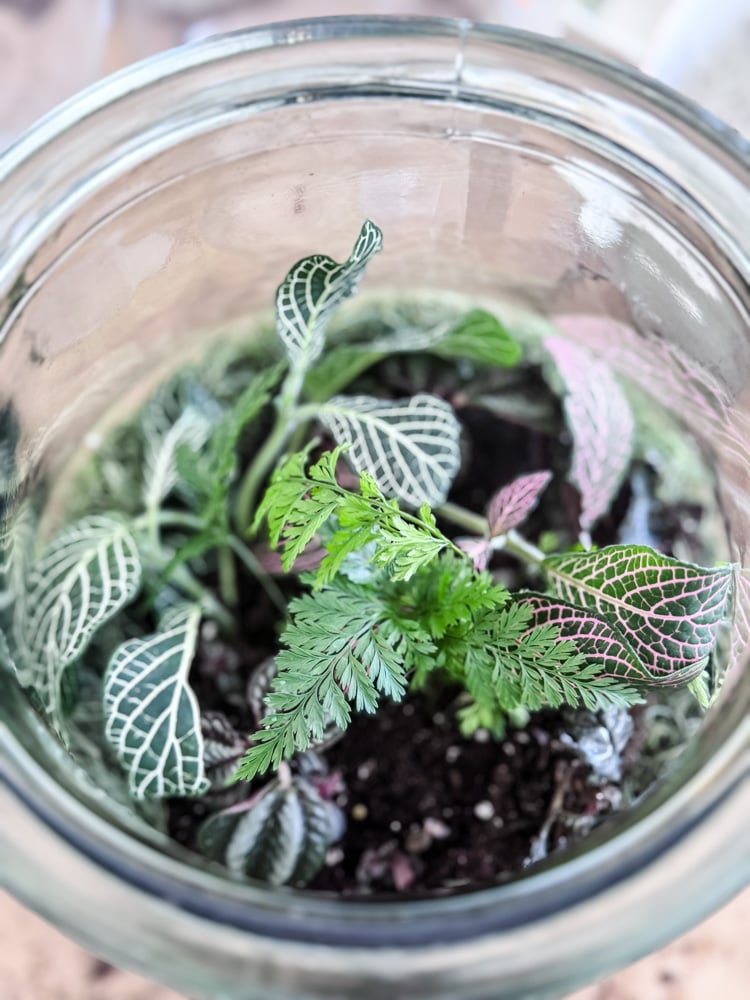
- Terrarium plants (see chart below)
- Moss as the final living blanket
- A quick wipe of the glass, then the lid went on
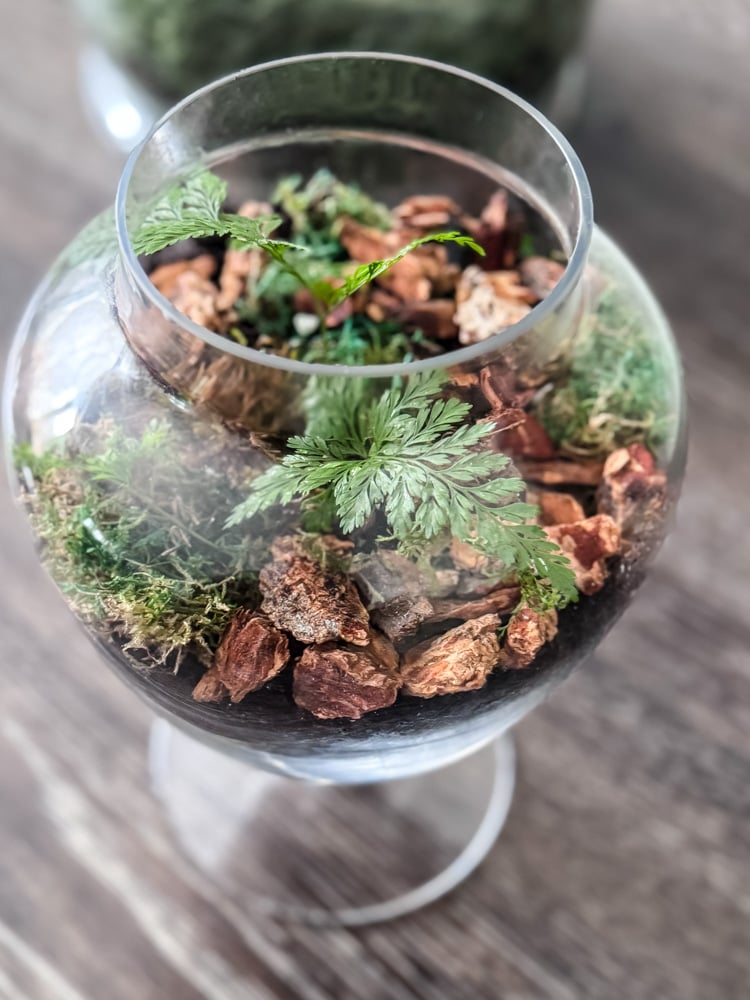
In this terrarium, I only used small sections of a rabbit’s foot fern. To finish it off and give it an organic, forest feel, I covered the soil with orchid bark and green moss.
Top Picks For Closed Terrariums
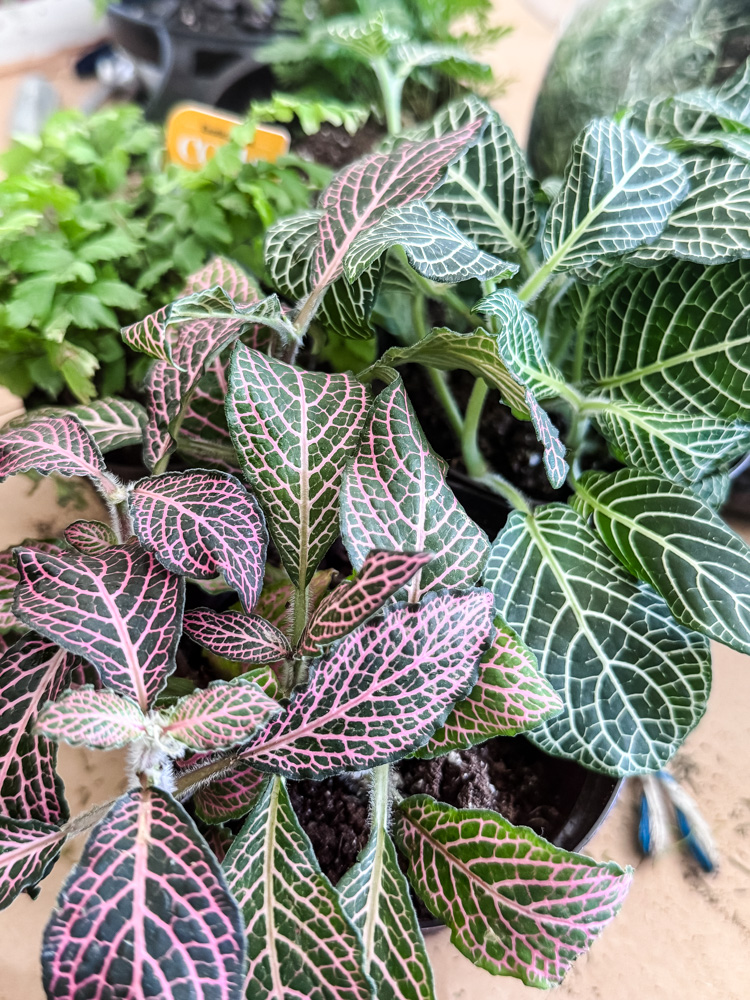
For Pops of Color & Pattern:
- Nerve Plant (Fittonia): The absolute classic. It’s striking pink, red, or white veining that adds a vital, beautiful contrast against all the green.
- Polka Dot Plant (Hypoestes phyllostachya): Another fantastic choice for color, with speckled leaves in pink, red, or white.
The Textural Foliage (Perfect for Mid-Ground)
- Peperomia: With their puckered, striped, or succulent-like leaves, they add incredible texture and stay beautifully compact.
- Aluminum Plant (Pilea cadierei): Its silvery, quilted leaves sparkle in the low, dappled light of a terrarium.
- Friendship Plant (Pilea involucrata): Has deeply textured, bronze-green leaves that look like they’re from a fairy tale.
The Lush Creeping Carpet
- Baby Tears: Forms a dense, bright green mat that creeps beautifully over soil and stones.
- Creeping Fig: The miniature variety is key here! Its tiny leaves will slowly cling to the glass or driftwood, creating a lovely, aged effect.
- Living Moss (Sheet Moss, Cushion Moss, Fern Moss): This is the secret ingredient. Pressing onto the soil creates an instant ‘forest floor’.I used a mix of different shades and textures.
The Delicate, Feathery Ferns
- Button Fern: Offers neat rows of small, round leaflets on dark stems-very tidy and architectural.
- Maidenhair Fern: Has adorable, compact, fan-shaped leaflets,
- Rabbit’s Foot Fern: Known for its furry, creeping rhizomes that look like rabbit’s feet. It adds a wonderful, soft texture.
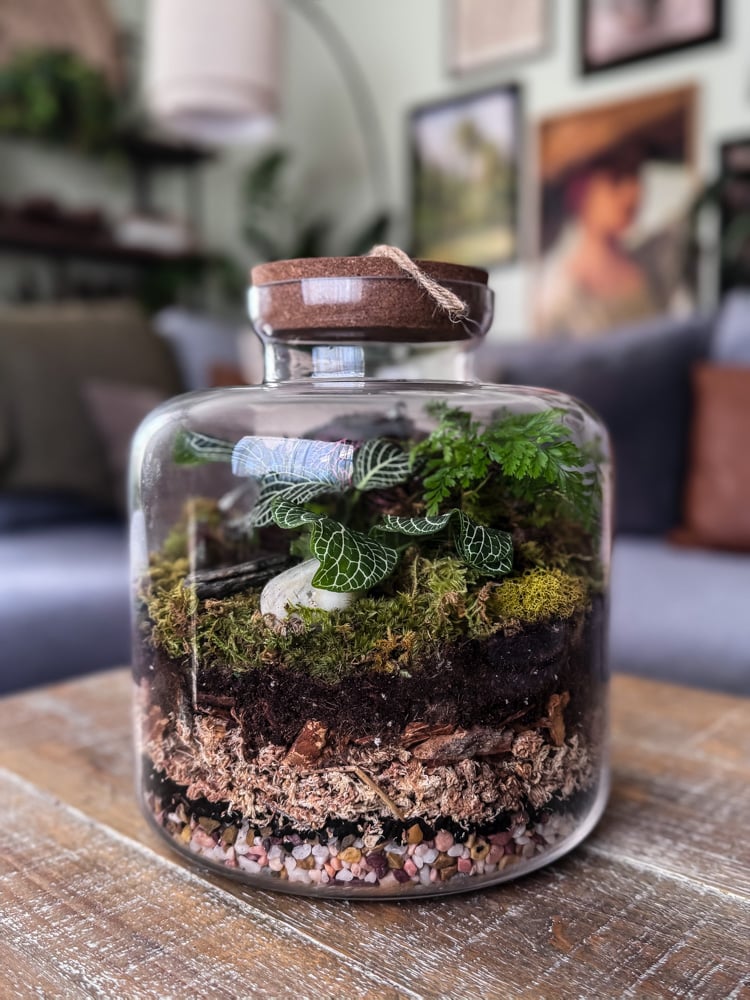
Finished Apothecary Jar Terrarium
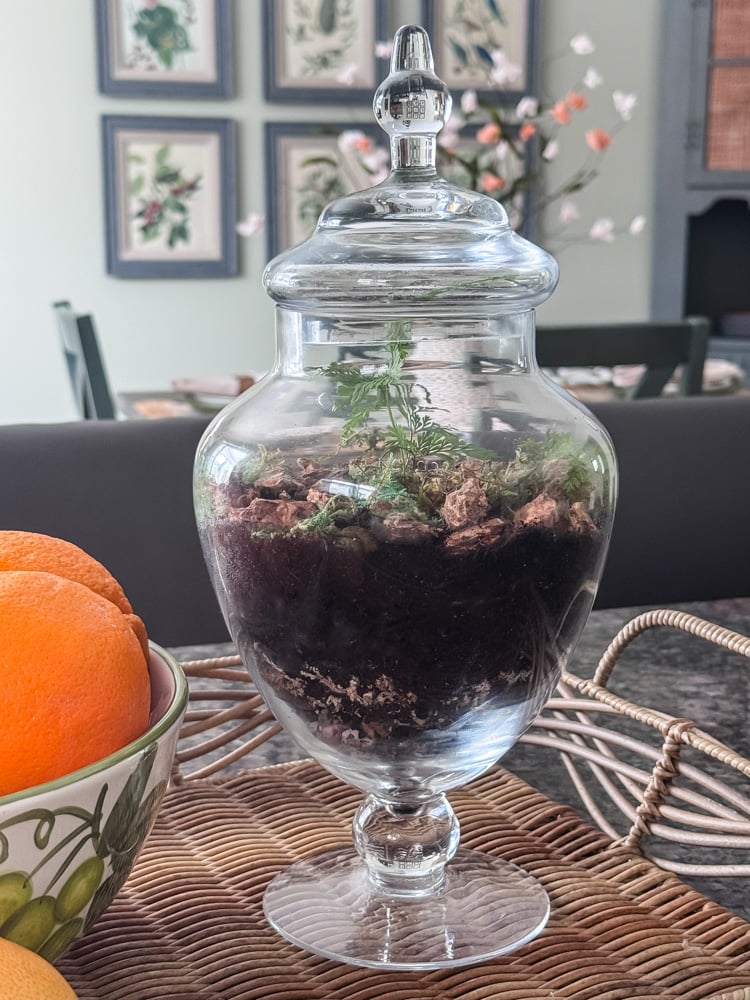
The Result:
A self-watering world in glass. I misted it once at the beginning, sealed it shut, and now it does its own thing. Condensation forms on the glass each morning and burns off by afternoon. The plants are green and happy. The jar that held nothing for years now holds an entire ecosystem.
What I Learned:
Not every thrifted vessel needs a drainage hole. Not every lid needs to be tossed. Sometimes, the original purpose, whether it be an apothecary jar, cookie jar, or vase, is already exactly what your plant needs.
Project 2: The Vintage Creamer Succulent Planter
The Find:
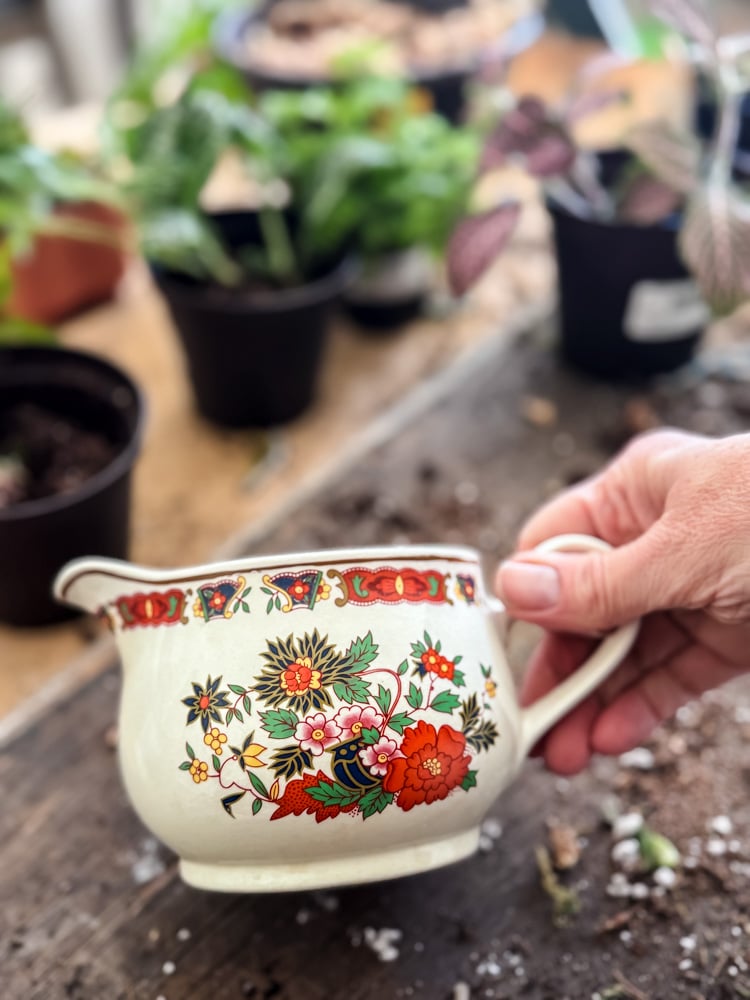
An Irish china creamer, white with a colorful floral pattern. It was $2. Someone’s Irish Nanny probably poured milk from this into tea cups. Now it pours out echeverias.
The Vessel:
Charming, small, and completely lacking a drainage hole. But look at those flowers! I couldn’t leave it.
Step 1: Prepping The Creamer

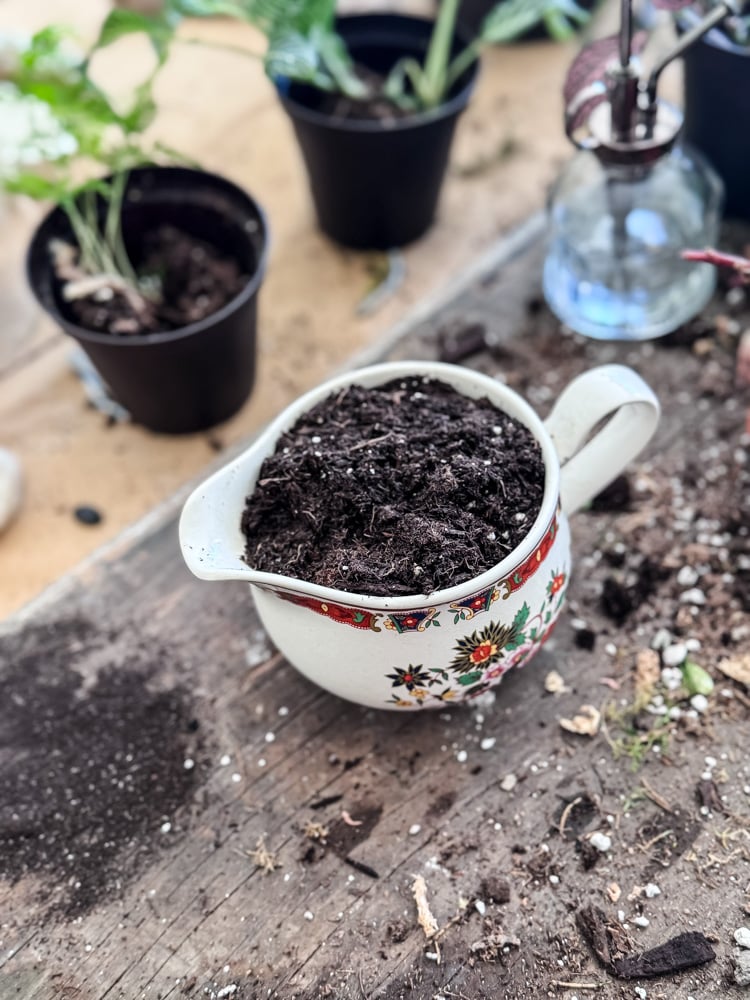
The Adaptation:
No drainage hole means I need to be smart. I added an extra-thick layer of pebbles at the bottom to create a reservoir for excess water. Then filled the creamer with my succulent soil.
The Layers:
- Pebbles (generous layer—this is crucial!)
- Charcoal (a light sprinkle)
- Cactus & succulent soil (fast-draining)
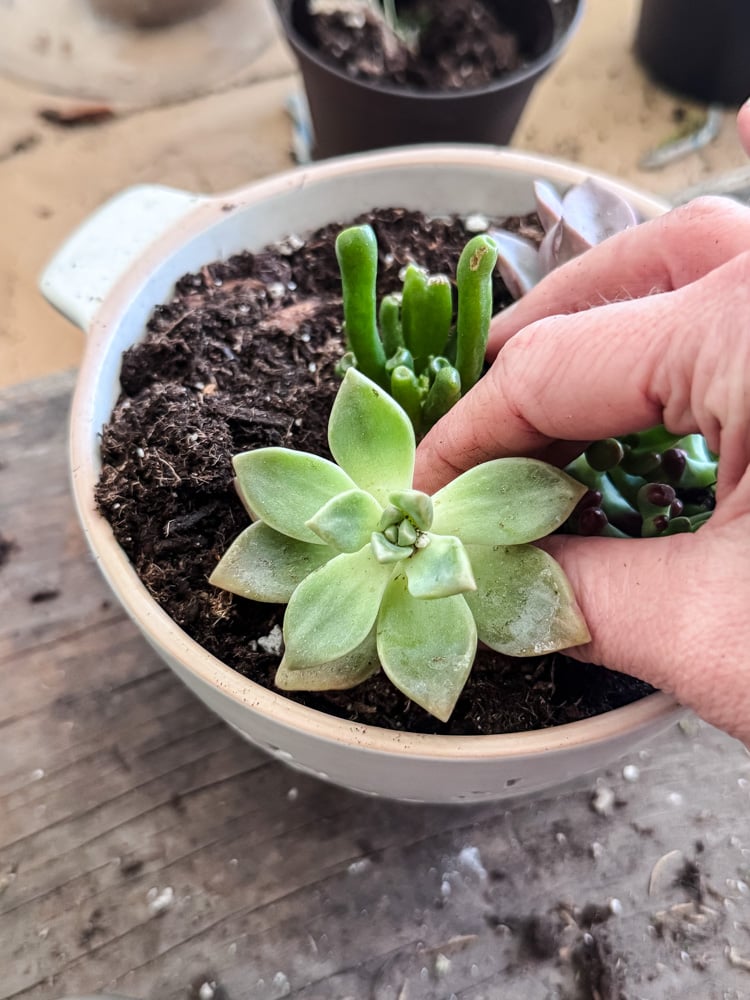
Step 2: Planting Your Succulent Container

For this smaller-sized container, I am also using small succulents (from this set of succulents that I bought).

Using an iced tea spoon with a long handle was helpful for creating holes in the soil to pop in the succulents.
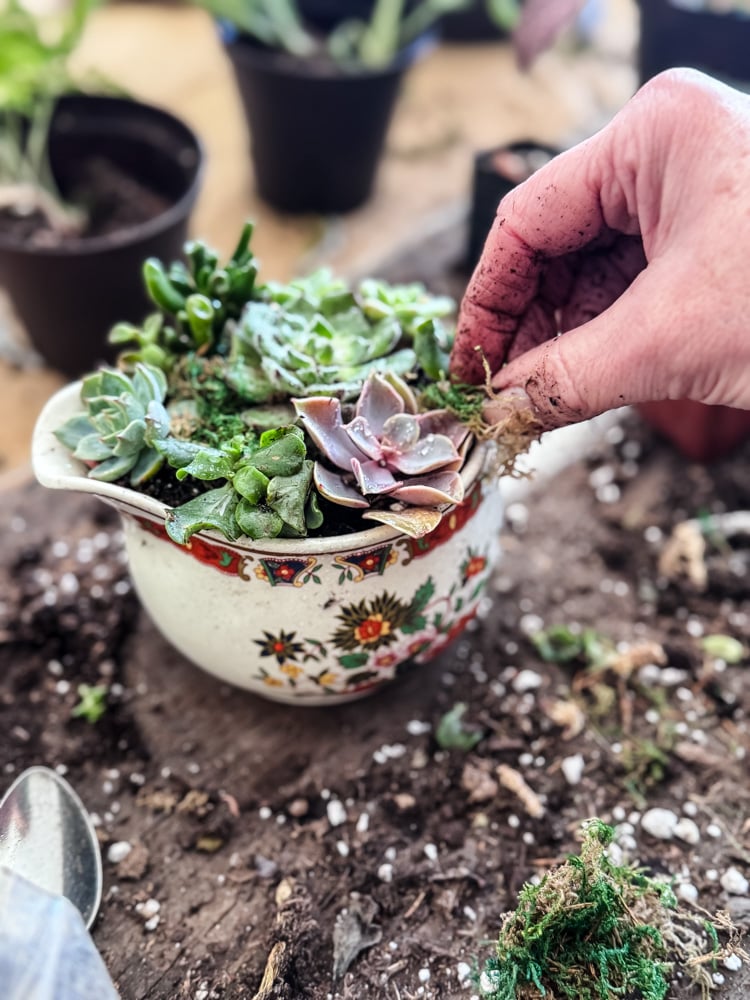
Once I had the creamer filled with a variety of colors and styles of succulents to make it interesting, I covered the spots of soil peeking through with bits of moss.
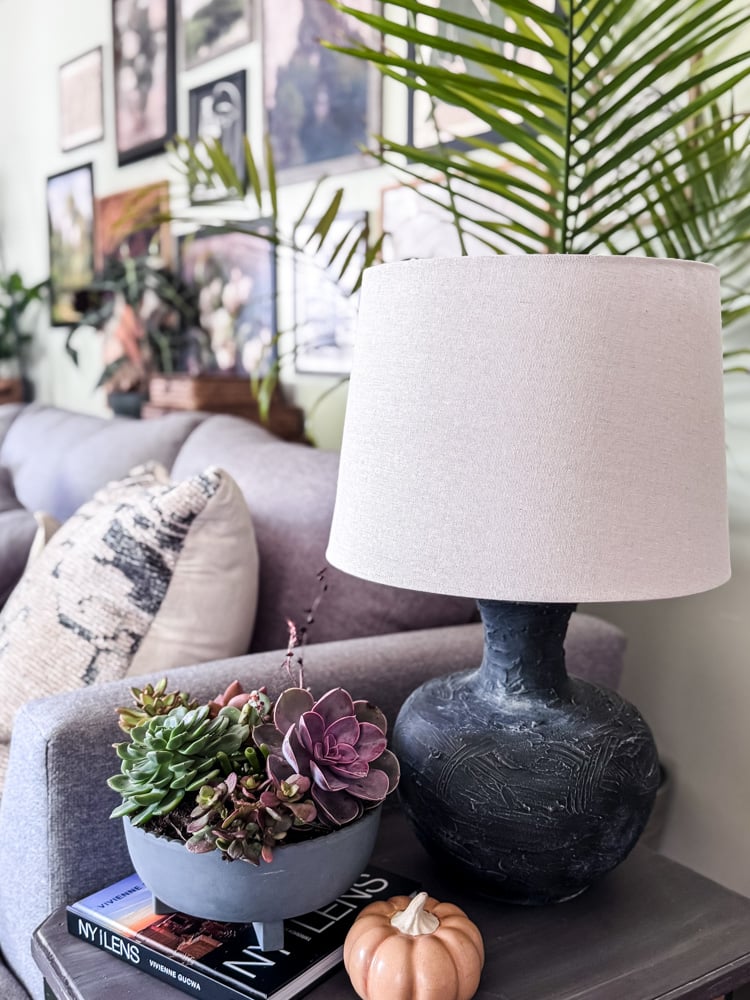
Finished Succulent Planter
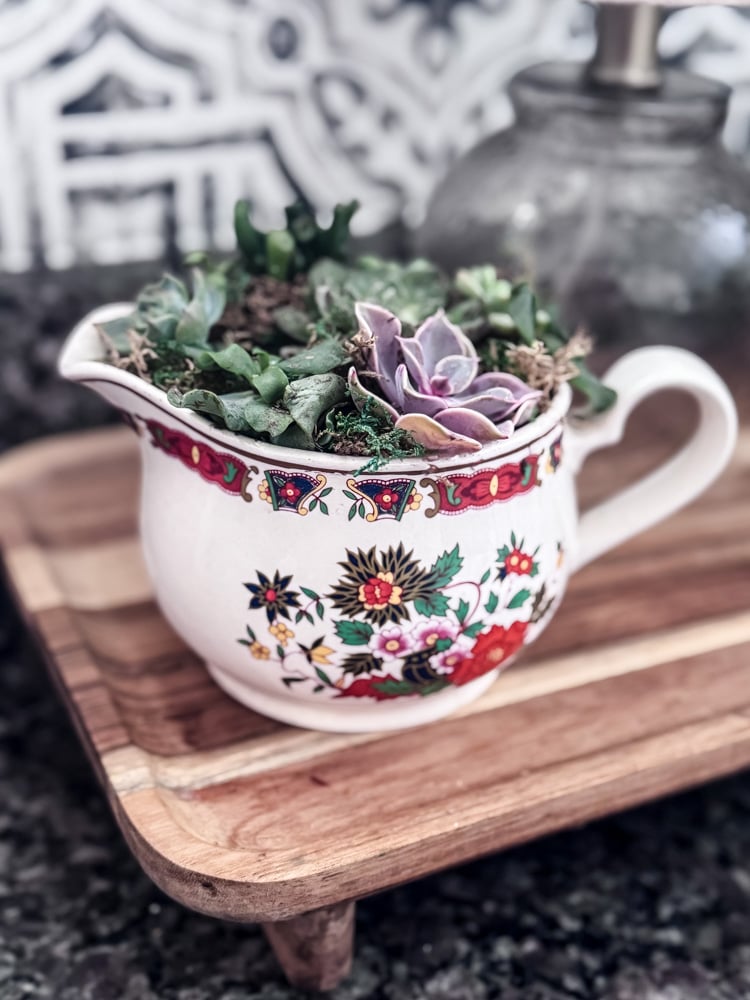
The Result:
It looks like a tiny still life painting. The colorful flowers on the creamer pick up the cool tones in the echeveria. It sits on my kitchen tray and makes me smile every single time I wash dishes.
What I Learned:
A vessel without drainage isn’t a dealbreaker. It’s just choosing the right plants that will thrive in this environment, like succulents.I water this one sparingly-a tablespoon at a time, only when the soil is completely dry.
Project 3: The Cement Fern Planter
The Find:
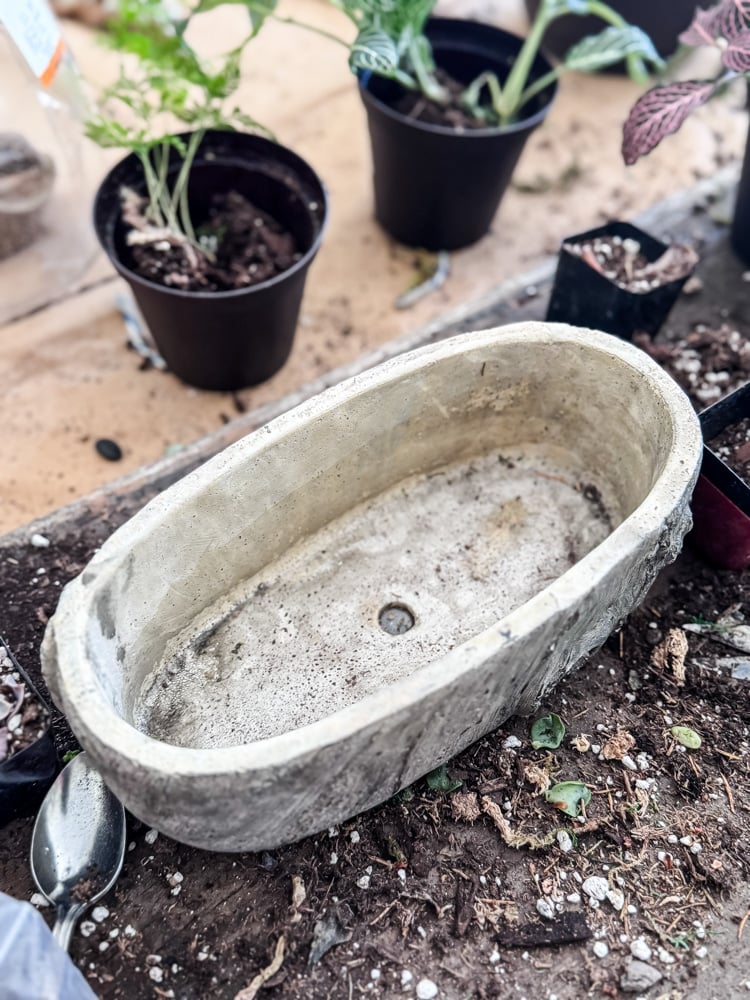
A small oblong cement planter, unmarked, weighing about as much as a brick. It was $3 and in ‘just like new’ condition. I loved it immediately.
The Vessel:
Cement is porous, which is actually wonderful for moisture-loving plants. It breathes. It ages beautifully. And the shape gives it character.
Making A Mini Fern Planter
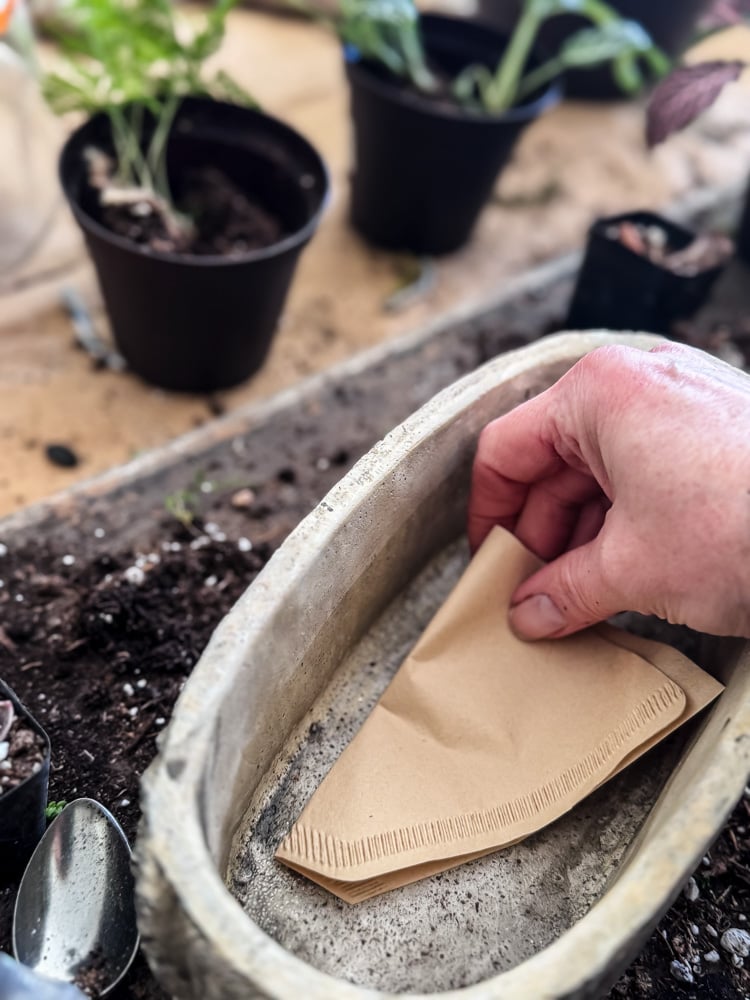
Let me tell you one of my favorite tricks! Add a coffee filter to the bottom of your planters to stop the soil from running out when watering.
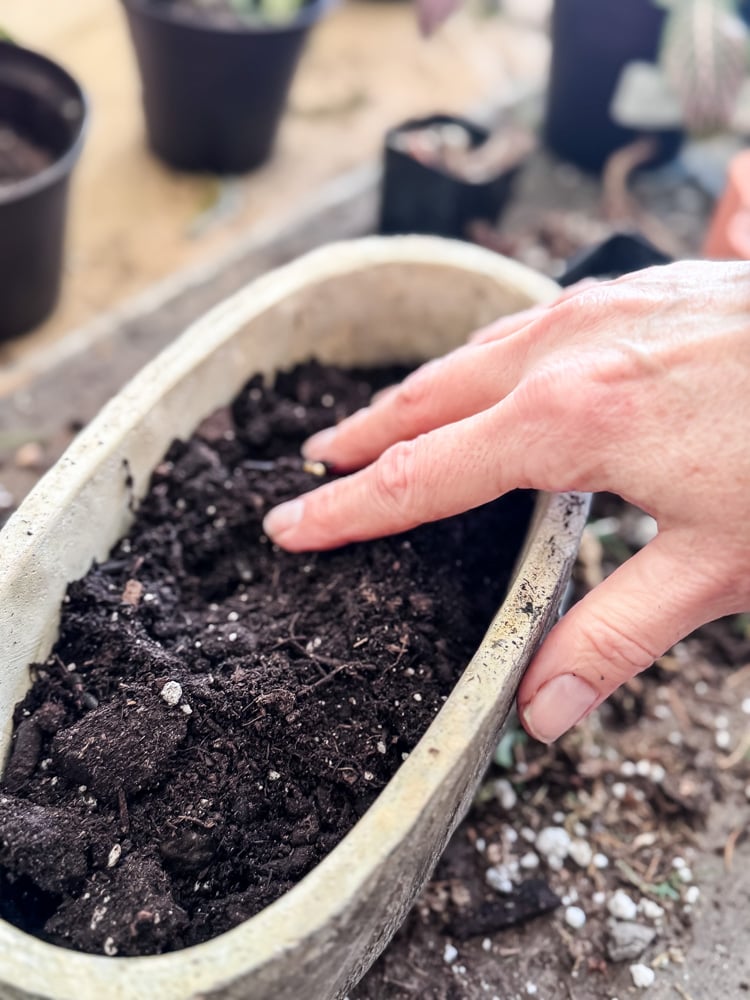
For this planter, I am using a potting soil mixture since I will be planting moisture-loving ferns for this thrift store project.
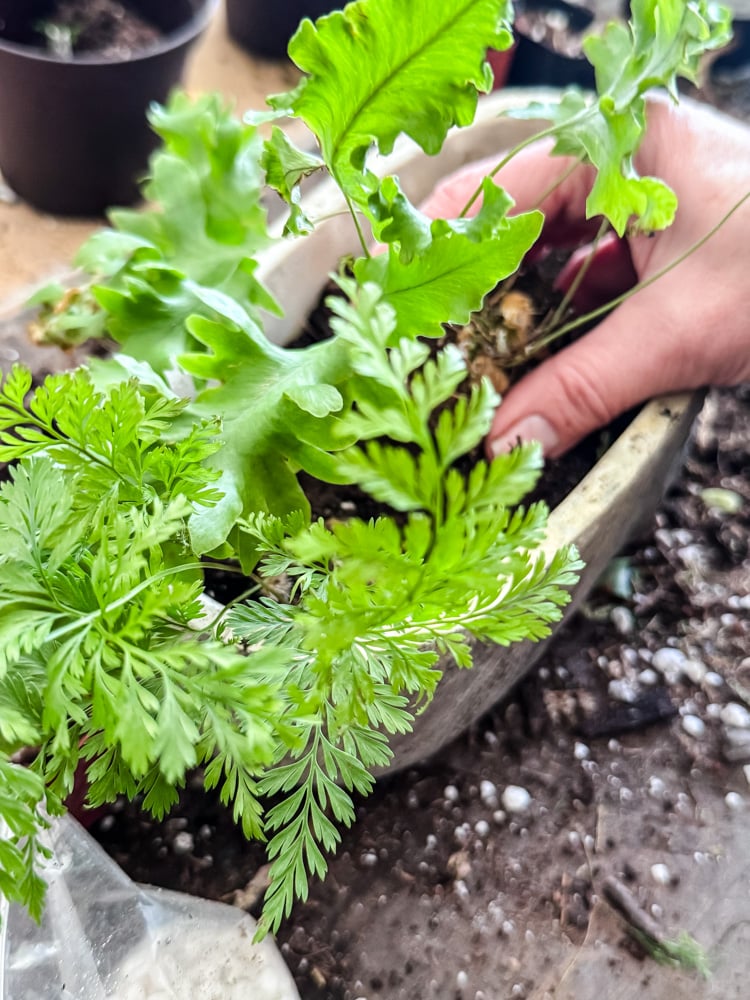
This planter is perfect for 3 very small ferns. Two of the ferns were sections from pots that I split for my closed terrarium project.
Here are some interesting ferns to look for:
- Rabbit’s Foot Fern
- Maidenhair Fern
- Blue Star Fern
Finished Fern Planter
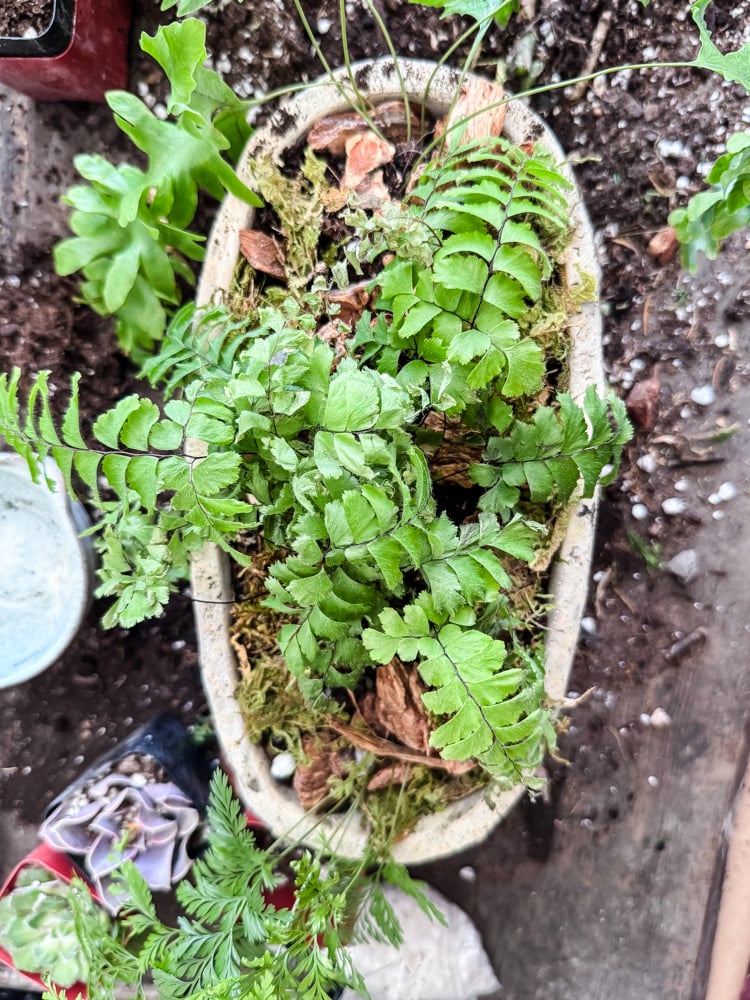
For a finished look, I added orchid bark and moss to cover the soil.
The Result:
Simple. Quiet. Perfect. The cool gray cement sets off the impossible green of the ferns. I’m not sure where I’ll put this planter: either on the bathroom counter (ferns love humidity) or tucked on one of the shelves on the tall living room bookcase.
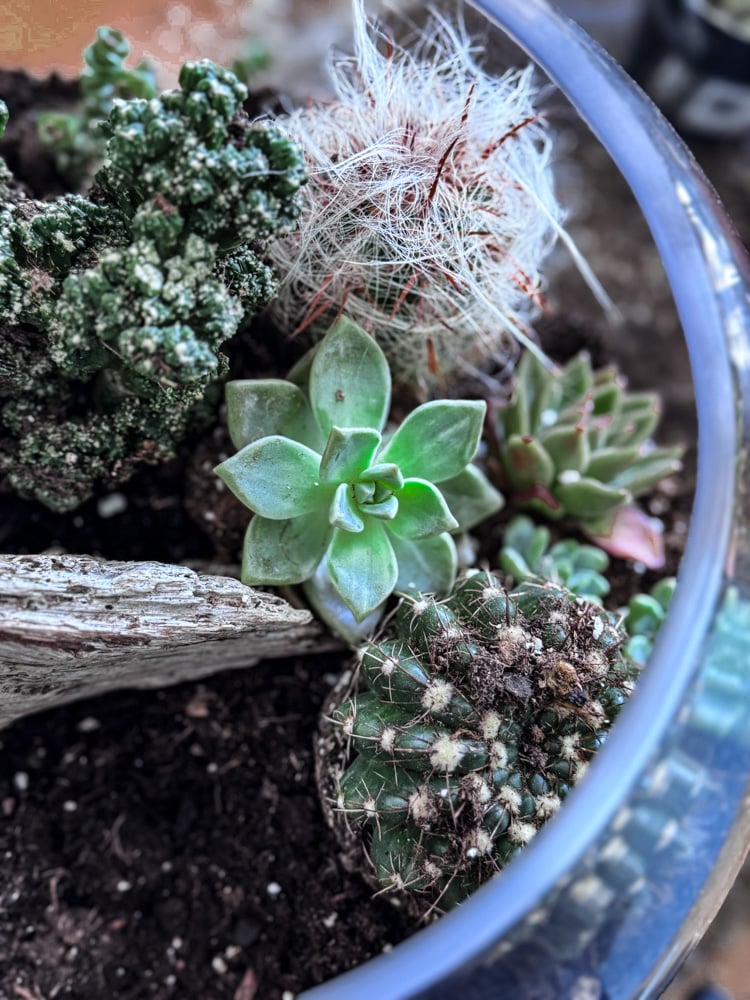
Project 4: The Berry Colander Succulent Bowl

The Find:
A ceramic berry colander, cream, with tiny perforated flower shapes all over. I think this was from Target. I paid $1 for it.
The Vessel:
The small size and shape are perfect for another small succulent arrangement. Since it’s a colander, the kitchen will be a perfect spot for this one.
Step 1: Preparing The Colander Planter
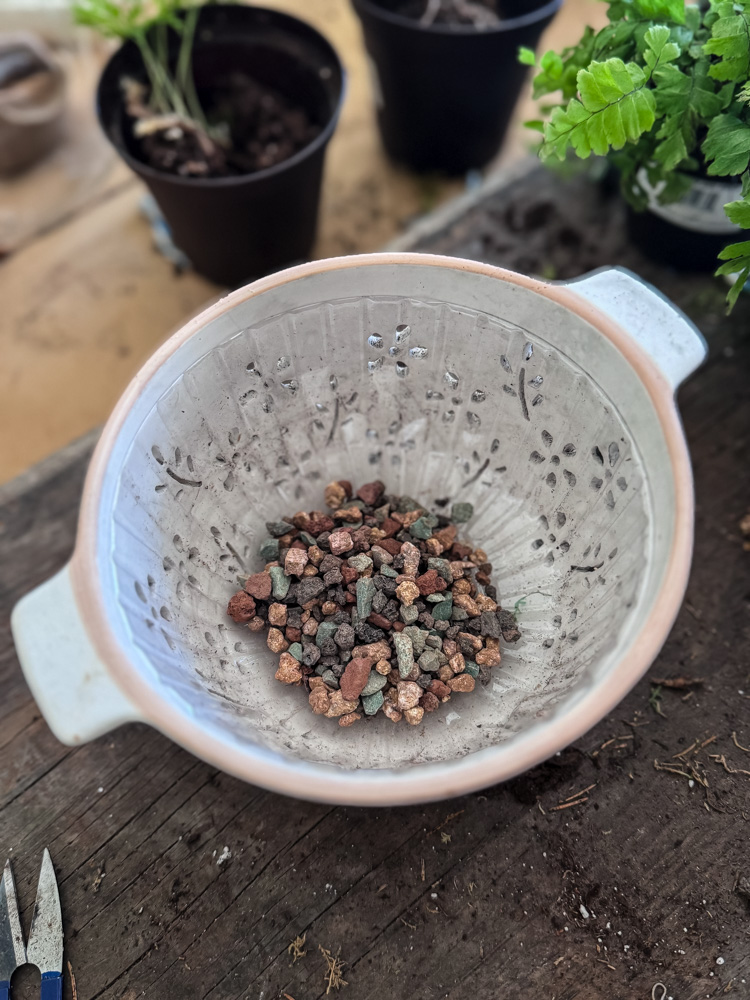
The Adaptation:
To keep the soil from washing out through all those holes, I lined the inside with a plastic plant saucer-the kind that comes underneath a nursery pot. I happened to have one saved from a Trader Joe’s planter, and it fit perfectly! Then I added a layer of small rocks for drainage before adding my soil.
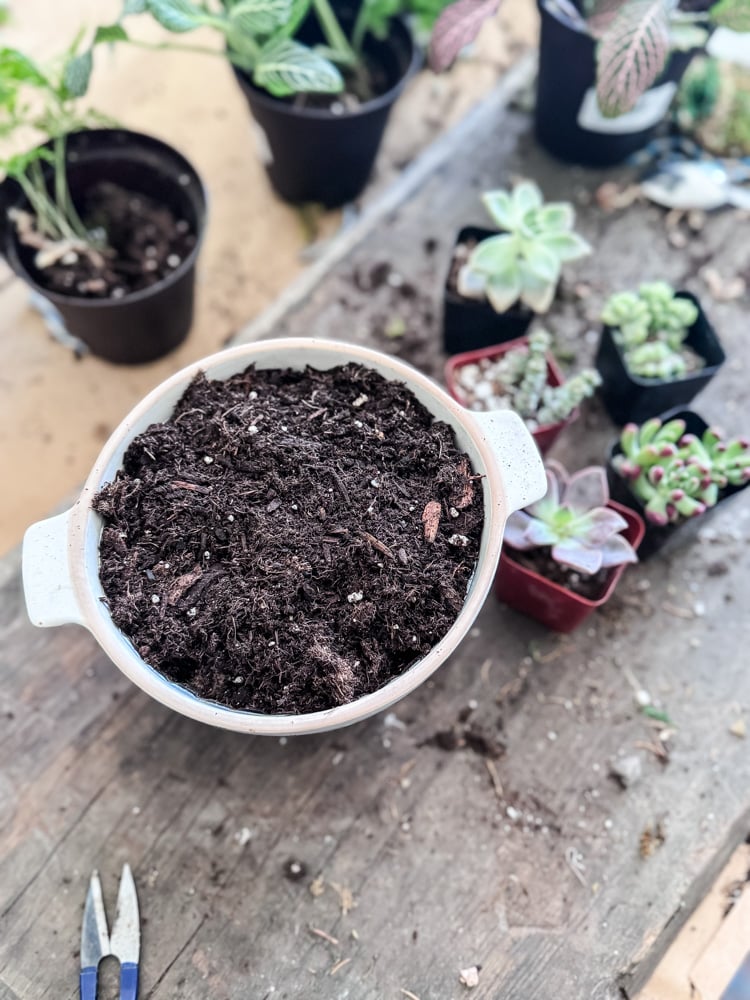
Succulents need soil that drains quickly and doesn’t hold onto moisture. So for this colander, I used a cactus & succulent potting mix.
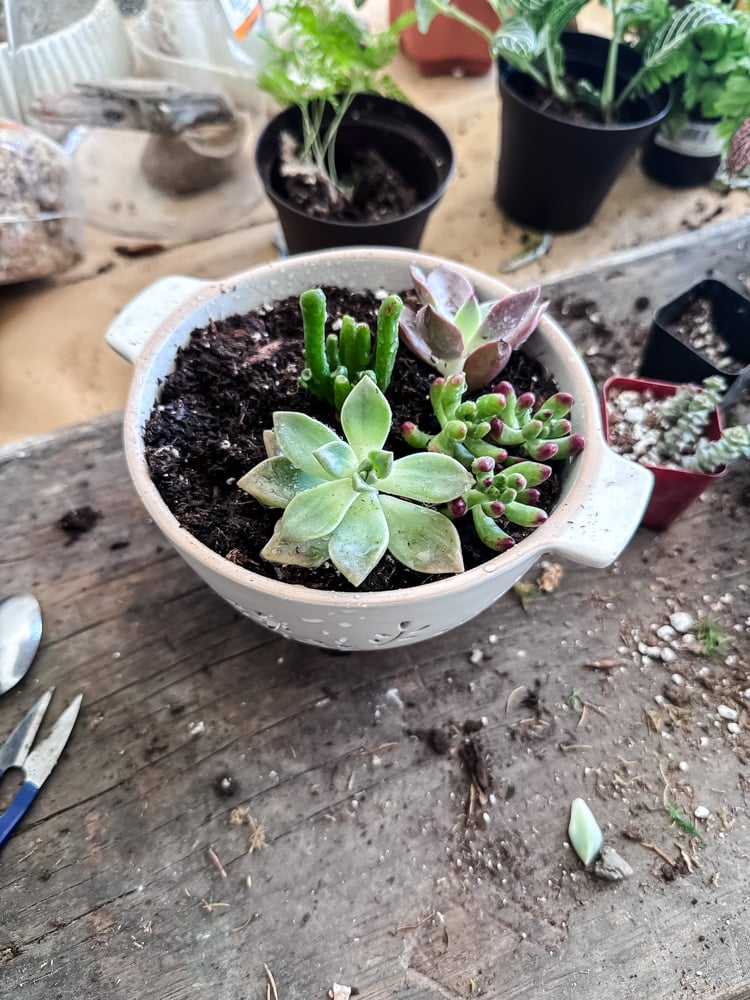
Step 2: Adding The Succulents
The Plants:
Again, I am adding small succulents for the set I bought and used for the creamer planter.
- A trailing burro’s tail that will someday cascade over the edge
- A few small echeverias for rosette structure
- Red-tipped sedum
- A wavy-edged crassula
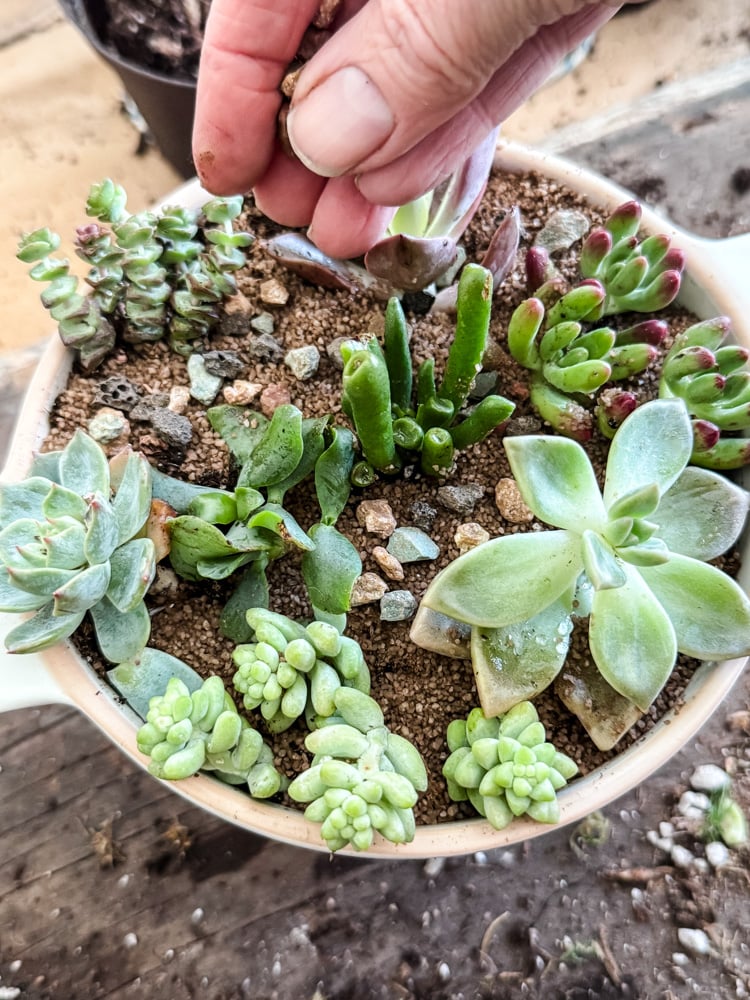
Finishing Touches:
To finish off this planter, I covered the soil with decorative sand and a few colored lava rock pebbles.
Finished Colander of Succulents
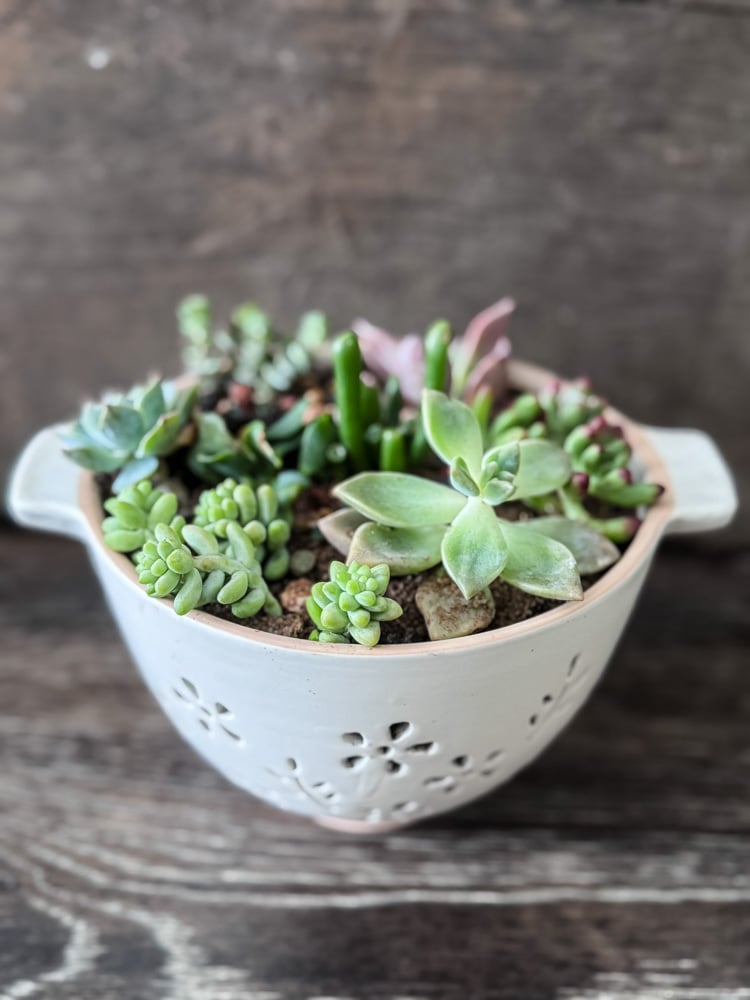
The Result:
This is the plant equivalent of an overflowing basket of flowers. The succulents will spill over the sides in time in every direction and start to fill the colander up. When they get too big for this petite planter, it will be easy to replant them in a larger pot (thrifted, of course!)
What I Learned:
Sometimes the best planter wasn’t a planter at all. A colander, a sieve, a wire basket-anything with holes can become something beautiful. You just have to look at it differently.
Project 5: The Moody Open Terrarium
The Find:
A massive recycled-glass vase, thick and irregular, with bubbles trapped in the walls and a faint greenish tint. Heavy. Imperfect. Moody. It was $6, and I snatched it up as soon as I spotted it buried on the back of the shelf…never pass by the vase aisle of your thrift store, I always find the coolest pieces.
The Vessel:
Tall, wide, open. No lid, no drainage. Pure sculptural presence.
Step 1: Prepping The Vase

The Adaptation:
This one needed a false bottom. I layered a couple of inches of lava rock and a little activated charcoal, then a thick barrier of green Spanish moss, then soil. The false bottom creates a reservoir for excess water, keeping the roots safely above the wet zone.
Step 2: Planting The Terrarium
The Plants:
I still have plants leftover from the closed terrarium project that I did the other day, and they will be perfect for this vase.
- Fittonia
- Pilea
- Rabbit Foot Fern
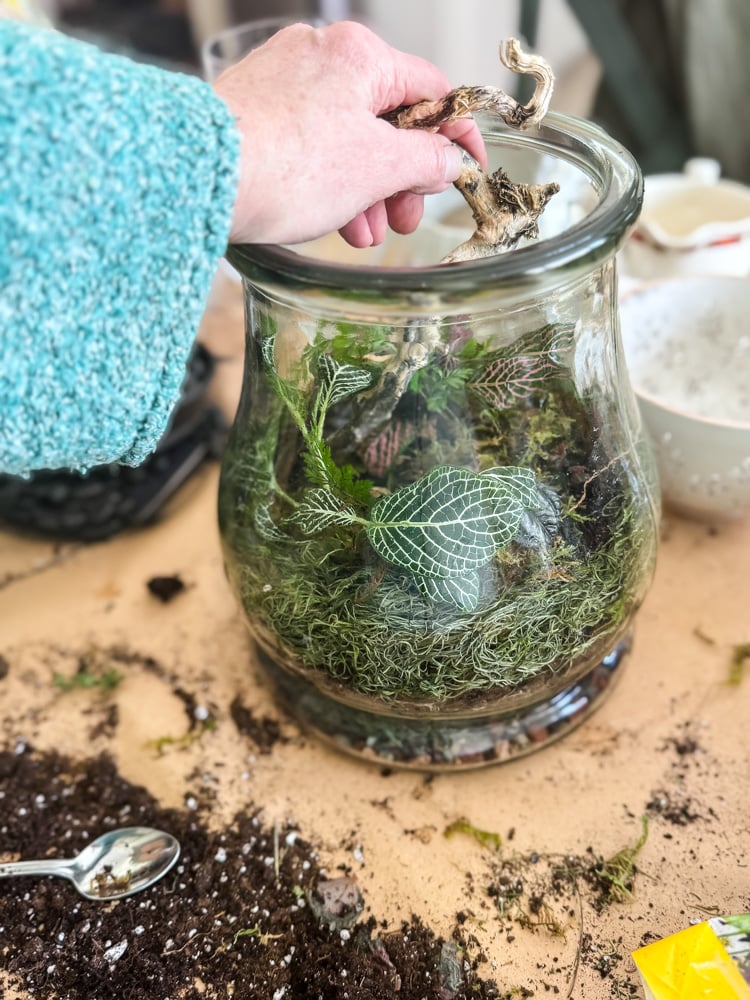
The Extras:
To lean into the moody vibe of this tall glass vase, I added a crooked, knotty piece of driftwood. Its twisted shape breaks up all that vertical space and brings an organic, almost haunting feel, like a tree limb reaching through fog.
To Finish:
To finish this open terrarium vase off, I added bits of preserved moss and a couple of white beach stones.
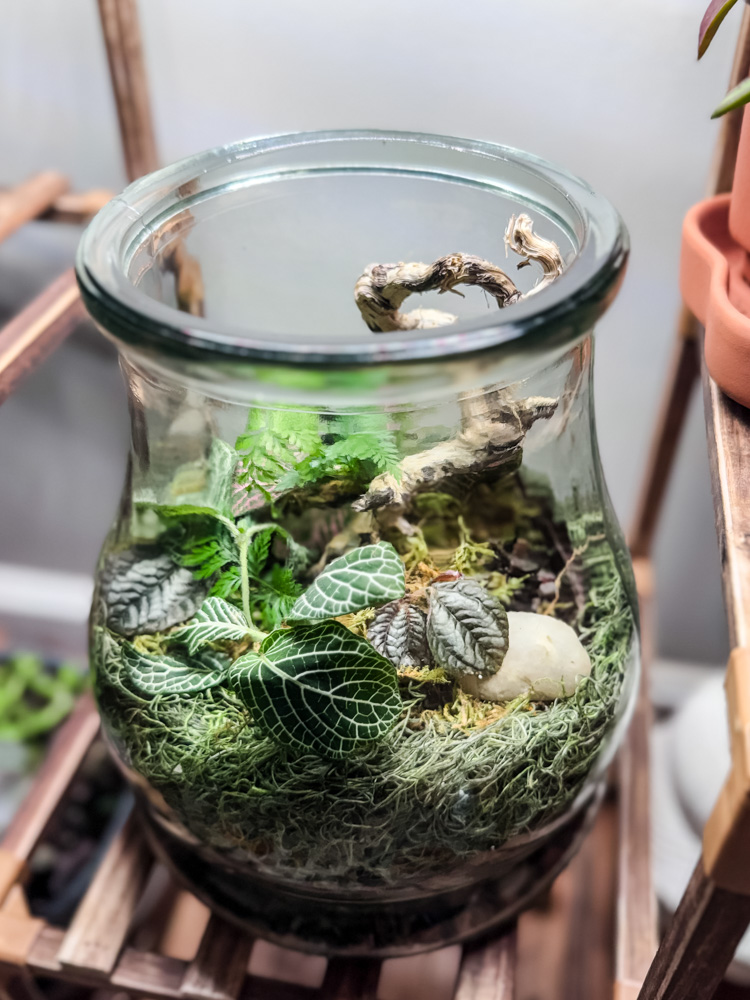
Finished Vase Terrarium
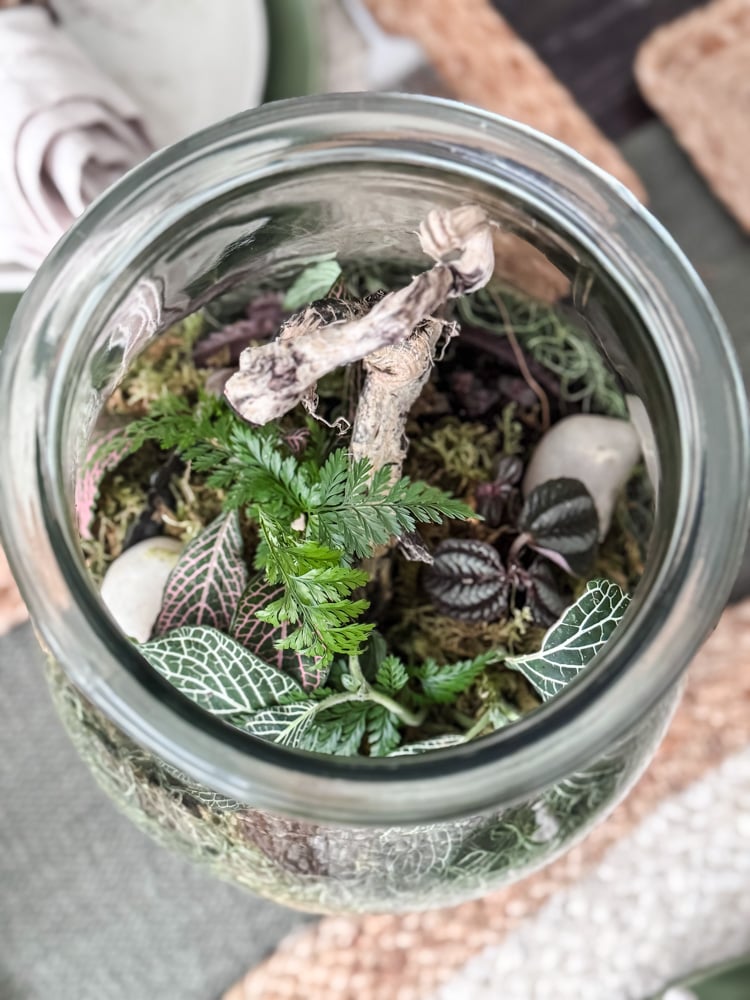
The Result:
It’s moody in the best way. The thick green glass filters the light, casting everything in a soft, underwater glow. It feels like a forest floor, excavated and lifted into my office plant shelf!
What I Learned:
Big vessels are not harder; they’re just different. They ask for more materials, more patience, more vision. But the payoff? A statement piece I keep looking at when I’m at my desk writing!
Thrifting Tips for Plant People
Before you head out to hunt for your own vessels, here’s what I’ve learned:
What To Look For
- Glass jars with lids → Instant closed terrariums
- Teacups, creamers, sugar bowls → Perfect small succulent planters
- Colanders, sieves, wire baskets → Built-in drainage!
- Unusual glass vases → Open terrariums waiting to happen
- Anything handmade → Someone loved this enough to make it. Love it again.
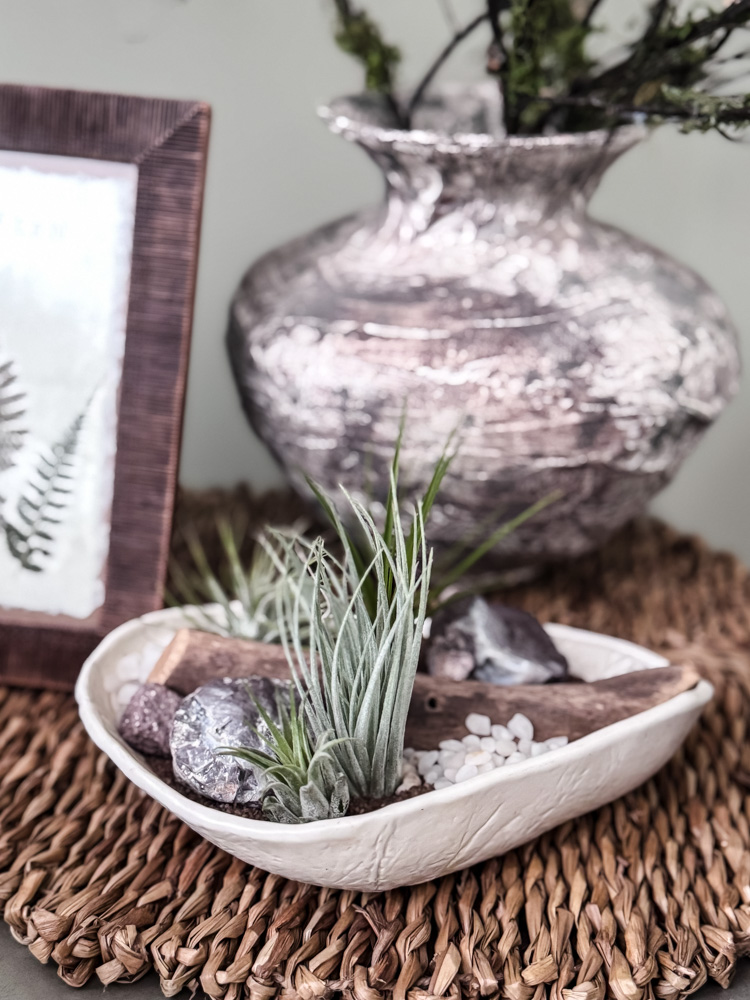
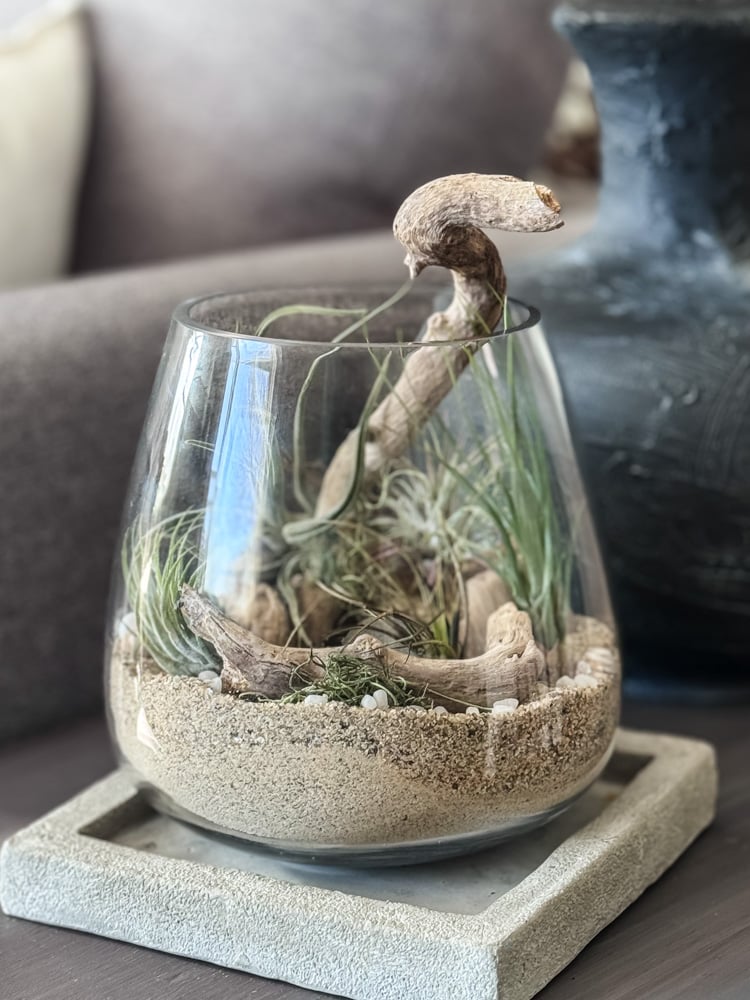
Love Thrifted Air Plant Projects Too?
I have two more thrifted transformations that deserve their own spotlight: a beach memory captured in glass and a $1 thrift score.
Your Turn: What Will You Rescue?
The next time you pass a thrift store, go in. Walk the aisles. Run your fingers along the shelves. Look for the jar without a purpose, the dish with a chip, the colander that’s been waiting since 1974.
Bring it home. Wash it. Turn it over in your hands. Then plant something in it!
I’d love to see what you find and what you make. Send me your photos to be featured in the Reader’s Spotlight to cottageonbunkerhill@gmail.com
xo, Jennifer
Love projects like this? Don’t miss out! Join my newsletter family for more cozy, budget-friendly DIY ideas delivered right to your inbox. You’ll get exclusive tips, early access to tutorials, and all the inspiration you need to make your home feel handmade and heartfelt.