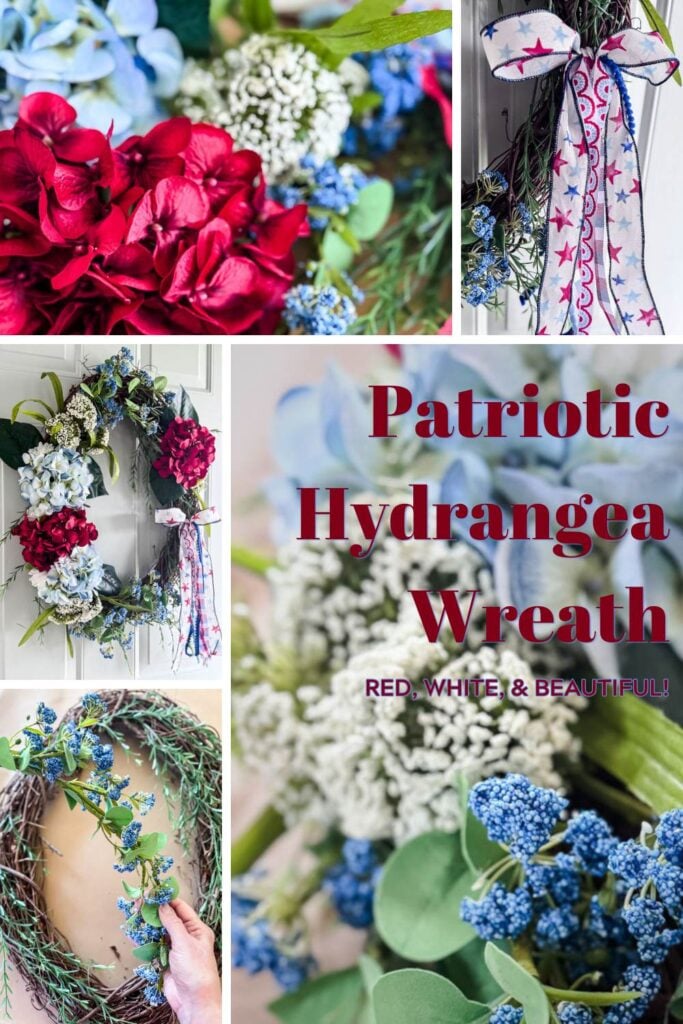
This DIY patriotic wreath uses faux hydrangeas, draping greenery, and a fun side bow to create a lush, garden-style look for Memorial Day, 4th of July, or all summer long. This is the perfect front door wreath to celebrate the 250th birthday of America this summer!
A Wreath Made for a Friend
Some of my favorite things to make aren’t for my own house, they’re for the people I love.
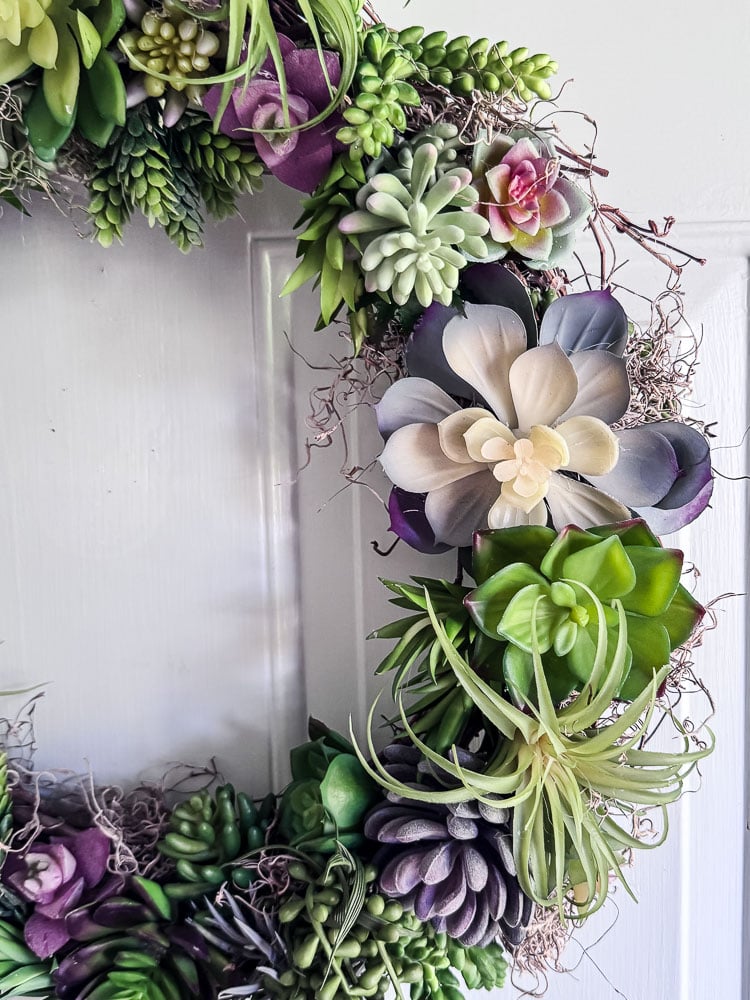
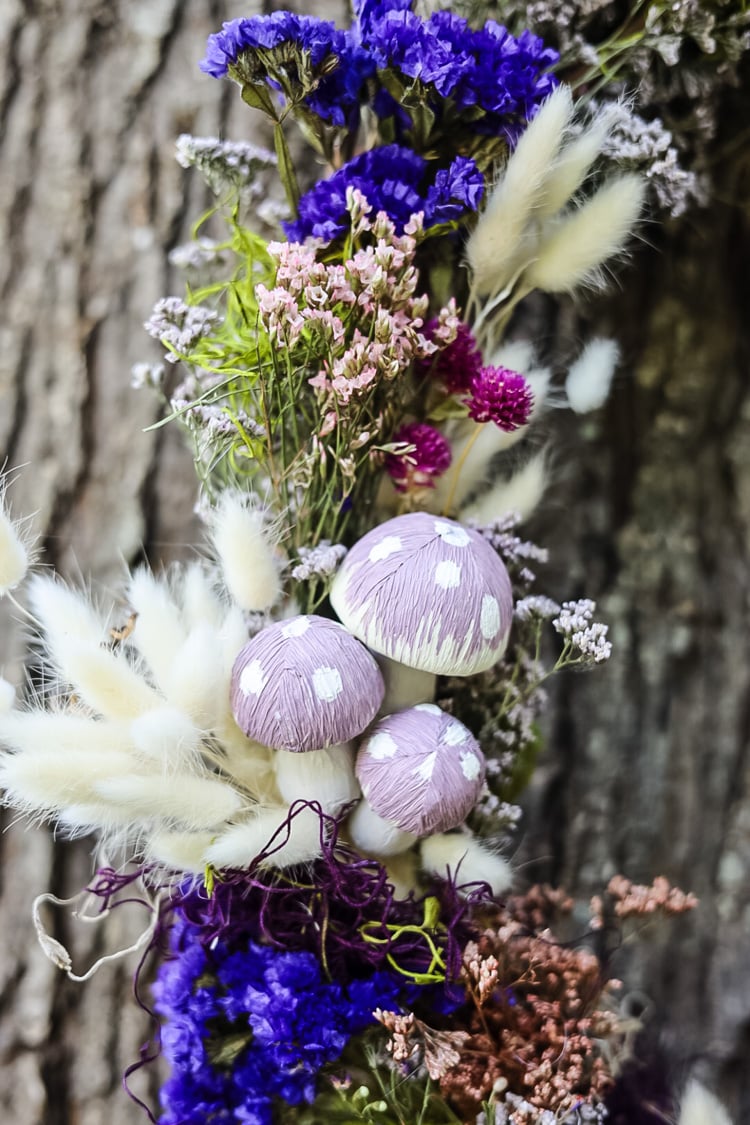
Last summer, I made a fairy wreath for one of my girlfriends, and ever since then, another friend in our circle has been not-so-subtly hinting that she’d like one of her own. So when the patriotic season started creeping up on me, I figured there was no better time to finally make good on that.
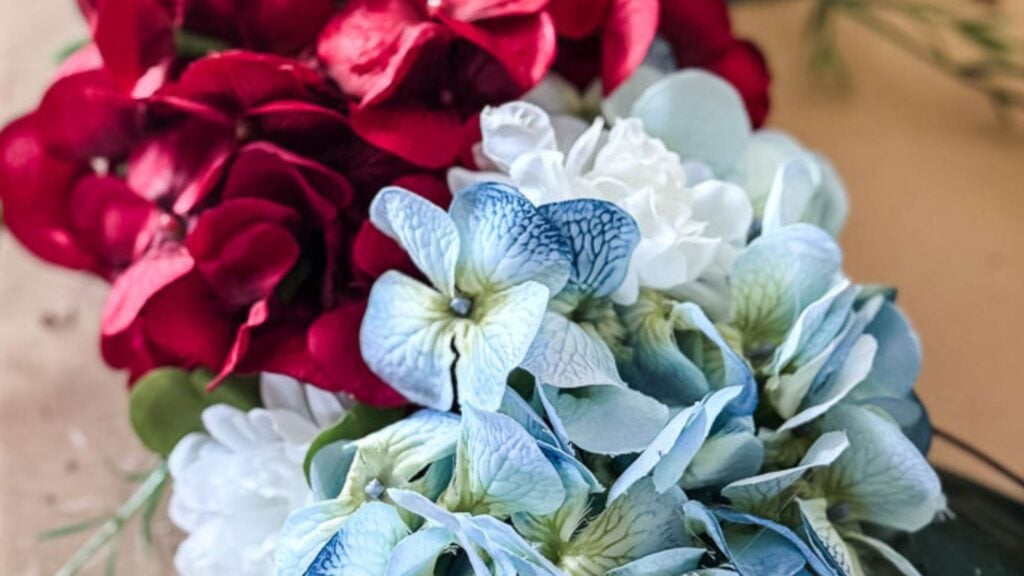
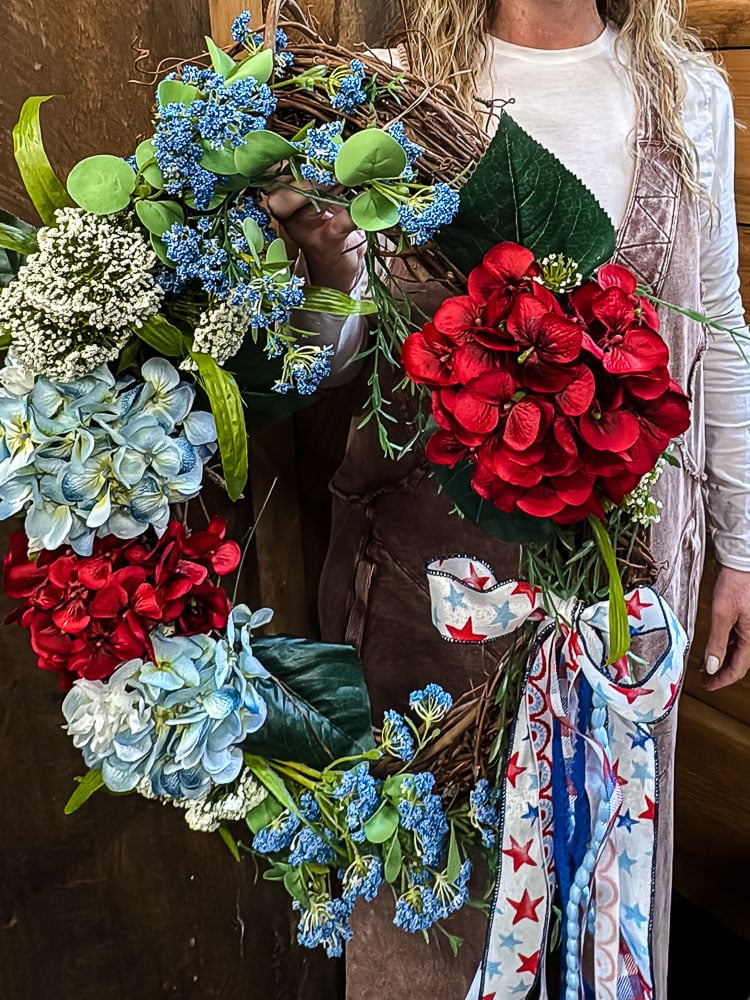
This red, white, and blue hydrangea wreath is the result, and honestly? It might be one of my favorites I’ve made. It’s lush, it’s a little asymmetrical (intentionally!), and it has that garden-fresh, gathered-from-the-yard look even though every single stem is faux. It lives on a grapevine oval base that I’ve actually used for multiple wreaths over the years… because the last thing I need is a basement full of wreaths!
If you’ve been looking for a patriotic wreath that feels a little more elevated than the typical flag-and-ribbon situation, this is your sign.

Welcome! I’m Jennifer, and I’ve been sharing my home’s journey since 2019, always with a focus on budget-smart and achievable style. If you love the charm of New England but need it to work for real life, you’re in the right place. I break down my projects to help you create a home that tells your story, without the overwhelm.
This post may contain affiliate links, which means we receive a small commission if you purchase through our links. See our disclaimer page for more information.
How to Make a Faux Wreath That Doesn’t Look Fake
After making more wreaths than I can count, I’ve picked up a few rules that make the difference between a wreath that looks lush and intentional versus one that looks like it came straight off a shelf. Here’s what I always keep in mind:
1. Mix your textures.
If every stem has the same “feel,” the wreath will look flat. Think in layers: something big and bold (hydrangeas), something airy and delicate (Queen Anne’s lace), something wispy and draping (greenery or berry stems). Three textures is usually the sweet spot.
2. Use odd numbers for your focal flowers.
This one is hard-earned wisdom. I originally glued four hydrangeas on this wreath, and something just looked off. The next morning, I pulled them apart and regrouped them into three. Odd numbers create visual movement; your eye travels around the wreath instead of stopping.
3. Layer, don’t place.
Faux wreaths look fake when stems sit on top of the base like they’re just resting there. Tuck stems in, angle them, let things drape over the edges. You want it to look like it grew that way.
4. Steal from your stems.
Don’t throw away the leaves when you pull a flower head off its stem. Those leaves are some of the best filler material you have; tuck them under your focal flowers for a natural, just-picked look.
5. Commit to a color story, not a color explosion.
Patriotic wreaths can easily go overboard. I stuck to garnet red, soft blue, and white, and let the greenery do the heavy lifting in between. Pick your palette and resist the urge to add more.
What You’ll Need
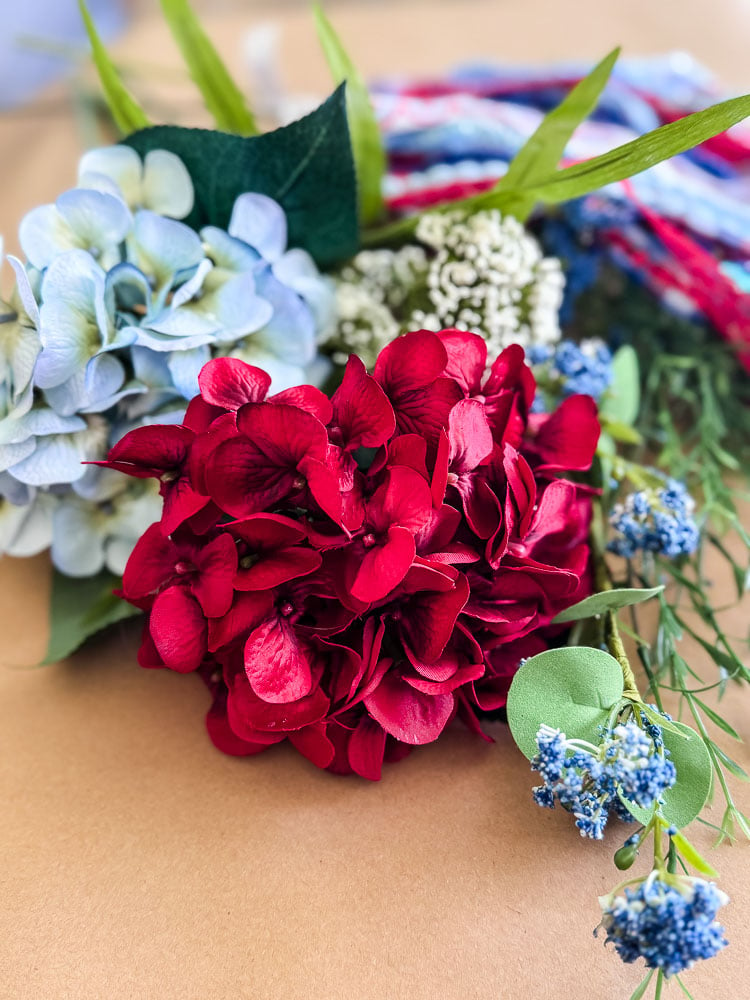
Patriotic Wreath Supply List
- Oval grapevine wreath base (you could also use round grapevine wreath)
- 2 green trailing grass
- 2 light blue hydrangea stems
- 3 red hydrangea stems
- 2 royal blue Queen Anne’s lace stems
- 2 white Queen Anne’s lace stems
- White dahlia bush
- Patriotic ribbon (1.5 inch stars print)
- Assorted thin patriotic ribbons (for the bow)
- Hot glue gun and glue sticks
How to Make a Patriotic Hydrangea Wreath
Step 1: Start With Your Greenery
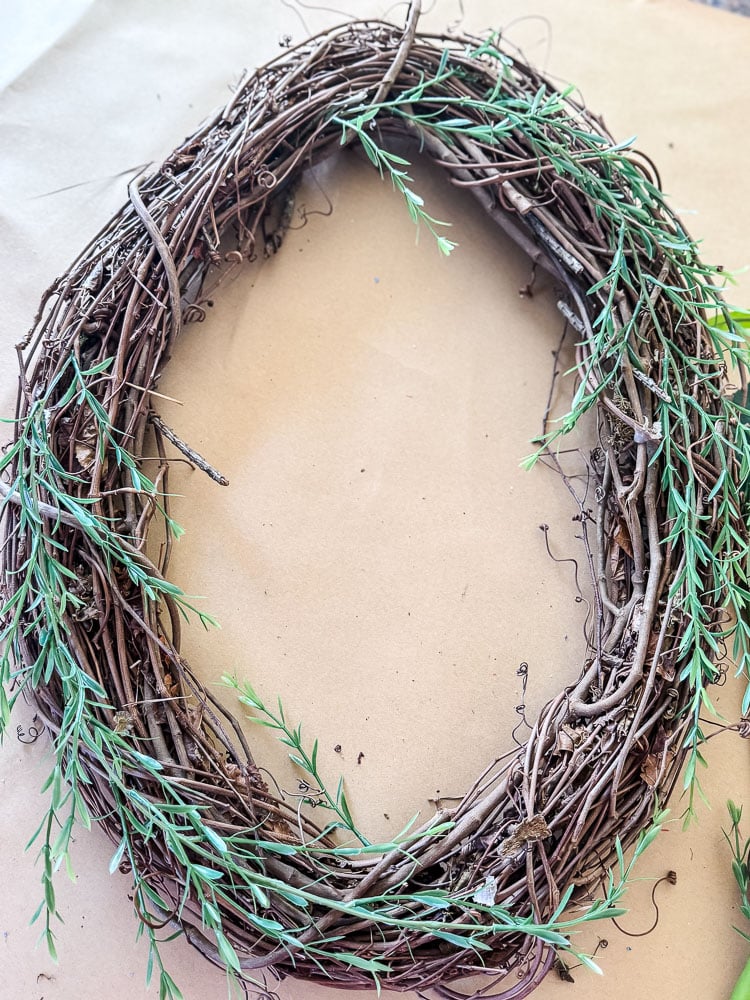
Before you touch a single flower, lay your foundation. Take your two draping greenery stems and attach them to either side of your wreath base, letting them hang down naturally. This is what gives the wreath that loose, organic feel right from the start, and it sets the stage for everything that goes on top.
I only hot-glued the base to the wreath form. I want to be able to have some of the pieces hanging freely
Step 2: Add First Flower Layer
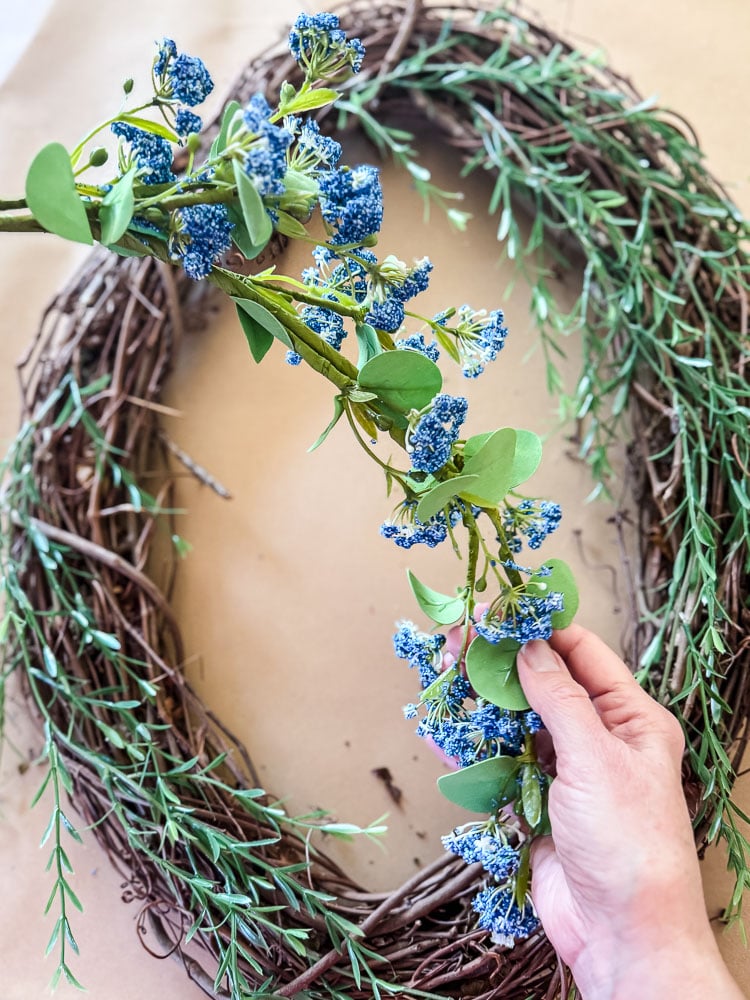
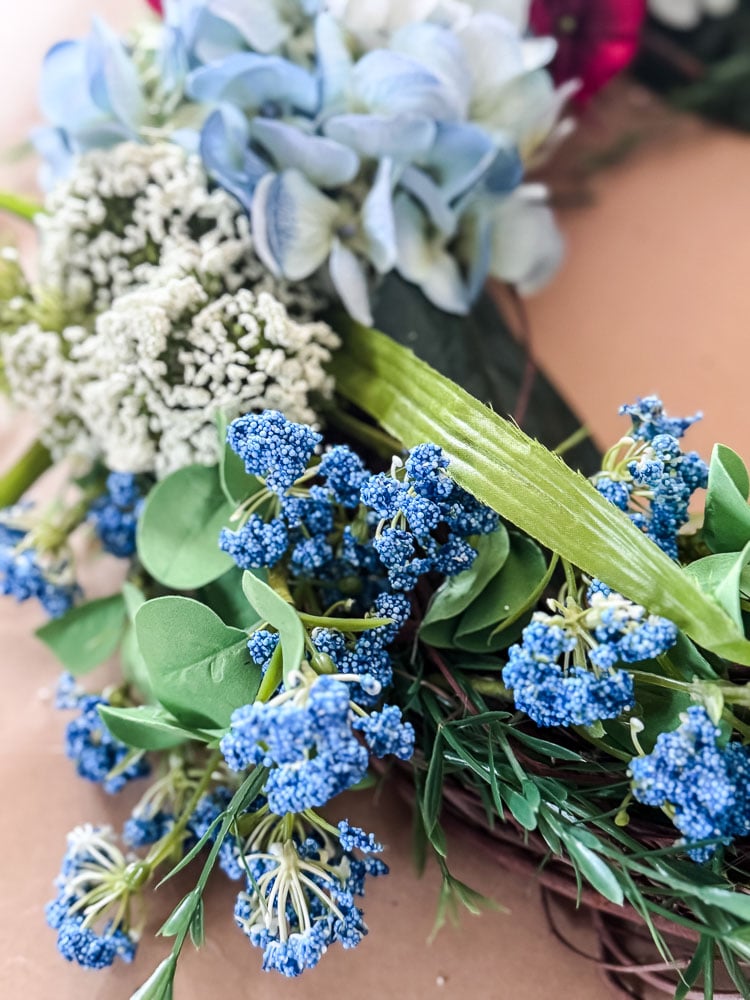
Next, tuck your two royal blue tiny flower stems in at the top and bottom of the wreath. These add that wispy, draping quality that keeps the wreath from feeling too structured. Think of them as the stems that make everything else look intentional.
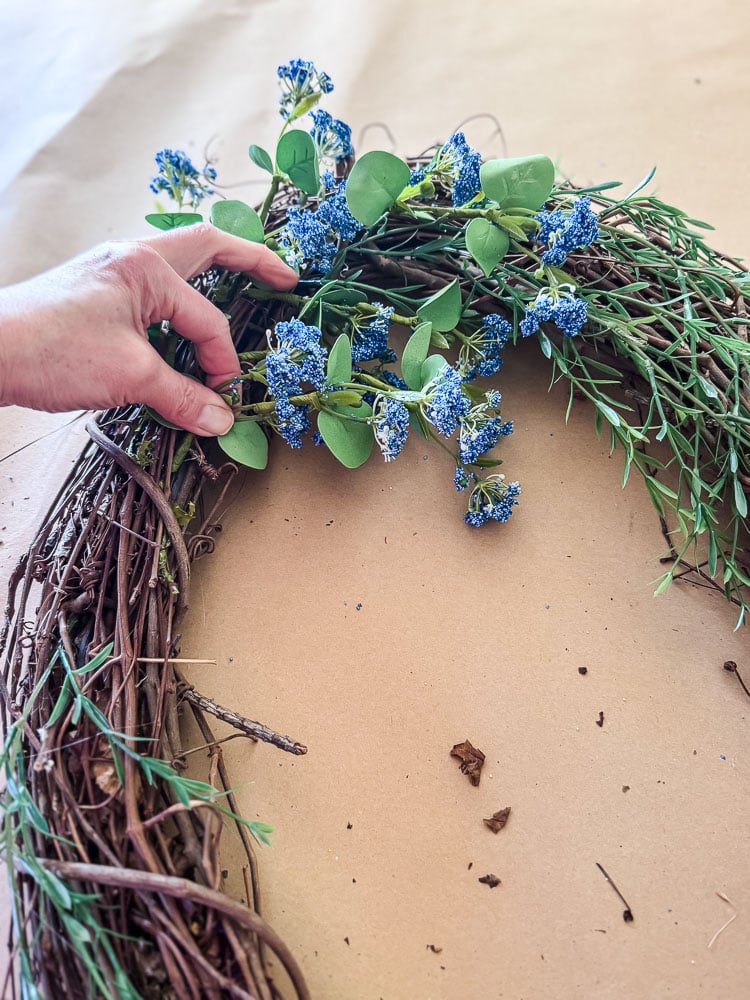
Take the time to fuss with each flower head and stem. I angled some of the flowers downward towards the center opening of the wreath. Even when working with faux flowers, you want to try to mimic how a flower grows in nature.
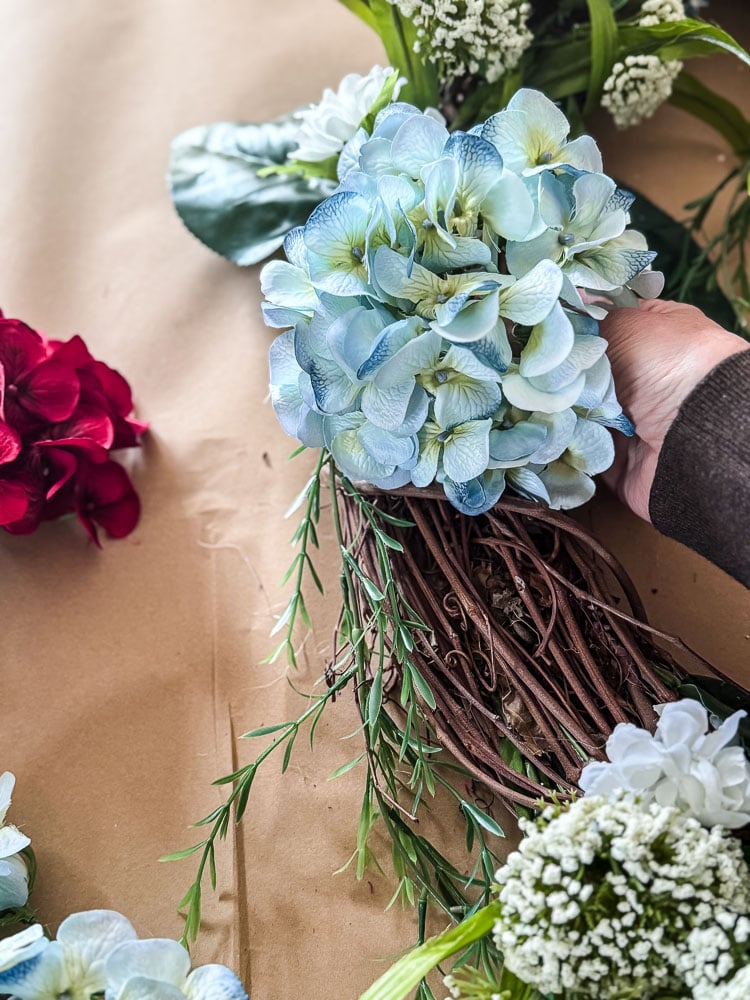
Step 3: Place Your Hydrangeas
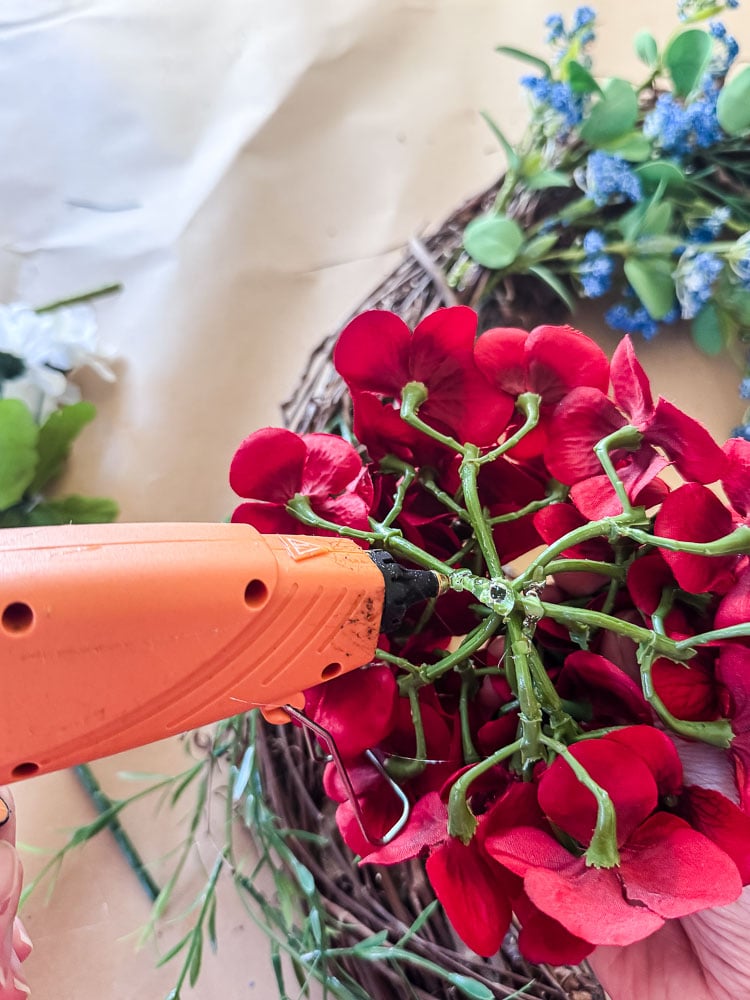
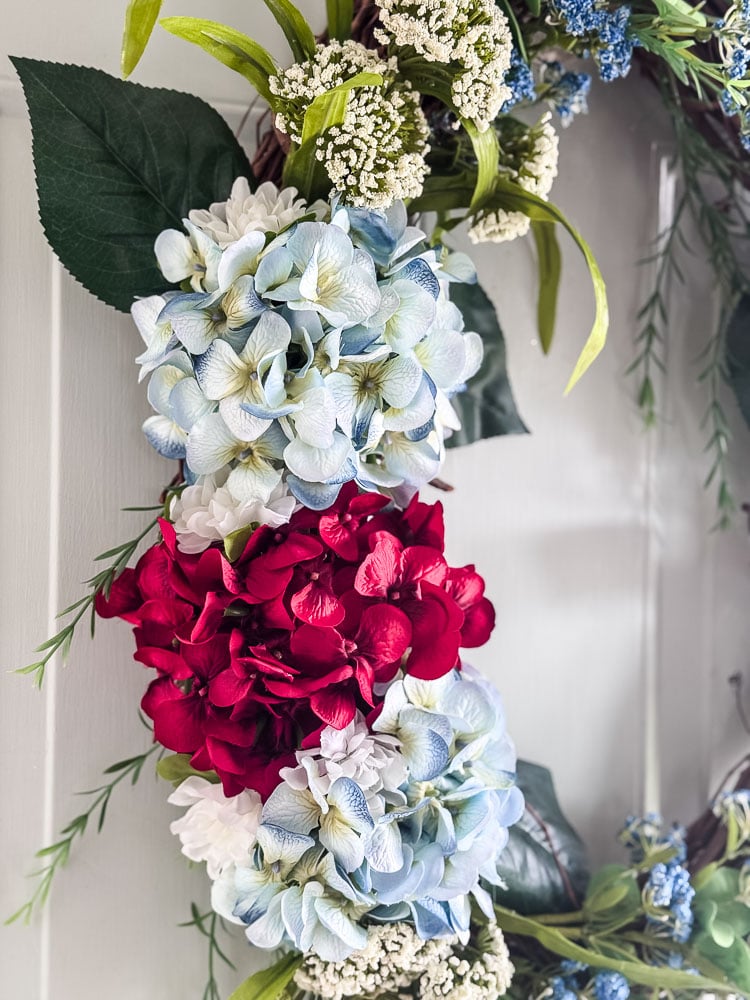
Here’s where the magic happens. Pull your hydrangea heads off their stems and set the stems aside; you’ll use those leaves later. I squeezed hot glue on the back of the hydrangea flower cluster, keeping the glue on the green stem part. When I placed the hydrangea on the wreath, I held it in place for a minute to set.
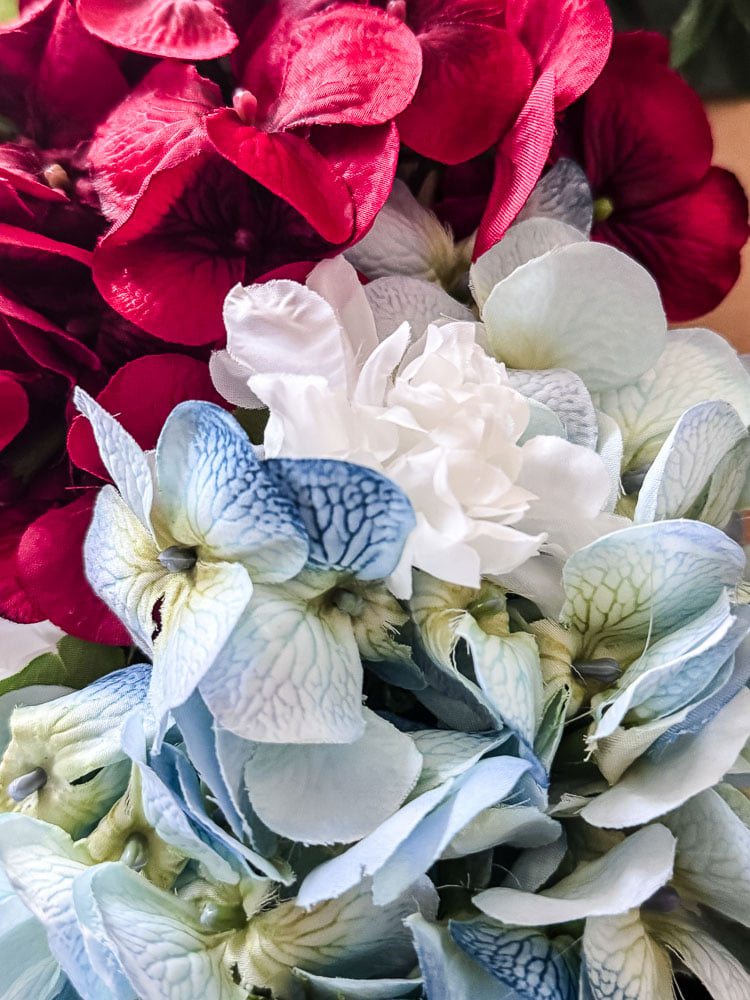
On the left side of the wreath, glue your three hydrangeas in a blue-red-blue arrangement. Then place your single red hydrangea on the right side. The asymmetry is the whole point; it gives the wreath movement and keeps it from looking too expected.
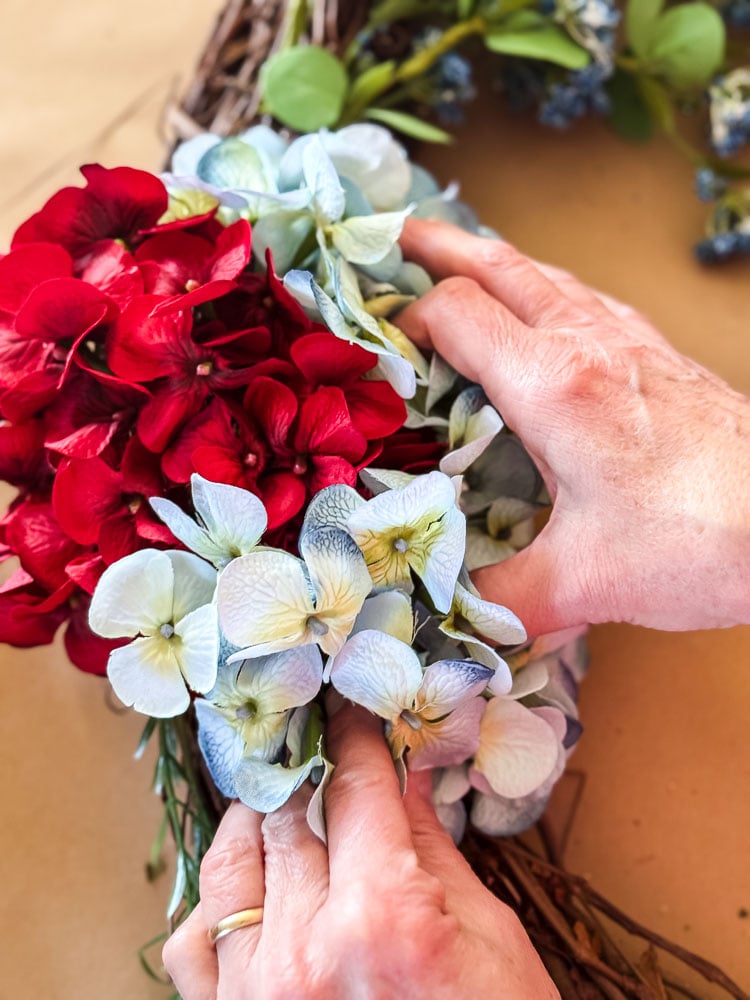
Honest moment: I originally placed four hydrangeas on the left side: two red, two blue, and finished the entire wreath, hung it up… and knew something was off. The next morning, I pulled them all apart and switched to three. That’s it. That was the whole problem. Odd numbers create movement; even numbers create symmetry, and symmetry wasn’t what this wreath needed.
Step 4: Fill in with Queen Anne’s Lace
Take your two white Queen Anne’s lace stems and remove each stem. Then, individually glue each stem in place around one of the hydrangea clusters. These add that airy, delicate texture that keeps the wreath from feeling heavy. They’re doing a lot of quiet work here.
Even though each stem comes with several flower heads, it might be tempting to skip ahead and tuck the whole bunch directly into the wreath. Don’t do it! You’ll get a much more intentional, polished look by taking the time to place one bloom at a time.
Step 5: Tuck In White Dahlias
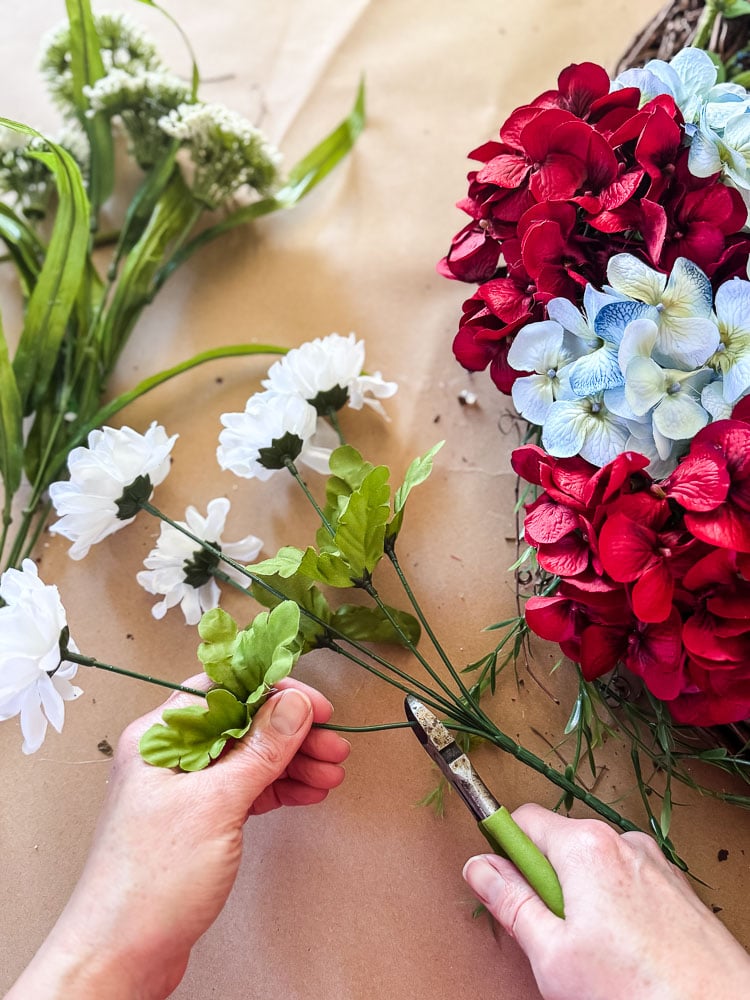
Cut the dahlias stems from the base and tuck them into the gaps between the hydrangeas. They’re small, but they add a soft, rounded texture that fills in any awkward spaces beautifully.
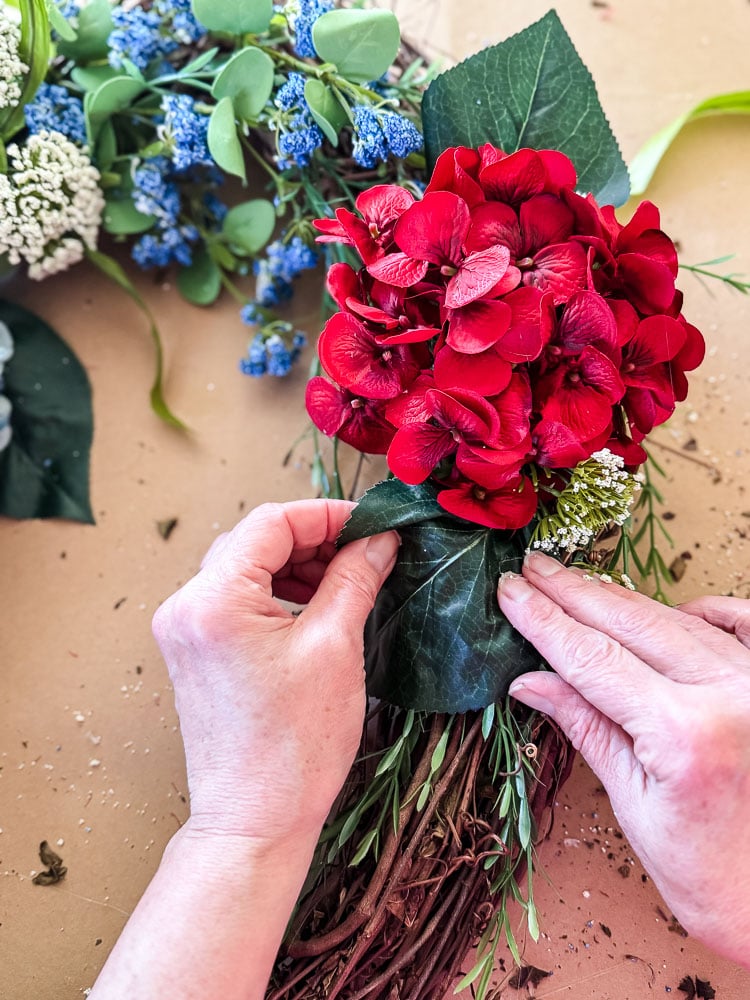
Step 6: Add Leaves
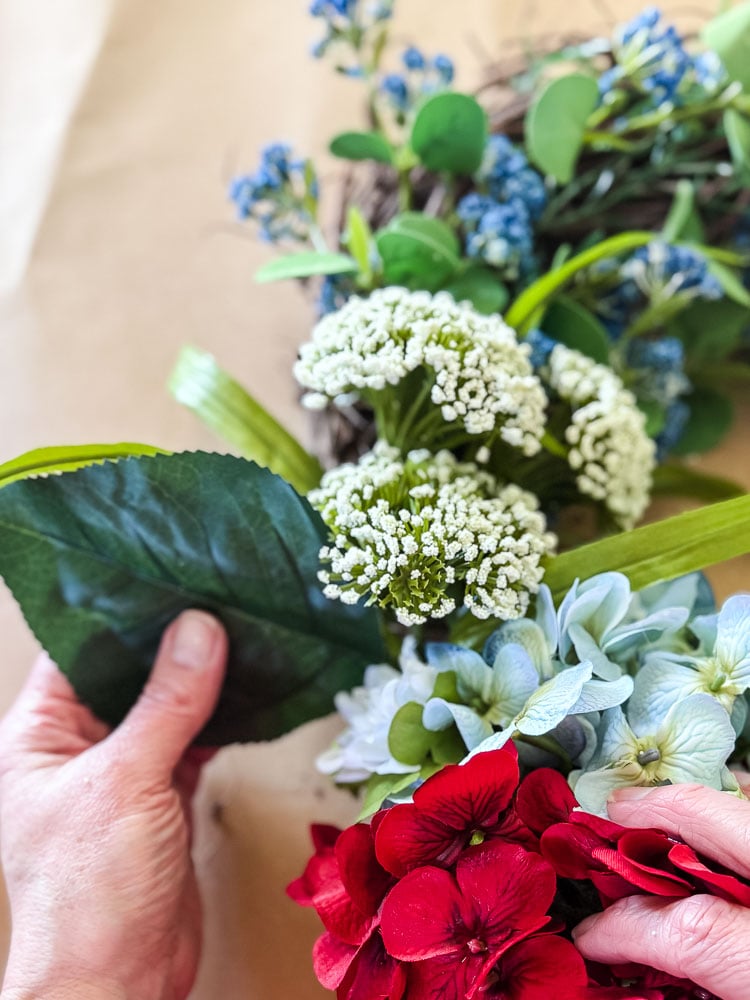
Remember those hydrangea stems you set aside? Pull the leaves off and tuck them underneath and around the edges of your hydrangea clusters. This is one of my favorite tricks; it grounds the flowers and makes them look like they actually belong on the wreath rather than just sitting on top of it.
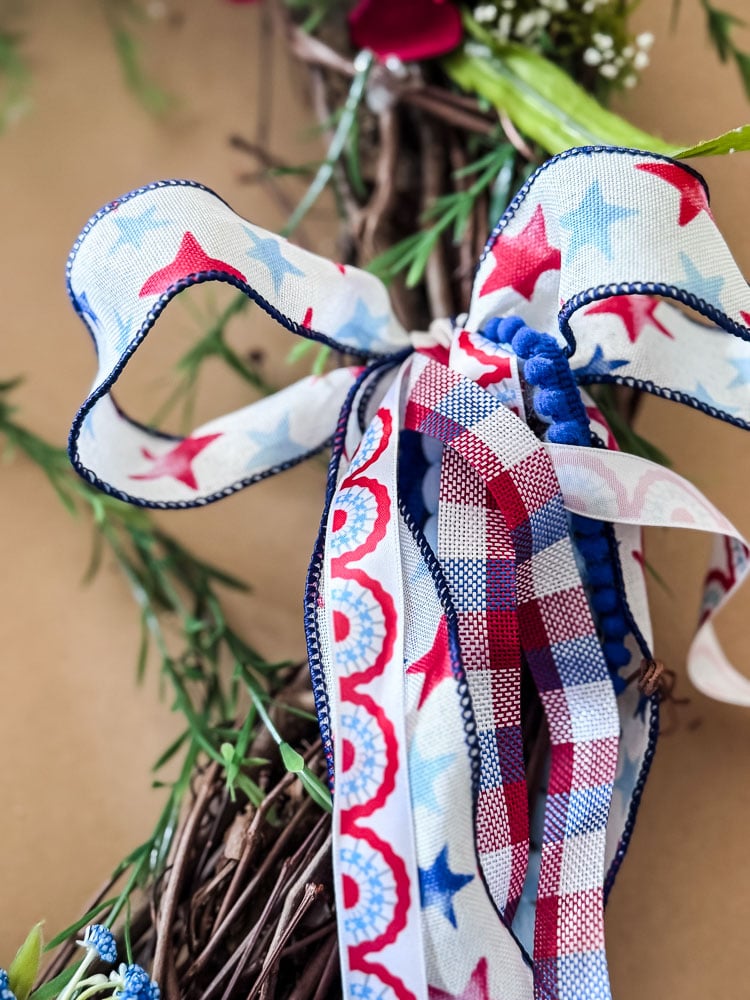
Step 7: Make Your Bow And Finish
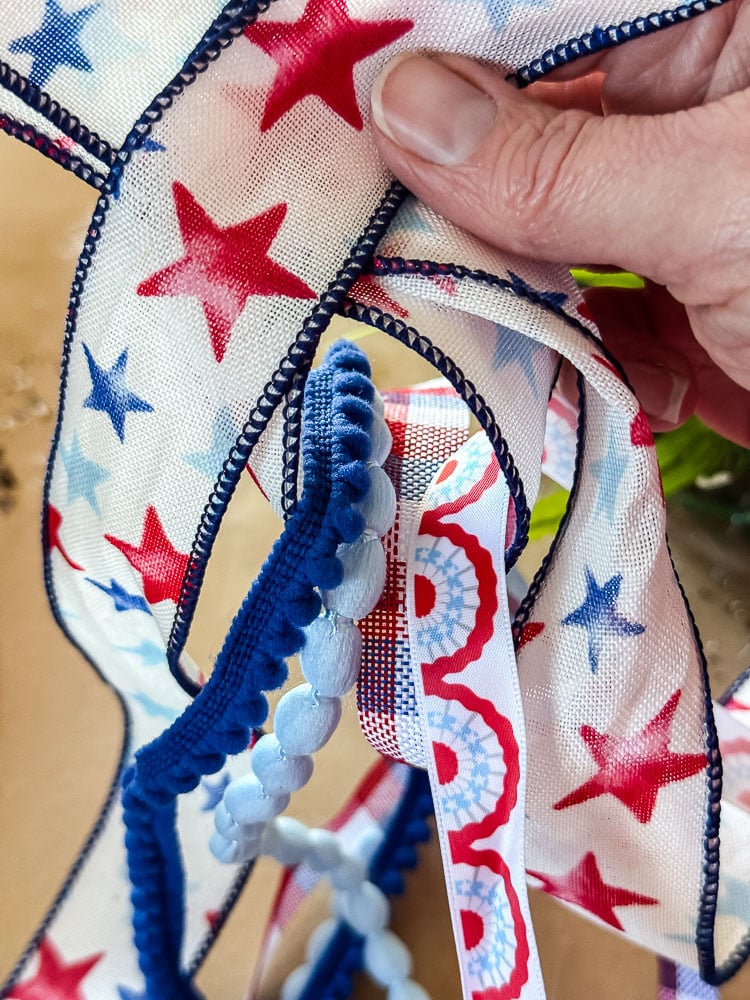
For the bow, start with your 1.5-inch star ribbon as your base loop. Then thread a few of your thinner patriotic ribbons through the loop before pulling everything tight. It gives the bow that layered, fun look without having to make multiple separate bows. Attach it to the right side of the wreath rather than the traditional top or bottom placement. Trust me on this one, it’s a small detail that makes a big difference.
The Finished Wreath Reveal
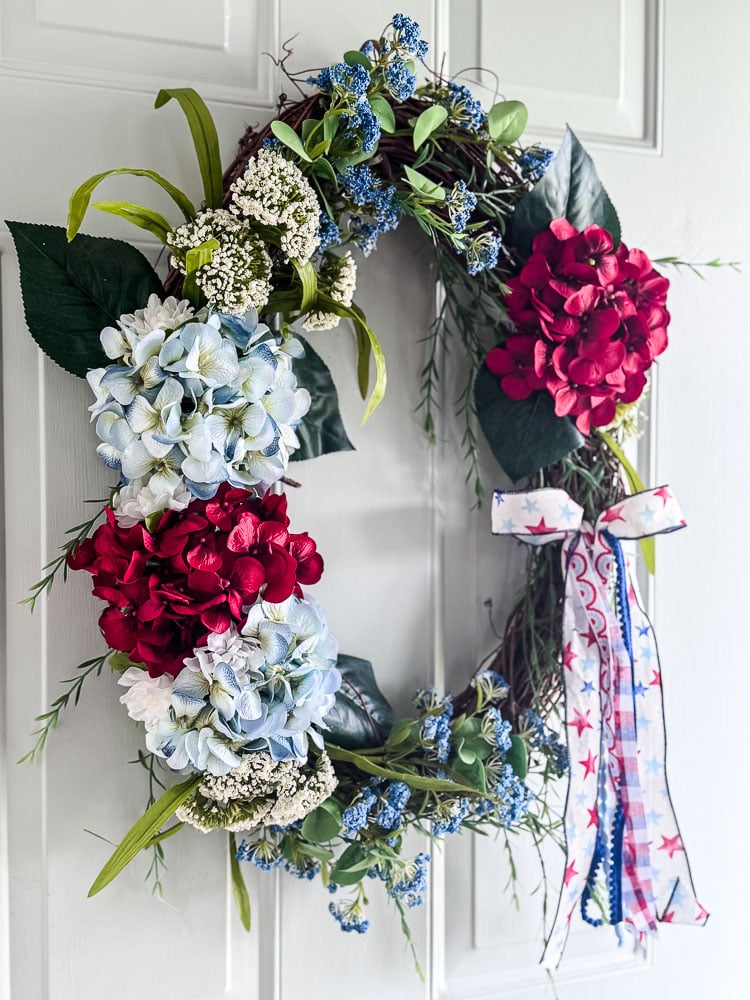
Before I gifted it to Laura, I wanted to make sure it looked perfect. The best way to evaluate your wreath is to actually hang it on your door and stand back. You’ll immediately see what’s working and what isn’t.
This is also the ideal time to add and adjust your bow, because seeing how it hangs in real life makes all the difference.
Make It Your Own: The Formula That Works Every Time
Here’s the thing about patriotic wreaths: the specific stems I used today might not be on the shelves when you are reading this, and that’s okay. What matters more than copying my exact supply list is understanding the formula behind why this wreath works. Once you get it, you can walk into any craft store and pull it off with whatever they have in stock.
Here’s the formula:
1 Base Layer: draping greenery that hangs naturally and gives the wreath a loose, organic foundation.
1 Accent Layer: smaller, wispy stems (like my berry stems) that add movement and fill without taking over. Look for something with a natural, trailing quality.
3 Focal Flowers in Odd Numbers: your biggest, boldest blooms. For a patriotic wreath, aim for two of one color and one of another on your main cluster, plus one single bloom on the opposite side for balance. Hydrangeas are ideal because they’re big and lush, but large silk peonies or even oversized roses would work beautifully, too.
2 Airy Filler Flowers: something delicate that softens the focal flowers and adds a third texture. Queen Anne’s lace is perfect, but white cosmos, wax flower, or baby’s breath would all do the same job.
1 Tucked-in Accent: a small, soft bloom to fill any gaps. Carnations, small roses, or button mums all work here.
Finish with a Layered Bow: placed somewhere unexpected for a little personality.
Stick to that formula, and you’ll have a wreath that looks intentional and expensive every single time, regardless of what’s on the shelf that season.
A Gift Worth Making
My friend Laura loved her wreath! Plus, she is going to have absolutely no idea how simple this was to put together, and that’s kind of the best part. A wreath like this looks like you spent a lot of time and money on it, but with faux stems from Michaels that were on sale, and a little patience with the layout, it’s one of the most budget-smart gifts you can make for someone.
If you make this wreath for yourself, for a friend, or just because the patriotic season is the perfect excuse, I’d love to see it. Drop a photo in the comments or tag me on Instagram. Happy making!
See your projects featured! If you are inspired by this or any of my other DIY projects, I would love to see them and add you to the Reader’s Spotlight gallery. Send a photo to me at jennifer@cottageonbunkerhill.com
xo, Jennifer