

This easy pine cone door swag is a beautiful and simple DIY project perfect for the holiday season. It’s a fantastic alternative to a traditional wreath, offering a fresh and natural look for your front door.
Are you looking for a simple yet stunning way to decorate your front door for the holiday season? Look no further than this easy-to-make pine cone door swag! With just a few simple supplies and a bit of creativity, you can create a beautiful and festive decoration that will impress your guests.
This project has become a fan favorite, with over 5 million views on Pinterest! Its simplicity and stunning results make it a perfect DIY, even for those who aren’t crafting experts. It’s a lovely, natural addition to your holiday decor.
In this post, I’ll walk you through a step-by-step guide on how to create your own pine cone door swag. I’ll also share some tips and tricks to help you personalize your creation.

This post may contain affiliate links, which means I may earn a small commission if you make a purchase through my links, at no extra cost to you. Read my disclosure policy here.
DIY Pine Cone Door Swag: A Step-by-Step Guide
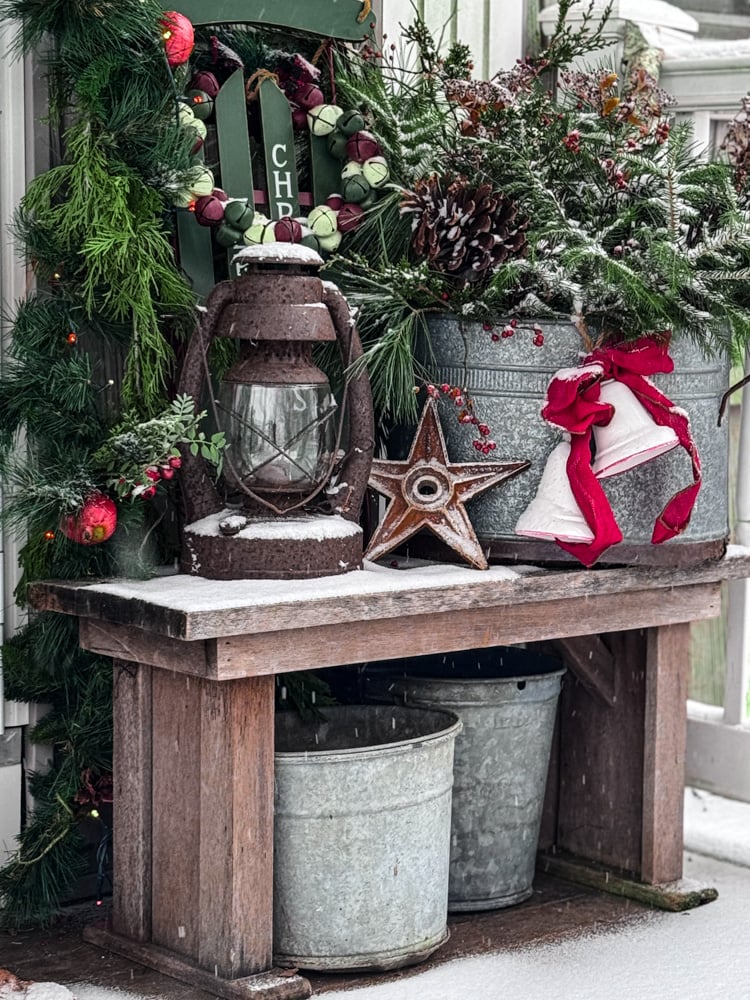
I kicked off the holiday season this week by starting my holiday decorating. While I typically hang a wreath on my front door, I wanted to try something new this year. I decided to craft a pine cone door swag.
I adore the natural beauty of pine cones. They’re a staple in my fall and winter decor, and living in New Hampshire makes it easy to gather them right from my backyard
Supplies You Will Need:

You won’t need many supplies to create this swag. I used a bag of good-sized pinecones and a roll of 2 1/2-inch wide wired ribbon (I find this width perfect for this project). To create the snowy pinecones like I made you will need white craft paint, and either glitter or fake snow.
Step 1. Paint the Edges of the Pine Cone
I wanted to make my pine cones look like they were touched by snow. With my straight paintbrush, I watered down the white paint and hit the pinecones outside edges using an up-and-down movement.


While the paint was still wet, I sprinkled a little fake snow onto the cones. You could add a dash of silver or white glitter too for an extra bit of sparkle!

Step 2. Cut the Ribbons

While the pine cones dried, I cut seven pieces of ribbon in staggered lengths. The longest piece was 24 inches, and each subsequent piece was about 1.5 inches shorter.
I have made this project quite a few times with different ribbons and it always comes out so pretty! So use whatever thick ribbon that goes with your decor.
Step 3. Attach Pine Cones to Ribbon

For this step, I used a hot glue gun. To avoid burning my fingers, I used the back end of a paintbrush to apply a generous amount of hot glue to the bottom of each pine cone and the bottom of each ribbon. Then, I carefully pushed the ribbon into the little nooks at the end of the pine cones to create a strong bond.

Step 4. Adjust the Ribbons

Once the hot glue dried I gathered the 7 ribbons and played around with them until I liked how the pine cones were arranged.
**You can pull the ribbons up or down to get the look you want because all pine cones have a slightly different shape and may need a little more space.**
Step 5. Make a Hanging Loop on Door Swag

I folded the top of the ribbon over and secured it with and twist tie so there was a loop to hang the swag from on the door. You could use an elastic or zip tie to do the job too.
Optional: Decorative Bow

I finished off my swag with a basic bow. I ran a piece of the buffalo-checked ribbon through the hanging loop and tied a simple bow.
Finished Pinecone Door Hanger

Here’s my finished swag hanging on my front door. I added a little fresh pine and a berry pick to give it a more festive look.
Here’s Another One!

This is a great project to make as a hostess gift! I’ve made a few since the original buffalo checked one seen here. For a more modern look, I made one with a blue-gray ribbon for a more neutral look. For this pinecone door swag I only brushed white paint on the pinecone tips, I didn’t add any glitter or fake snow.

Projects Sent In From Readers

My favorite thing is to see your projects! It makes my day when I get to see something that you were inspired to make from one of my tutorials.
See your projects featured! If you were inspired by this or any of my other DIY projects I would love to see them and add you to the Reader’s Spotlight gallery. Send a photo to me at jennifer@cottageonbunkerhill.com
xo, Jennifer
I really love how it looks and it was such a quick and easy project! Check out my other Christmas decorating ideas to get you ready for the holidays!

Here’s my latest pinecone project! See how to make this simple pinecone & greenery door hanger. It’s perfect to keep up all winter long too!
Here Are Some Other Holiday Ideas For You!
The Bloggers’ 10 Days of Christmas Inspiration.
- Day 1 – Christmas DIY Ideas
- Day 2 – Front Porch Decorating Ideas
- Day 3 – Christmas Tree Ideas
- Day 4 – Christmas Table Decor Ideas
- Day 5 – Christmas Cookies and Sweet Treats
- Day 6 – Christmas Decorating Ideas
- Day 7 – Christmas Hacks You Should Know
- Day 8 – Christmas Gift Wrapping Guide
- Day 9 – Wreaths & Front Door Decor
- Day 10 – Winter Greenery
PIN FOR LATER!


Love the swag so different from a wreath and perfect. I wanted something to hang on my gates, I have a little picket fence in my front yard. Thanks can’t wait to make them.
Oh, that sounds so cute Marlene!! If you make it please send in photos to me. I’m putting together a gallery page here with photos from the community of projects that they have made. cottageonbunkerhill@gmail.com is my direct email.
This is so simple and lovely. Recently my two lovely pine trees dropped lots of pinecones which were collected, baked to kill the bugs, waiting for a craft. AND I bought Buffalo Plaid ribbon a couple weeks ago! Coincidence or what? Instead of hot glue, I use E6000, The Welder, or Quick Glue for crafts. They hold well and I don’t get burned. I’m going to make this lovely garland and give it for gifts.
We had a windy storm last week and pine cones were flying out of the trees in the woods behind my house and pelting the windows…I couldn’t figure out what it was at first!
Love the swag. Have made many pine cone wreaths as we have lots of pine on our property. Never thought of just using ribbon. Great idea. Thanks for sharing.