

Dreaming of a whimsical, coastal-inspired wreath that’s not your typical seashell overload? This easy DIY mermaid wreath is the perfect blend of beachy charm and subtle elegance-ideal for adding a splash of summer magic to your front door!
How to Make a Coastal Mermaid Wreath: A Step-by-Step Tutorial
Looking to add a touch of coastal charm to your front door this Summer? This DIY mermaid wreath offers a unique twist on traditional beachy decor. It’s subtle, stylish, and avoids the over-the-top nautical look. Please note that the exact mermaid I originally used from Hobby Lobby is no longer available, but I’ve sourced some similar options to help you create the same look!
Even though it looks intricate, this wreath is surprisingly easy to make; it took me only about 30 minutes, including time to snap photos along the way!
This post may contain affiliate links, which means I may earn a small commission if you make a purchase through my links, at no extra cost to you. Read my disclosure policy here.
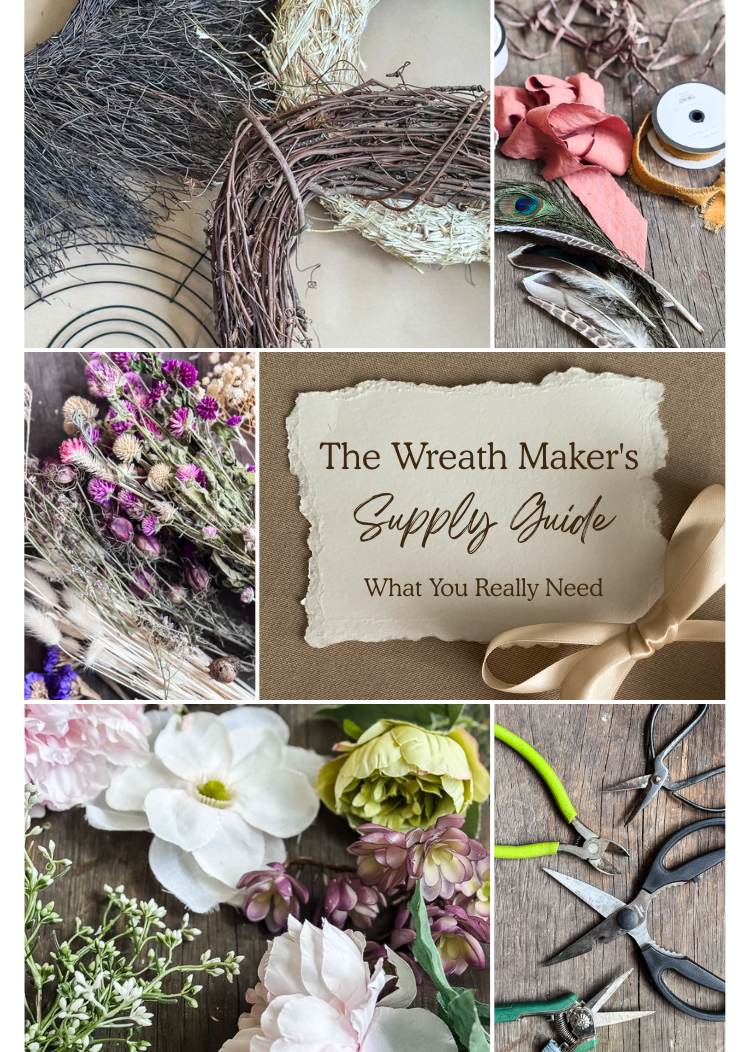
What You Will Need
Materials for this Project
The exact Hobby Lobby mermaid that I used isn’t available. Here are some similar ones that will work for your wreath:
- Mermaid Wall Sign
- This Mermaid from Amazon
- Resin Mermaid
- Metal Mermaid
- Here is one from Hobby Lobby
For the greenery you want to use cascading stems to create the same effect. I suggest 3 types/textures. Here are some greenery suggestions:
- Green Water Drop Spray
- Spanish Moss
- Eucalyptus
- Dripping Eucalyptus
- Dripping Nandina Bush
- Real Eucalyptus
Other Supplies:
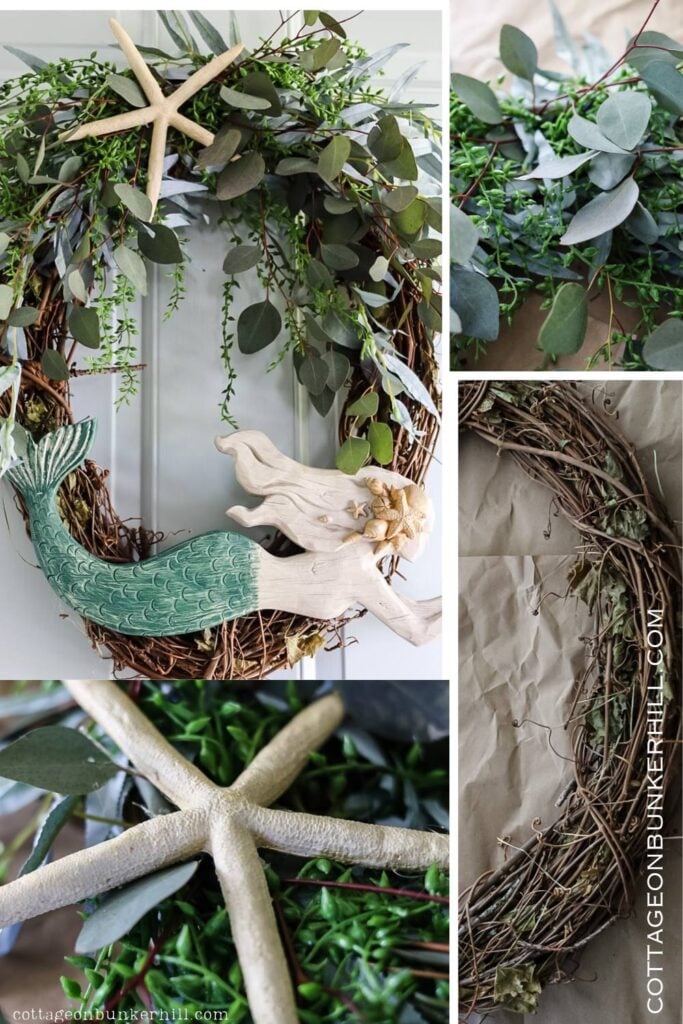
Mermaid Wreath: Step-by-Step
Gather Your Supplies

The star of this wreath is this really pretty mermaid! It’s an unexpected choice for a Summer wreath, and I think it’s such a fun idea.
- Mermaid (this is like mine, but pink/blue)
- Blue Mermaid
- Hobby Lobby Mermaid


For this wreath, I went with an oval-shaped grapevine wreath. It’s a perfect base for this design, offering a slightly different look than the usual round wreath.
To capture that coastal vibe, I’ve chosen a mix of greenery with varying textures: a small succulent spray, blueish willow branches, and fresh eucalyptus. The bluish-green color of eucalyptus is perfect for use in a coastal theme in your home; it looks like the color of the ocean…at least here in New England.
You can definitely use artificial eucalyptus if you prefer, but I love the natural touch and scent of the fresh kind. Quick tip: Trader Joe’s often has eucalyptus for just $3.99 a bunch. I always grab some when I’m there for flowers!
Step 1: Secure the Mermaid to the Wreath Base

Since my resin mermaid has some weight to her, she needs a sturdier hold than floral wire can provide. Luckily, her two sawtooth hangers on the back make attachment a breeze! Here’s how to do it without risking a mid-summer tumble:
What You’ll Need:
- Coated garden wire/or heavy-duty floral (what I used-it blends into the wreath!)
- OR picture-hanging wire (equally strong and easy to find)
- Wire cutters (for a clean trim)

How to Attach:
- Thread the wire through the mermaid’s sawtooth hangers, then loop it around the grapevine wreath’s thickest vines (aim for the 10 and 2 o’clock positions to distribute weight evenly).
- Pull tight and twist the wire ends together on the backside of the wreath—this keeps things neat and hidden.
- Tug test! Give the mermaid a gentle shake to ensure she’s secure.
To give it some extra hold, I added a bit of hot glue to the areas where the mermaid touches the wreath. This helps keep her in place and prevents any wobbling.
Final Step: Add the Starfish (The Coastal Cherry on Top!)
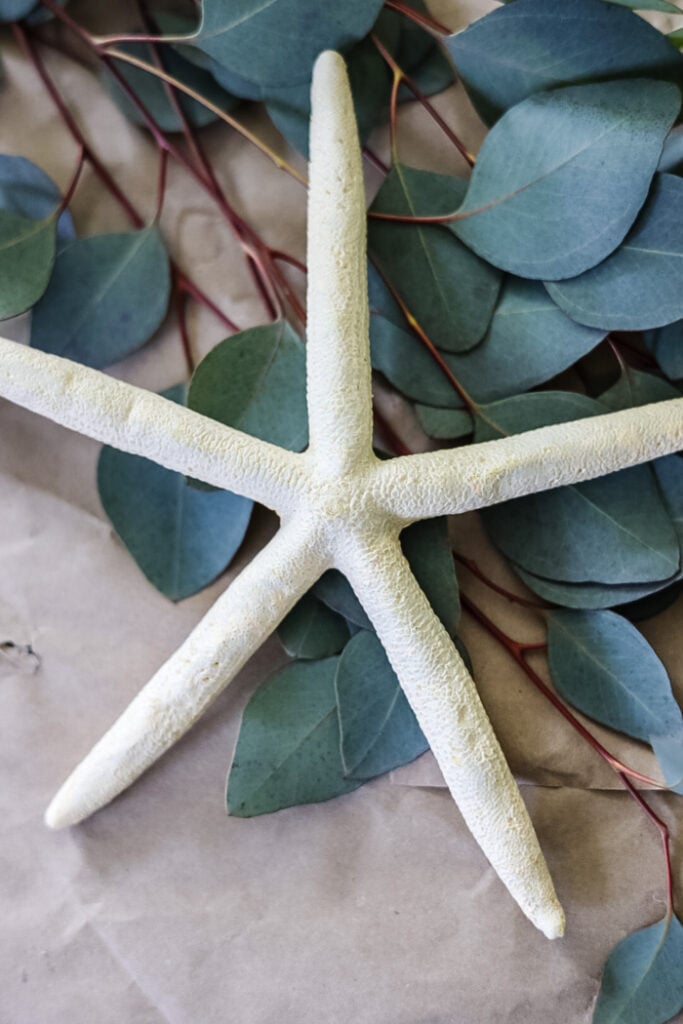
This oversized white starfish is the perfect finishing touch—it nods to the beach without screaming “tiki bar.” But fair warning: this guy needed a lot of hot glue to stay put over the greenery!
How to Attach It Right:
- The “Do-As-I-Say-Not-As-I-Did” Method:
- Next time, I’d glue the starfish directly to the wreath base first, then layer greenery around it. (Easier & better hold)
- Press it into the grapevine for 30 seconds while the glue sets.
- If You’re Team Last-Minute (Like Me):
- Pile glue onto the starfish’s back (get that center point!), then press firmly into the greenery.
- Hold for a full minute-resist the urge to peek!

Pro Tips for a Flawless Finish:
- Too heavy? Reinforce with a hidden floral wire loop.
- Want texture? Brush glue on the edges and sprinkle with fine sand for a beachy patina.
The Big Reveal: Your Dreamy Mermaid Wreath is Complete!

Ta-da! Isn’t she gorgeous? This whimsical mermaid wreath brings just the right amount of coastal charm to your front door-no ocean required! Whether you’re sprucing up your home, beach house, or apartment balcony, this DIY beauty is sure to turn heads all summer long.

Why You’ll Love It:
Easy to Make – Seriously, if I can do it (while taking step-by-step photos!), so can you.
Budget-Friendly – Way cheaper than store-bought wreaths (and twice as unique!).
Instant Summer Vibes – Even if you’re miles from the coast, this wreath brings the beach to you.

A Little Pep Talk for Non-Crafters:
I get it!! Wreath-making might seem intimidating, but this is the perfect project to start with! No fancy skills needed, just hot glue and a little creativity. Plus, there’s something so satisfying about hanging a piece you made yourself.
Go ahead-give it a try! And when you do, send me a photo so I can cheer you on. I would love to see them and add you to the Reader’s Spotlight gallery. Send a photo to me at jennifer@cottageonbunkerhill.com
Happy Crafting!
xo, Jennifer

Get the New England Coastal Look
Here are my top tips!
xo, Jennifer
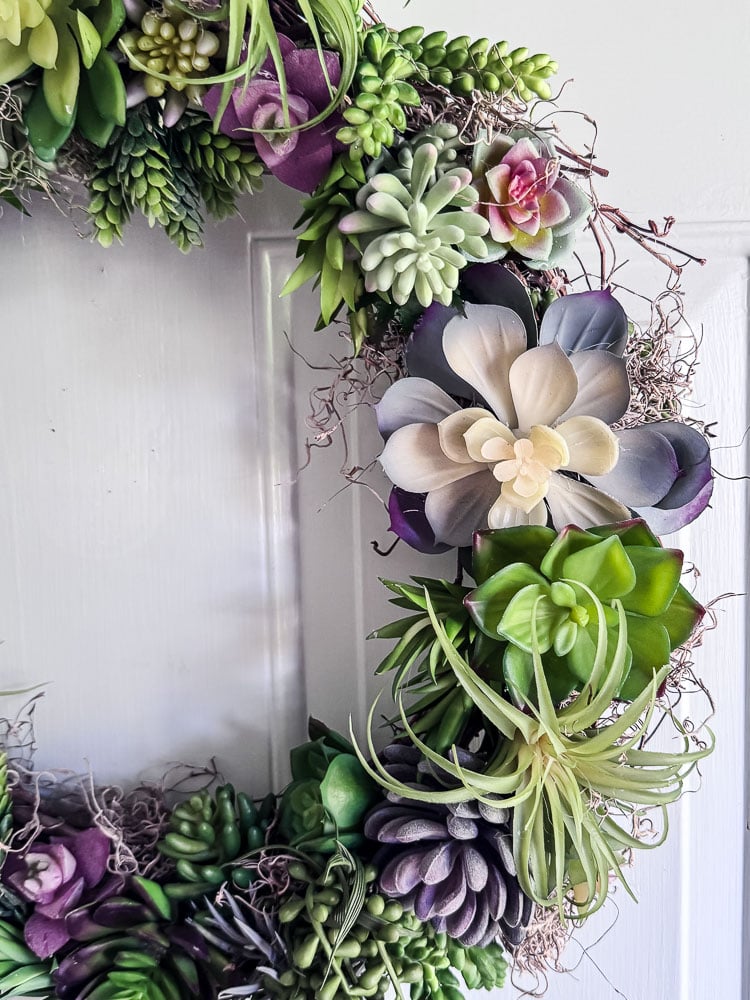
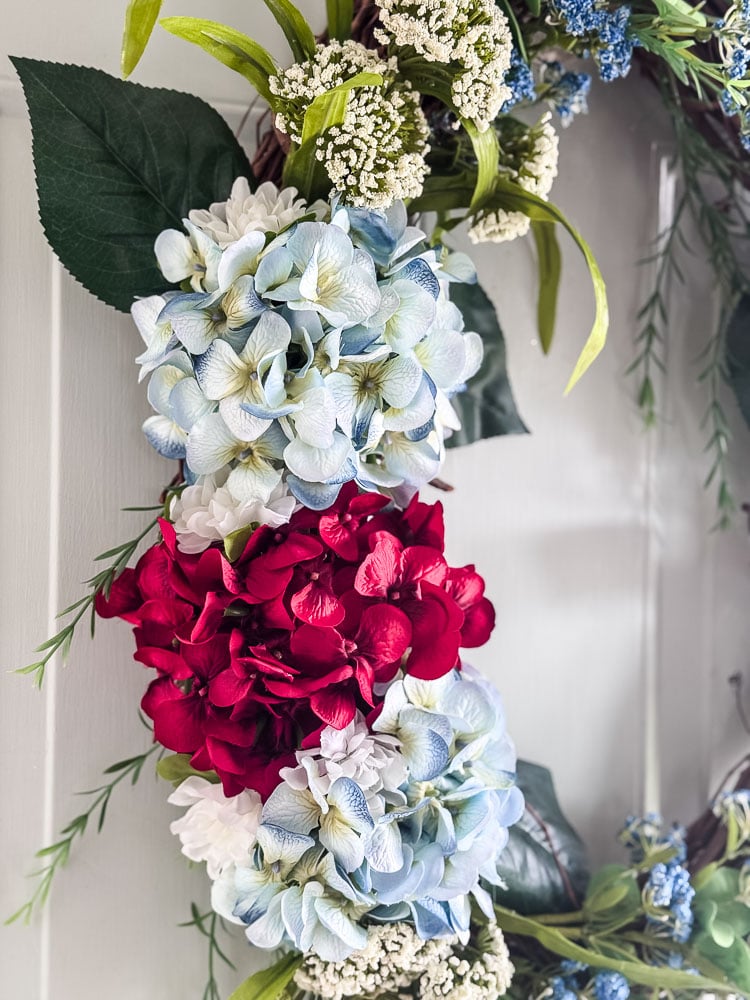
More Wreath Ideas
PIN FOR LATER


DIY Coastal Mermaid Wreath
Make a unique coastal mermaid wreath for your front door or beach house with this DIY tutorial
Materials
- 24" Oval Grapevine Wreath
- Mermaid Wall Sign
- (2) Green Water Drop Spray
- Weeping Willow Spray
- Real Eucalyptus (can use artificial)
- Wire
- Hot Glue Gun
- White Finger Starfish
Instructions
- Attach the mermaid to the bottom of the wreath using a strong wire
- Add 3 different types of greenery to the top of the wreath starting in the left corner asymmetrically.
- Hot glue a large starfish in the top left corner.


Love the mermaid wreath. The oval is elegant. Welcome summer!!!!! You must have one HUGE storage area for all your supplies!!!!😊
I love the oval!! I do have a big workspace in the basement, but for wreaths I end up taking most of them apart and reusing the bases…that oval can be seen in a couple other wreath projects!!
So beautiful!
What an amazing wreath! I love the way it turned out! Perfect for summer!
Happy day friend!
KariAnne
Thanks my friend!!
This is such a cute idea!! Thanks for sharing!
Can’t wait to share this tomorrow.
Thanks Rachel! So many great projects in the hop!
Hi Jenn
I LOVE LOVE LOVE the mermaid wreath. Being on the Cape I have made quite a few wreaths with shells and hydrangeas. I never even thought of a mermaid one. My daughter lives in inland CT but adores mermaids! (Her car number plate is “Mermaid”!) I think I will make one for her. Just a suggestion, I wouldn’t put the starfish on first as you thought you would do if you made another. It would get lost under the greenery. I’ve recently been using Gorilla hot glue. This stuff would hold your roof shingles in place!!!!! If you think the starfish might be insecure, try getting some clear fishing line to anchor it to the wreath. Just wrap it around a couple legs, criss cross it over the center of the star and tie it off in back. It will easily be hidden in the greenery and unless you are less than an inch from it, it will not show!
All of your wreath ideas are fabulous!!
Thank you!
Kathy, the fishing line is such a good idea! I know my son has some in his tackle box. Is it ever going to stop raining?? I just popped out to check my garden and it started pouring on me again!! Glad I didn’t pack away the warm jammies and my heavy duvet yet.
Such a lovely wreath! I have one coastal themed bedroom and a bath and this would be perfect for either room. Gonna grab the “ingredients” list and head to Hobby Lobby!
Then it will be perfect!! Now it the mermaid wall decor isn’t on sale this week it probably will be next!!
Jen I think this is my favorite thing you have ever done!!!! So pretty!
Thank you, friend!!!