
Want to add instant farmhouse-meets-festive charm to your home? This adorable ribbon flag is so easy, you’ll barely need to glance at the tutorial—just grab some ribbons, tie a few knots, and voilà! Perfect for the 4th of July, Memorial Day, or even a vintage-inspired birthday party. (Psst… the only skills required? Using scissors and pretending you’re a craft pro!)
Let’s Make a Ribbon Flag—No Crafting Experience Required
Grab your ribbons and let’s create something adorable together—no fancy tools needed!
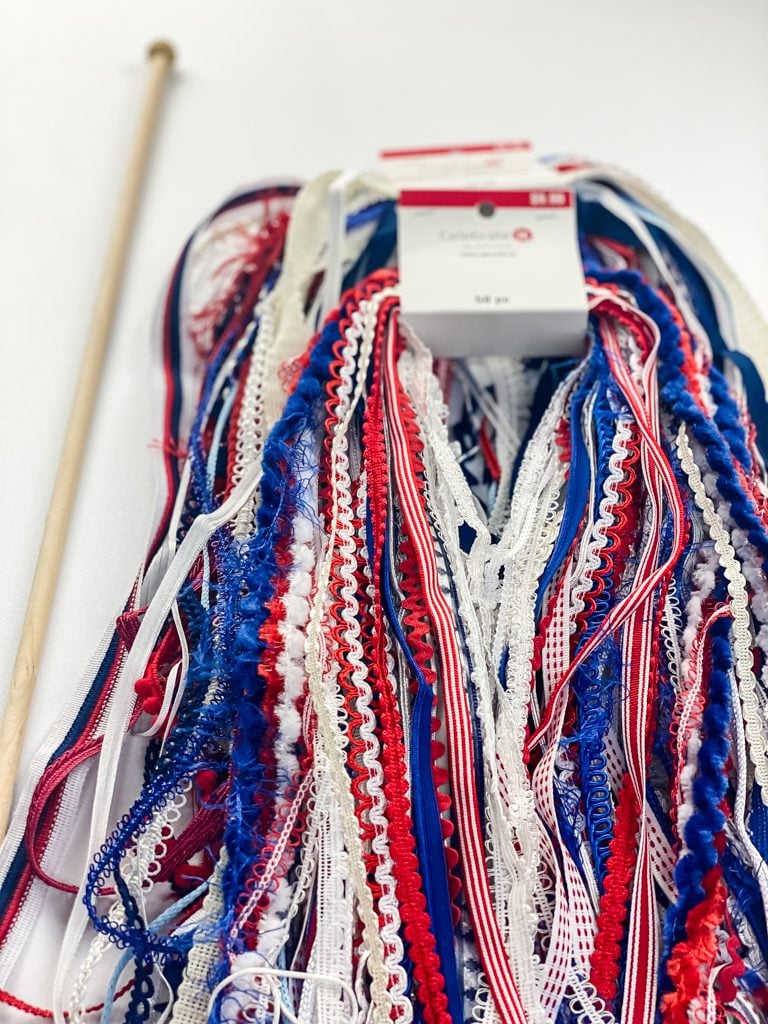
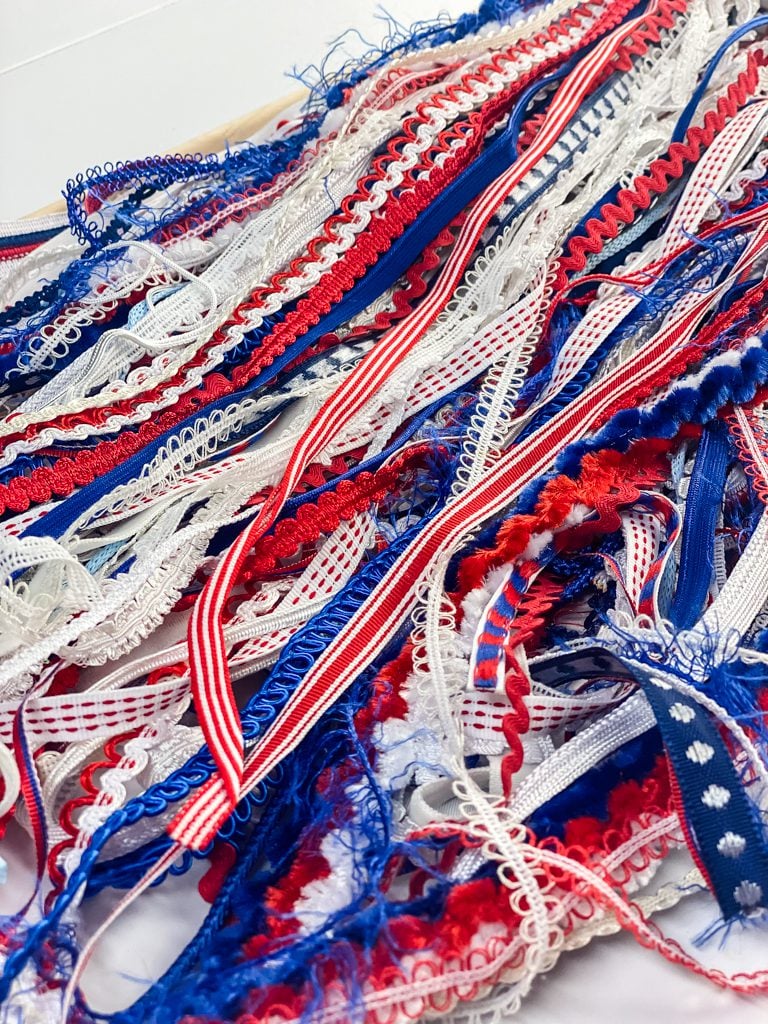
This charming ribbon flag is one of the easiest—and fastest—DIY projects you’ll ever make! And here’s a little secret: Michael’s has pre-cut red, white, and blue ribbon bundles that make it even simpler. I love these because every piece is unique—no repeats, just a gorgeous mix of textures and patterns!
No Michael’s nearby? Or missed out on the bundles? No problem! Any mix of red, white, and blue ribbons will work beautifully.

Heads up for returning crafters: If you’ve made this before, you might remember needing just two trim bundles (back when they had 50 pieces). Thanks to shrinkflation, they’re now 25 per pack—so adjust your shopping list accordingly!”
This post may contain affiliate links, which means we receive a small commission if you purchase through our links. See our disclaimer page for more information.
What You Will Need:
I’m making a large, statement-making ribbon flag using uncut 1-yard ribbons from Michaels (hello, instant length and drama!). But here’s the beauty of this project: You can adapt it to any size! Here’s how:
- For a Big Impact: Like mine, use full 1-yard ribbons (36”) on a long dowel or flag pole
- For Smaller Flags: Shorten ribbons to 12–18” and use a thin dowel (or even a twig!) for sweet mantel or door decor.
Materials for this Project
- Red, White, & Blue Scrap Trim Bundle or this one(Michael’s)
- Flag Pole or Wooden Dowel (mine was 24″)
- Denim Scrap Fabric
- Fabric Glue
- Star Ornament
Assembling The Flag: Step-by-Step
Step 1: Gather Your Supplies
- For my ribbon flag, I repurposed the wooden dowel from a small 24-inch flag—just slid off the fabric, and voilà, instant rustic-ready base! Here’s how to pick yours:
- Thrifty & Easy: Reuse a dowel from an old flag (like I did!) or grab a thin wooden dowel at the craft store.
- Free & Rustic: For farmhouse vibes, a sturdy stick from your yard works perfectly—just sand any rough edges.
- Size Flexibility: This project adapts to any width! Mine is 24 inches, but go smaller for a mantel or wider for a porch display.
For this 24-inch wide ribbon flag, I used 100 pieces of ribbon in varying widths to give you an idea if you are cutting your own ribbons to make this project.
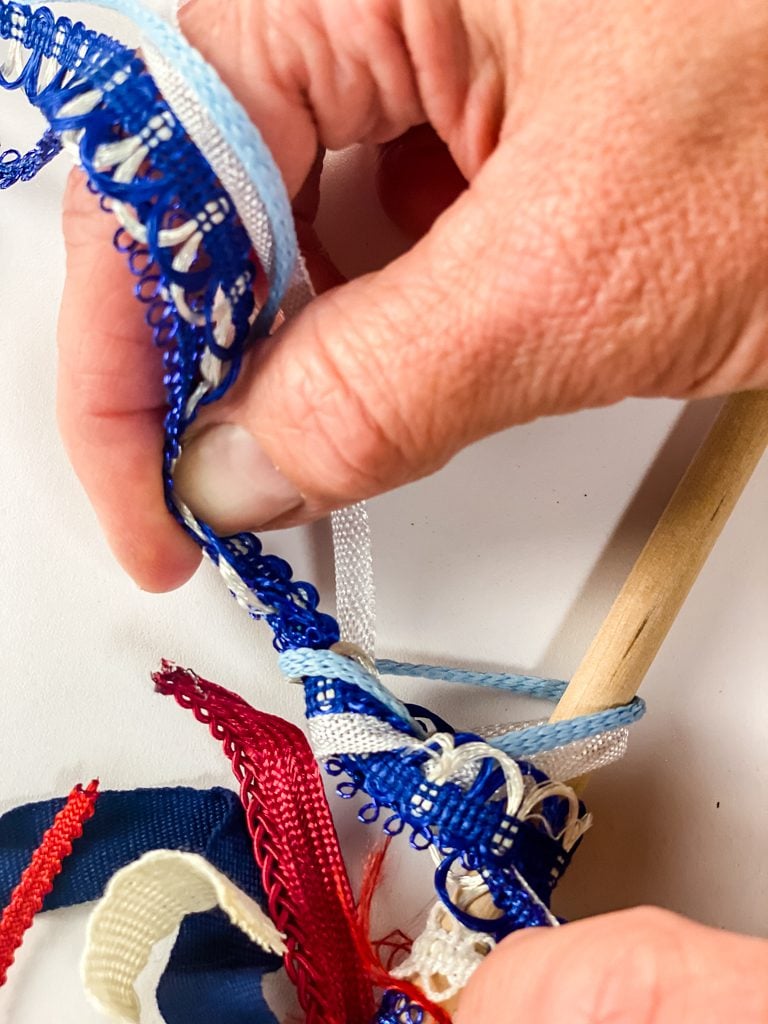
Step 2: Tie On the Ribbons (The Fun Part!)
Grab your ribbons and let’s bring this flag to life—no perfection needed here!
- Simple Knots, Pretty Texture:
- Tie each ribbon onto the dowel with a basic knot (just like tying your shoelaces!).
- Don’t trim the excess knot ends—the dangling bits create a whimsical, layered effect at the top!
- Mix & Match with Ease:
- For narrow ribbons: Bundle 2-3 together in one knot for fullness.
- For variety: Embrace the randomness! I didn’t follow a pattern—just grabbed ribbons and tied until the dowel was gloriously full.

- Work Across the Dowel:
- Start at one end and move to the other, spacing knots about 1 inch apart (or closer for extra fluff!).
- Rotate the dowel as you go to check for gaps—organic unevenness = rustic charm!
See the Flag Come to Life!

Confession: After all of the more time-consuming and longer projects I work on, I love just creating a simple project like this!
This repetitive tying feels like crafting meditation. No paint drips, no measuring tapes—just ribbons and rhythm. Pure bliss!
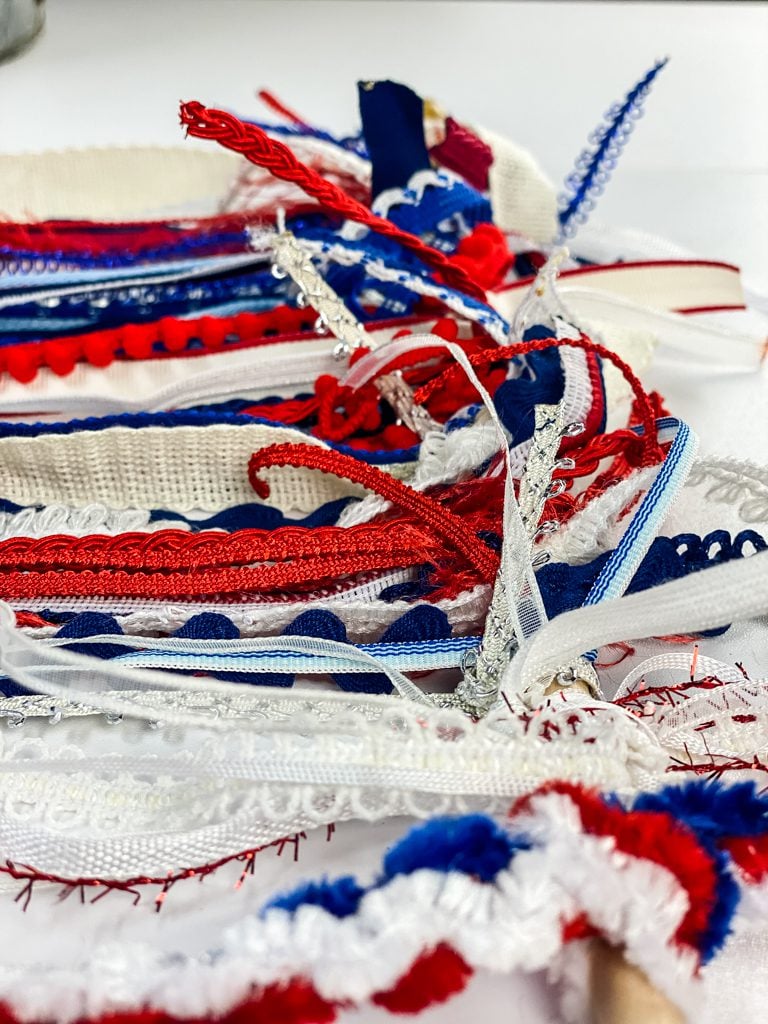
Time melted away—maybe 30 minutes?—while I listened to a podcast. Funny how the simplest projects spark the most joy. (And look how pretty it’s turning out!)
Step 3. Creating the Union Jack: A Denim Twist
The Idea:
I wrestled with how to represent the flag’s iconic union square—star fabric? Paint?—until I spotted a pair of paint-splattered jeans in my “DIY disaster” pile (we’ve all been there!). Denim’s rugged texture felt just right for this farmhouse-style flag.
How To:

- Cut Your Fabric:
- Slice the jeans leg 8 inches from the hem, then cut open the seam to flatten the fabric.
- Trim into an 8×8-inch square (or go bigger for bolder impact!).
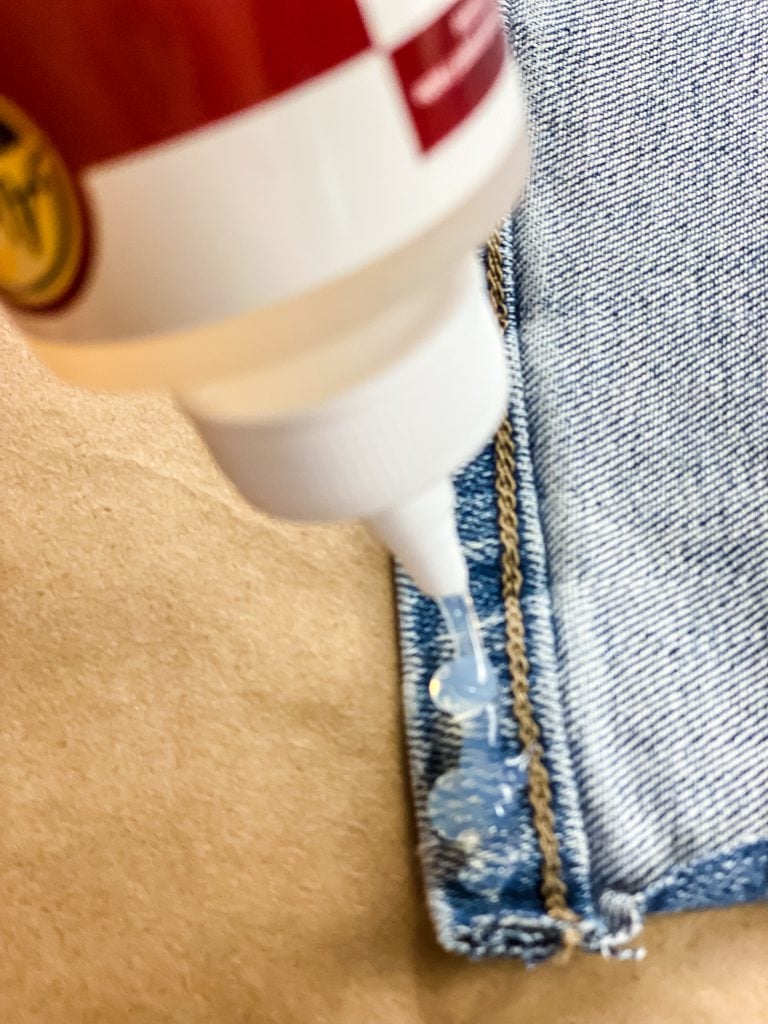
- Attach to Flag:
- Flip the denim over and run fabric glue along the edges (I used [brand name, if applicable]).
- Press it into the top-left corner of your ribbon flag, smoothing out wrinkles.

Why It Works:
- Thrifty & Textured: The denim’s frayed edges and paint stains add instant vintage character.
- No-Sew Secret: Fabric glue holds strong without a single stitch!
Alternate Idea:
“No old jeans? Try:
- A scrap of burlap (for rustic vibes)
- Star-printed cotton (would look so cute!)
- Even a painted wood square (if you’re feeling artsy!)
4. The Perfect Finishing Touch: A Starry Surprise!
The ‘Aha!’ Moment:
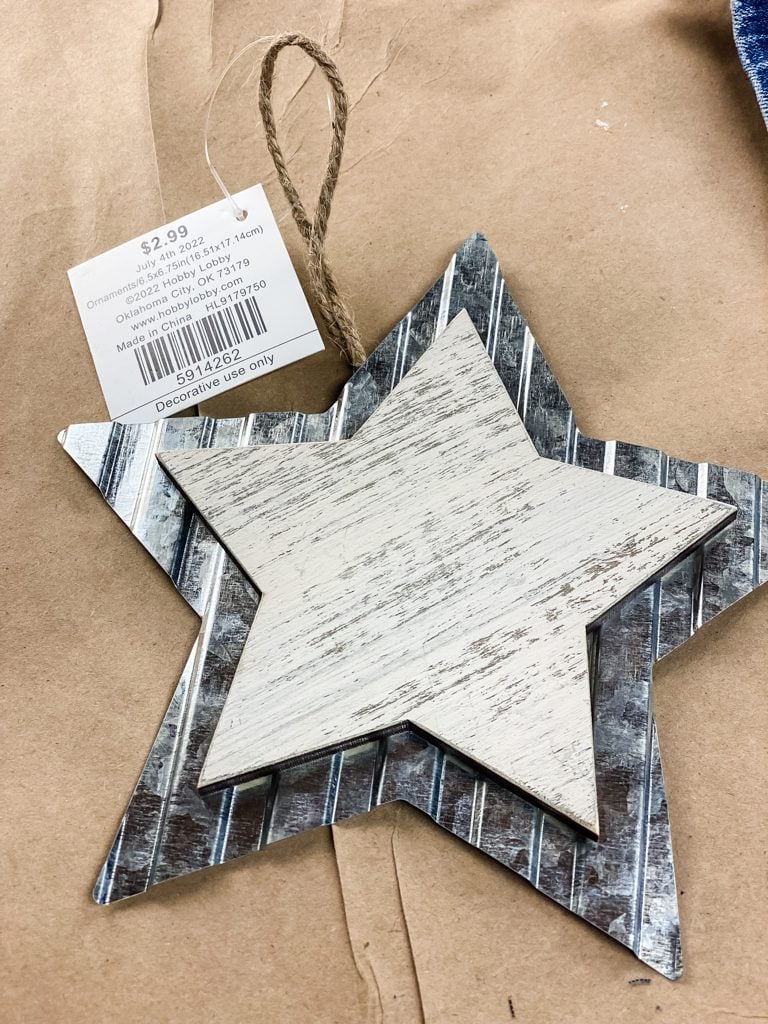
Just as I was debating between painting stars or using wooden cutouts, I remembered a bag of star ornaments from Hobby Lobby (you know, the ones you buy just in case?). One quick hold against the denim—and yes!—it was exactly the folksy touch this flag needed.
How to Add Yours:
- Ornament Route (Easy & Eye-Catching):
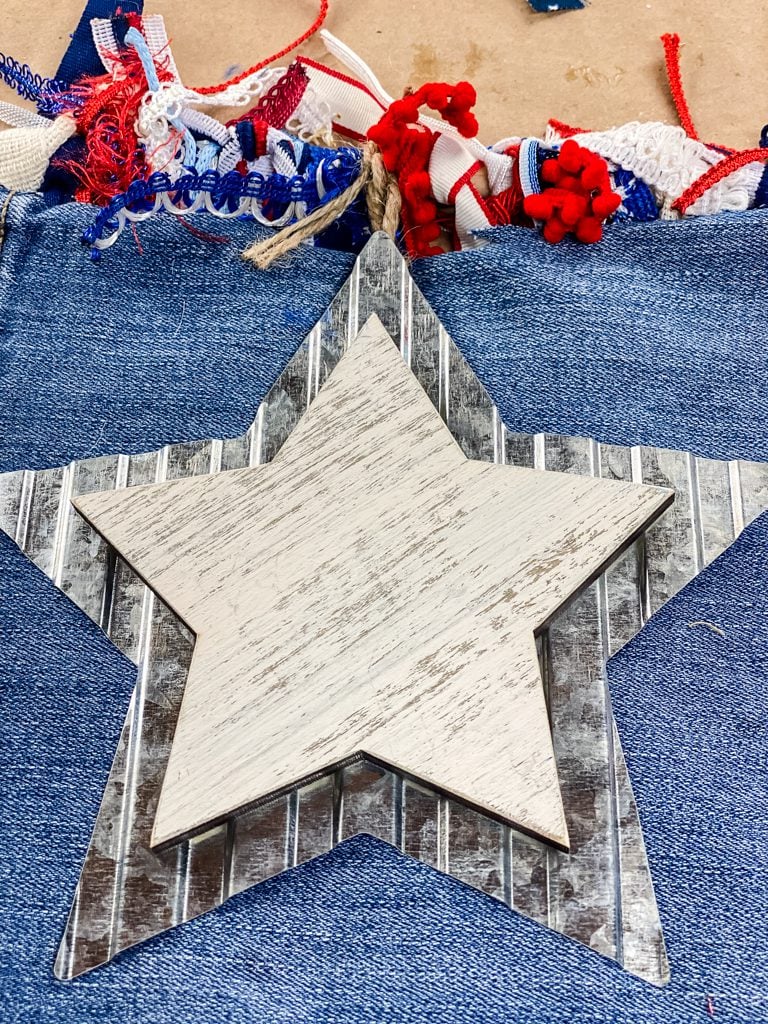
- Grab a small metal or wood star ornament (mine is a rustic metal & wooden star)
- I untied the jute hanger and attached it to the wooden dowel in the center of the denim.
- DIY Star Ideas (For Extra Personality):
- Paint: Hand-paint uneven “chippy” stars with white acrylic for a vintage look.
- Wood: Glue mini craft stars in a cluster for 3D texture.
- Embroidery: Stitch a single star with thick white thread for subtle charm (I can’t sew but this would look pretty!).
Final Step: Trim the Ribbons

Lay your flag flat and press a yardstick across the bottom as a straight cutting guide. (Being left-handed, I do everything crooked…even though I’m cutting with my right hand!!)
Trim to your desired length
Styled & Ready to Celebrate!

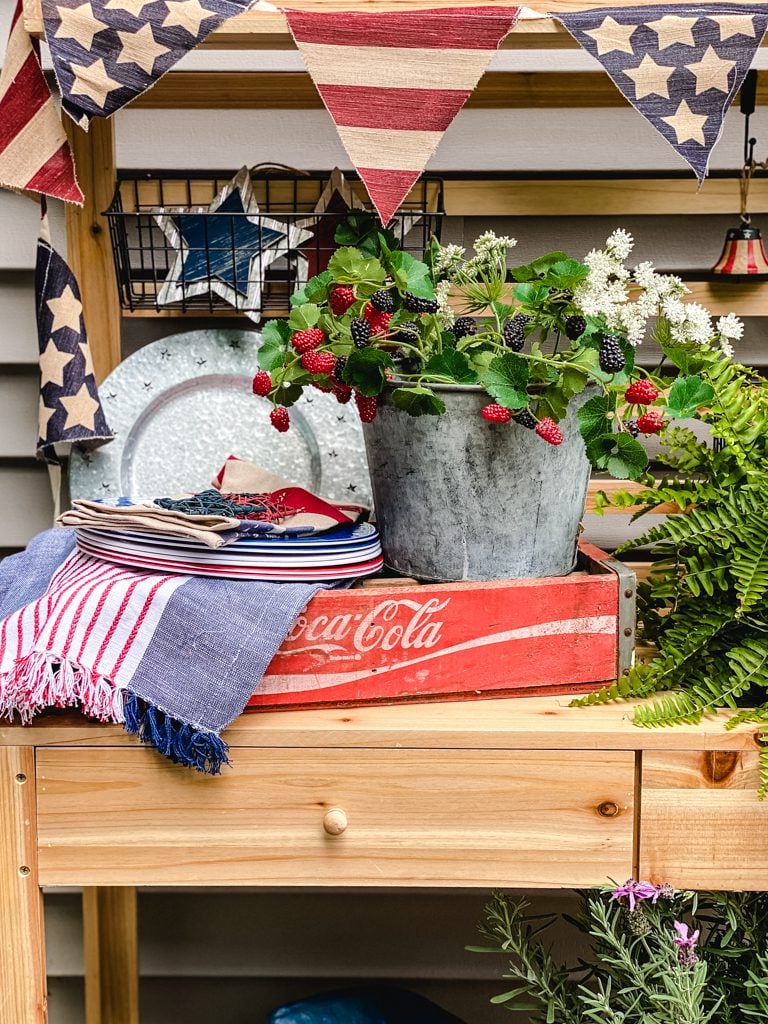
And just like that—our rustic ribbon flag is complete! I hung mine on my house using vinyl siding hooks. But this beauty would look equally charming on your front door. I love to see how the ribbons flutter in the breeze!

When I decorated for my Patriotic Patio Party the other day I hung up the ribbon flag outside for the day but I moved it to my front porch after that because it will be protected from the elements. (Direct sunlight and the elements will fade the ribbons.)
On my way back from the mailbox, I was just looking at it outside my front door with the breeze blowing through the ribbons, and it looked really pretty! This is definitely a project I recommend doing.
Also, it’s easy enough that it would be a great project to have your kids or grandkids work on for a 4th of July DIY craft.

You have to check out all the details on how I decorated my patio for a Summer party.
See your projects featured! If you are inspired by this or any of my other DIY projects I would love to see them and add you to the Reader’s Spotlight gallery. Send a photo to me at jennifer@cottageonbunkerhill.com
xo, Jennifer

20+ ideas
Red, White, and Ready to Decorate
Patriotic Inspiration for Your Home
fake it ’til you make it
17 Pottery Barn
Inspired DIYs
More Patriotic Decorating Ideas


Pin for Later…


This is so adorable Jennifer. I love the varying ribbons and how you did the patchwork star. So sweet. It’s perfect for patriotic holidays and would be great on my porch!
Super cute idea! Perfect for Memorial Day and Fourth of July! You are so creative, my friend.
This is such a great DIY for the 4th of July Jennifer. Love this!
I love this wall hanging flag. Fabulous job.
Jennifer
This is such a cute idea.
This has to be the cutest RW&B decor I’ve seen in a long, long time. I’m glad I found you and your blog/social media thru the Blog Hop. As a fellow New Englandgal now living in the mid Atlantic area, I love seeing familiar Summer decor. Growing up on the Cape, the 4th was the BEST holiday !!!! ❤️🤍💙