I’m putting together a Christmas village on my entryway table this holiday season..and I want to DIY the entire thing. Here’s how’s I made a set of Plaster of Paris tabletop trees.
Sometimes when a project doesn’t go as planned you just have to pivot!! I had originally had planned to cover my wood 3D tree with air-dry clay but that didn’t work. I knew I wanted to get a ceramic look for these trees and then I remembered I had a box of Plaster of Paris in my workbench!!
This post may contain affiliate links, which means I may earn a small commission if you make a purchase through my links, at no extra cost to you. Read my disclosure policy here.
This was the inspiration picture that I screenshotted from Pottery Barn. I was drawn to the natural colors and shape of the trees. FYI…mine come out completely different!
Making a Plaster of Paris Tabletop Tree
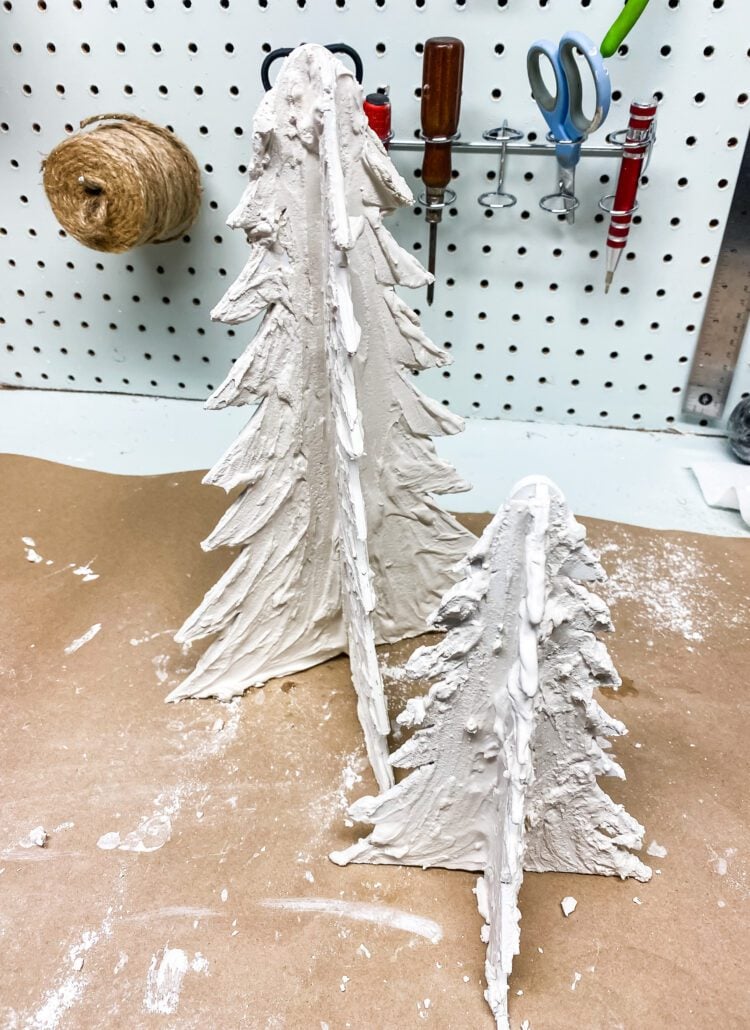
For this project, I did 2 trees a 12″ and an 8″ one. The ones I am using are from craftoutlet.com. This is my secret spot for finding really great stuff that I use in my projects!! They have amazing prices but sell out quickly so I usually am looking well ahead of the next season I’m decorating for. This is not an affiliate link..I totally love this site and want to share it with you all! FYI, I’m pretty sure their faux greenery is made at the same place as Terrain and Afloral because it feels and looks so similar…but soooo much cheaper!!!
I have seen similar trees in some of the craft stores and on Amazon.
Supplies
- WOOD TREES
- PLASTER OF PARIS
- CONTAINER FOR MIXING
- PLASTIC SPOON
- WATER

Making the Plaster of Paris Trees
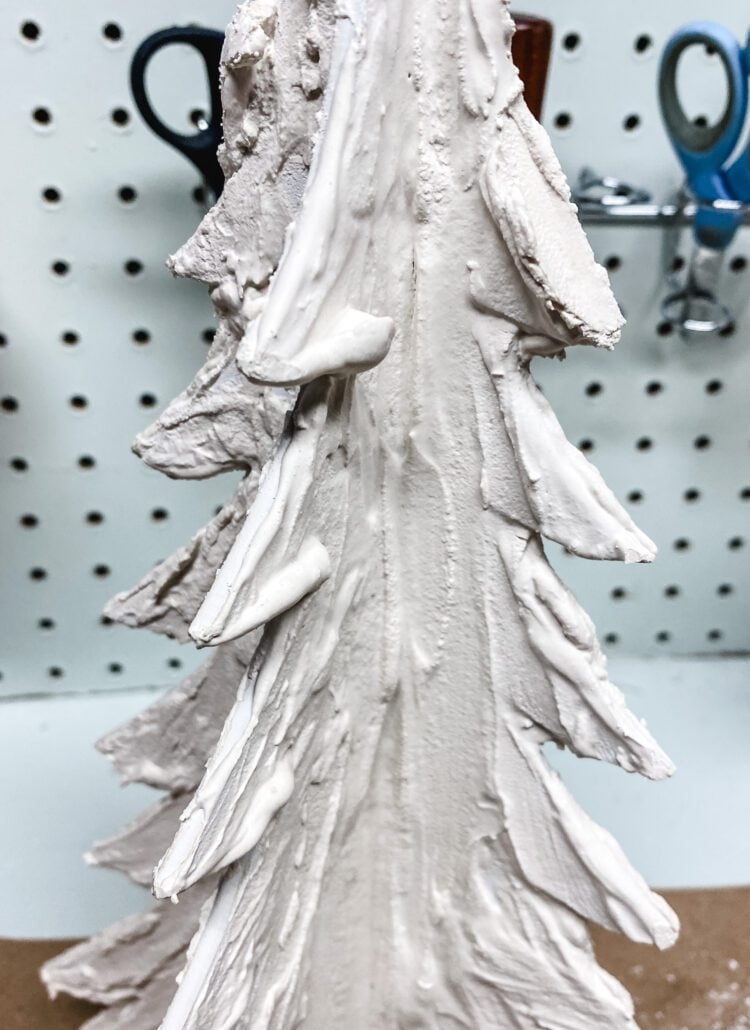
One thing to keep in mind is that Plaster of Paris hardens super quickly. I mixed up small batches, just enough to do one section of the tree at a time. It’s easy to do, just pour the Plaster of Paris into a plastic container add the water, mix it with the plastic spoon, and then use the spoon to spread it onto the tree

It spreads super easily! By the time I finished one part of the tree and mixed up another batch of the Plaster of Paris that part of the tree had already started to harden a bit and I could turn the tree and not worry about it sliding off or moving.

The plastic spoon made a cool texture on the trees and made them look like they were snow-covered.

Here’s the dried Plaster of Paris tabletop trees. Now it’s time to paint them!

Painting the Tabletop Trees
Now that the trees had dried, I painted them both with a coat of white chalky paint.

After the white paint was dry, I lightly dipped the end of a paintbrush into soft brown paint…tapped most of the paint off on a paper towel, and brushed it over the edges of the trees. I also brushed a teeny amount onto the bodies of the tree.

Finished DIY Tabletop Trees
Here’s my finished Plaster of Paris trees, they are going to be part of my DIY Christmas village along with the Easy DIY Gold Christmas Trees I made and the Christmas Village Houses.


Jennifer,
I love the texture on these cute trees. I’m sharing a link on my Sunday, Dirt Road Adventures. Love them.
Thanks, Rachel!!