

Make this beautiful patriotic rag wreath out of scraps of red, white, and blue fabric.
Summer is here, and Independence Day is just around the corner! Looking for a festive and easy way to decorate your home for the Fourth of July? This DIY rag wreath is the perfect solution. Made with just a few simple materials, this wreath is a fun and affordable way to show your patriotic spirit.
How to Make a Patriotic Rag Wreath
This is an easy, easy project…even for the craft-challenged!! It’s easy, but it does take time to tie all the scraps of fabric on. I definitely recommend you put on a good Netflix show and set your supplies up on your coffee table.

Materials Needed:
- 24″ Wire Wreath Frame ( I used a 24″ round one, but you can use any size or shape)
- 4 yards printed fabric- 2 red, 2 blue ( I have fabric leftover)
- I didn’t end up using the burlap ribbon for this wreath, but for a more rustic look, you could add it in.

Step 1. Cut the Fabric Strips

I found that the perfect size for the fabric strips is 1 inch wide and 8 inches long. First I cut the 1-inch long pieces (down the entire yard of fabric) and then went back and cut the strips into 8-inch long pieces.
I eyeballed the cuts…you can use a measuring stick to get an idea of how they should look, but don’t stress if they are a little shorter or longer. Plus, taking time to measure each length of fabric will slow you down.

I made a big pile of each pattern of the fabric. You will need more strips of fabric than you think so make a pile and when you get to the end just cut another stack of strips.
I’m not going to say how many strips you will need because 1.) I didn’t count mine and 2.) it will completely depend on the size of your wreath frame!
Step 2. Tie on the Fabric Scraps

Now, the wreath frame I am using has 4 pieces of wire. So I started by running a piece of fabric under the outer 2 wires.

Then I tied the strips in a simple knot tightly against the frame.

The next strip of fabric was wrapped around the middle 2 wires and tied tightly. For the third strip, I tied it on the outer 2 wires.
Basically, all I did was alternate between red and blue fabrics and work my way across the wreath frame.
It’s a super simple project!! But it does take time to make it. I gotta be honest and tell you that about halfway through this wreath I was like “why the heck did you do such a big wreath…why didn’t you do the small square one!!!…”

But I have to tell you all that I am so glad I did a big wreath because it was worth all that repetitive tying!!
I would say that for this 24-inch wreath, it took me a good 2 hours to cover the frame with the fabric scraps. That’s why I suggested putting on a good show or movie while you are making it. Once you get the first few rows of the fabric knotted you will get the hang of it and then you won’t even have to think about it and can kinda zone out and work on it.
Step 3. Take Care Of Loose Ends
Once you are done with your wreath, grab your scissors and clip off any hanging threads or any pieces that look too long.
Finished Patriotic Rag Wreath

Seriously, how cute is this?? Can you believe what a few pieces of fabric can make?? There are so many variations you could make, too. Like just doing the blue fabric with the white stars on the upper left portion of the wreath (from 9 o’clock to midnight if the wreath were a clock) and doing the rest in red & white striped fabric. Or red, white, and blue pieces of fabric…you get the idea!!


Celebrate
Have a Great Summer!
See your projects featured! If you are inspired by this or any of my other DIY projects, I would love to see them and add you to the Reader’s Spotlight gallery. Send a photo to me at jennifer@cottageonbunkerhill.com
xo, Jennifer
-
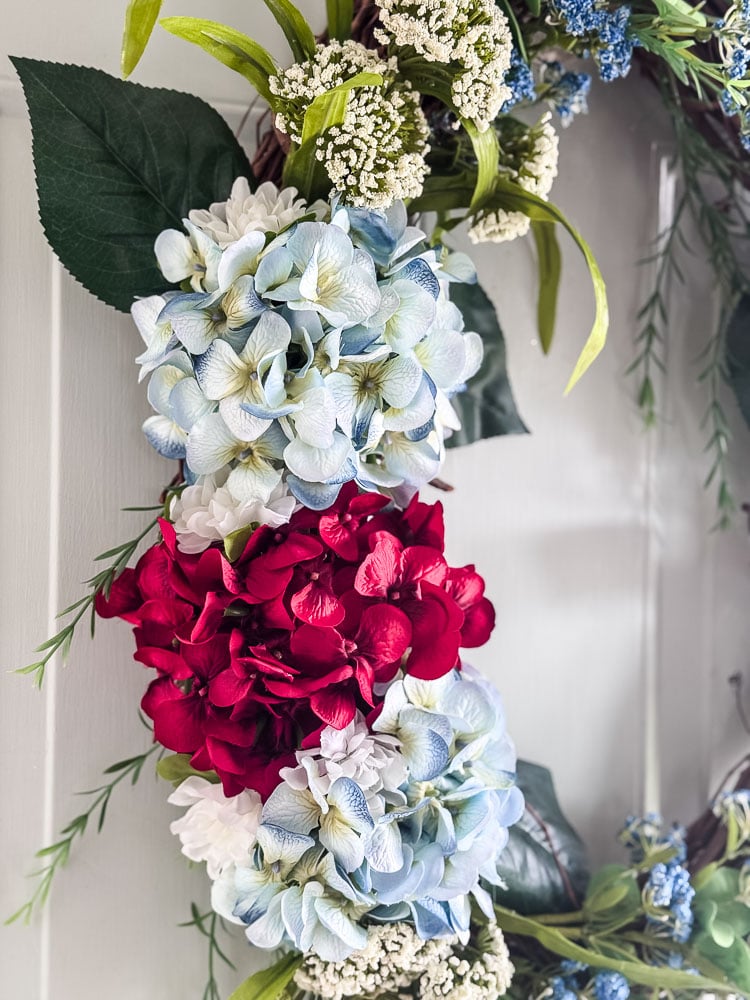
A DIY Patriotic Hydrangea Wreath (That Actually Looks Expensive)

This DIY patriotic wreath uses faux hydrangeas, draping greenery, and a fun side bow to create a lush, garden-style look for Memorial…
-
Celebrate in Style: How to Make a DIY Ribbon Flag in Under An Hour
Want to add instant farmhouse-meets-festive charm to your home? This adorable ribbon flag is so easy, you’ll barely need to glance at the tutorial—just grab some…
-
Red, White (and a Touch of Wheat) Wreath: A Patriotic DIY
Show your patriotic spirit with this easy DIY wreath! Made with dyed dried flowers and wheat, it’s perfect for summer or any…


Follow Me On Pinterest


Made a 12” wreath using 1/2 yard of material cut into 1”x7” strips. It turned out so great!! Thx so much for sharing this idea!
Yay!! Send me a picture if you can…I would love to see what you made!! Send it to me email cottageonbunkerhill@gmail.com
I am loving this so much, Jennifer! I want to make one. I’m going to share this in my Saltwater SOunds post this weekend.
Thanks friend!!!
Your rag wreath turned out so cute! I love all of the fabric choices.
Thanks!! Hobby Lobby has so many red, white, and blue fabrics too.
Love a good rag wreath and this one is great! I do like the bigger size, too!! Hope your hands and fingers have recovered! 😂💛