
Quick & easy beginner craft that gives a soft, old-fashioned Victorian feel using scrapbook paper, a wooden heart, and a few ribbon scraps. Perfect for Valentine’s Day, spring mantels, or year-round cozy decor!
Vintage Hanging Heart Sign
I’ve always been drawn to the romance of vintage valentines and heirloom decorations-the delicate script, the faded ribbons, the sense that an object has been lovingly preserved. When I wanted to bring that feeling into my own home without hunting through antique shops, I discovered the joy of creating it myself. This hanging heart project became my perfect solution: it requires just a few simple materials (you might already have them on hand!) but yields a decoration that looks collected from a farmhouse estate sale.
There’s something wonderfully satisfying about using your own hands to create something so delicate and full of character. If you love the look of vintage romantic decor but appreciate a practical, budget-friendly project, you’re going to love making these sweet hearts!
This post may contain affiliate links, which means I may earn a small commission if you make a purchase through my links, at no extra cost to you. Read my disclosure policy here.
Materials For This Project
Crafters, good news, you probably already have most of these supplies in your stash!
While I’ve included Amazon links for convenience, you can easily find everything at your local craft store. The large wooden hearts, in particular, are often available at dollar stores, too. Happy crafting!
Materials for this Project
- 12″ Vintage Scrapbook Paper (similar)
- Wooden Heart Shape
- Mod Podge
- Waverly Antique Wax
- Assorted Neutral Ribbons
- Jute Twine
- Optional: Small sprigs of dried hydrangeas (or other dried flowers)
- Tools: Foam brush, chip brush or old paintbrush, scissors, paper towel
Step-by-Step Instructions
This is a quick and easy project idea using a sheet of scrapbook paper and a big wooden heart cutout shape…plus a few pieces of scrap ribbon.
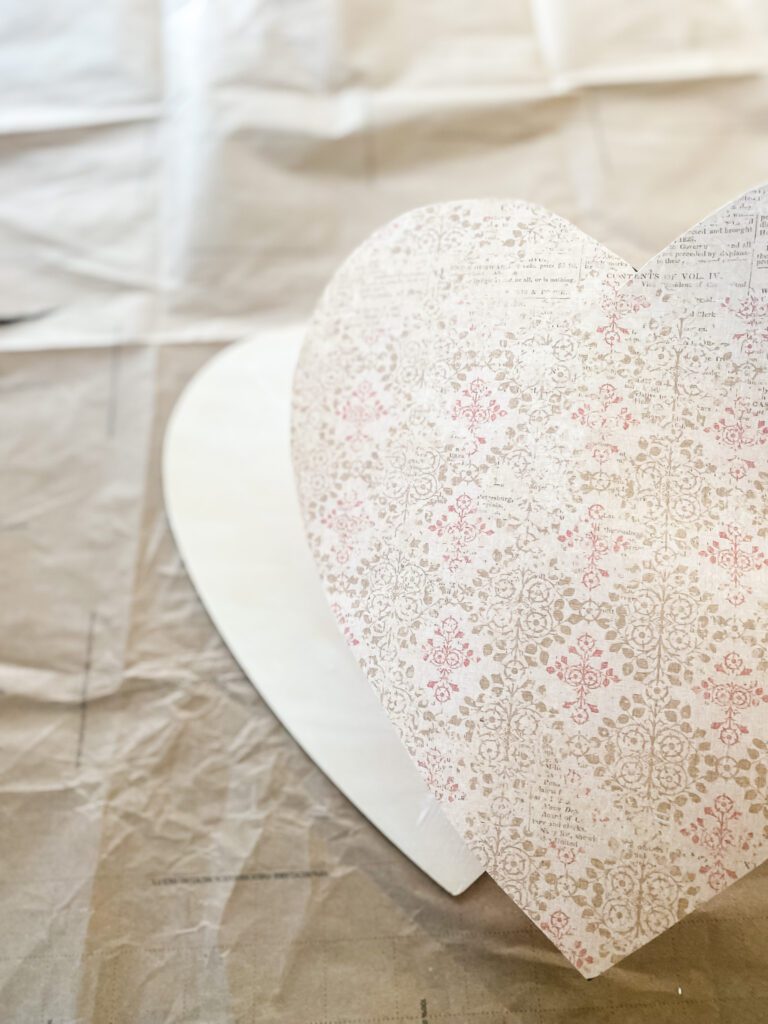
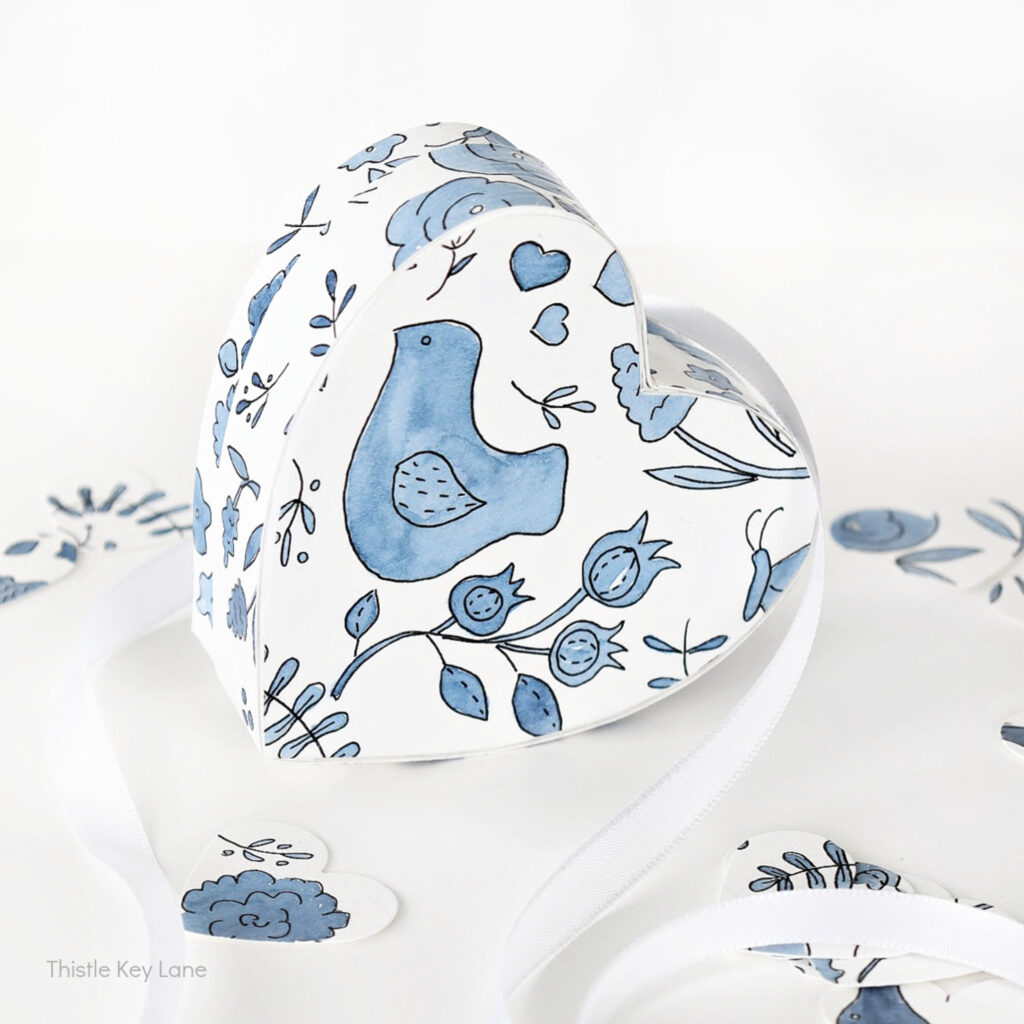
Step 1: Trace & Cut the Paper Heart
The wooden heart shape I am using is about 11 inches in size so I grabbed a pad of 12 x 12-inch scrapbook paper that I had (this one is similar)
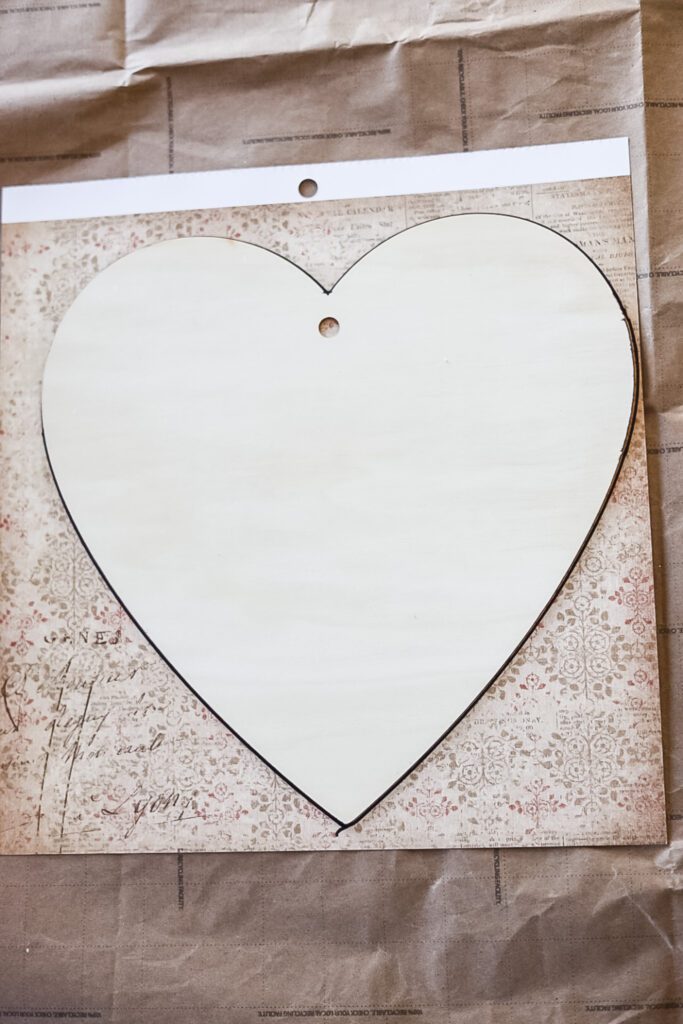
- Place your wooden heart on the back of the scrapbook paper.
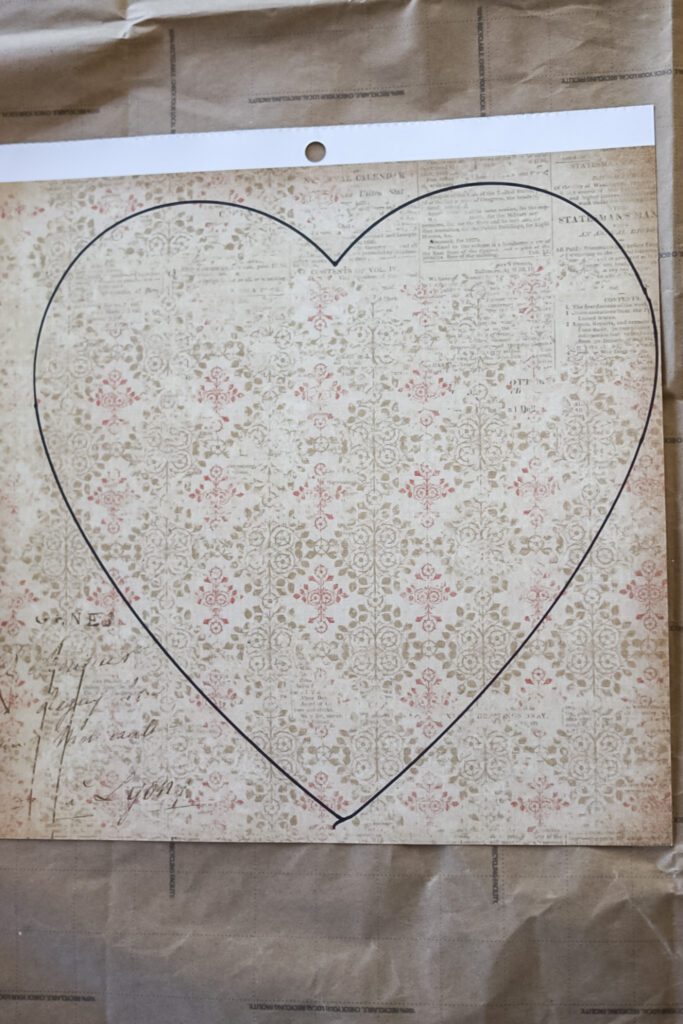
- Trace around it with a pencil.
- Carefully cut out the paper heart, staying just inside the line so it fits perfectly without wood showing.
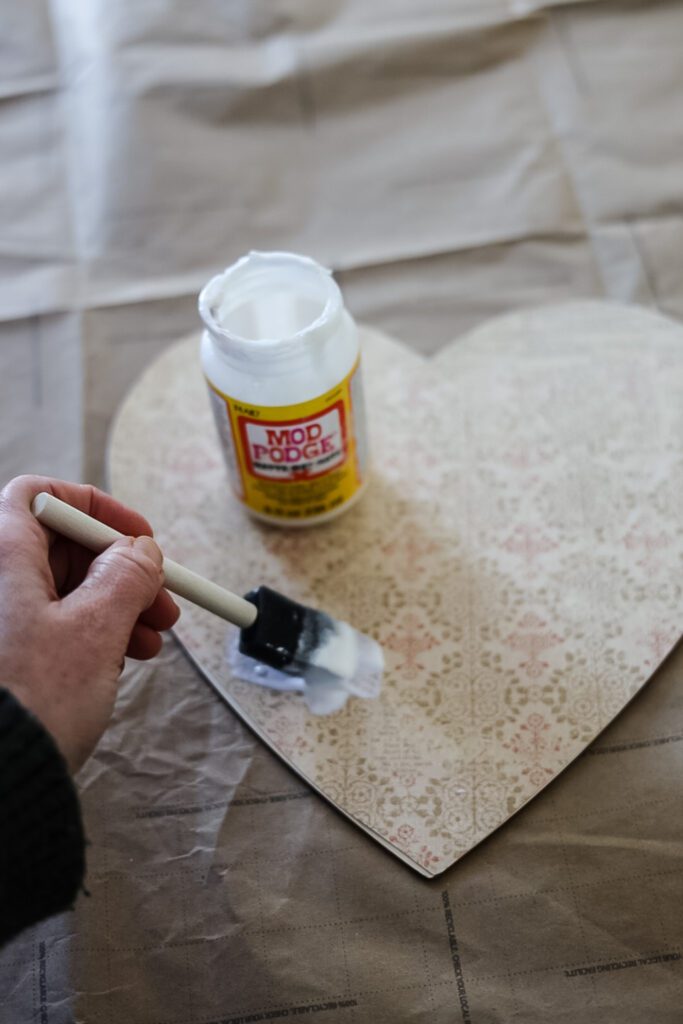
Step 2: Adhere The Paper To The Wood
- Brush a thin, even layer of matte Mod Podge over the front of the wooden heart.
- Carefully position the paper heart on top, aligning edges perfectly.
- Smooth out from the center outward to remove air bubbles (use your fingers or a credit card wrapped in a cloth—it’s a bit messy, but worth it!).
- Brush another layer of Mod Podge over the top of the paper for sealing. Let dry completely (~20–30 minutes).
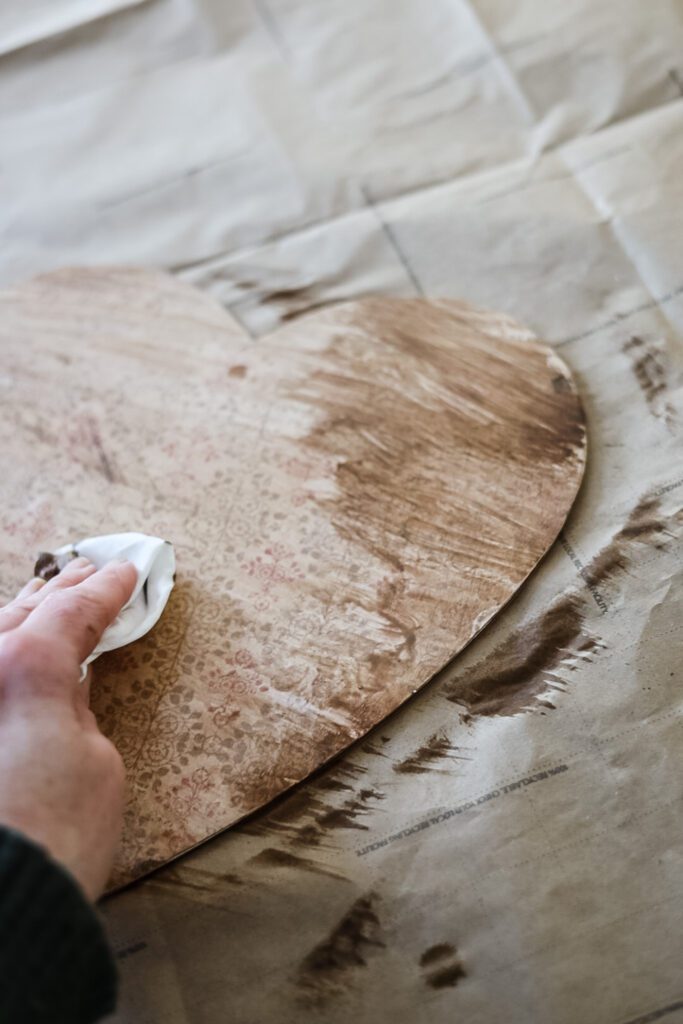
Step 3: Add Vintage Distressing Wax
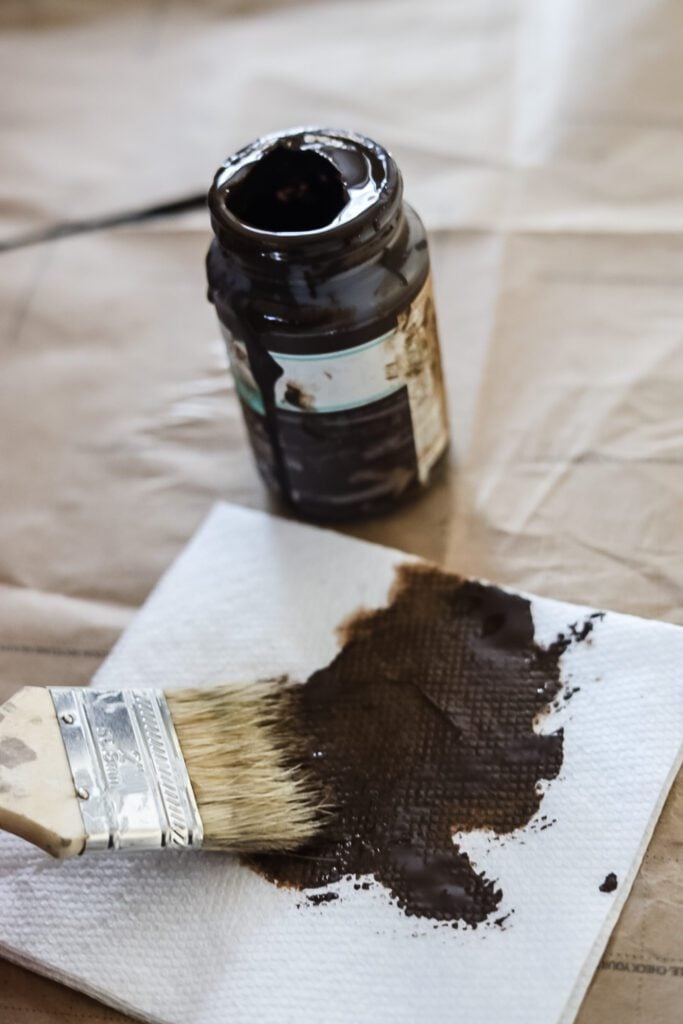
When the Mod Podge is dry, it’s time to make the heart look even more vintage. I love Waverly antique wax; it’s very easy to use (consistency of chalk paint) and is inexpensive. Find it in the craft aisle of Walmart.
- Once fully dry, dip a chip brush into the antique wax.
- Lightly brush it over the entire surface, focusing on edges and raised areas for that aged look.
- Immediately wipe off excess with a paper towel for a soft, subtle finish. Let dry (~10 minutes).
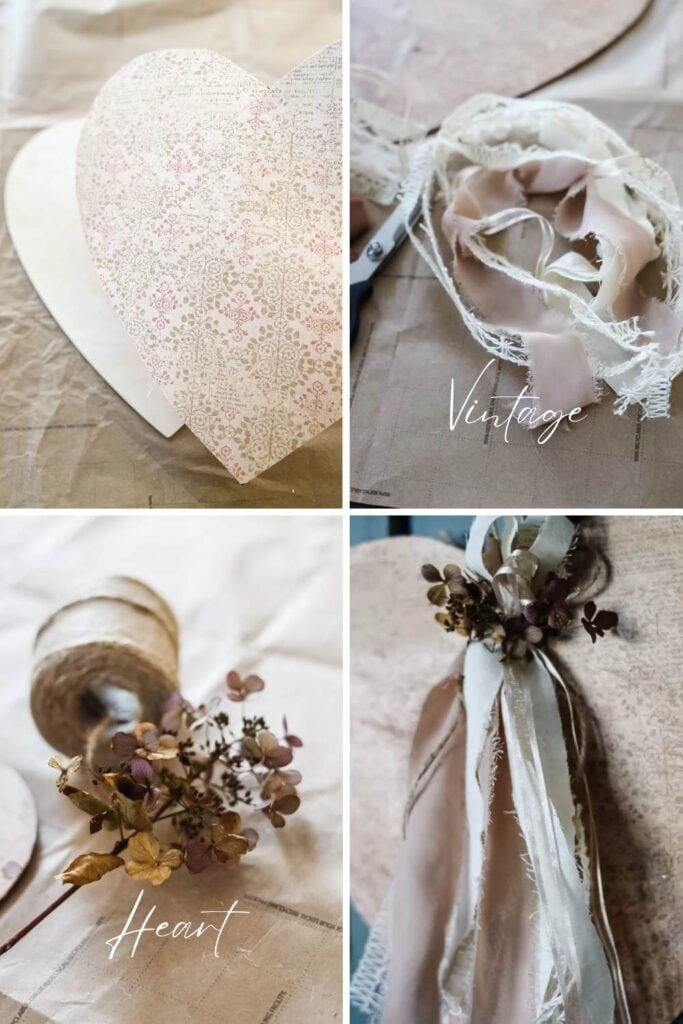
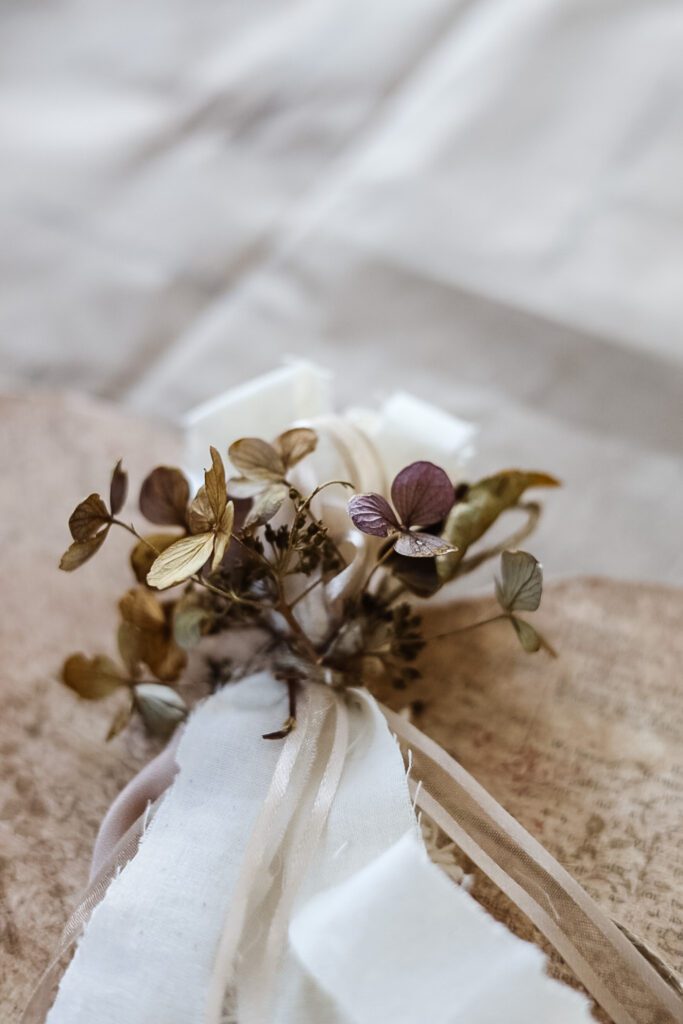
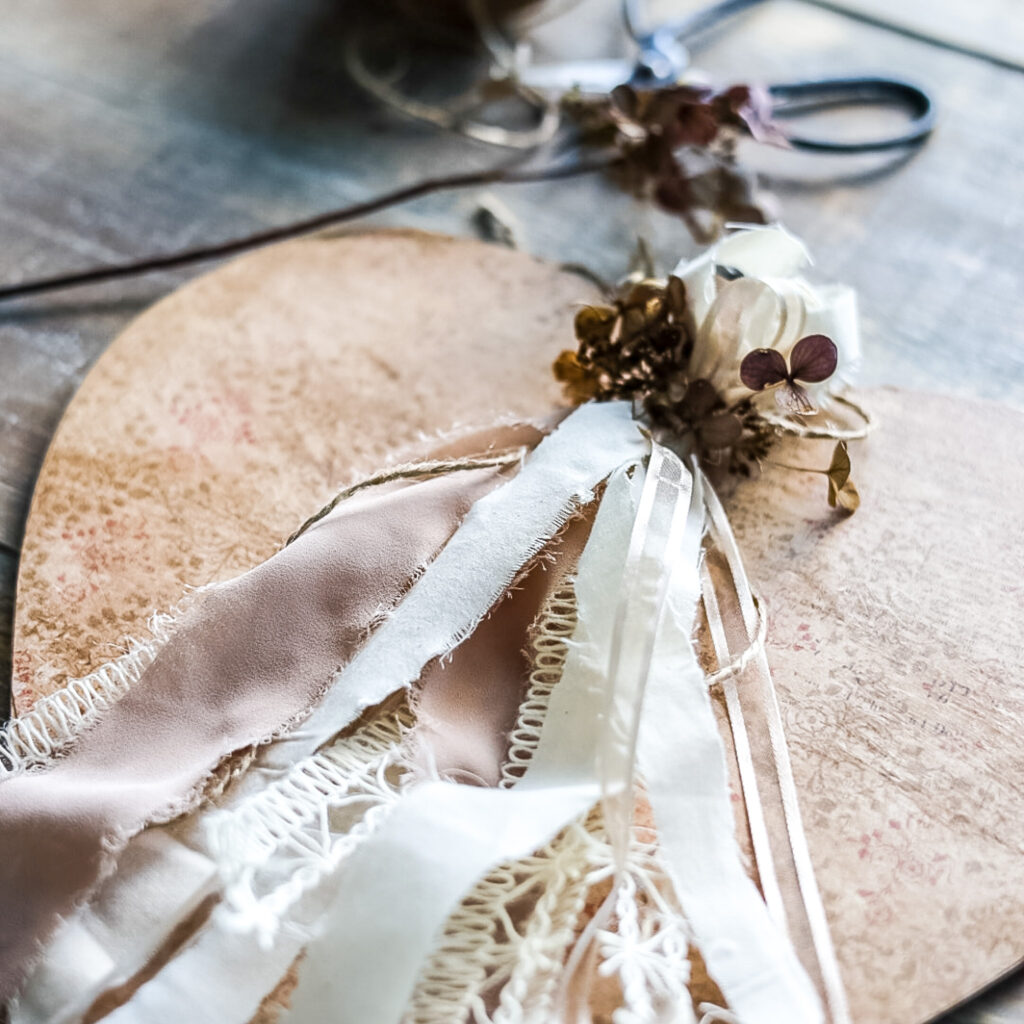
Step 4: Create the Ribbon Tassel Hanger
Any assortment of ribbons would work for this, I like to use what I already have in my craft stash.
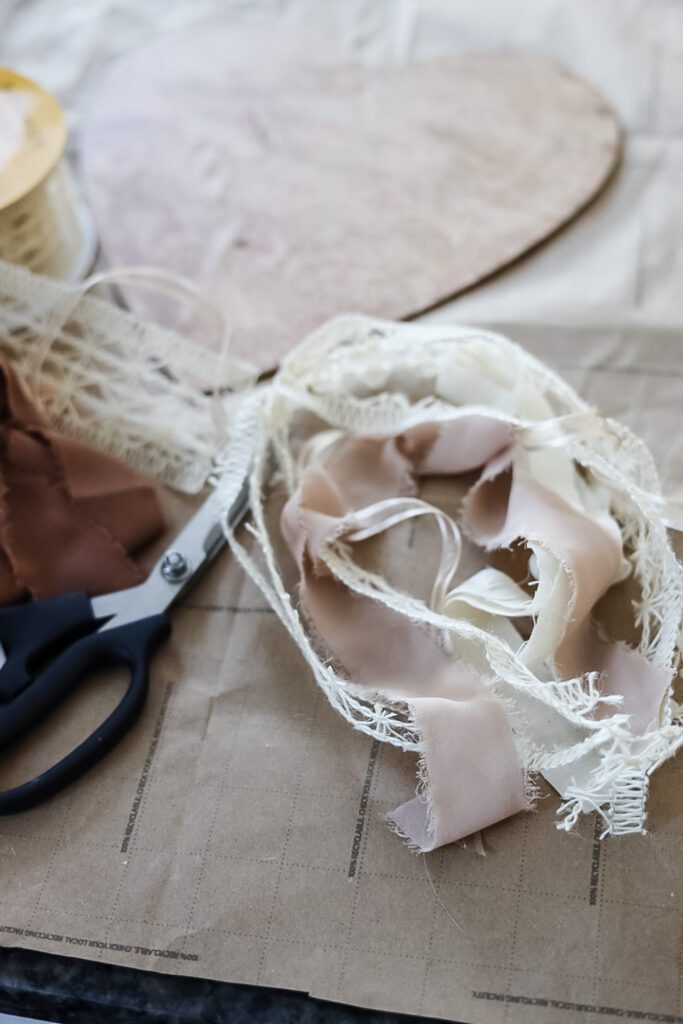
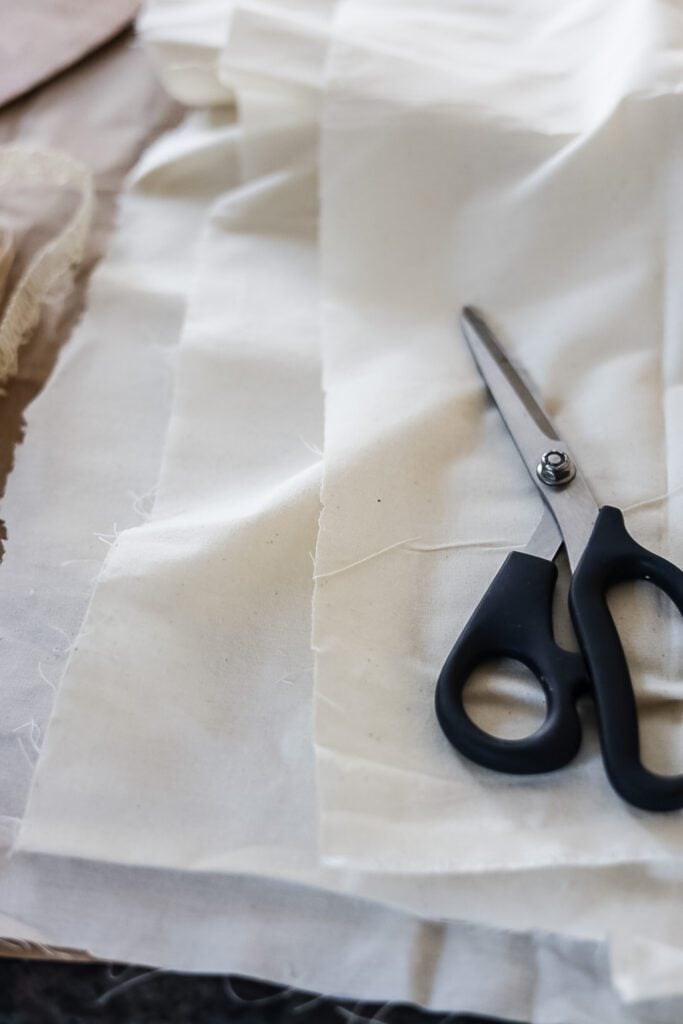
I wanted to keep a neutral tone to go with the vintage look of the heart. I gathered a few different textured ribbon trims that I had and also a yard of cream-colored linen fabric.
- Gather your ribbons and fabric strips (cut to ~20 inches each).
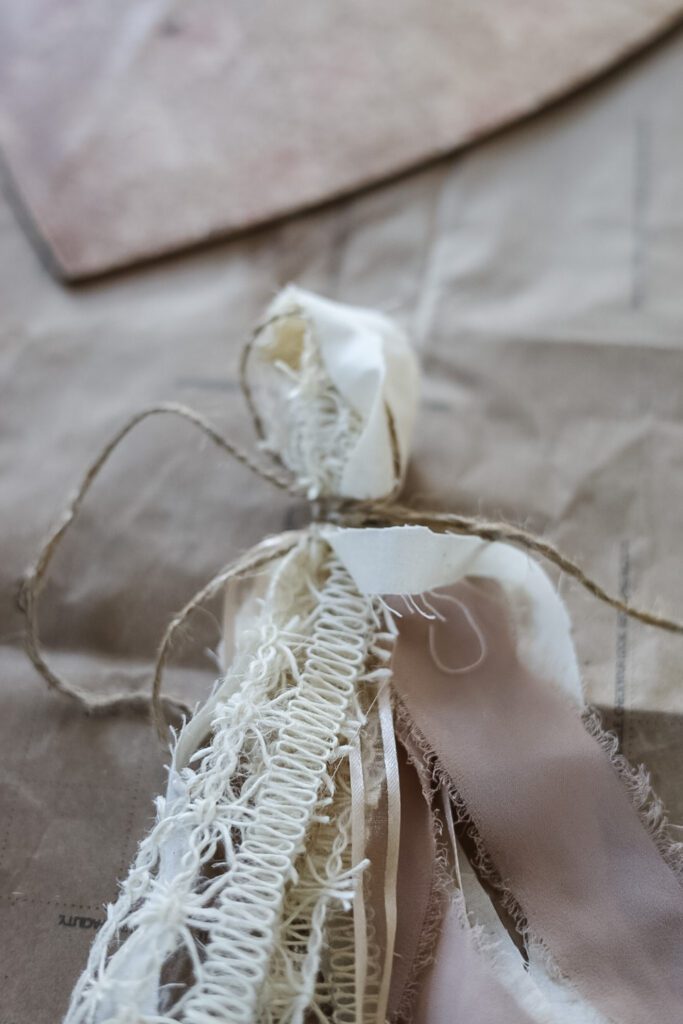
- Fold them in half together to form a bunch.
- Wrap jute twine tightly around the top, leaving a loop for hanging and long tails.
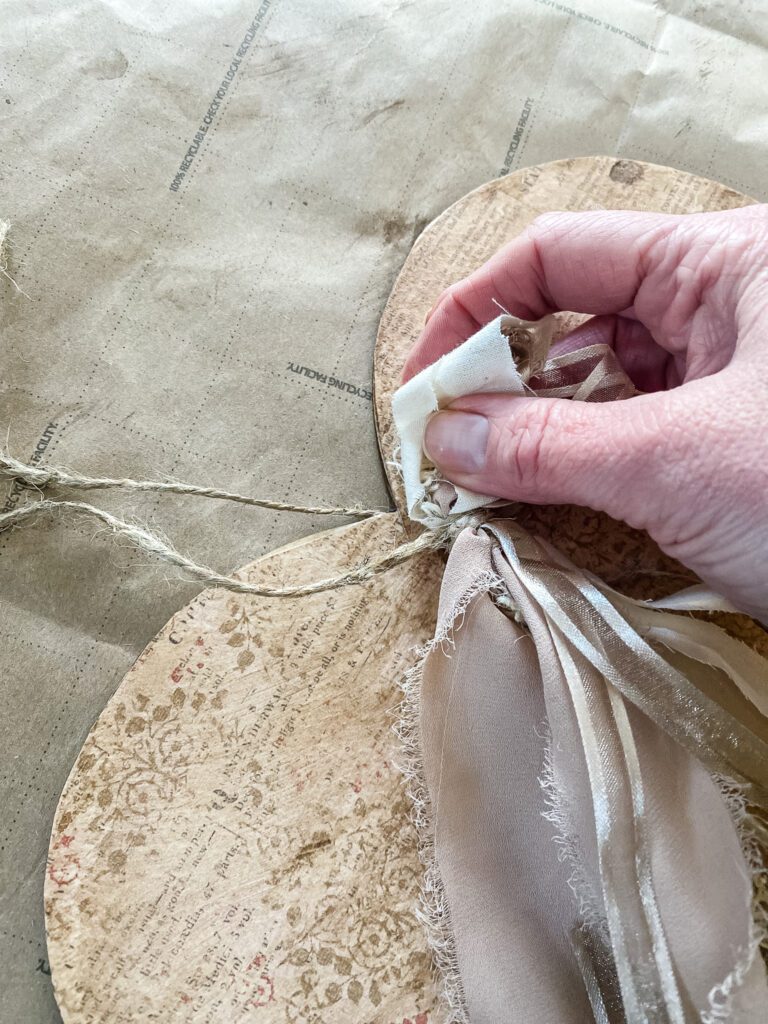
Make sure to cut the jute twine so the tails are long enough to run through the hole at the top of the heart sign to make a hanger. Tie the ends of the jute in a tight common knot.
Step 5: Optional Finishing Touch: Dried Flowers
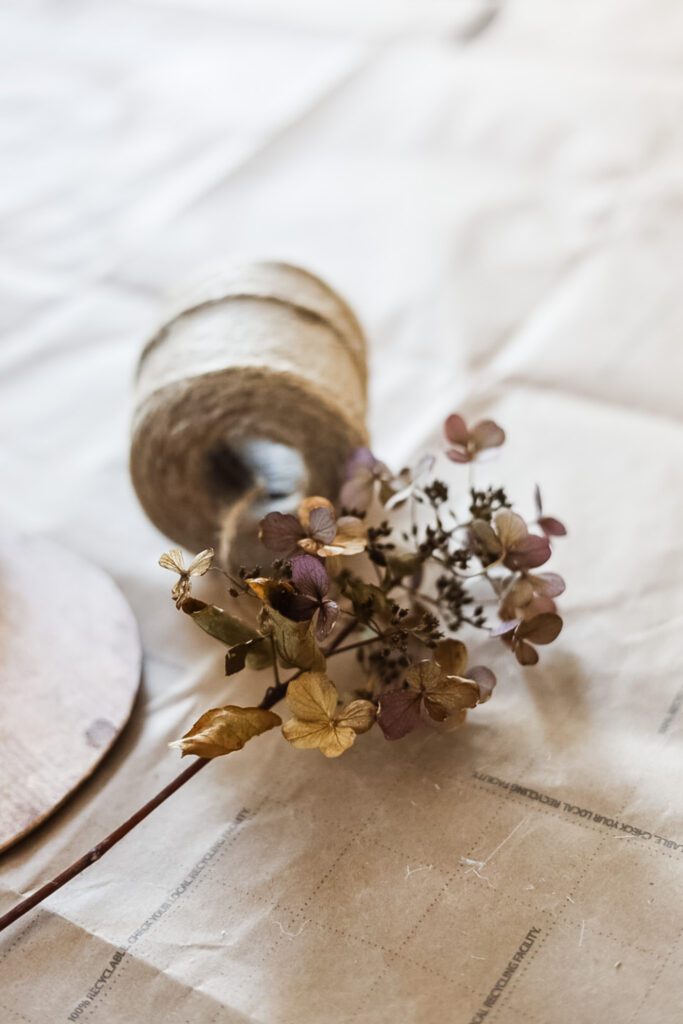
Tuck 2–3 small sprigs of dried hydrangeas (or similar) under the twine knot for a romantic, Victorian pop of soft color. Secure with a tiny dab of hot glue if needed.
Tips & Variations
- No wax? Try dark walnut stain or tea-staining the paper edges before adhering for a similar aged effect.
- Color twist: Swap neutral ribbons for soft pinks/blues or go bolder with velvet for texture.
- Make it personal: Add a small scripted word (like “Love” or a name) with rub-on transfers before waxing.
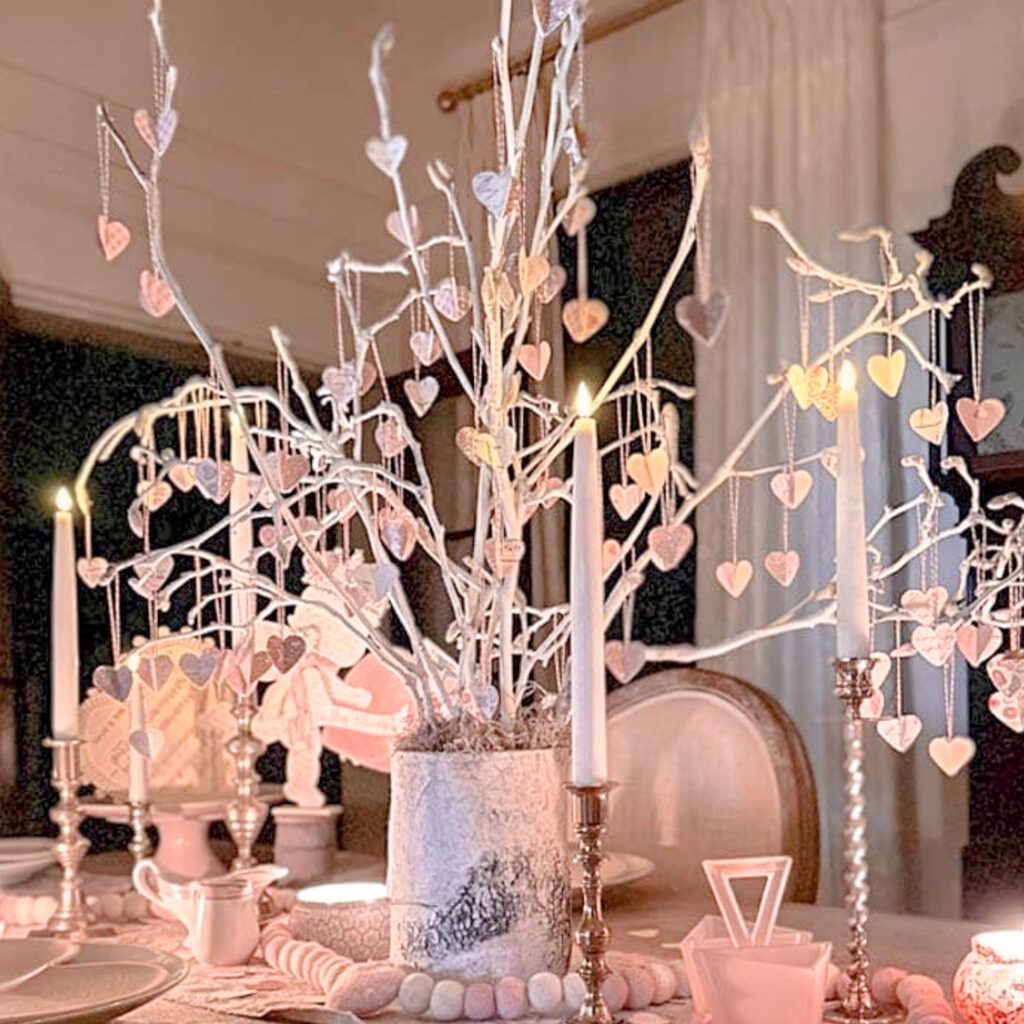
- Uses: These hang beautifully on doorknobs, mirrors, or hooks—great for seasonal swaps!
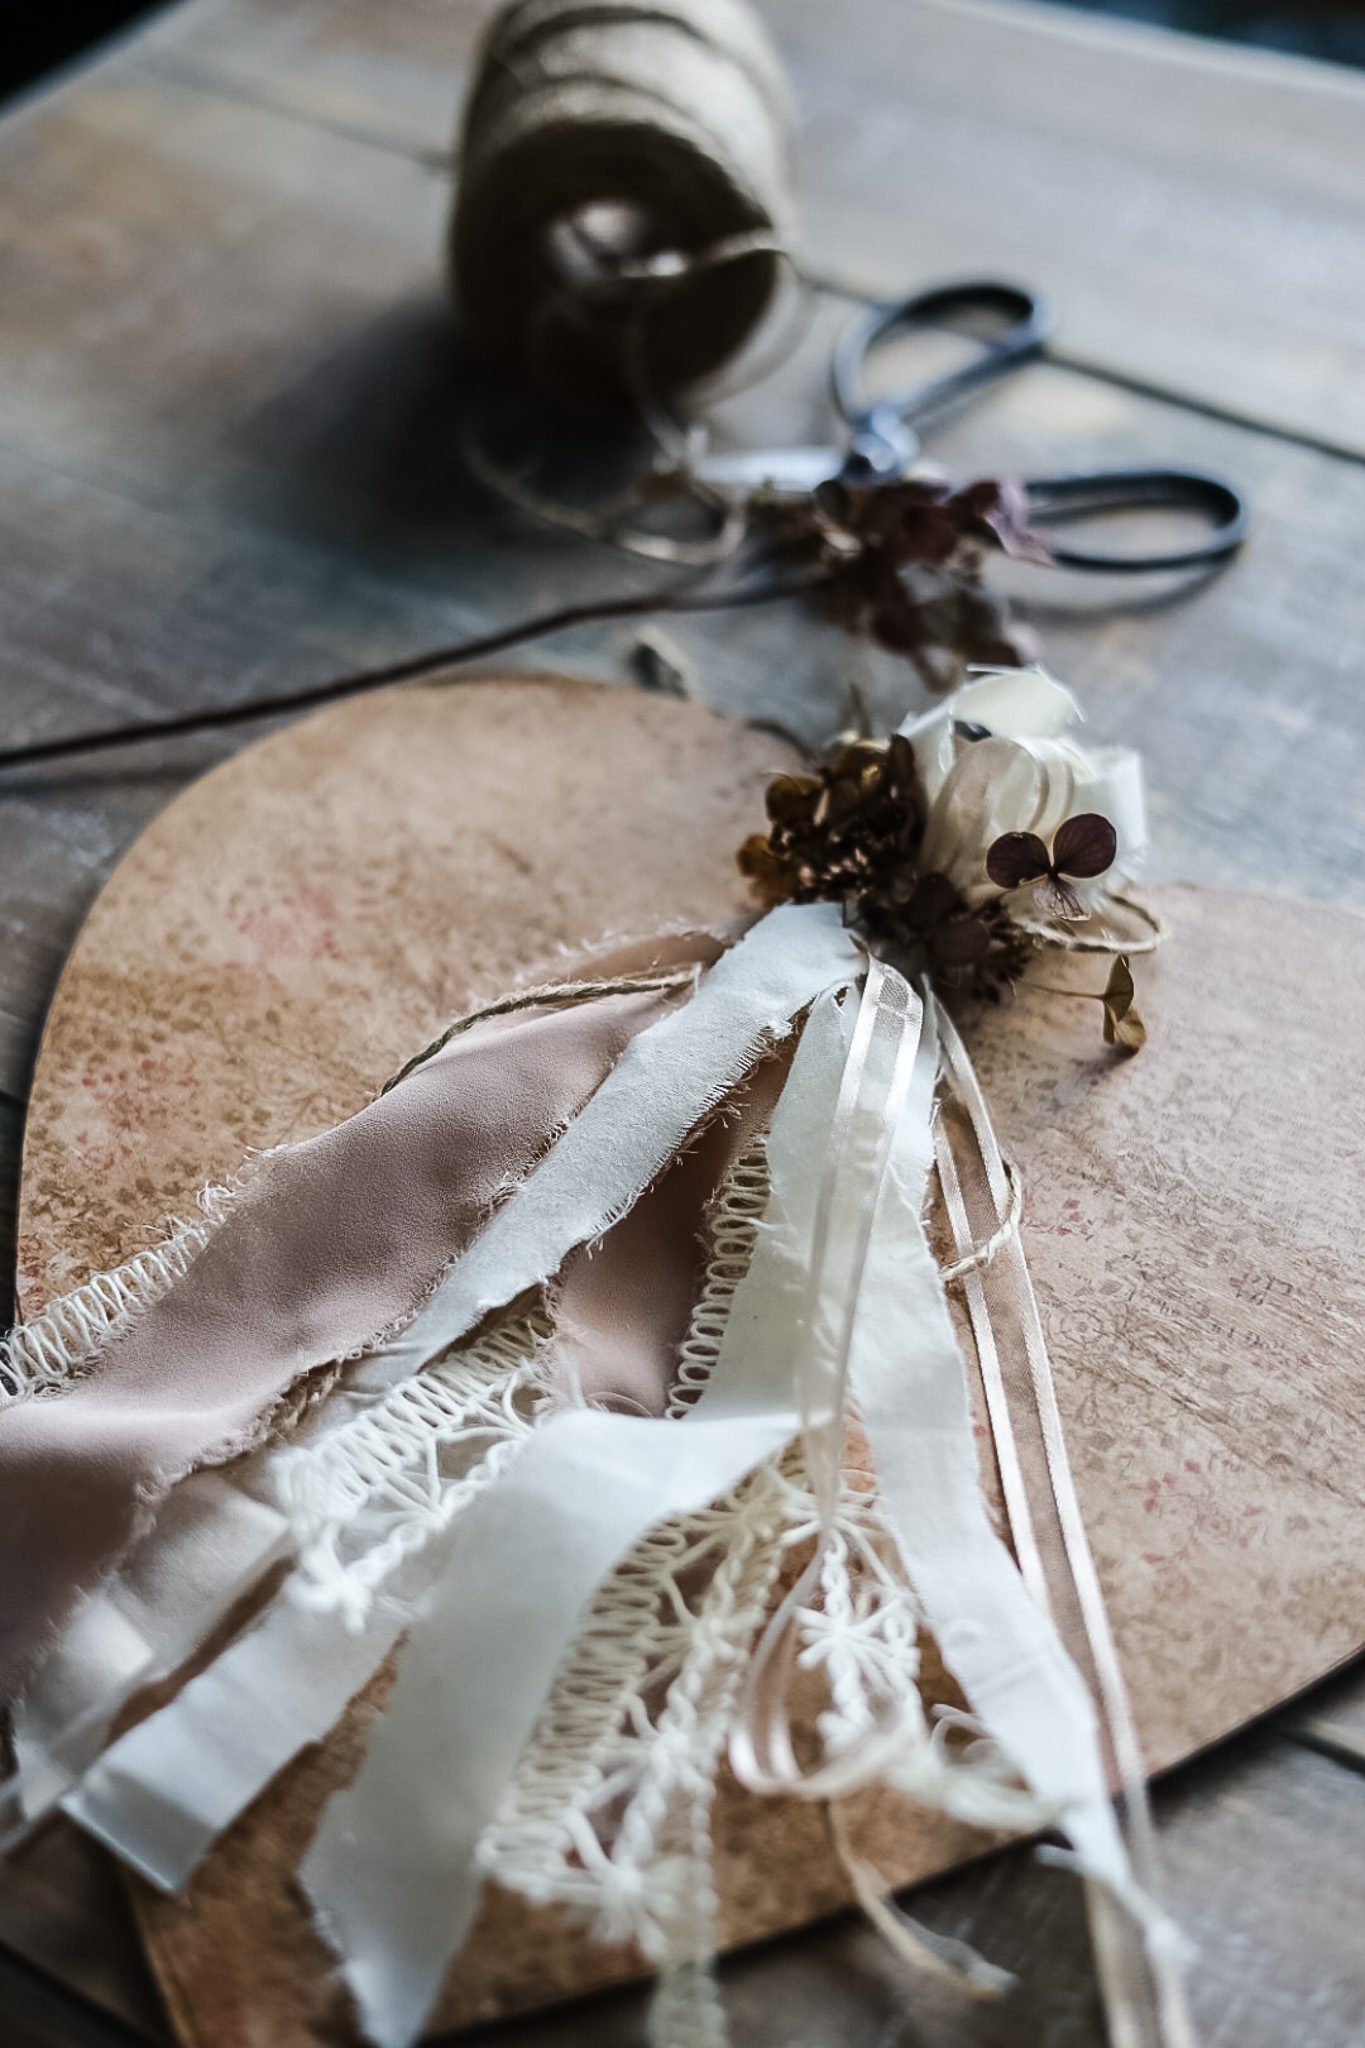
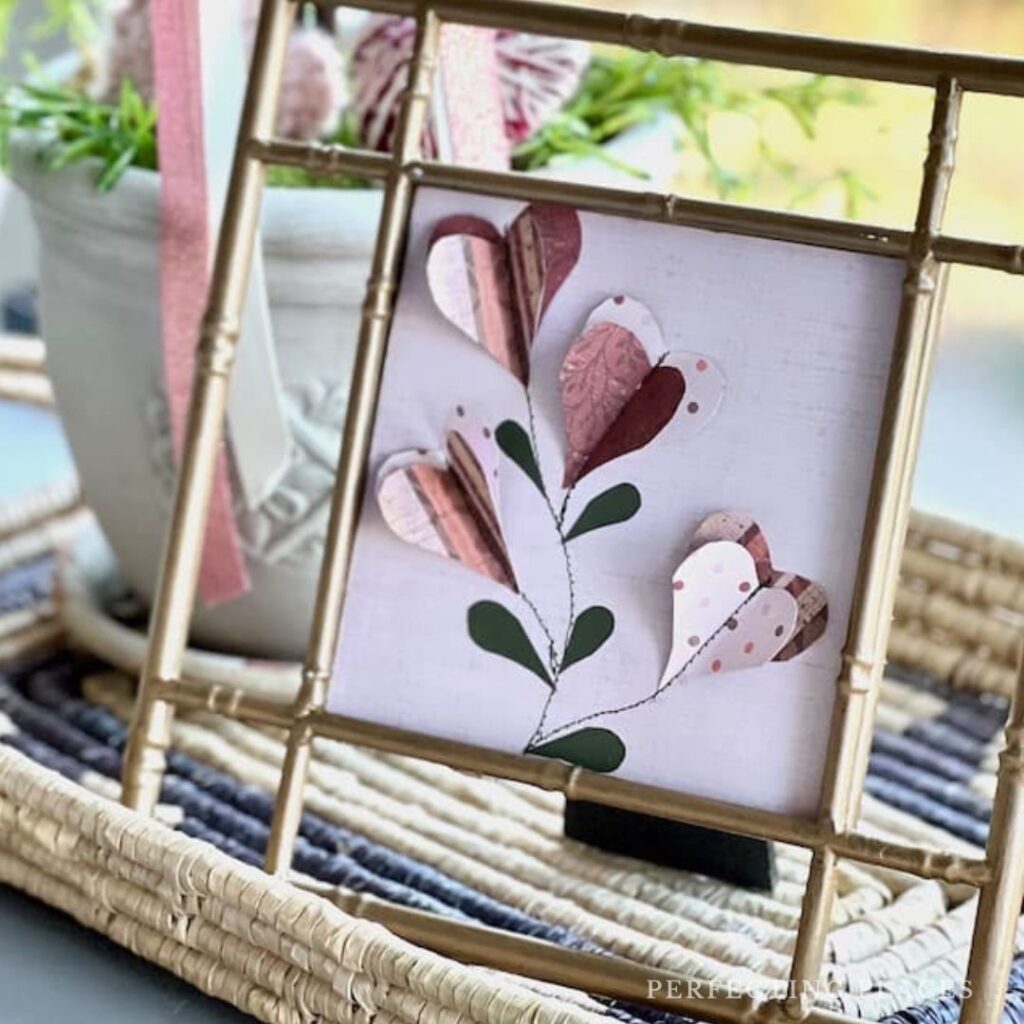
Finished Vintage Hanging Heart

Here’s the completed piece-soft muted tones, delicate ribbons, and those sweet dried hydrangeas give it such an old-fashioned, romantic vibe. Doesn’t it feel like something from a Victorian parlor?

xo, Jennifer
Love projects like this? Don’t miss out! Join my newsletter family for more cozy, budget-friendly DIY ideas delivered right to your inbox. You’ll get exclusive tips, early access to tutorials, and all the inspiration you need to make your home feel handmade and heartfelt.


More Heart Ideas To Try


This is so pretty Jennifer! I love this blog hop idea, so fun! So many talented ladies in one group!
Love the vintage inspired charm on your heart. It’s cute!
Thanks, Tammy!!
Jennifer,
This is such a pretty piece. Also, you can put the modpodge on the wooden heart, let it dry, then lay your uncut paper on top. Iron on the paper, using parchment paper on top and no steam. Then just sand around the edges to “tear” the paper. Comes off perfectly around the edges of the heart and no worries about wrinkles in your beautiful paper.
Tawn
How pretty! I love this one!
If there is mod podge involved, it’s a project for me! So pretty, Jen! 💛
Beautiful! Pinned!
Jen this is so pretty! I’m excited to follow all of my favorite ladies and see all the things you create <3
Aww, thanks Nic!!! They are a fun group for sure!
I love everything you do! You just have such a great style! This is gorgeous!
who is sweeter than you…no one that’s who!!!
So pretty Jennifer! love the softness of the ribbon with the dried hydrangea.
And that graphic of all of us is so fun! Can we use that? so fun.
I’m addicted to that chiffon ribbon!! I started using it last Fall and have tried it in so many colors now. Aww, thanks…I wanted to make something with my theme colors and fonts! Of course, you can…I can tweak the colors for your theme too.
Jennifer
This looks so pretty. Great job.
Thanks, Rachel!!!
Love the little details you added to the heart with the variety of ribbons and dried hydrangea stems. Perfect vintage feel!
Thanks so much, Michelle!!
This is so beautifully elegant, Jennifer! I love the finish on the heart and the ribbon embellishment makes it so special! Perfect for our paper meets hearts challenge! Great job!
Aww, thanks, Missy!! Your project was so cool!!
SO beautiful, Jennifer. I love the romantic vibe. I pinned it to my Valentine board to share 🙂
xoxo
Thanks, Jen!!!
Such a cute idea. I love it.
Thanks, Renae!
So cute, Jennifer! Love how you used the wax for a great aged look.
Gosh, I love that Waverly wax! It’s my favorite.
Jennifer, your vintage heart is so pretty! I love the addition of the dark stain for the perfect vintage touch. Just beautiful, my talented friend!
Thanks so much, Kim!!