
I’ve decided to add a cut flower garden and need more space to do it. This is how I’m expanding my garden this year so I have plenty of room for flowers.
Making Room For A Cutting Garden
My little veggie patch has been my happy place for ages, overflowing with yummy homegrown goodies and pretty blooms. But lately, I’ve been totally smitten with the idea of having even more flowers around. Can you imagine filling your house with gorgeous, fresh-cut blooms all Summer long?
That’s exactly why I’m diving headfirst into a super fun project: making more space in my garden for a dedicated cut flower haven!
This post includes affiliate links; you can read my disclosure policy here.
My Garden Space
I started my garden 4 years ago, the first Spring we were in this house. I picked a sunny patch on the side of the house. You want to make sure your garden is in a spot that receives full sun.

The first couple of years my garden space was 16×16 feet. For a small space, it was prolific! I added a couple of raised garden beds and a few trellises and grew most vegetables vertically. Growing vegetables vertically saves space so is essential in a small garden.

Last year I expanded it another 8 feet in length. The white picket garden fencing came in a kit and was discontinued so I used the metal Tposts and plastic fencing to make the back wall of the fence.

I wrote more on my vegetable garden here for you to read.
How I’m Expanding My Garden
I spent the winter dreaming of having a flower cutting garden and scrolling the Floret Flowers site (a great resource to learn about flowers!!) Last year I saw so many beautiful pictures of cutting gardens and bouquets of amazing flowers that I knew I needed to make space for one!
I decided that the optimal location for growing flowers would be where my existing garden is because it has sun all day long.
Clearing the Space
Since this area was lawn the quickest way to transform it into garden space is to rototill it. I thought my arm was going to fall off by the time I was done!!
I’m expanding my garden roughly 16 more feet forward to house the new cutting garden.

After I rototilled, the next (grueling) step was to remove all the grass chunks…I have to be honest, it’s tedious! This was the toughest part of the entire project.
Garden Fencing
My plan is to move my existing cute white fence forward so it looks pretty from the street and then use green T posts and green metal garden fencing for the back portion of the garden…it will blend in with all the vegetable plants anyway.

So I took off the front panels of my fence first and then proceeded to move the panels from the back of the garden to the front.

Now that the fence was done…I took 3 Motrin and a hot shower!! But after a long winter, it feels so good to get outside and garden!
Adding Raised Beds
I knew I wanted to grow my flowers in raised beds for a couple of reasons: first, this area was just lawn about a day ago and the soil is junk and second, they just look cute!
I was going to build some but the price of lumber is crazy right now so I opted for 4 of these wooden raised bed kits from Amazon.
There were already 2 metal raised beds in the garden (they were the beginning of my old space) and I decided to buy 4 more metal beds for the veggie part of my garden. (these are the ones I bought)
Both the wood and metal raised bed kits are super easy to put together. For the wood one, the pieces just slide into the supports; the metal one is screws and wingnuts (took me about 20 minutes to build).

The wood kit is natural wood so I decided to stain it with my favorite color Minwax Classic Gray. I’m going for a cottage garden vibe and that stain color just makes the new wood look aged and weathered.
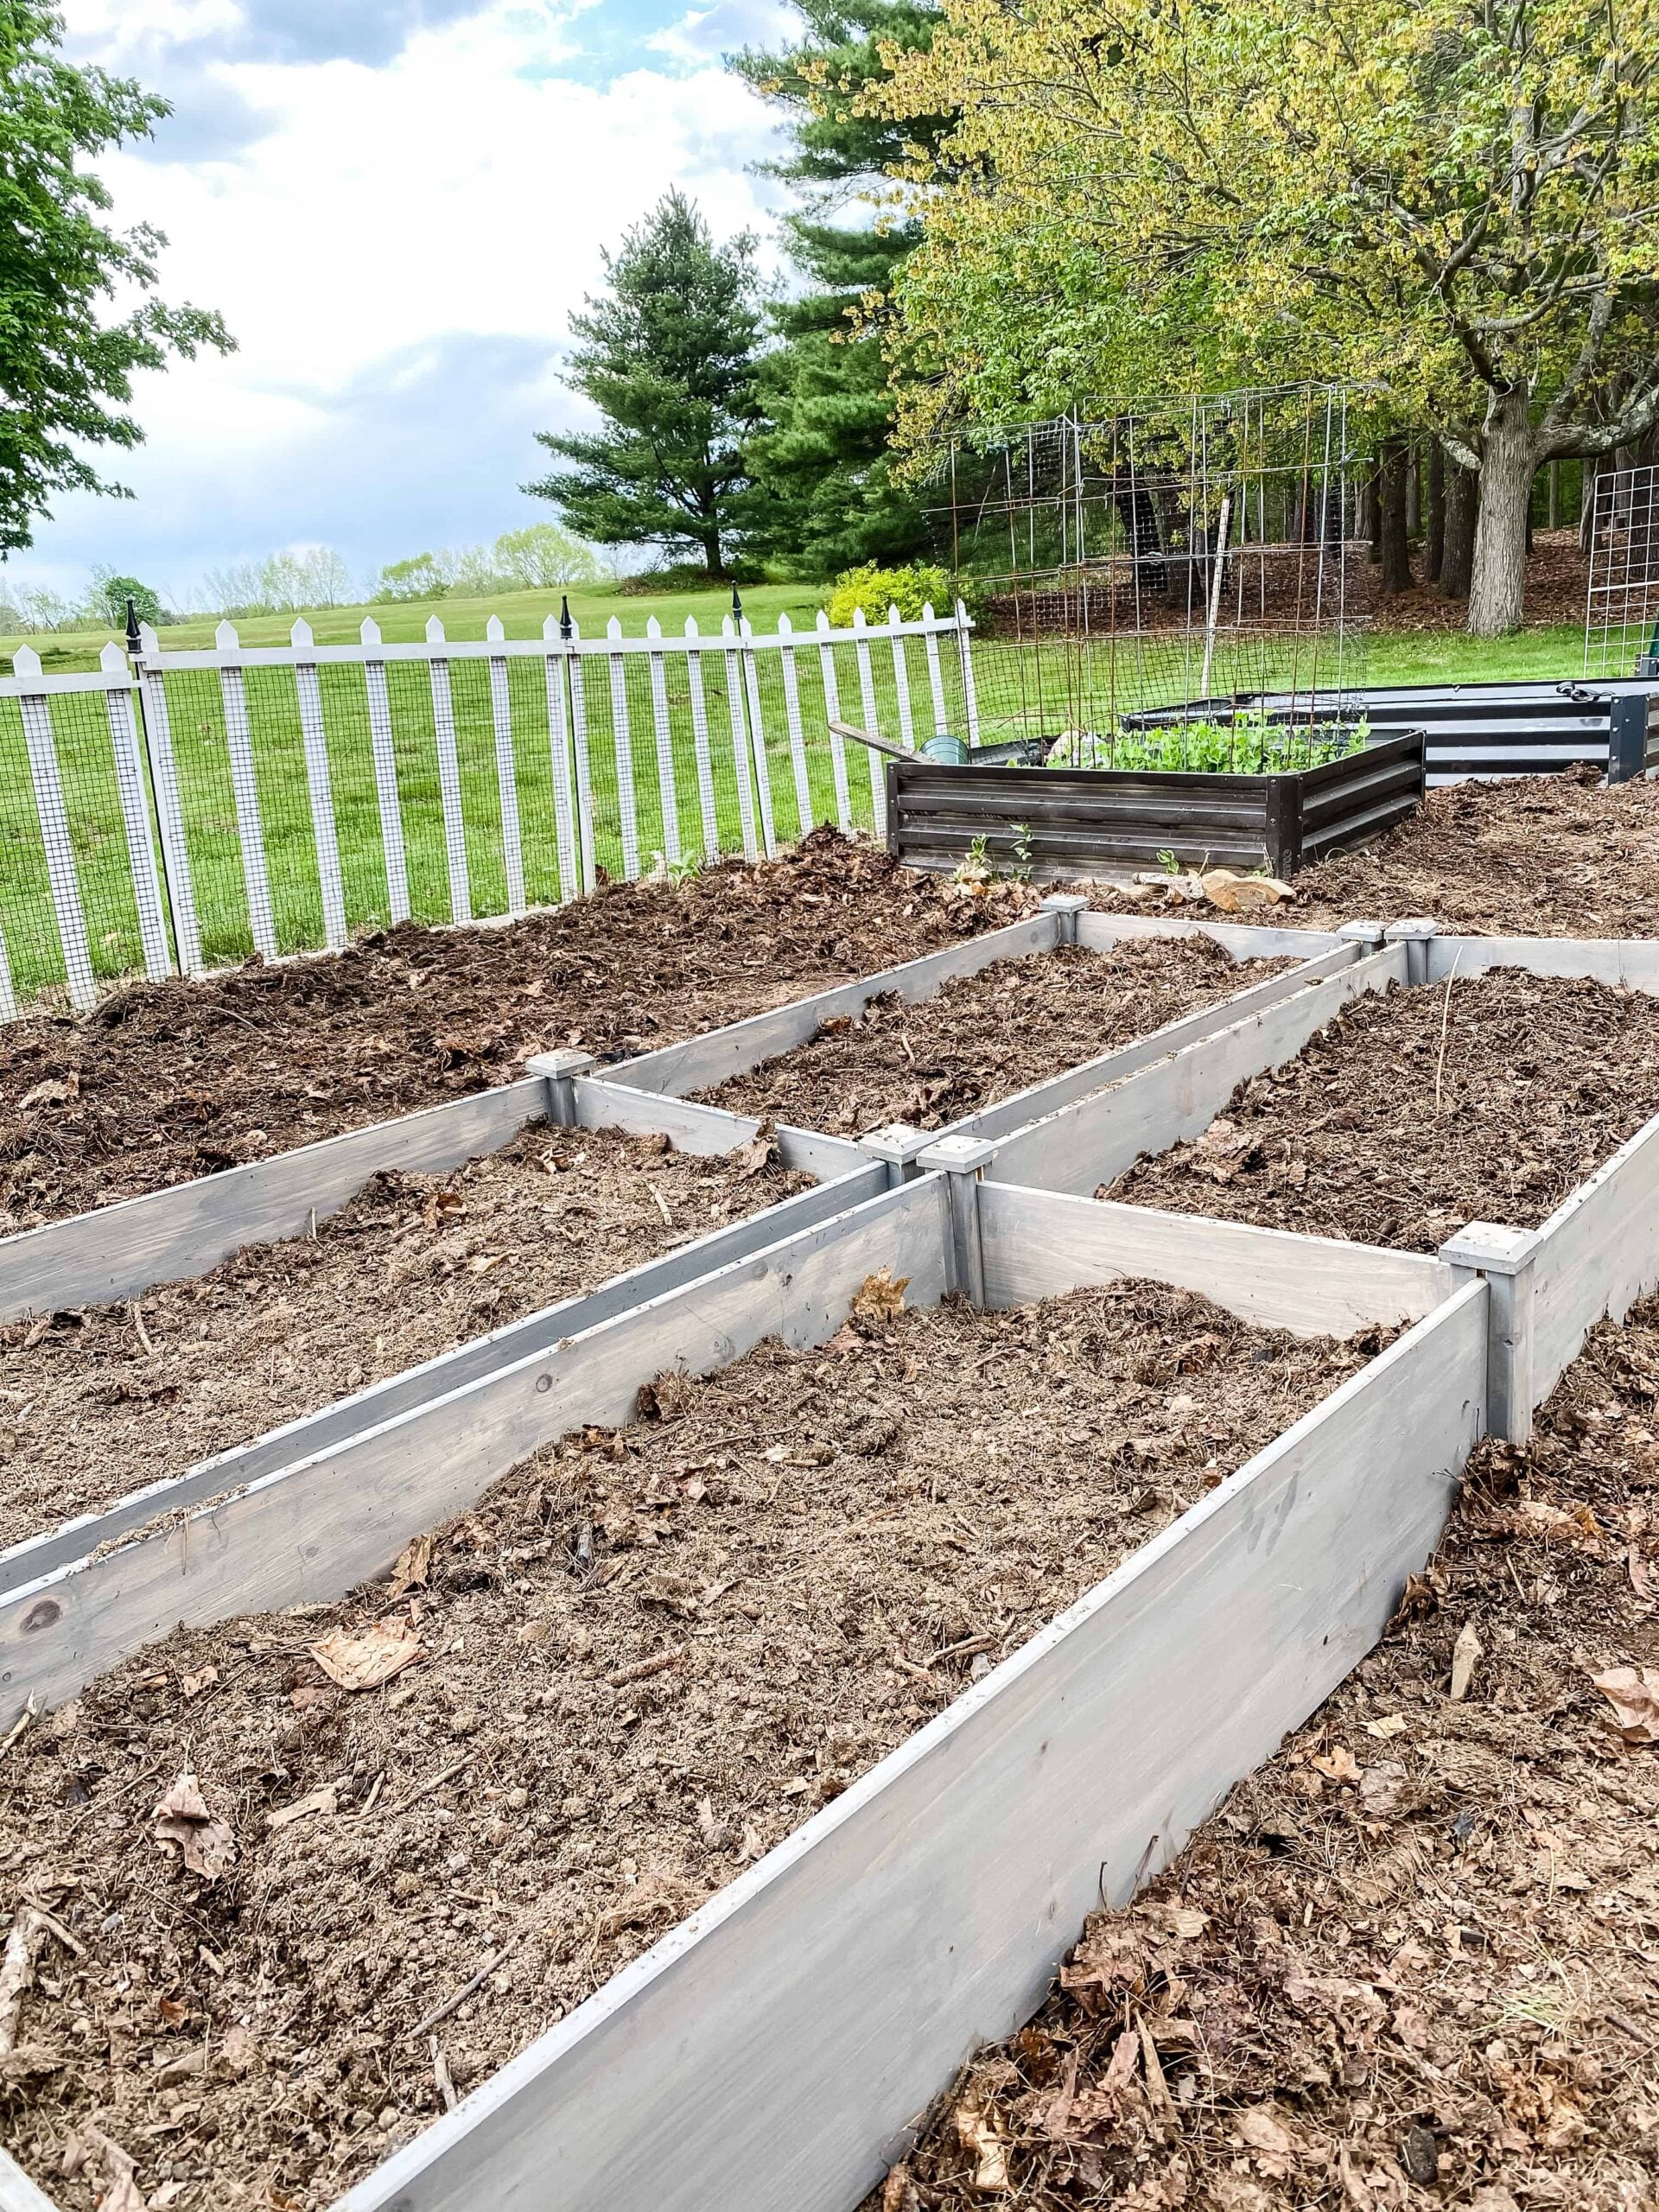
OK…after all my labor here’s what the expanded garden space looks like after I dragged in all the raised beds (and rearranged them a few times).

The wooden raised beds in the front will be where I am going to plant my cutting garden. You can see for yourself how beautiful it was!!
The 6 metal raised beds will be for my vegetable garden and I’ll be adding my DIY garden obelisk tower and a few other structures for my vegetables to grow on.
Filling Raised Beds
The method I’m going to use is called the no-till method or lasagna gardening. It’s basically building layers in the raised bed.
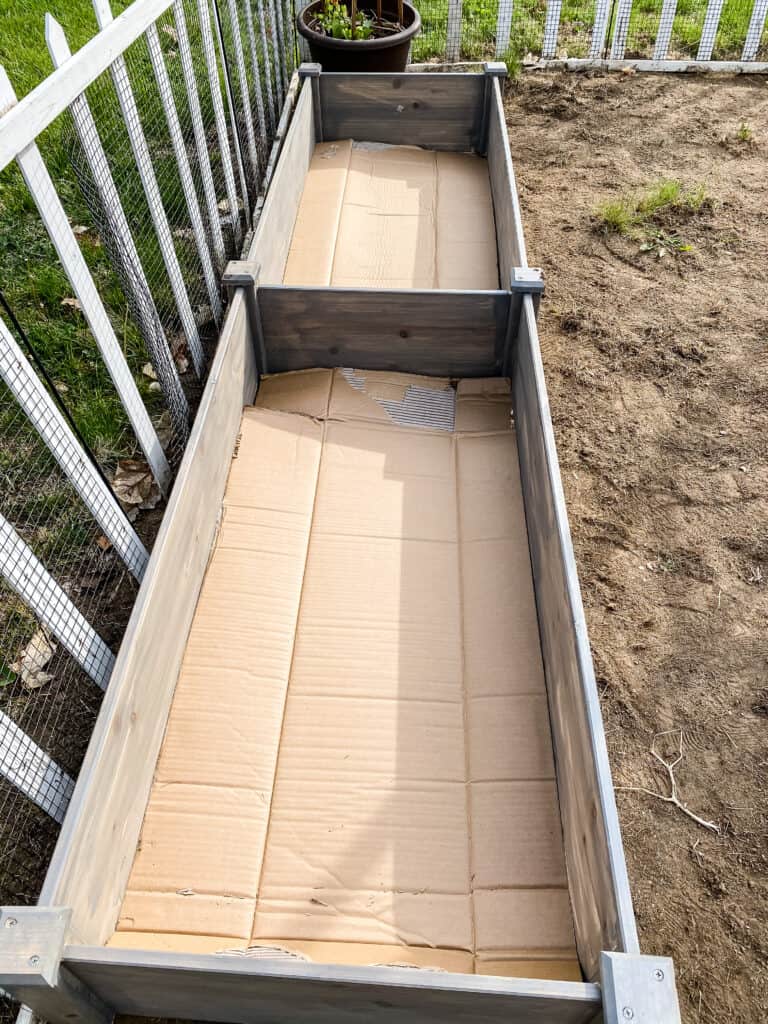
First, I used cardboard boxes (actually the box the bed came in) to line the bed. I gave it a good soaking with the hose when I was done. The cardboard will keep down the weeds and grass by smothering them, but it’s also a natural material and it will organically breakdown over time.
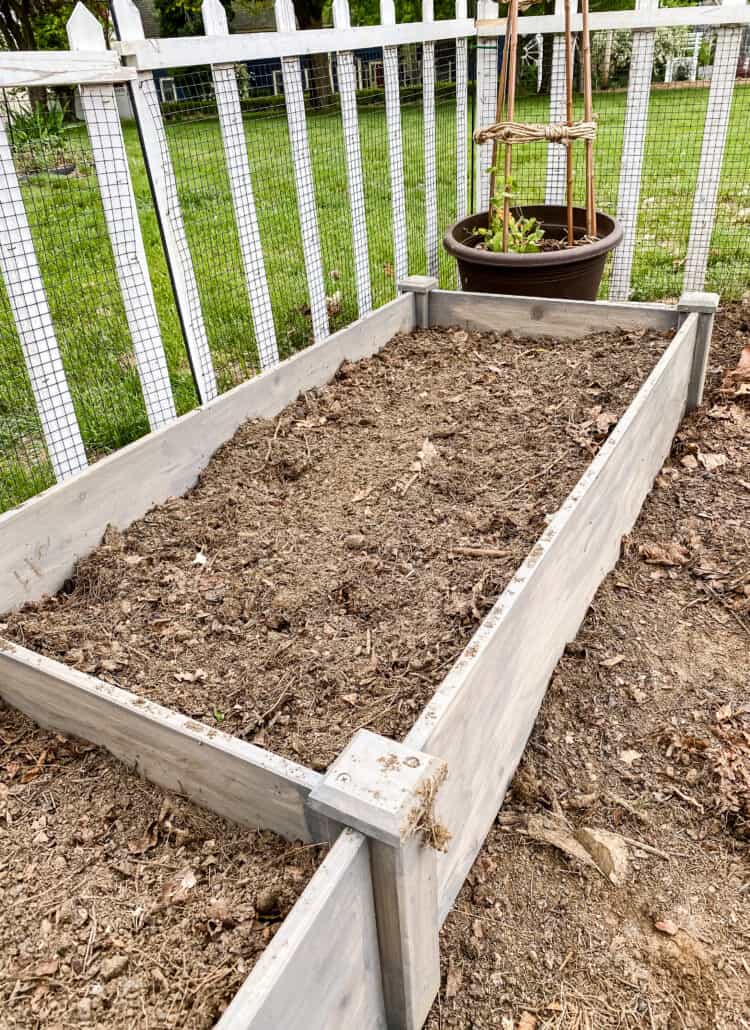
Then you need to add organic matter to the bed. You could use straw, sticks, and decomposing leaves as a base with compost layered on top.
We have a giant compost heap out back of all the yard clippings, leaves, sticks, old plants, etc. from the past few years. It’s super rich!! This is what I am using to fill all the beds.

That took a Sunday to fill all the beds!! The extra mulch was spread all over the garden paths.
There’s a peak of the Cottage Garden Trellis I made last week…I’m planning to make a few more for this cutting garden too.

Here’s a peek at the entire garden at the beginning of the season. I wrote an extensive article on starting the cutting garden where I go into detail about all the flowers that I planted and how they progressed through the growing season…hint, it was really beautiful!! I’m so glad that I went through all the labor to make this garden expansion, it was so worth it!!

Now that you’ve taken the plunge and expanded your garden, you can look forward to a season of beautiful blooms and fresh-cut flowers for your home. With a little planning and effort, you can create a cutting garden that provides you with enjoyment throughout the summer.
So grab your gardening gloves and get started – you won’t regret it
See your projects featured! If you are inspired by this or any of my other DIY projects, I would love to see them and add you to the Reader’s Spotlight gallery. Send a photo to me at jennifer@cottageonbunkerhill.com
xo, Jennifer
Grow With Me Gardening Series

This is part of the Grow With Me Gardening Series here at Cottage On Bunker Hill. I want to teach you ways of starting, maintaining, and enjoying gardening. I will share all the tips & tricks that I have learned over the years growing both vegetable and flower gardens here in the Northeast.

-
10 Things I’d Tell a First-Time Gardener (That Nobody Actually Tells You)

Every Spring, a fresh batch of people decides this is the year they’re going to garden. Maybe it’s the seed…
-
The Ultimate Guide to Starting a Cutting Garden in 2026
Picture this: You step outside with shears in hand, breathing in the scent of just-picked lavender and zinnias so vibrant they look Photoshopped….
-
How to Divide Hostas in Spring: A Step-by-Step Guide for Lush, Free Plants!
Dividing hostas is easy—here’s how Hostas are one of the easiest perennials to grow in your garden. They are pretty…


Love your expansion of your garden and the plans for a cutting garden in raised beds. It has always been my plan to add a cutting garden but somehow my husband takes over the beds with his seed raised heirloom tomato plants. Maybe this year I can get him to build another few raised beds for my flowers.
Luckily Chuck doesn’t step foot into the garden unless he’s in there week whacking for me…but I have to watch him like a hawk because he’s taken out sunflowers and a climbing tree hydrangea that he thought were weeds!!!