
This simple Dollar Tree DIY for Fall is popular with readers and on Pinterest every year. Using a pumpkin sign and a few Fall touches you can make this super easy project in no time!
I’ve been obsessed lately with watching the Dollar Tree decor videos on YouTube- who knew there were so many things you could create using Dollar Tree merchandise?! I popped in my local store the other day and picked up a bunch of their Fall items and here is my Dollar Tree DIY pumpkin sign!
How to Make a Pumpkin Sign for Fall

This post may contain affiliate links, which means I may earn a small commission if you make a purchase through my links, at no extra cost to you. Read my disclosure policy here.
I started with this pumpkin-shaped sign
Step 1.


I removed the raffia and metal leaf. Since the writing is a little raised and there is glitter embedded in the writing on the sign, I flipped it over and painted the backside using Waverly chalk paint in the “Moss” shade.
Step 2.

After the green paint dried, I dry brushed on some white paint to define the pumpkin shape.
Step 3.


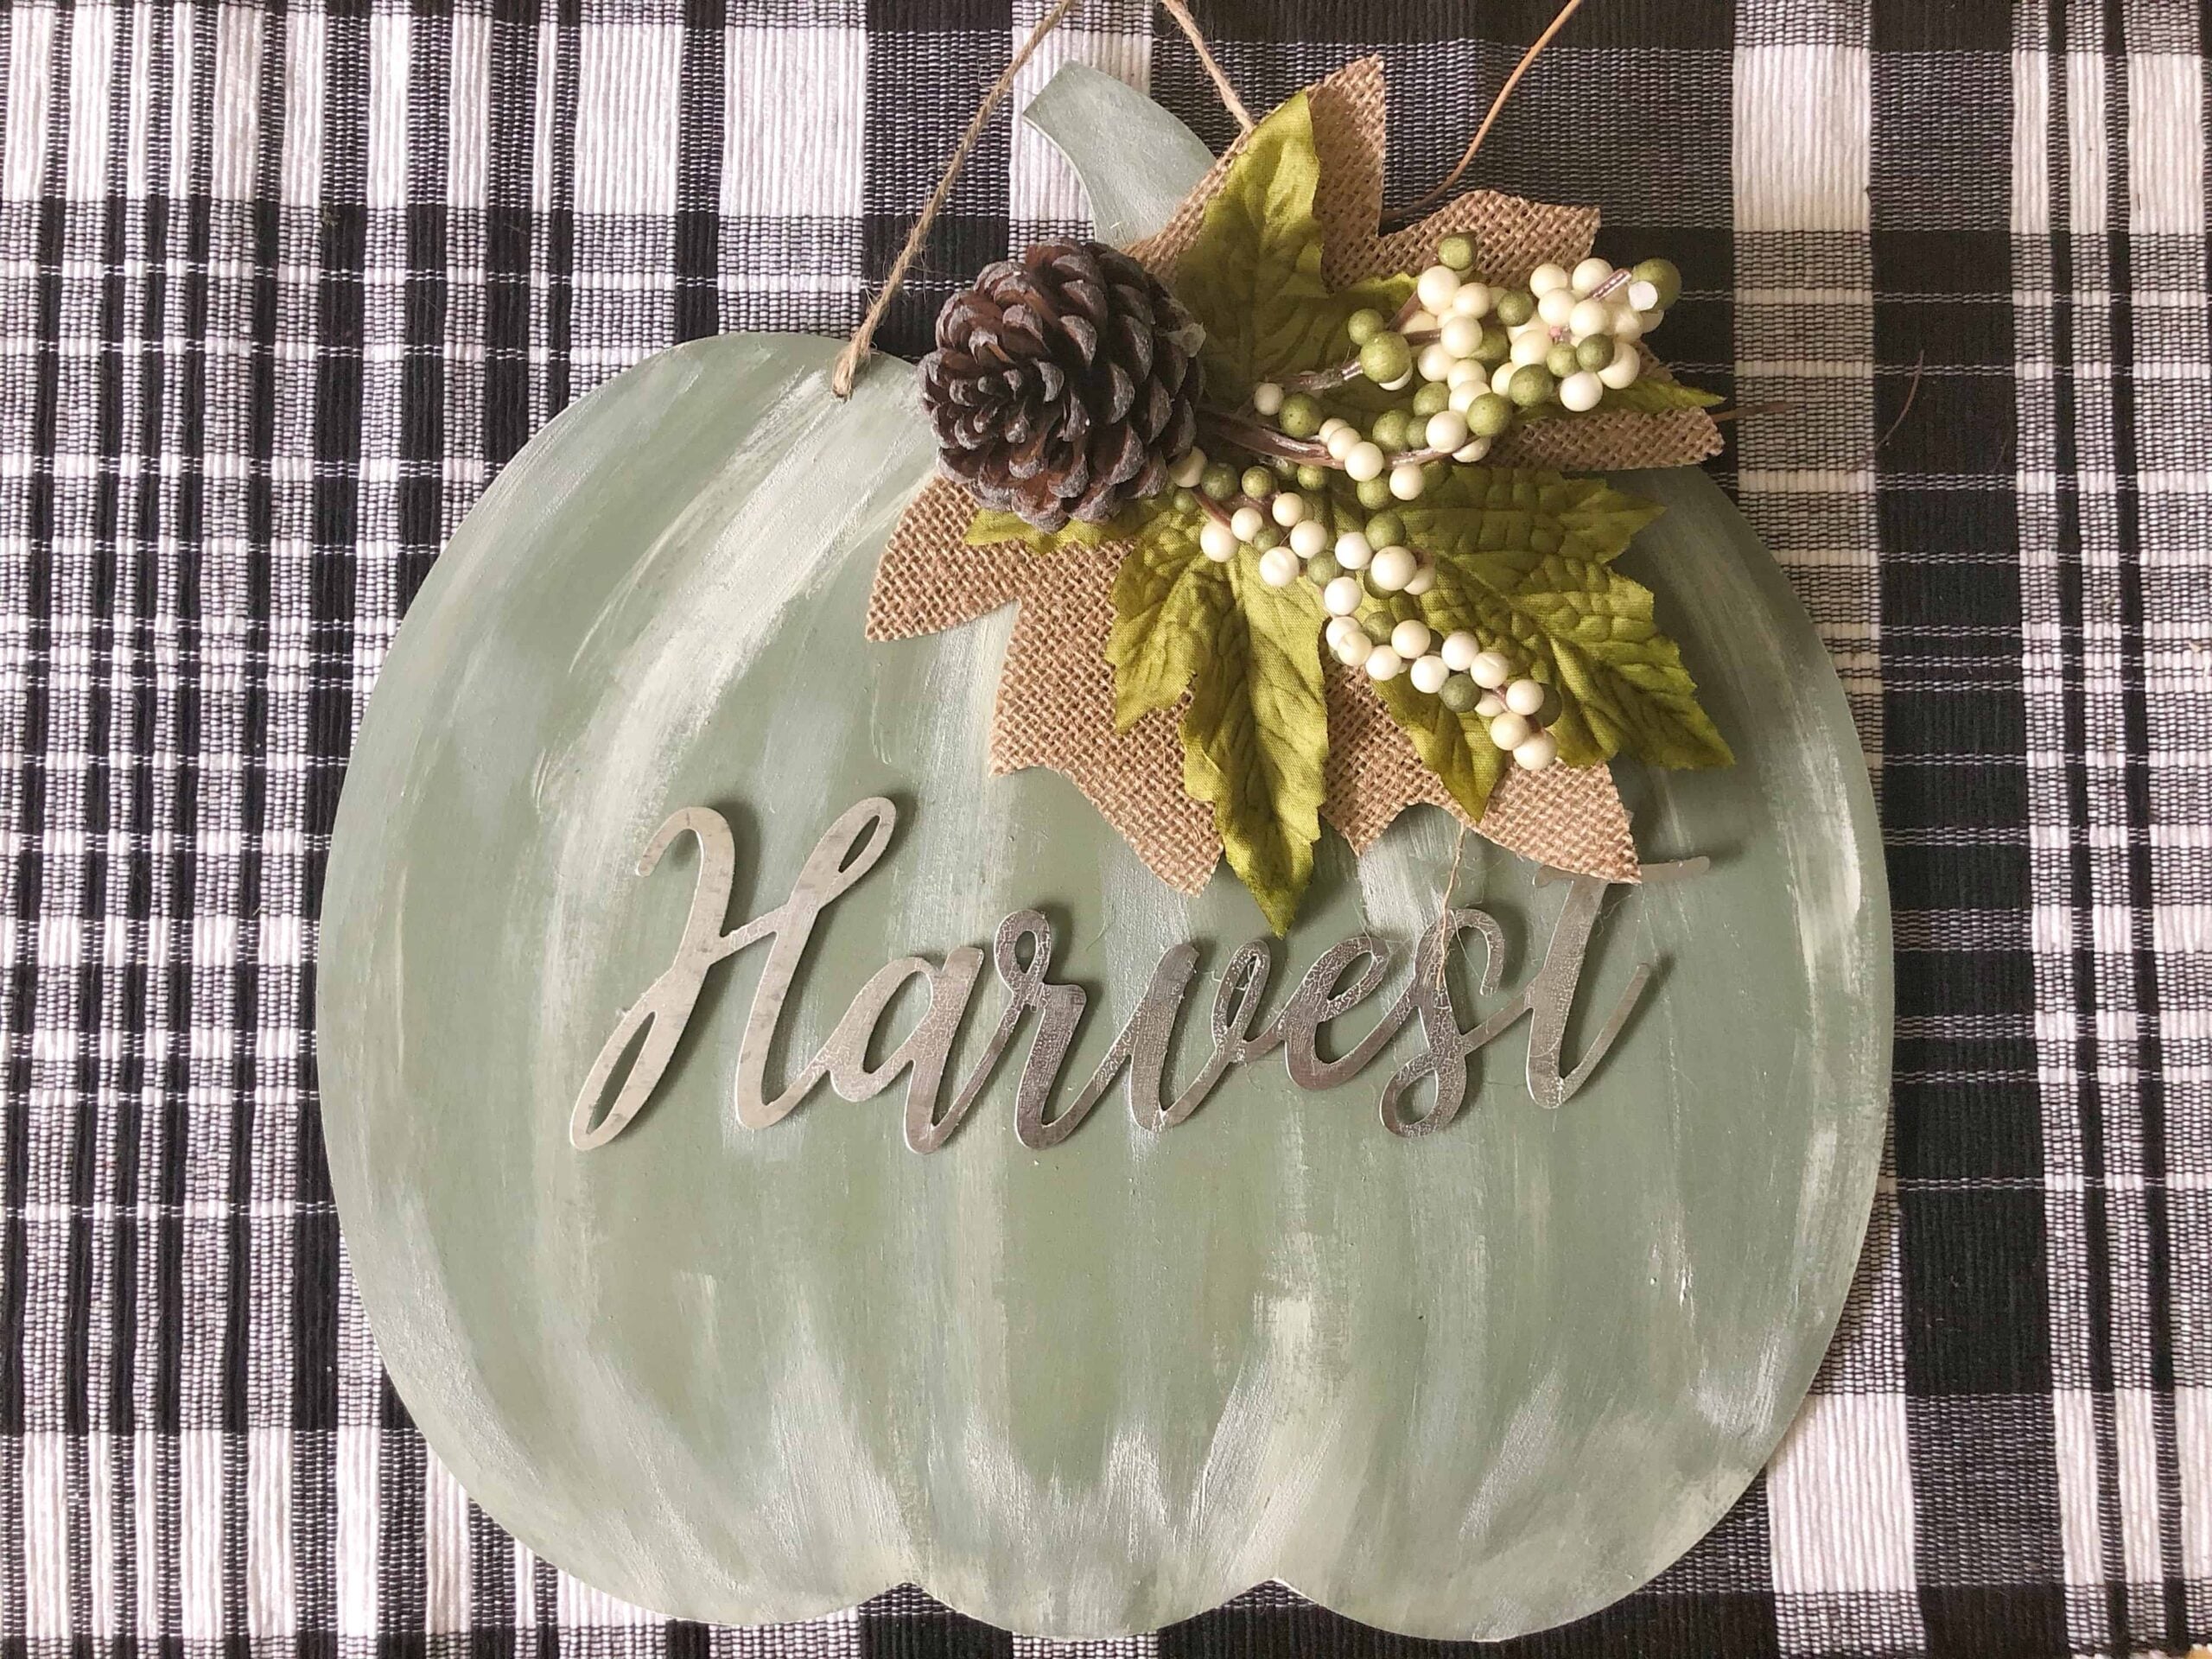
To decorate my pumpkin, I used the “Harvest” word from the 3-pack from Dollar Tree, a burlap leaf, and I pulled apart a flower pick I had leftover from my Fall wreath project.


I hot glued the “Harvest” on the pumpkin, then I glued the burlap leaf and the green leaf on the stem.


Next, I attached a sprig of berries and a pinecone.

I love how this came out! The best part is it only took me a few minutes to put this Dollar Tree DIY pumpkin sign together!

If you love Dollar Tree DIYs check out this Fall Garland that I made using a few items from the store!!
xo, Jennifer
The Latest In Fall Decorating
-
The Seamless Transition: How to Decorate for the “In-Between” Season
Put the witches away, but not ready for Christmas? Master the art of transitional Fall decor. Get easy ideas for a…
-
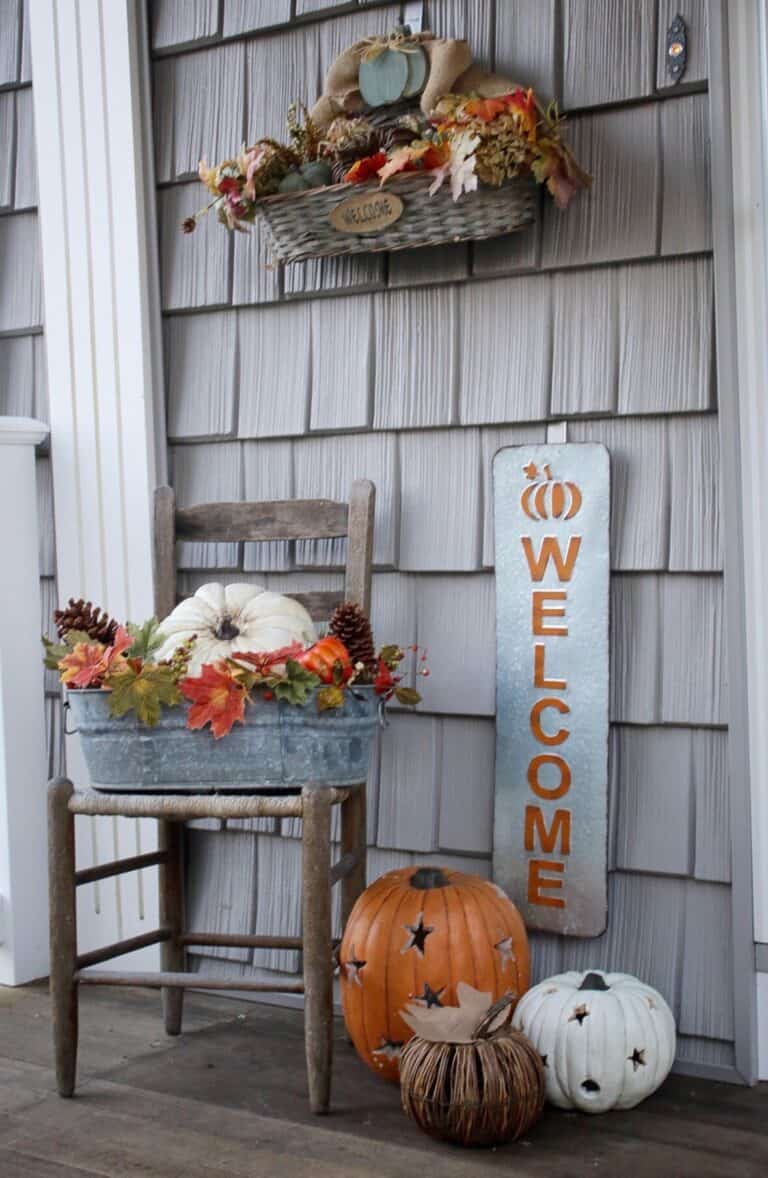
Welcome Home: A Collection of My Favorite Cozy Fall Ideas
You know that feeling when the air turns crisp and all you want to do is soak up every bit of…
-
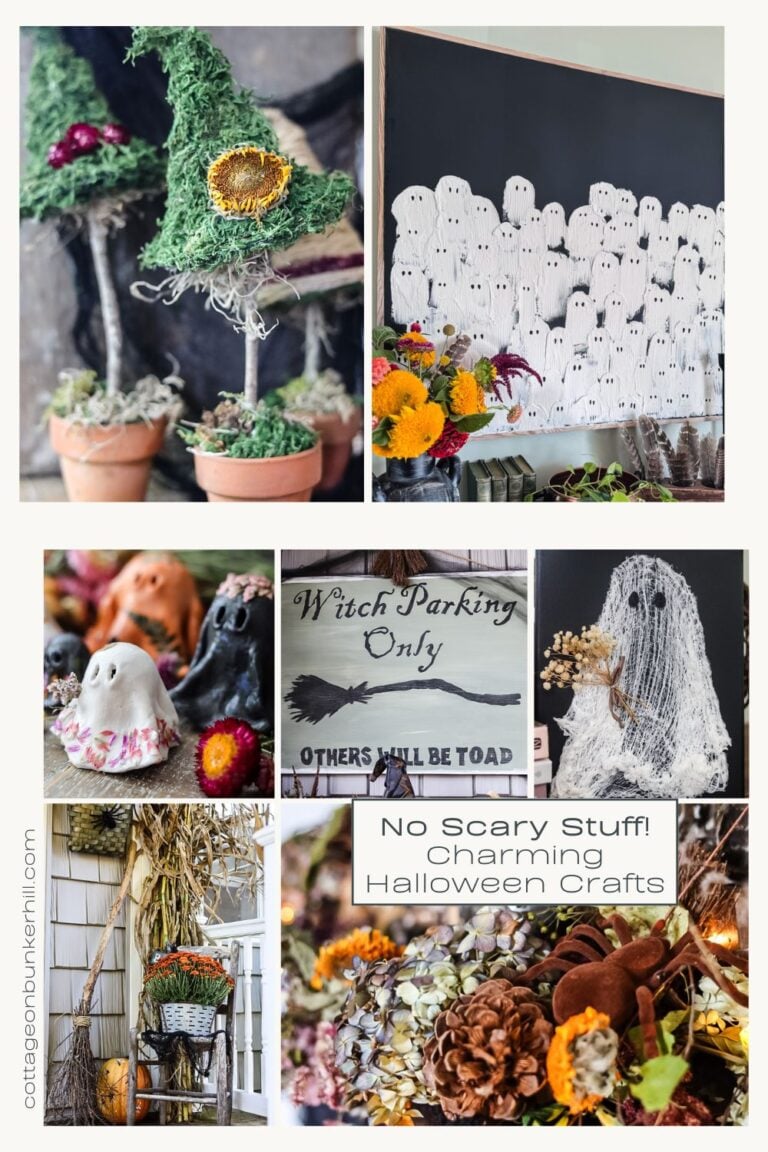
No Scary Stuff Here! Charming & Easy Halloween Crafts
Who says Halloween has to be scary? If you’re like me and prefer a friendly ghost over a gory one, and…
-
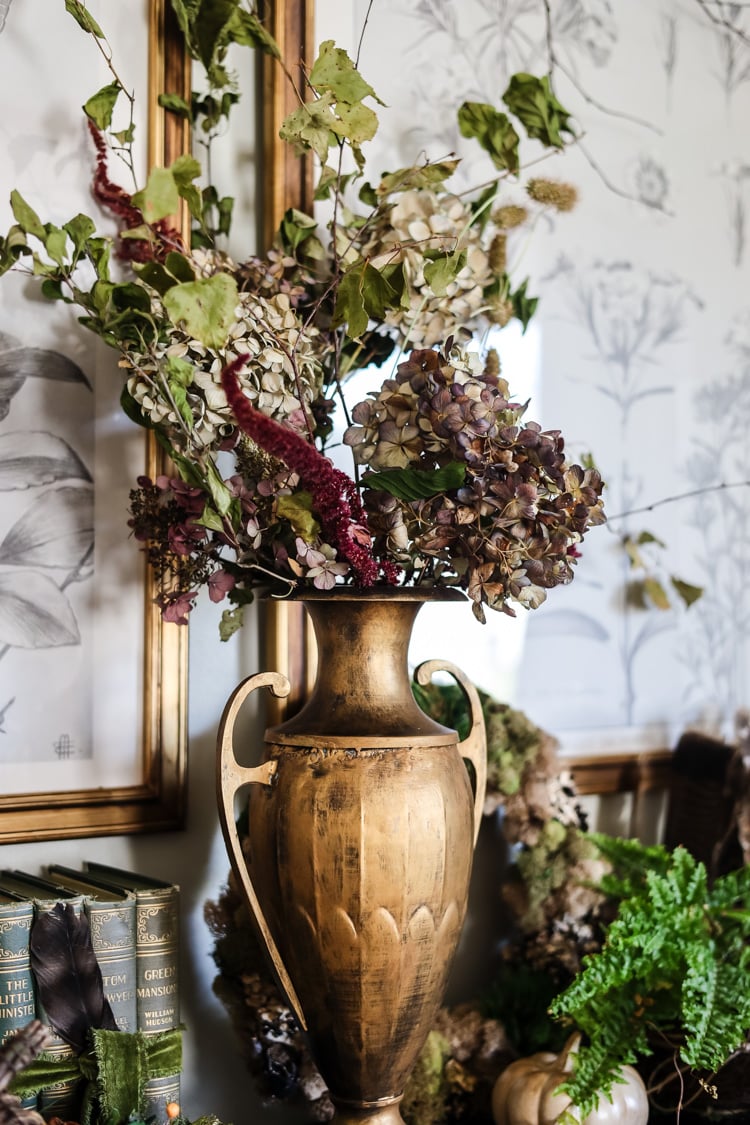
Don’t Deadhead, Decorate! Fall Style from the Garden
As the growing season fades, it’s tempting to see our gardens as messy or ‘done.’ But what if I told you…


After reading to bio, we must be soul sisters but on opposite coasts. I am an early bird (best thinking, praying and get things done time), coffee is my addition (I have a coffee broker who roast special blends just for me), nothing like the ocean breeze to calm the nerves, and I too, LOVE Hallmark movies (especially the Christmas in July one).
I love you projects. I look forward into seeing what you create.
YES!! I slept until 6 this morning and I felt like a teenager!!! Early mornings drinking coffee while everyone is asleep is my favorite way to start any day!!
Your sign turned out great! I’ll be adding your tutorial to my fall round-up. You definitely can’t tell it only took $1 on the sign & just a little more for the other items needed!
Thanks Niki!! I appreciate that so much!