
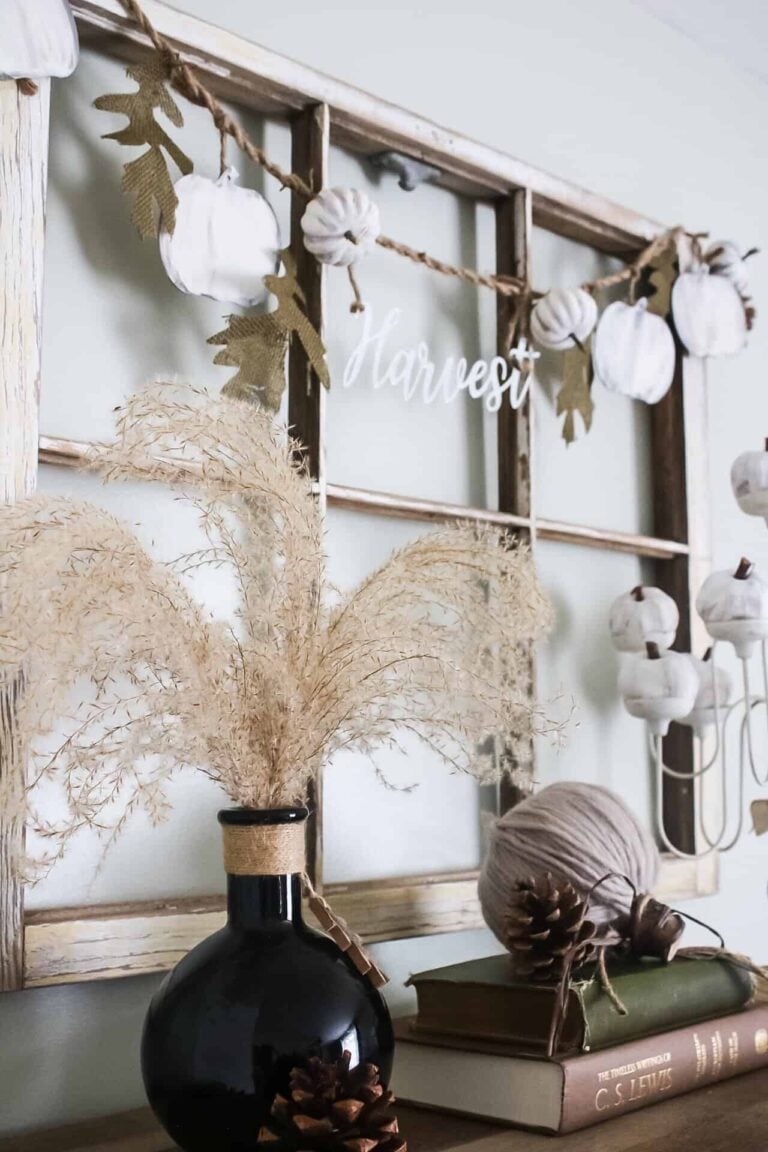
Here’s an easy and affordable Fall DIY project using a few things from Dollar Tree. Create a Fall garland with pumpkins and burlap leaves to add to your home for Autumn.
Who else is excited for Fall?? Don’t get me wrong, I adore Summer but nothing beats Fall in New Hampshire! I’m kicking off my Fall decorating projects this season with this super easy Dollar Tree Fall garland made with burlap leaves, wood pumpkins, and mini foam pumpkin clips. The best thing…everything is from Dollar Tree and the entire thing cost $5!!
I love low-budget projects that look beautiful too.
How to Make a Fall Garland

I scooped up a bunch of the Fall decorating supplies at Dollar Tree, if you haven’t checked them out lately, go…they have so many great things you can use in your own DIYs.
This post may contain affiliate links, which means I may earn a small commission if you make a purchase through my links, at no extra cost to you. Read my disclosure policy here.
Supplies for this Project:
- METAL WORDS
- MINI WHITE PUMPKINS
- WOOD PUMPKIN ORNAMENTS
- BURLAP LEAVES (I actually ended up using the oak burlap leaves)
- NAUTICAL ROPE
I also used jute twine and a pom-pom maker.
Step 1- Painting the Pieces
I pulled out the stems and took off the metal clips on the mini pumpkins. I gave them a quick coat of white chalk paint. ( the Dollar Tree pumpkins are more yellowy w/ flecks of brown)


Next, I painted the wooden pumpkin ornaments with white chalk paint; while the paint was still wet I brushed a bit of dark brown chalk paint around the edges and then lightly brushed a little over the entire pumpkin to add some detail.

After the foam pumpkins were dry I added small pieces of twig for the stems.
Step 2- Making Pom Poms
I used my pom pom maker and made 2 pom poms out of jute twine to add to each end of my garland.


Cutting through the twine was tough! I needed to use two hands to do it. After I removed it from the pom pom maker I trimmed around it to make it more uniform all around and then fluffed it up.
Step 3- Put the Fall Garland Together
I cut a 5-foot piece of Dollar Tree nautical rope for the base of the garland. I didn’t want it to be bulky so I removed a strand of the twisted rope, it’s a 3-ply rope and I simply untwisted one of the strands from the other two.

Now to assemble the Fall garland! I chose the “Harvest” metal sign and hung it in the middle of the rope using the jute twine to secure it to the rope.

To attach the wooden pumpkins I cut small pieces of the twine; tied one end to the garland and hot glued it to the back of the pumpkins.


I clipped the foam pumpkins on and finished the garland by adding the pom-poms. ( I attached them about 12 inches from each end because I wanted a tailpiece of just the rope on each end of the garland.
The burlap leaves have a long wire stem that I wrapped around the garland.

Step 4- Time to Hang Up The Garland!
I hung my Fall garland up across an antique window frame. I’m a sucker for neutral Fall decor and white pumpkins!!
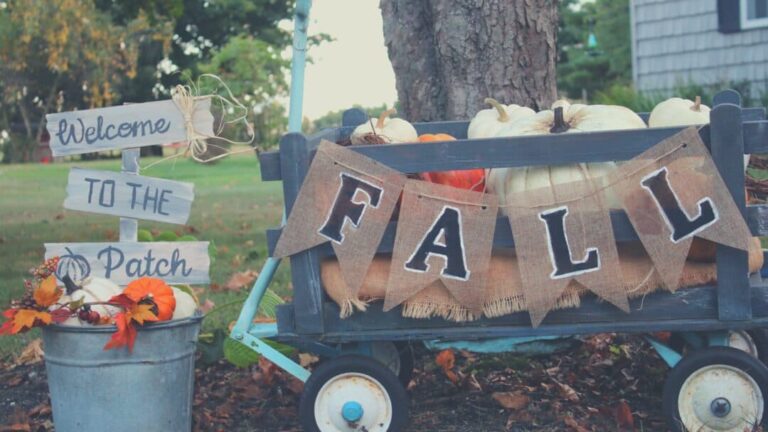
You can see another popular Fall Dollar Tree DIY and here’s a reader favorite Fall DIY!

I added a small nail at each end of the window frame and hung the garland over them.

Garland & Fall Display

On the top of the bookcase, I added a vase of dried ornamental grass, some vintage books, a little yarn pumpkin, and one of my favorite vintage finds…a candelabra. I think the candelabra was maybe $10 and I’ve used it countless times over the 10 years that I’ve had it!

Instead of votive candles, I popped in mini white pumpkins…how pretty are they?

More Fall Ideas For You To Try!
-
The Seamless Transition: How to Decorate for the “In-Between” Season
Put the witches away, but not ready for Christmas? Master the art of transitional Fall decor. Get easy ideas for a warm, neutral home from November until…
-
Welcome Home: A Collection of My Favorite Cozy Fall Ideas
You know that feeling when the air turns crisp and all you want to do is soak up every bit of coziness the season has to offer?…
-
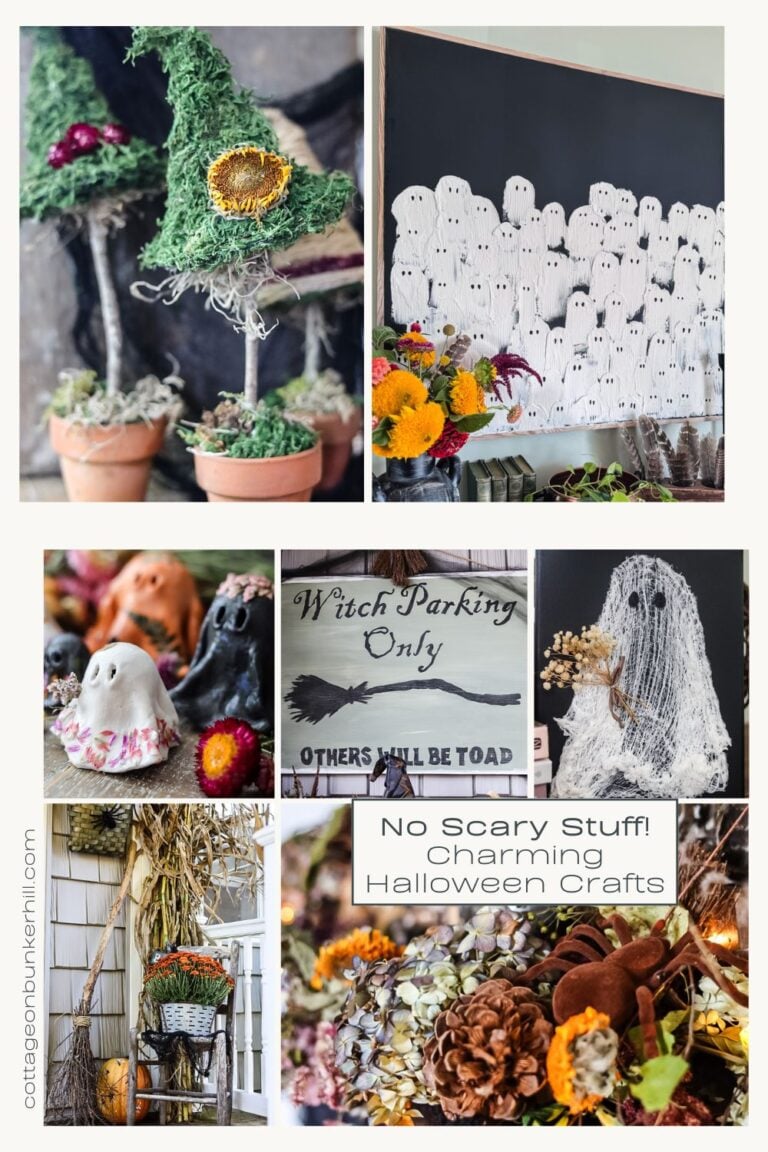
No Scary Stuff Here! Charming & Easy Halloween Crafts
Who says Halloween has to be scary? If you’re like me and prefer a friendly ghost over a gory one, and a whimsical witch over a wicked…
-
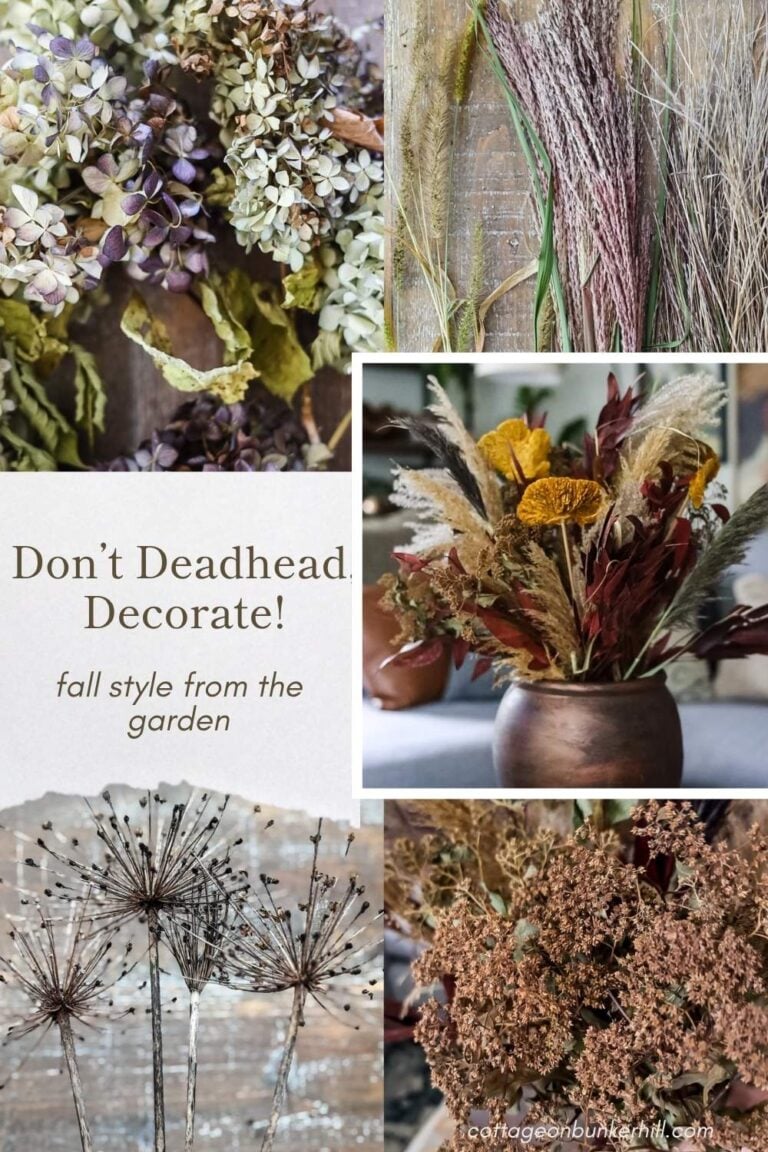
Don’t Deadhead, Decorate! Fall Style from the Garden
As the growing season fades, it’s tempting to see our gardens as messy or ‘done.’ But what if I told you those drying hydrangeas and tall, wispy…


Hi Jen,
Do you have any good inexpensive centerpiece ideas for Christmas for 8 tables? I will be decorating about 14 tables on a minimal budget.
Thank you,
I will come up with something for you!! Let me think on it!!