
This has to be my favorite DIY project I’ve ever done! I took a pretty blah corner wall in my living room and made a DIY faux brick wall! Let me show you how to make a faux brick wall to spruce up a boring wall in your home!
This post may contain affiliate links, which means I may earn a small commission if you make a purchase through my links, at no extra cost to you. Read my disclosure policy here.
The method I am using to create the faux brick wall is great for an accent wall. There are other ways for doing this on a larger scale where you first attach the faux brick paneling to your wall and then do the joint compound method over it.
Steps To Make A Faux Brick Wall
I have a small bumped out wall in the corner of my living room where the chimney runs from the basement to the roof. It was the perfect spot to add a little bit of pizazz to an otherwise boring corner!!

STEP 1: Taping The Wall
This will be the most time-consuming part of this project. It took me about 2 hours to do the taping so put on a good Hallmark movie!
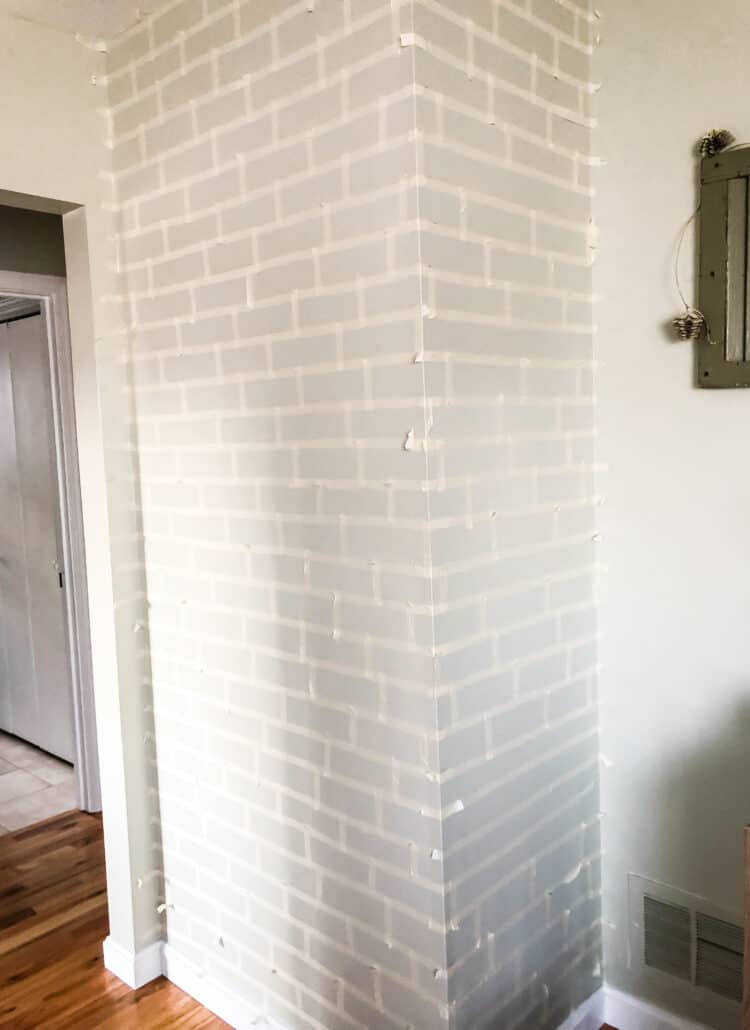
I wanted my “bricks” to be 7 inches by 3 inches.
- To start measure down 3 inches from the ceiling. Using a laser level and a yardstick as my guide I made a faint pencil line across the wall (don’t worry you will be painting over the wall so it won’t show).
- Using 1/2 inch wide tape run your tape under the pencil line so your brick will be 3 inches wide (if you place your tape on top of the pencil line they will be 2.5 inches)
- Continue on taping the horizontal lines by measuring from the bottom of the previous piece of tape until the wall is done.
- For the vertical lines, I measured 7 inches across put a piece of tape, then measured 7 inches from the end of that piece of tape.
I did this for the first three rows then just mimicked the pattern for the rest of the wall. It’s much easier doing the small vertical pieces of tape and I didn’t need a level to keep them straight.
STEP 2: Cover Wall With Joint Compound

This is the fun part! Apply joint compound to the entire wall. It’s just like icing a cake…did someone say cake??…
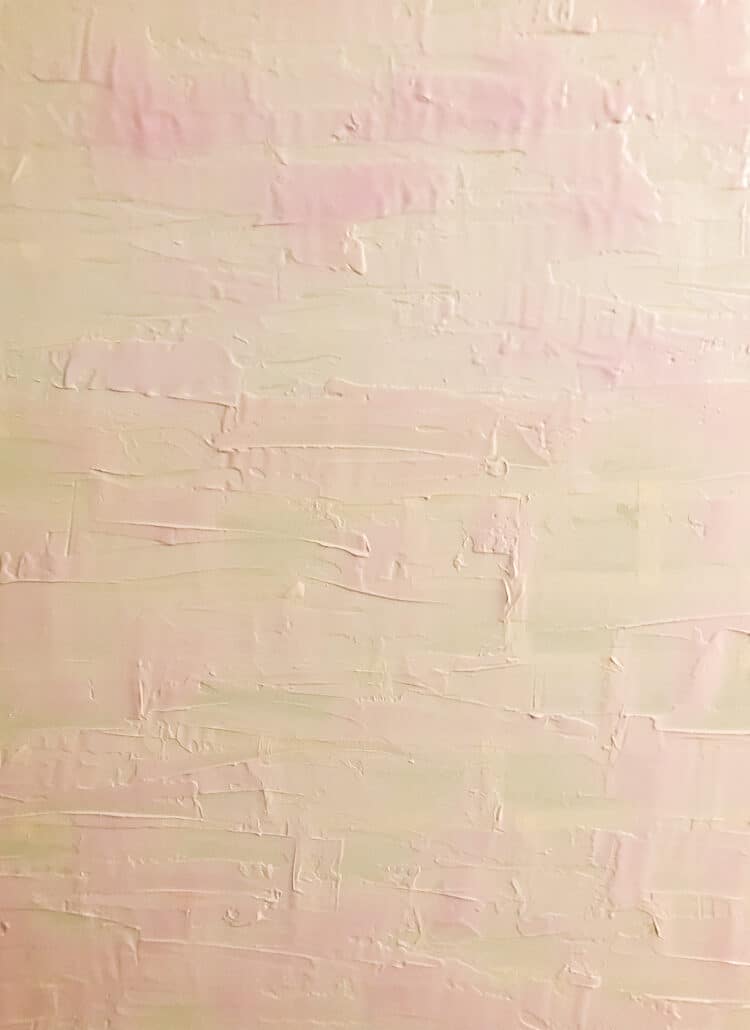
This is what your wall will look like.
It was also the time I thought to myself “I really hope this comes out good”…
STEP 3: Remove The Tape

MESSY!
Before the joint compound dries you want to remove the tape.
I held a trash bag in one hand and pulled off the tape with the other and threw it in the bag.
Now you need to let the joint compound dry completely overnight.
STEP 4: Add Extra Texture

To add some texture to my “grout” lines I dabbed on joint compound using a piece of natural sea sponge.
STEP 5: Paint The Faux Brick Wall
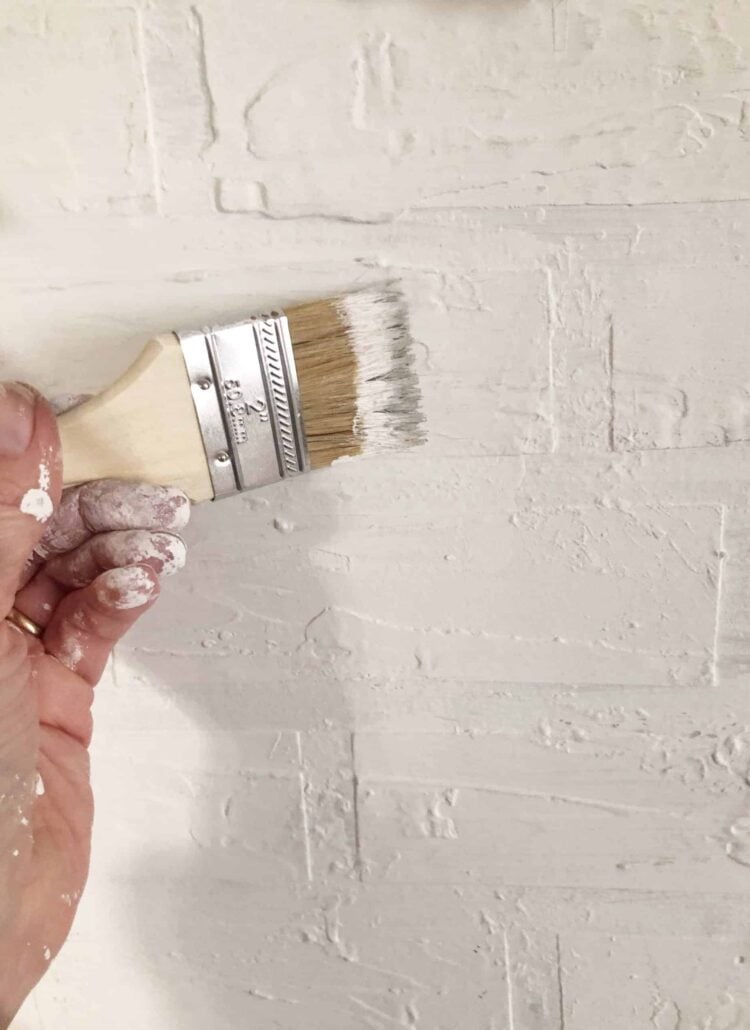
Paint the entire wall with a coat of flat white paint and let dry completely.
STEP 6: Add Details

Add some detail to make the bricks pop.
I dry-brushed dark gray acrylic paint over some of the bricks.
This step is important because the paint will pick up the detail of the bricks and add depth to give it a more realistic look.
It’s up to you as to how much color you want to add to your bricks; feel free to add more gray if you want a darker tone on your bricks!
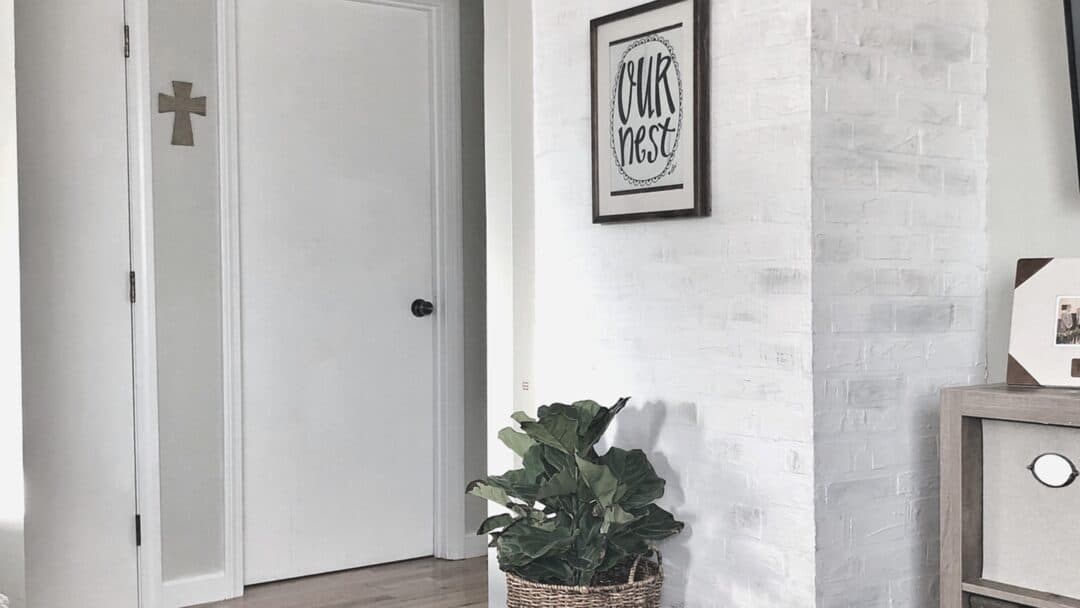
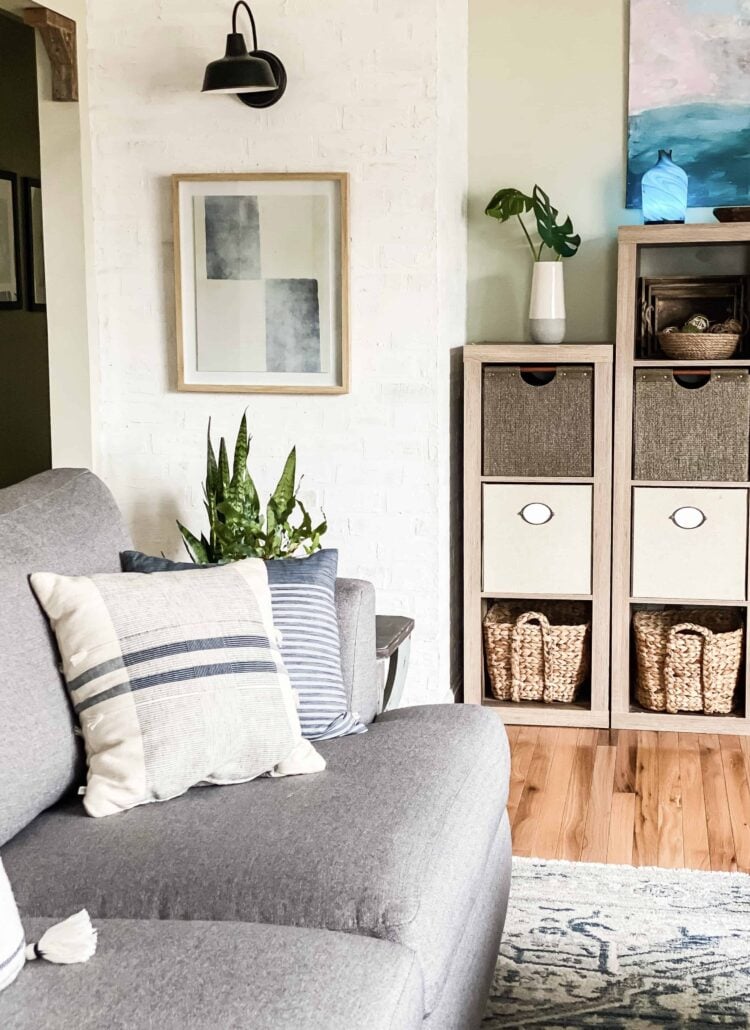
Here’s The Finished Faux Brick Wall
I love how this wall turned out! It truly looks like real brick and everyone that has seen can not believe it’s not real!

Update
I’ve had the brick wall for 2 years now! I still adore it…it’s one of my favorite all-time projects!! ( HERE is another high-impact/low-cost one!)
It was so inexpensive to do and it’s made a huge impact in my little living room!
I’ve had no chipping at all.
So, if you are looking for a fun weekend project give it a try!!
If you have any questions always feel free to shoot me a message. I love hearing from my readers!
Shop My Home

SUPPLIES NEEDED:
- Joint Compound
- Painter or Masking Tape 1/2”
- White Flat Paint
- Dark Gray Acrylic Paint
- Sea Sponge
- Paint Brushes
- Level


Your wall came out great! I just did this last night on the wall you see coming down my basement stairs. How were you able to hang your artwork and light? I’m curious if the joint compound cracked on you or not. Thank you!!
Tiffany, I just emailed you! I attached photos so check your spam folder if you don’t see it! Let me know
How do you remove this after?
It’s a pretty permanent project. You could sand it down if you every got tired of it though.
Oh my gosh! I love this. Pinned and Pinned again. I am your first bloglovin follower. This is Laura I am in the Mastermind Group! I am going to do this but might practice on plywood board first! What do you think?
I’ve been trying to go follow our group on Bloglovin too!! I’m so glad KariAnne told us about it! The plywood is a great idea…seriously, the hardest part was putting up the tape. This is still my all-time favorite project!
This is an excellent idea and the finished product is simply lovely.
Thanks so much Tiffany!! I really love it; still my favorite DIY project that I’ve done!!