

Over the past few weeks, I’ve been busy down in my workshop getting ready for this holiday season. Let me show you how to make your own enchanting Christmas village display with a few fun DIY projects including 3 different types of trees.
How To Make A Christmas Village Display
This holiday season I have challenged myself to see just how many items from all the high-end retailers I can recreate to get the same looks for a heck of alot less!! It’s seriously one of my favorite things to do!!
This Christmas village display was influenced by items that I spotted at Pottery Barn and from Studio McGee at Target.
I will show you how to make Christmas village houses out of unfinished craft birdhouses, pinecone trees, plaster of Paris trees, and glitter tabletop trees.
Here’s how I made each part of my Christmas Village…
This post may contain affiliate links, which means I may earn a small commission if you make a purchase through my links, at no extra cost to you. Read my disclosure policy here.
Christmas Village Houses
For the little village houses, I used unfinished wood ones that I found at Michael’s.
First I painted the houses with a coat of white paint.


Once the white paint was dry I added a beautiful antique copper paint to the rooftops before sprinkling them with fine copper glitter.


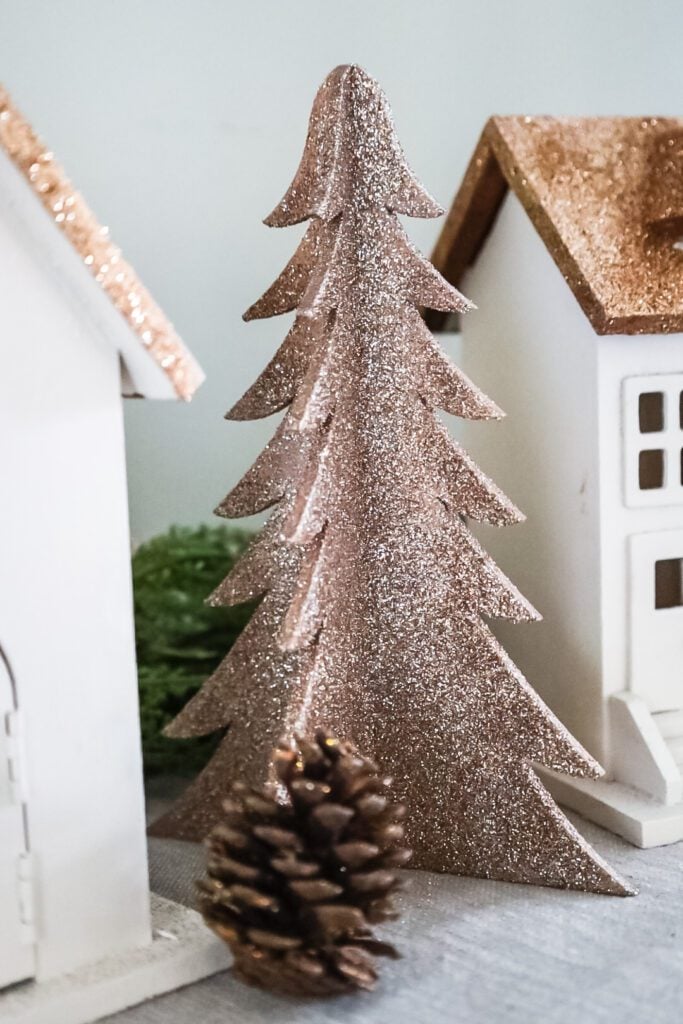
Gold Tabletop Trees
The inspiration for my gold tabletop trees was a set that I saw from the Studio McGee line from Target. I loved the modern look and shape of the trees. I found a set of 2 piece craft trees ( similar tree available on Walmart) that would work perfectly!
If you are a crafter or decorator bookmark the craftoutlet.com website…they are my secret weapon! Totally not sponsored, they are a great resource that not many know about and have amazing prices!
I painted the wood trees with Krylon Rose Gold spray paint. (this color is so pretty!!)


When the paint was dry, I did a light coat of spray adhesive before sprinkling the entire tree with a fine rose gold glitter. I am loving the rose gold metallic shade this holiday season!!

Plaster of Paris Christmas Trees
I love how these trees came out!! I wasn’t expecting them to have such amazing texture from the Plaster of Paris! This was one of those “let’s just see what happens” kinda projects!!
I used the same trees that I used for the gold tabletop ones, but instead of a quick coat of spray paint, I coated the trees with Plaster of Paris.
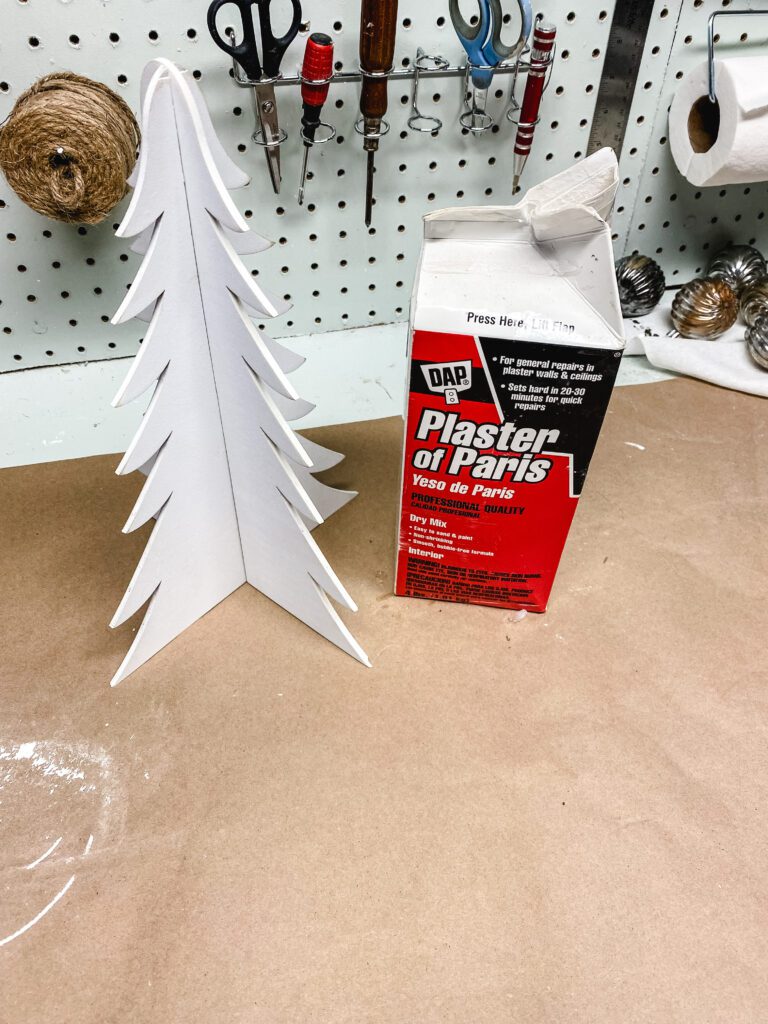

When the plaster was dried (it dries super quickly) I painted my trees white and then added light brown details.


The final product has so much texture and a modern feel to them.

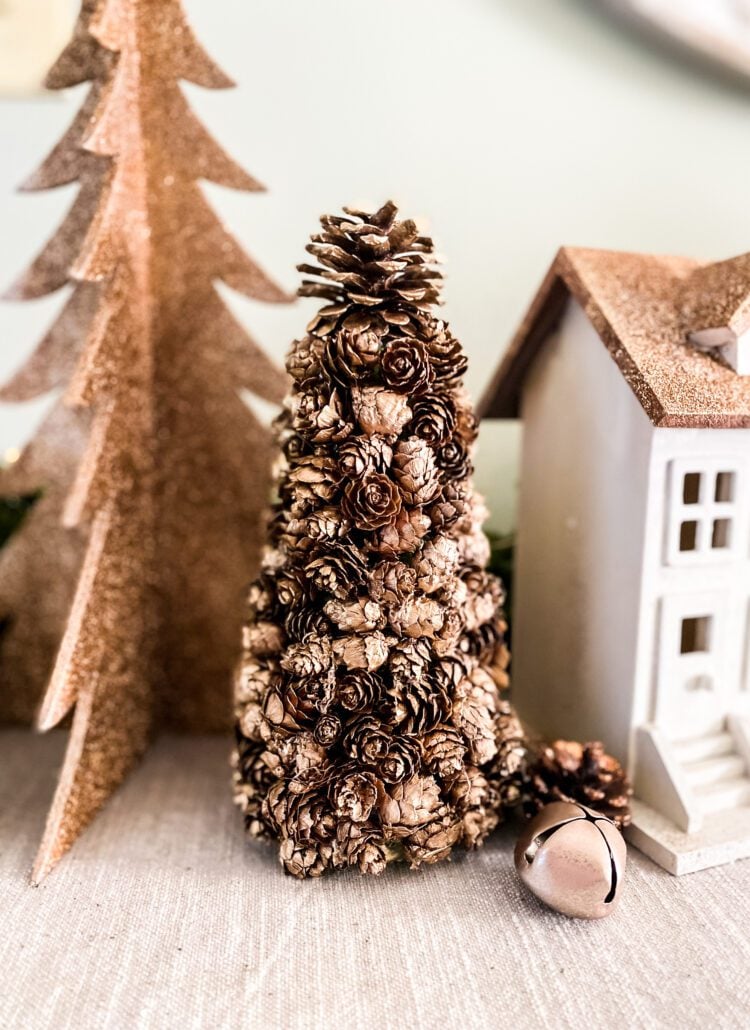
Mini Pine Cone Christmas Trees
The last thing I made for my Christmas village display was a set of mini pine cone Christmas trees. This was an easy project using a foam craft cone and a bag of mini pinecones. Super simple!!


I gave the set of trees a light coat of rose gold spray paint to finish them off before adding them to my Christmas village.
Didn’t they come out so cute???
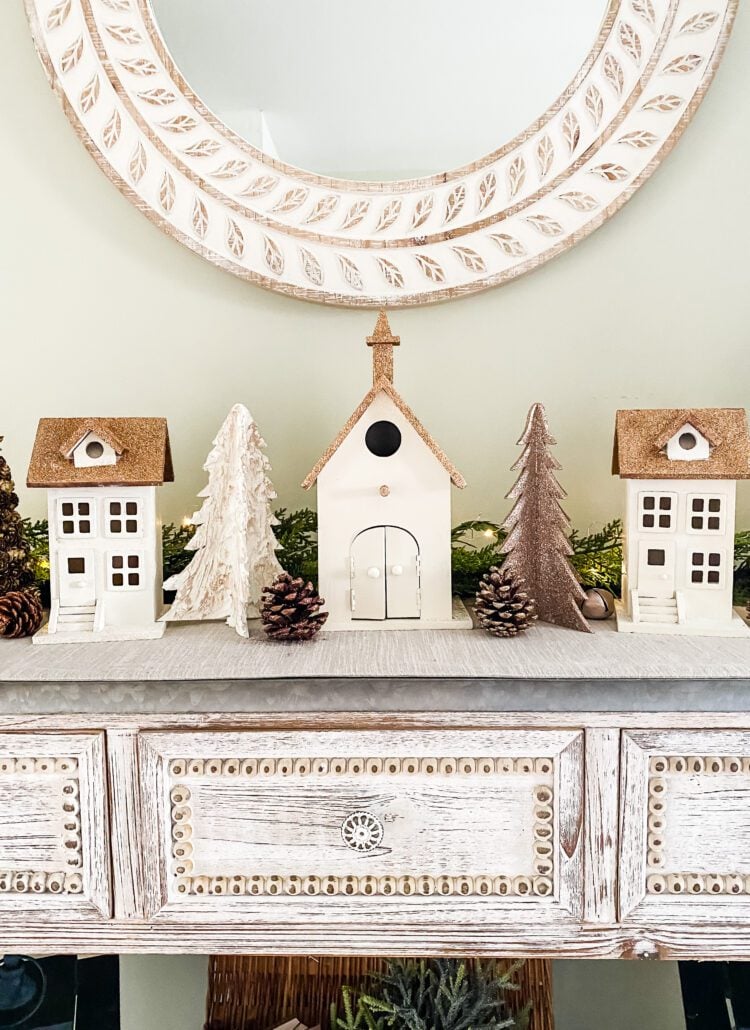
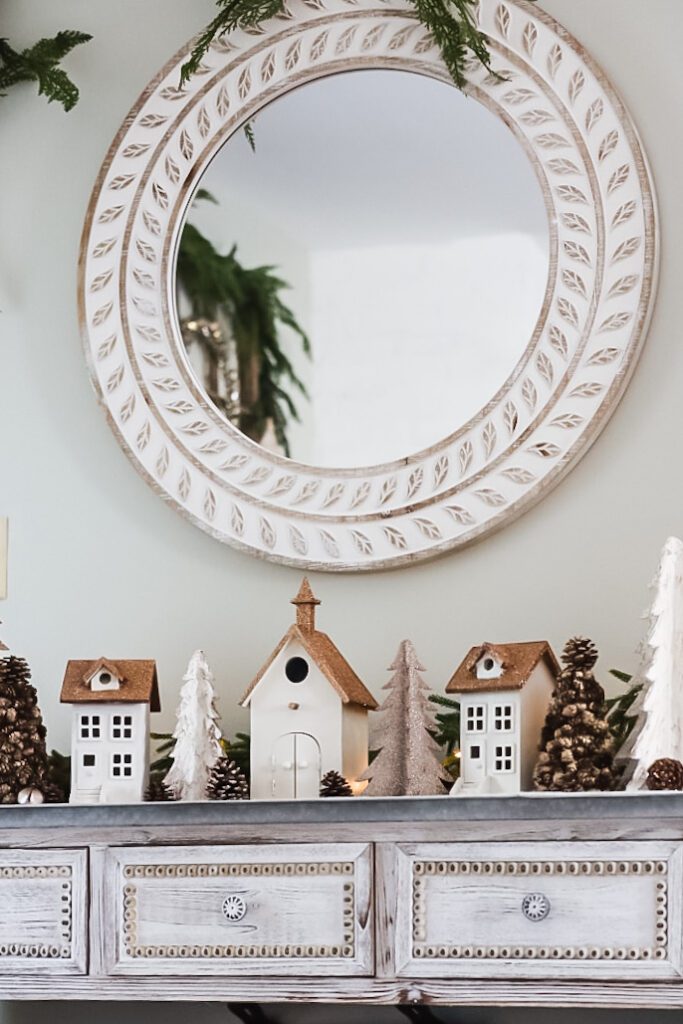
Finished DIY Christmas Village

I set up my Christmas village display on my entryway table. I added a garland and a string of twinkle lights to my table before setting up the houses and trees. I did add a few glitter-covered pine cones and a few leftover rose gold jingle bells that I had from my Modern Jingle Bell Wreath project.
Thanks for stopping by today! I hope that I’ve inspired you to take on a DIY project to add to your Christmas decorating.
xo, Jennifer
Christmas
22 DIY Ornaments
Learn to Make 22 Different Christmas Ornaments!

The Best Christmas Ideas: A Week of Inspiration From Top Bloggers
2025
Holiday Shop
My Top Finds To Deck Your Halls This Season
Please go and see what the rest of the Welcome Home Saturday gang is up to this weekend…
a Weekend Home Decor Digest
This weekend I’m excited to be joining some of my blogging friends as a guest home in their weekly home decor blogging series Welcome Home Saturday. A big thanks to The Tattered Pew, Noting Grace, White Arrows Home, She Gave It A Go, Crisp Collective, and Tatertots And Jello!

Tatertots & Jello / 8 Tips To Help You Host The Ultimate Cookie Exchange

Noting Grace / The Epic Gift Guide for Musicians and Music Lovers

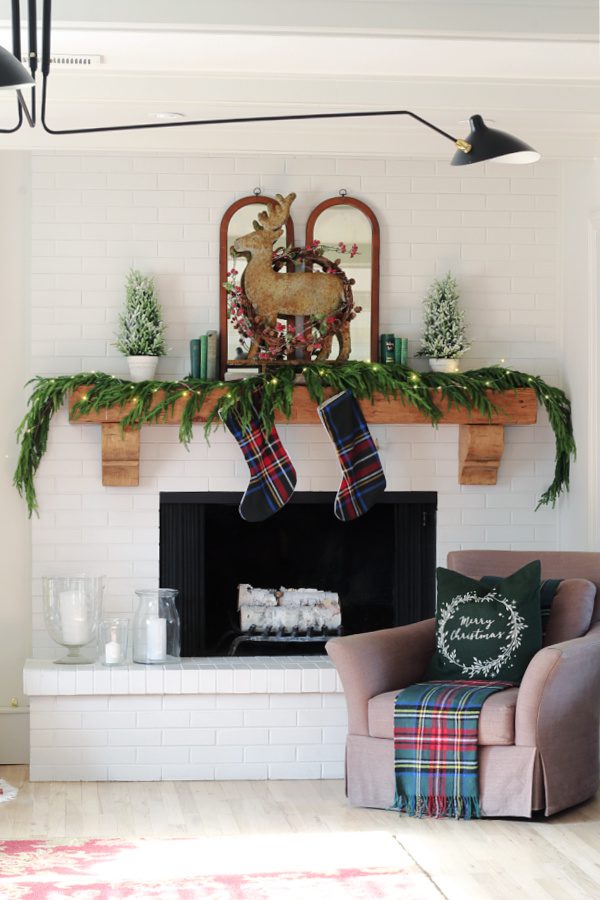
The Tattered Pew / How To Decorate A Rustic Christmas Mantel
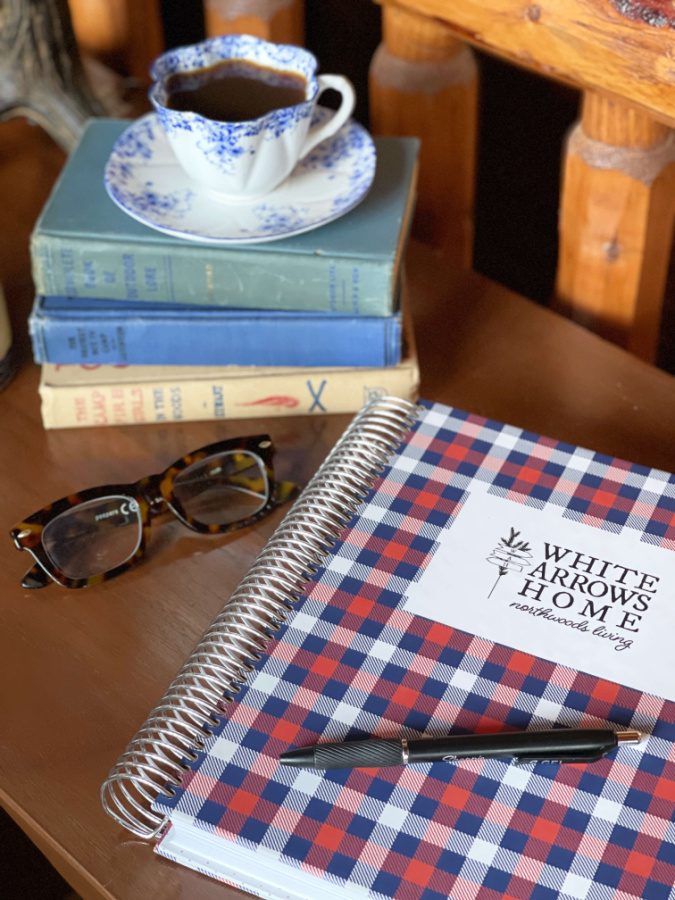
White Arrows Home / Organizing My Day With Purple Trail Planners
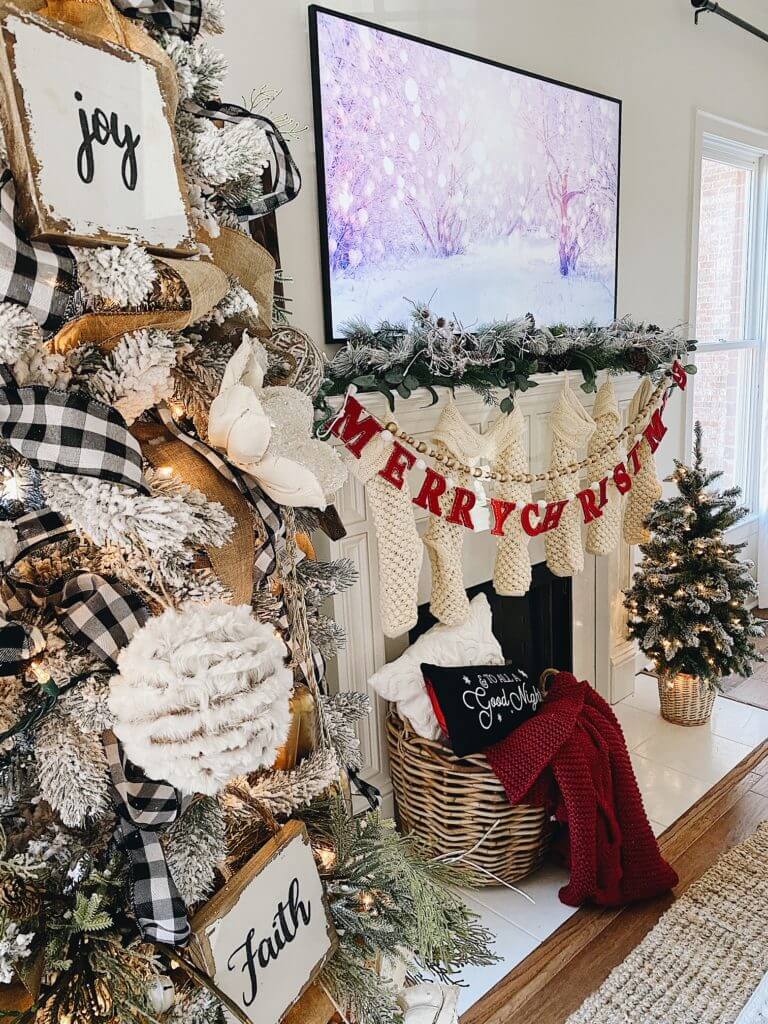
She Gave It A Go / Festive Farmhouse Holiday Mantel Decor Ideas


Love the copper roofs on those houses! That may need to happen this weekend…beautiful!
Thanks, Leslie!!
Your village is the cutest!! I am definitely going to check out the website for craft supplies! Thanks for letting us know about your secret weapon!😊
Yes, save that site!! I find so many great supplies!
I love this idea friend. How adorable! I want to do a gingerbread village next year, so I’m saving this idea to reference.
I really enjoyed your display. I have put houses on my mantel but you have given me inspiration to carry mine further. Thank you.
I love this so much and am so inspired!! I’m so glad you joined us this week!!
Great job.
Thanks so much Denise!!
Wow, Jennifer! This is a great tutorial! I am going to have to give this a try. And the plaster of Paris on the trees is genius! So glad you joined us this week.
Happy holidays, friend!
Thank you so much Jen!!!
Jen you are so creative and talented! I love every single detail. The plaster of Paris trees are the coolest ! I can’t wait to see all of your diy’s this Christmas. Thank you so much for joining us!
Thanks, my sweet friend!!!
Wow, Jennifer!!! I can’t wait to make the Christmas Village display. The is amazingly beautiful!!!
Thanks so much Velma!! You have to send me a picture if you do!!! jennifer@cottageonbunkerhill.com