

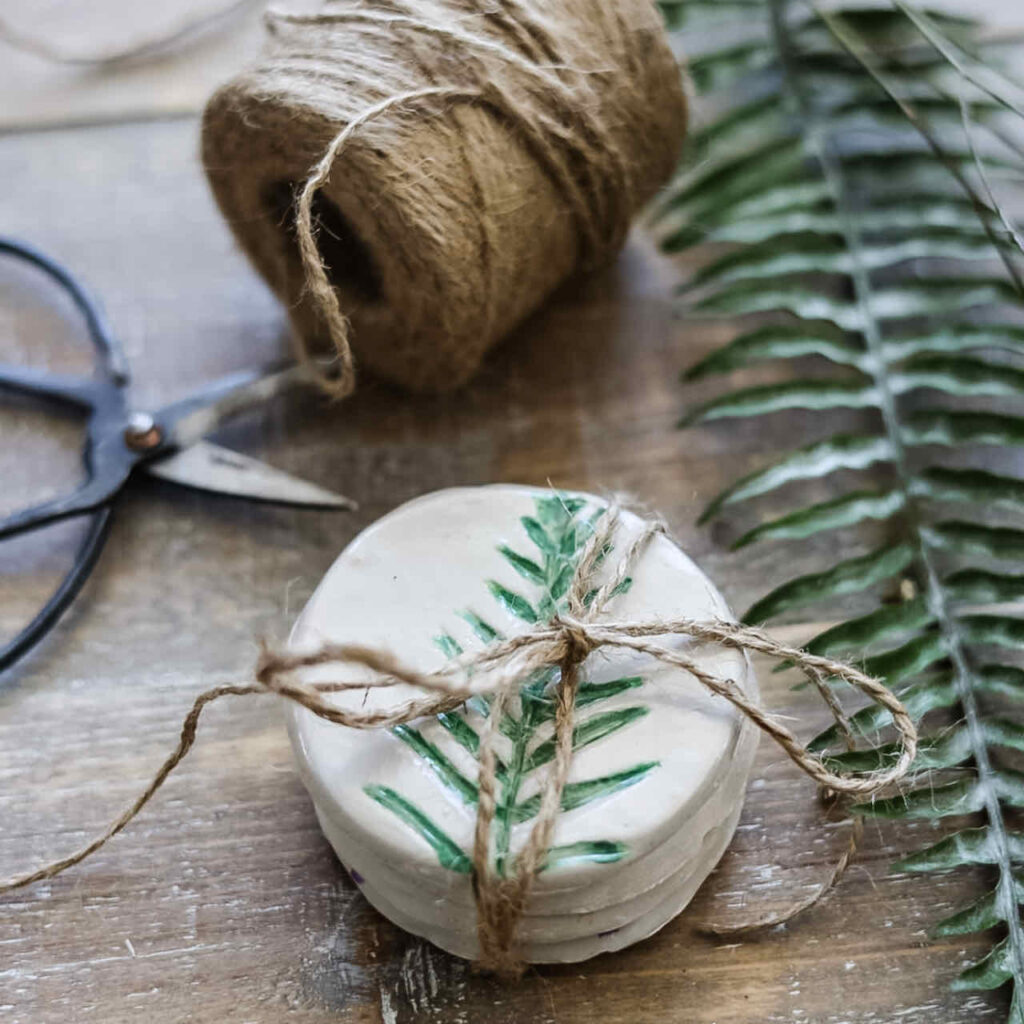
Today I am going to show you how to create beautiful handmade coasters with clay. This is a fun DIY project using air-dry clay and flowers to make that is perfect for a hostess gift or if you are looking for a unique gift.
DIY Air Dry Clay Botanical Coaster Set
Here is an easy DIY project for you using air-dry clay and a few different flowers to make a set of botanical coasters. This would be a perfect hostess gift when you are looking for a personal, handmade idea.
It doesn’t need many supplies either! All you will need is air-dry clay, a few flower or leaf stems, something to roll out the clay, a circle to cut them out, & paint. You don’t have to be super crafty either!!
Looking for a fun and easy DIY project that combines creativity with practicality? Try making beautiful handmade coasters using air-dry clay and natural botanicals! These botanical coasters are not only stunning but also make the perfect personalized gift for a hostess, friend, or even yourself. Plus, they’re a great way to bring a touch of nature into your home decor.
The best part? You don’t need to be a crafting expert or have a ton of supplies to get started. With just air-dry clay, a few flower or leaf stems, a rolling pin, a circular cutter, and some paint, you can create a set of unique coasters that are as functional as they are beautiful. This is a great project for beginner-level crafters, this project is simple, relaxing, and oh-so-rewarding. Let’s get started!
Materials For This Project:
- Air-Dry Clay
- Flower/Leaf Stems
- Circle Cutter (I used a glass)
- Paint
- Spray Glaze
Roll Out The Air-Dry Clay For The Coasters

Step 1: Prepare Your Workspace
Start by setting up a clean, flat surface to work on. I recommend using a silicone baking mat to roll out your clay—it prevents sticking and makes cleanup a breeze. If you don’t have a silicone mat, parchment paper or wax paper will work just as well.
Step 2: Roll Out the Clay
When rolling out your clay, aim for a thickness of at least 1/4 inch. Rolling it too thin can cause the coasters to warp or crack as the clay shrinks during drying.
To ensure an even thickness, try this handy trick: Place wooden dowels or skewers on either side of the clay as you roll. These act as guides, helping you maintain a consistent thickness across the entire sheet. This way, all your coasters will dry evenly and look uniform.
Cut Out Coaster Circles

To make circles for the coasters use either a round cookie or biscuit cutter or even a glass. Make sure it cuts a circle large enough to hold a glass.

Once I had the coasters cut out I needed to smooth out the edges and fix any blemishes in the clay.

This was easy, all I had to do was dip my fingertip into water and then run my wet finger over the areas that needed help.
Add Imprints To Air-Dry Clay

To add botanical imprints to the clay coasters I used 3 different artificial stems and one dried flower bunch.
Find a section of the stem that would make a good imprint. Then line it up over the clay circle and gently press without disturbing the shape.

I used a rolling pin to go over the flower, again you want to be gentle…you need barely any pressure to make a good imprint.
The great thing about working with clay is that if you make a boo-boo all you have to do is roll the clay back into a ball and start over.
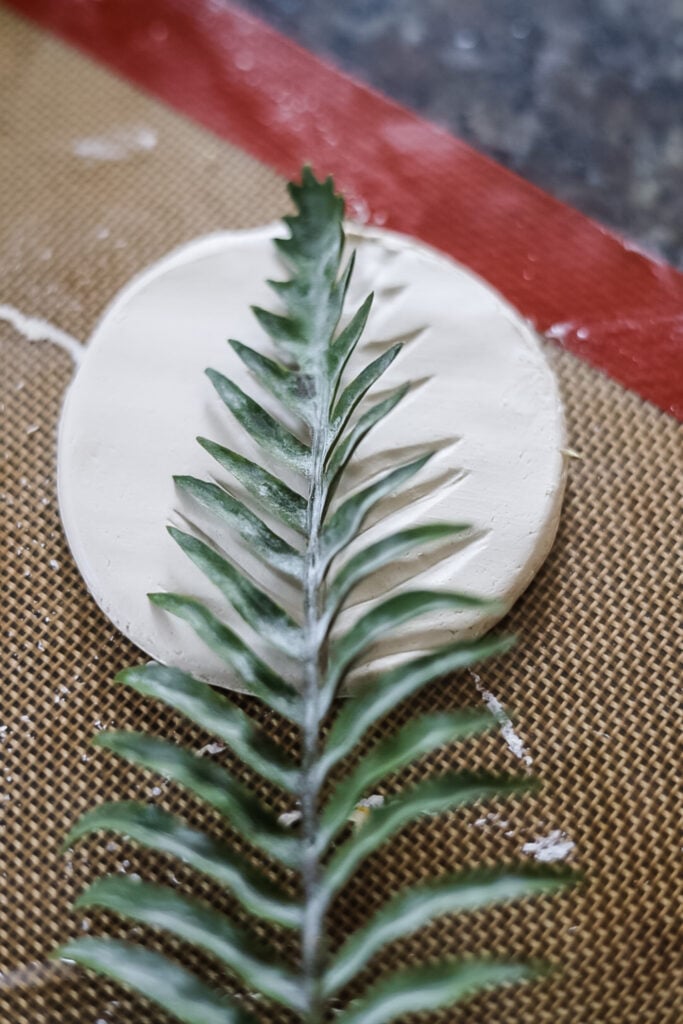
My favorite imprint was made with a fern frond. A set of fern coasters would look really terrific!

For one of the coasters I used a small dried flower, the thing about this is that is left behind bits of the seeds from the flowers. I had to use a toothpick to remove the seeds. For some of them, I just blew off the top of the clay.
Let Clay Air Dry

After you have your imprints done it’s time to let the clay dry. I put the coasters on a piece of parchment and put it aside. To speed up the drying process you can put the clay in a super low temp over (200°) too.
Make sure the coasters are all flat.
Painting the Clay Coasters

Once the clay has completely dried, you will be able to tell because as it dries it becomes white.
Wanting to stay with a natural look, I painted the coasters with a tan shade of chalk paint.
Hand-paint the Flowers

There are a few ways to paint in the flowers on the coasters: watercolor, acrylic, chalk, or paint pens.
I am going to use watercolors for my set of coasters. It was really easy to work with the watercolors! I’ve used paint pens on another clay project and it was a bit more difficult in my opinion.

The watercolor paint spread easily through the imprints and I could control the color by mixing a couple of the paints together.


Seal The Air- Dry Clay Coasters w Glaze

Now here is the trick to get that glossy look of real pottery! This Krylon Triple-Thick Clear Glaze is the trick. I’ve used this on multiple projects so 1 can goes a long way.
For this part I went out into the garage to use the spray paint, you never want to do this inside of your home because of the fumes.
Let the glaze completely dry before using the coasters.
To prevent scratching from the coasters I added 4 tiny felt pads to the bottom of the coasters, I had a set of these on hand already. There are silicone and cork pads that you could also use.
Finished Air Dry Clay Botanical Coaster Set

Making handmade clay coasters is such a fun project that allows you to add a personal touch to your home decor or create thoughtful gifts for loved ones. With just a few simple materials and a little creativity, you can design coasters that are as unique as you are!
I hope this step-by-step guide has inspired you to try your hand at this easy DIY project. Working with clay is a relaxing and enjoyable way to be creative and crafty! Don’t forget to experiment with different shapes, colors, and textures to make your coasters truly one-of-a-kind.

I’d love to see your creations! Share your finished coasters with me (jennifer@cottageonbunkerhill.com )so I can admire your work. And if you have any questions or tips of your own, drop a comment below—I’m always happy to help!
xo, Jennifer
Clay Coasters
Shop Supplies
Find All The Supplies On My Amazon Storefront
More Clay Projects


Handcrafted Society

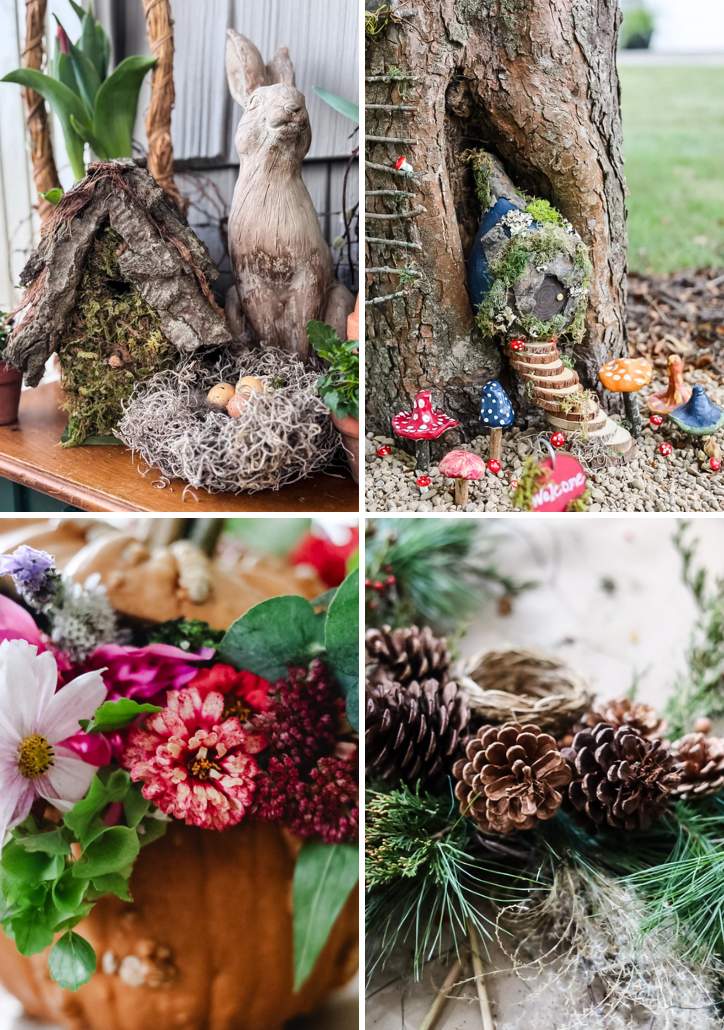
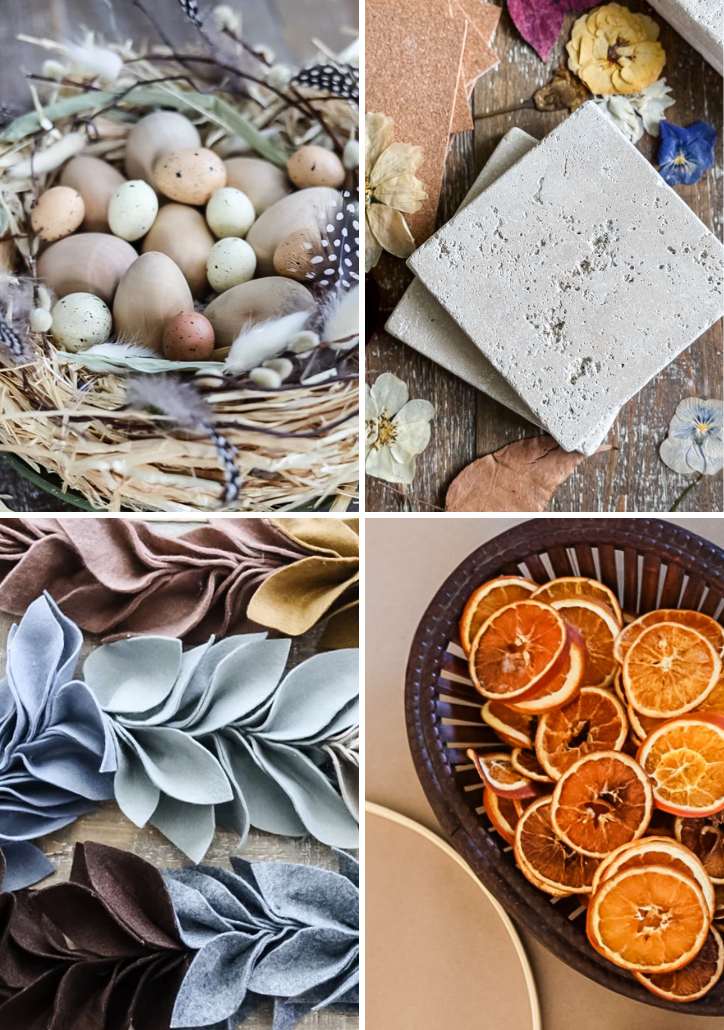
Check Out These Other Air-Dry Clay Projects!


Absolutely beautiful! I can’t wait to make some! Pinned 🙂
xoxo
Thanks, Jen!!
Great idea! I love air dry clay and have done ornaments, but haven’t tried coasters before! I love some of the other project ideas from the other sites too. Thanks for sharing!
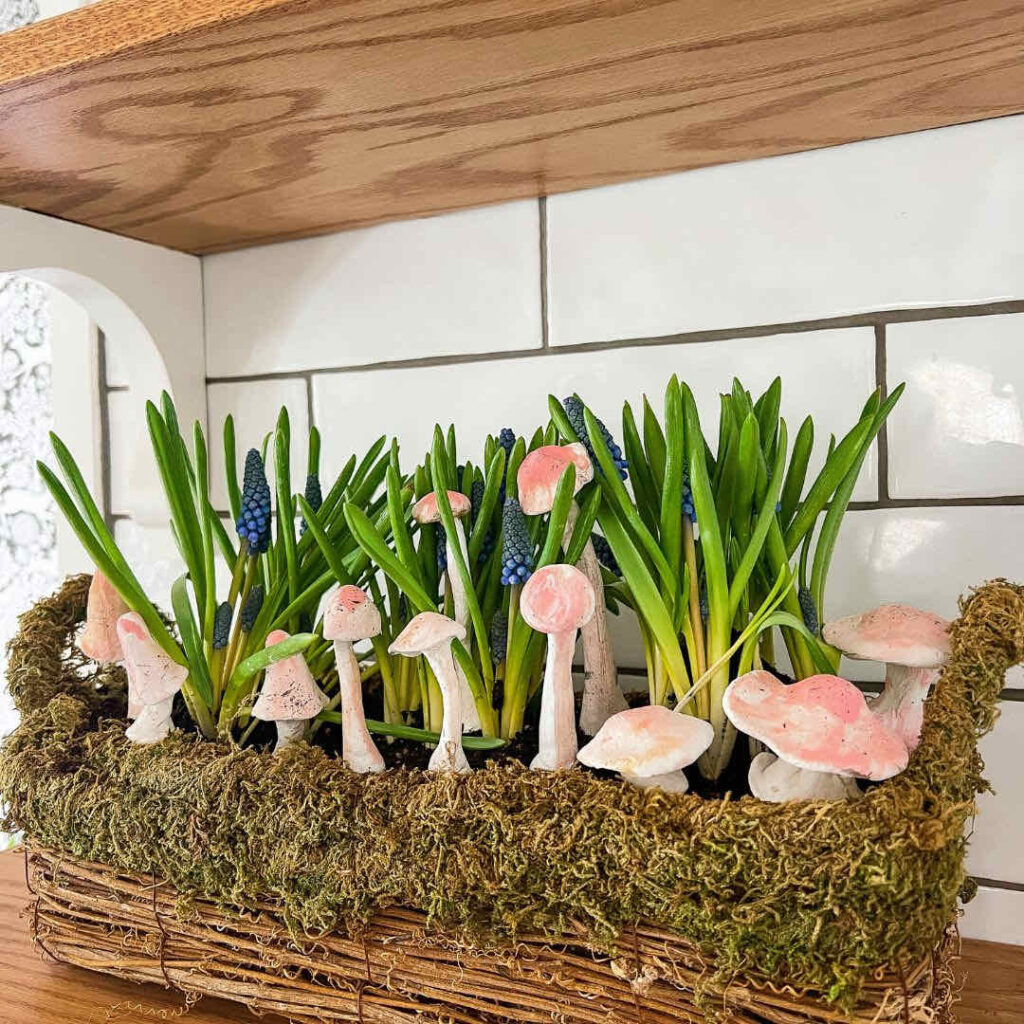
I know! I loved the mushroom stakes! They are on my list to make.
Love the coasters! I was thinking coasters were 4″ typically but I’ll have to measure my glasses. 🤔 I love them as Decor. Great job, now I’m gonna check out the other ladies projects! 🤗
You are right! I just used my biggest glass so these are 3.5. They were fun to make…not that any of these guys living in this house will use them!!
I love your new site so much! These handmade coasters are (of course) perfect! Now I want to make some!
These are so fun Jennifer. I love the set of four, all different imprints! What a great hostess gift!
As someone new to working with air-dry clay, I love how you imprinted the botanicals! So beautiful! Love it! Pinned!
Such adorable coasters Jennifer. I love the process of rolling the flowers into the clay.
Jennifer, what adorable coasters. They turned out beautiful. A wonderful gift idea.
Great tutorial to follow Jennifer! I love the look of imprinting clay with botanicals and it’s a project I’m ready to try! Each coaster is a little work of art and would make a lovely gift! By the way your site updates and the new photo of you looks fantastic!
Love your new blog, Jennifer! So pretty and so are your coasters!💛
Jennifer
These are so so cute. What great ideas. Your site looks beautiful.