

I’m sharing a few of my easy winter porch decorating tips to quickly turn your entranceway into a festive welcome for the entire winter season.
Winter Porch Decorating Tips & Tricks
With a few simple touches, you can create a winter porch that is both stylish and welcoming. In this blog post, I will share some easy and affordable tips for decorating your porch for the winter season. From incorporating natural elements like pinecones and evergreens to adding festive touches like lights and a door wreath, I will show you how to create a winter wonderland right on your doorstep.
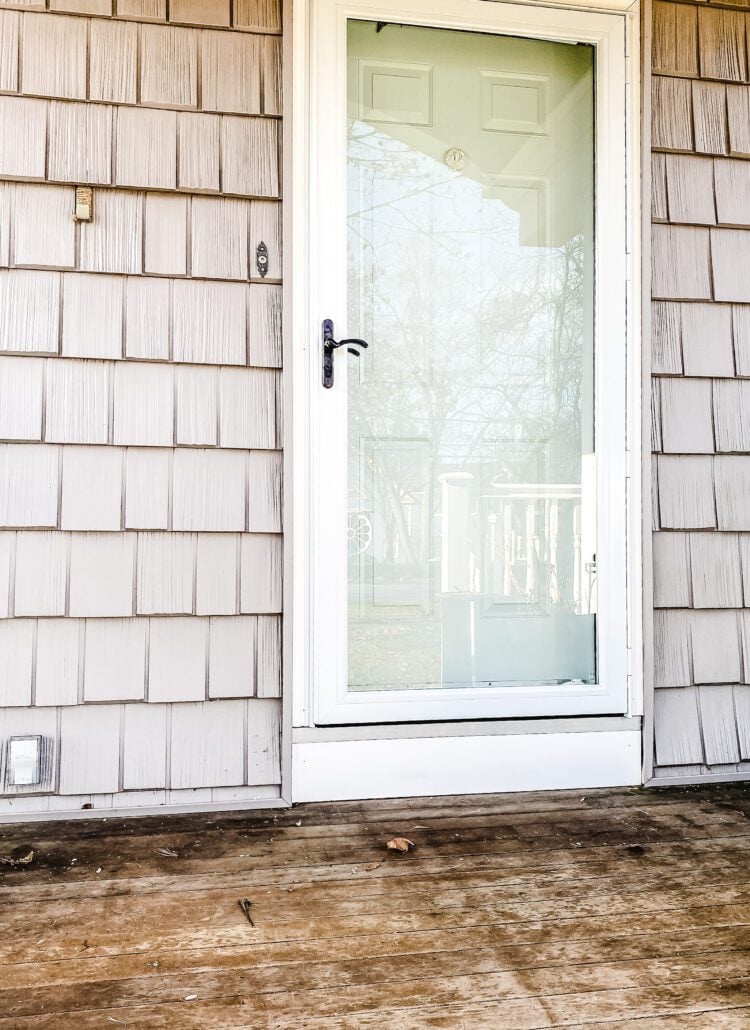
Always Start With An Empty Slate
The first thing I did was clear off all of my Fall porch stuff…or what was left of it after the squirrel army totaled my pumpkins!! I didn’t have a pumpkin left that they hadn’t attacked…pumpkin guts and seeds everywhere!!
If it’s warm enough where you live I would suggest giving your porch a quick squirt with your hose to get rid of any debris.
This post may contain affiliate links, which means I may earn a small commission if you make a purchase through my links, at no extra cost to you. Read my disclosure policy here.
Best Tip For A Full Garland
I’m going to let you in on my #1 best tip for making your garlands look big and beautiful…and it’s pretty darn easy to do!!
First, grab some real garlands…they don’t have to be the expensive kind just the basic ones.
I grabbed these garlands at Trader Joe’s for around $10 each.

Next, stretch out a real garland and an artificial garland next to each other on the ground.
I’ve had this garland for years. There are pine cones and berries on it but you can always embellish a plain garland with a few pine cones (just twist floral wire around the base of the pine cone and tie the ends to the garland and a few berry picks…only takes a couple of minutes)
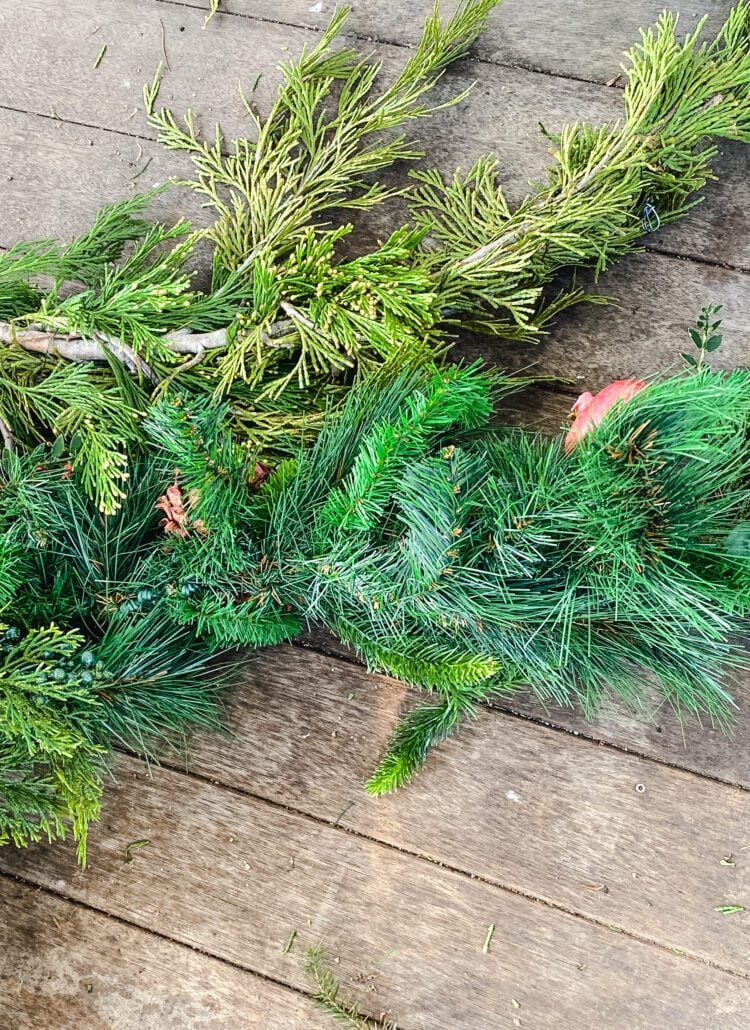
And here’s the part that will make your garland look like you spent a fortune…twist the two together! From a distance, you can’t even tell that there’s a fake in there.

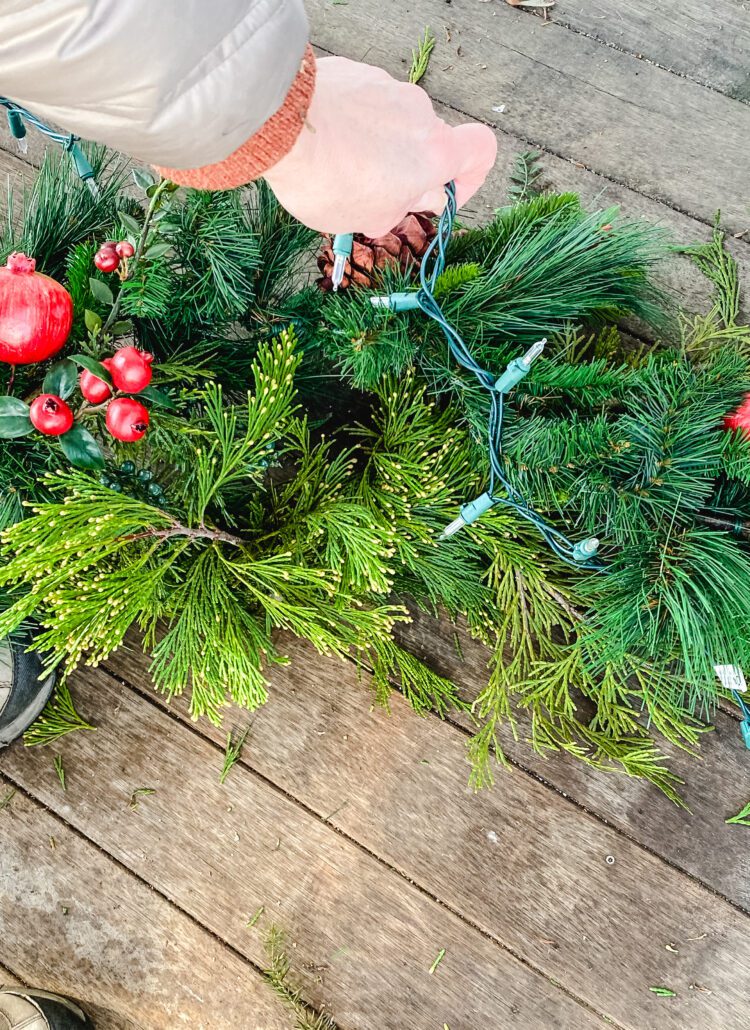
Once the garlands were twisted together I added a long string of warm white Christmas lights. I like to weave them back and forth instead of wrapping them around the garlands.
Easy Winter Planter Idea
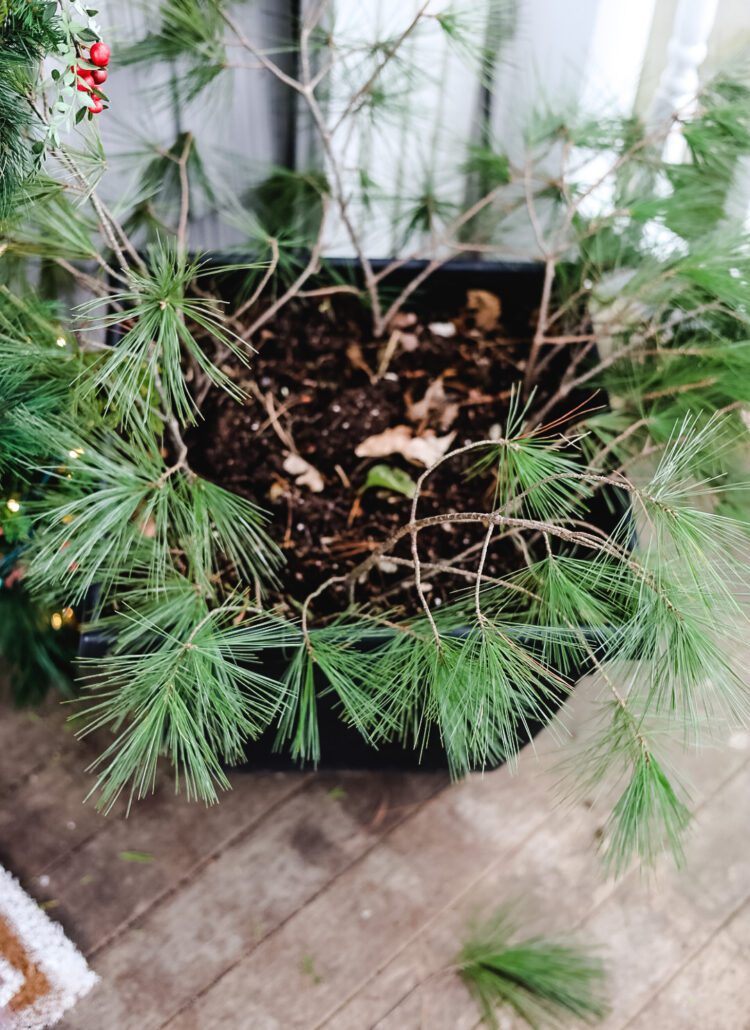
Here’s the easiest way to make a beautiful winter planter for zero dollars…if it’s free it’s for me!!
First I pulled out the dead geraniums and petunias from my summer planters…I have to say with the warm Fall we had in New England I still had blossoms in November…it was sooo strange!!
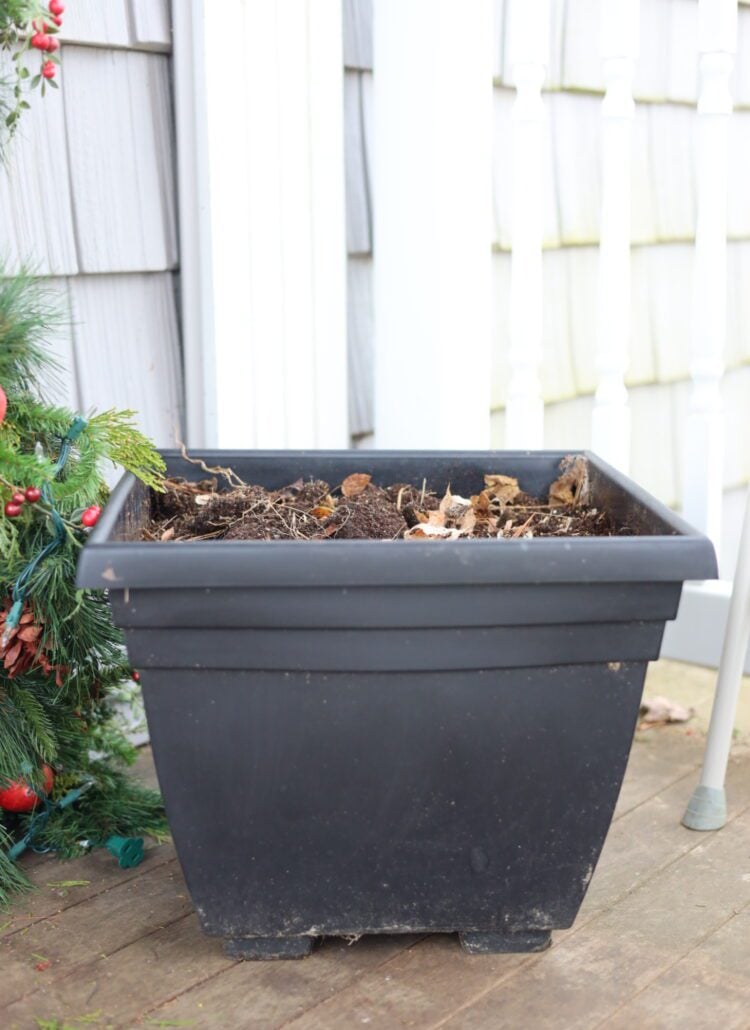
After I dragged the planters onto my front porch I grabbed my clippers and a basket and took a walk into the woods to cut some fresh greens.
If you don’t have all kinds of evergreens in your backyard you can find bunches of greens or even a swag at your local nursery or market that you can use to make planters.

I make my winter planter using the same design method as my summer planters: thriller, filler, & spiller. Meaning I pick something that will be the star of the planter, something to fill up most of the space, and something to spill over the edges.
Since this pot is already filled with soil it will hold the pine boughs in place… it gets so cold here that they freeze in place and stay fresh all winter.
As my spiller, I stuck in the wispy pine branches around the perimeter of the planter.
Then I added a variety of spruce boughs and juniper branches to fill in the rest of the planter.
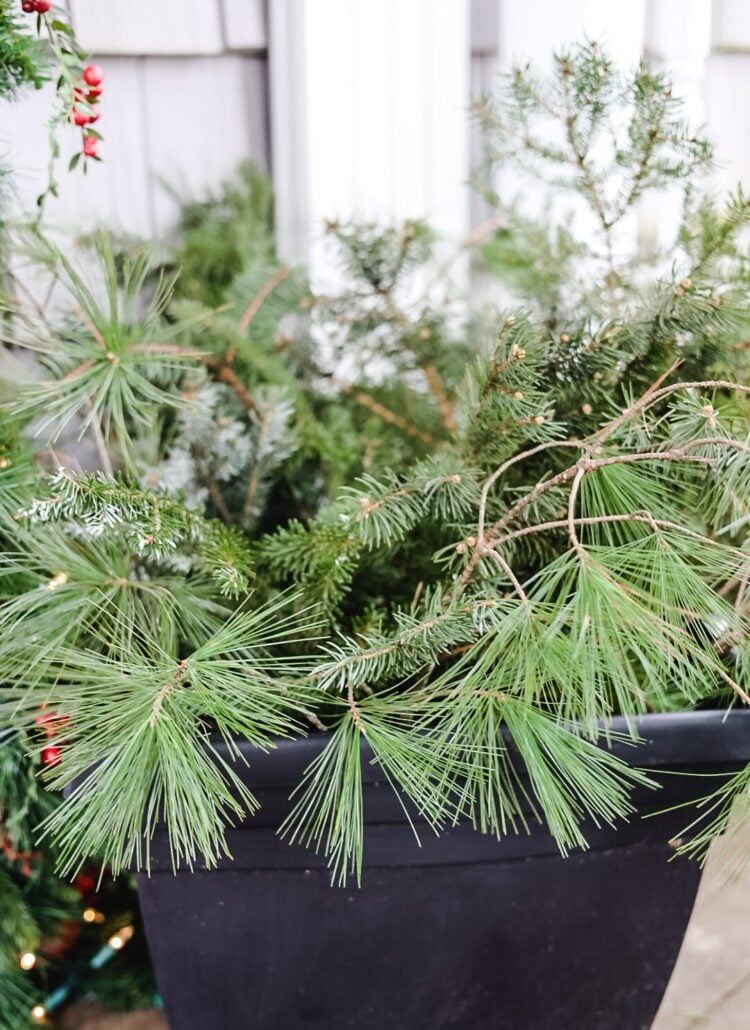
Now to add the thrillers of this planter. I grabbed a few big pine cones that I had and a few branches from my yard and made my own picks to stick in the planter
All I did was hot glue the pine cone onto the edge of the stick but wrapping floral wire around the pinecone and branch would also be a durable way to do this too.

After I added the pine cones to the planters I made a super simple bow to add for a bit of holiday color. Super simple…all I did was make 5 loops and twist some floral wire to secure it.
Making bows is definitely not one of my strong suits…I am jealous of my blogging girlfriends who make amazing bows!!

After the DIY pine cone picks and bow were added to the planter I added a few branches for some visual interest (spray-painted copper) and red winterberries.
Do you have winterberries where you live? We have them all along the roadsides near wet areas…I keep a pair of clippers in the car just for this occasion.
I spotted a bunch of them in a marshy area next to the gas station my husband has stopped at…I did the “I’ll be right back” and took off with my clippers..I may have almost slipped down the muddy hill but darn it…I got my winterberries!!
Oh yeah, and a string of lights that attaches to the ones hanging around the door.

Putting All My Easy Winter Porch Tips Together
- Reuse Your Summer Planter Pots
- Collect Greens To Fill Them
- Make Your Own Picks With Pinecones & Sticks
- Add Spray Painted Branches For Visual Interest
- Red Berries For A Pop Of Color
Here’s one of the finished planters. I think it took about 10 minutes from start to finish to put it together!

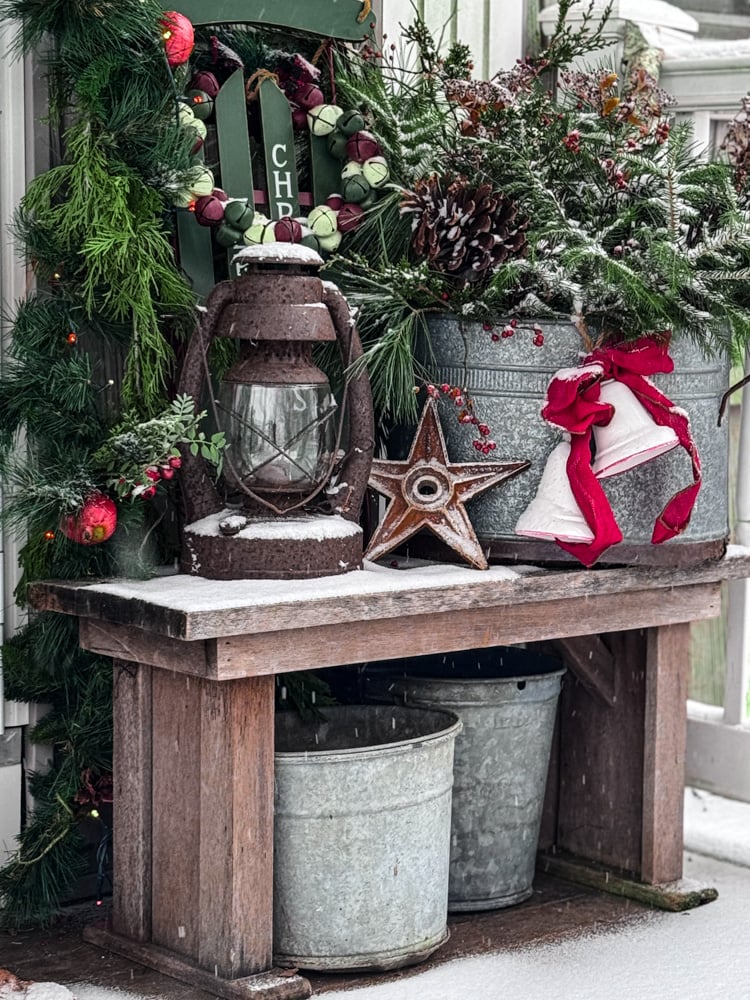
I made a matching planter for the other side of my front door. To finish up my super easy winter porch I hung a set of jingle bells with greens on the wall ( I think I got these at least 10 years ago and use them every winter somewhere)
You can see the copper sticks a little better in this planter picture.

And here’s the porch all lit up at night…side note: when I just went out to snap this picture, I startled a bird and it came flying out of the top of the garland and almost hit me in the head…this is a dangerous job people!!!
- For A Full Garland Twist One Basic Real Garland With An Artificial Garland
- Weave Lights Instead Of Wrapping Them Around The Entire Garland (more lights facing front for more glow at night)

Don’t forget to add a pretty holiday wreath to your front door! This one matches my garlands.
I love my simple porch this year…last year I was in the “go big or go home” mood! You can check out my fun front porch from last year using blues and reds.
Want to see what’s on the other side of that door?? Come check how I decorated my living room for Christmas
xo, Jennifer
Gingerbread Doormat

A fun way to make your own festive doormat is to paint one on a plain coir rug. It’s a fun project so grab your paint and a ruler!
Classic Red & Green Vintage Porch

Looking for more porch inspiration? See how I used the classic red & green Christmas combination on my New England porch for a festive look.
2025
Holiday Shop
My Top Finds To Deck Your Halls This Season
The Latest Christmas Ideas!


The Best Christmas Ideas: A Week of Inspiration From Top Bloggers
More Christmas inspiration!
- Day 1 – Christmas DIY Ideas
- Day 2 – Front Porch Decorating Ideas
- Day 3 – Christmas Tree Ideas
- Day 4 – Christmas Table Decor Ideas
- Day 5 – Christmas Cookies and Sweet Treats
- Day 6 – Christmas Decorating Ideas
- Day 7 – Christmas Hacks You Should Know
- Day 8 – Christmas Gift Wrapping Guide
- Day 9 – Wreaths & Front Door Decor
- Day 10 – Winter Greenery


Oh, I never thought of mixing fresh garland with faux! Love that. I think I keep hitting replay on the bottle brush wreath reel this week…Gary even had to watch it with me! Ha! Happy Thanksgiving, sweet friend!
LOL, you should make that wreath! It’s really easy. This year I so so many different colored sets of bottlebrush trees on Amazon that I almost made it again with other colors!!
Your porch looks beautiful Jenn. So warm and welcoming. Great tips. I wish we had more “winter” foliage close to home. I certainly will keep a pair of clippers on my car!!! If the greenery lasts, it will keep the house looking beautiful all winter. Once Christmas decor comes down, everything looks so bare, so these ideas will help to keep things looking great!!! Thanks!!
I love this idea!! It came out so pretty! Pinned.
Thanks!!
Jennifer. Your porch looks great and your idea about twisting a faux and real garland is brilliant. How do you attach your garland . I usually use my planters on either side of the front door and fortunately have alot of greens around our property. I also add a big arrangement on a bench on the porch with lights on a timer. A few lanterns and a Moravian Star add some more illumination.On our door a home made wreath with a big bow.
Simple but we love it. Thanks for your ideas.
Hi Kathy, WHen I hang it around the door I take a couple stems of the fake garland and tuck it behind the vinyl frame around my storm door and it stays in place…even through snowstorms.
Twisting the fake and real garland is a great tip! I’ll have to try it next season…when I have two hands! lol
LOL…I almost spit out my coffee!!!