
Here is a creative way to make a decorative pumpkin for Fall using a foam pumpkin and a pine cone!
Pine Cone Pumpkin: DIY Fall Project
I love to add DIYs into all my spaces…you get your own original look!! I also just love the creative side of making something with your hands, it’s so relaxing for me.
One of the great things about living in New Hampshire is that all I have to do is walk out the back door, and there are pine cones everywhere!! So I have a big stash of pine cones to use in the winter and fall.
I had a bunch of discount store mini velvet pumpkins. All I did was remove the stem and velvet covering to reveal the foam pumpkin.

Step 1: Take Apart Pinecones
Next, I cut the top of the pine cone off…just snipped the stem straight across. After that, it was easy to just pull/peel off the piece of the pine cone.

OK, this craft won’t be for everyone..I know!! But sometimes I enjoy a craft like this that you can do and zone out because it’s repetitive.
Step 2: Glue On The Cone Pieces
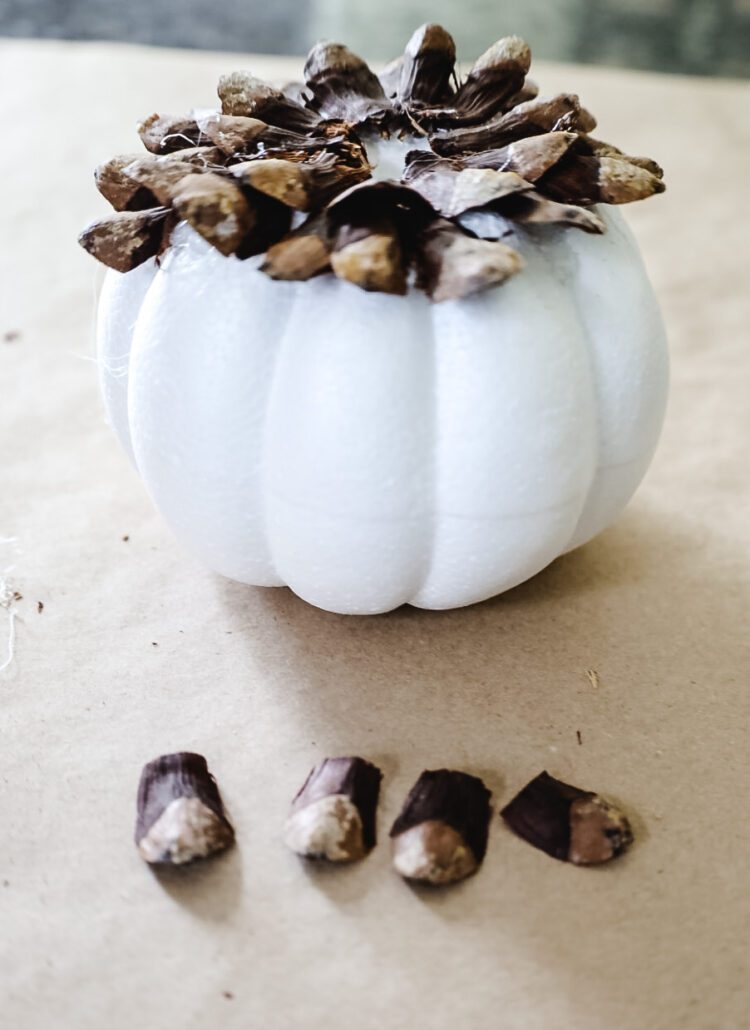
Starting at the top of the foam pumpkin, I hot-glued the pieces around the cone.

Then, working my way down, I simply tucked the next row under the previous one.

Pro Tip: Put a small drop of glue on the foam pumpkin… not on the piece of pine cone, so you don’t burn your finger off!! Also, to prevent melting the foam, make sure you never touch the metal tip of your glue gun onto the foam!!

I used a little dark brown paint on the bottom of the pumpkins to cover the white foam.
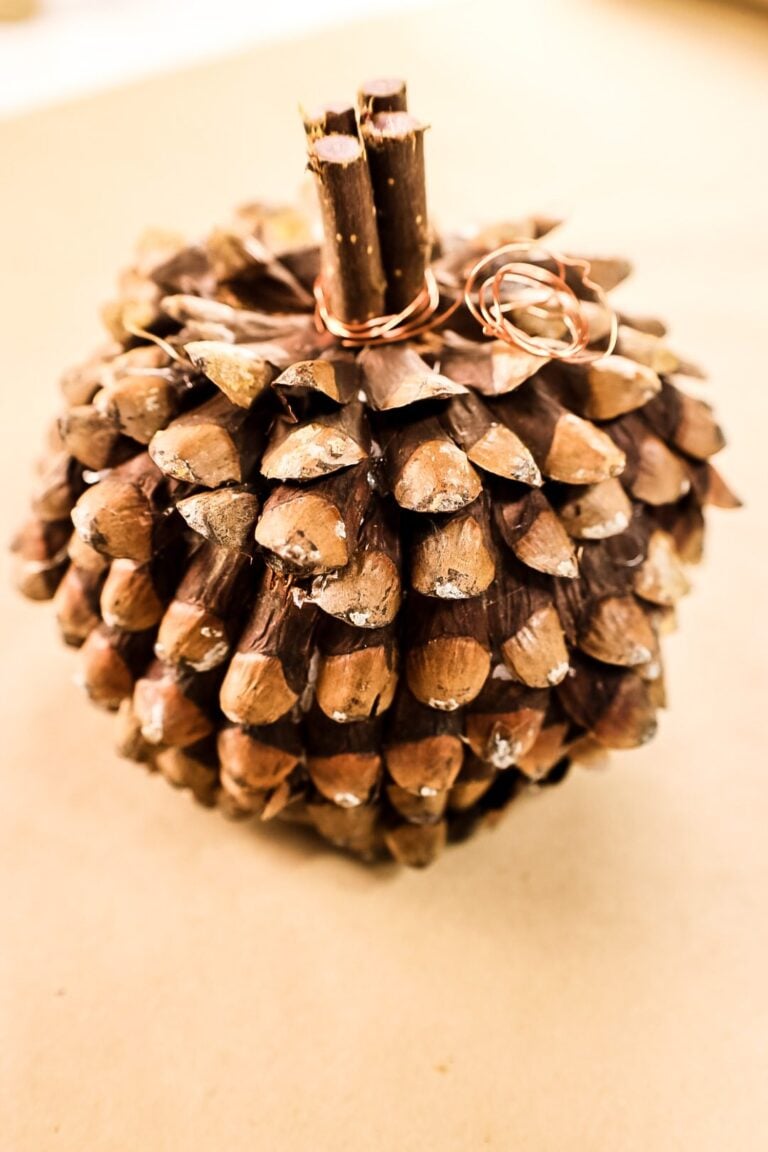
Step 3: Make A Stem

I grabbed a thin branch off of my crabapple tree and cut it down to pieces that were a few inches long.
Then I gathered up a few and poked them into the foam in the center of the pumpkin.
You can see how I made the twisted seagrass pumpkins HERE

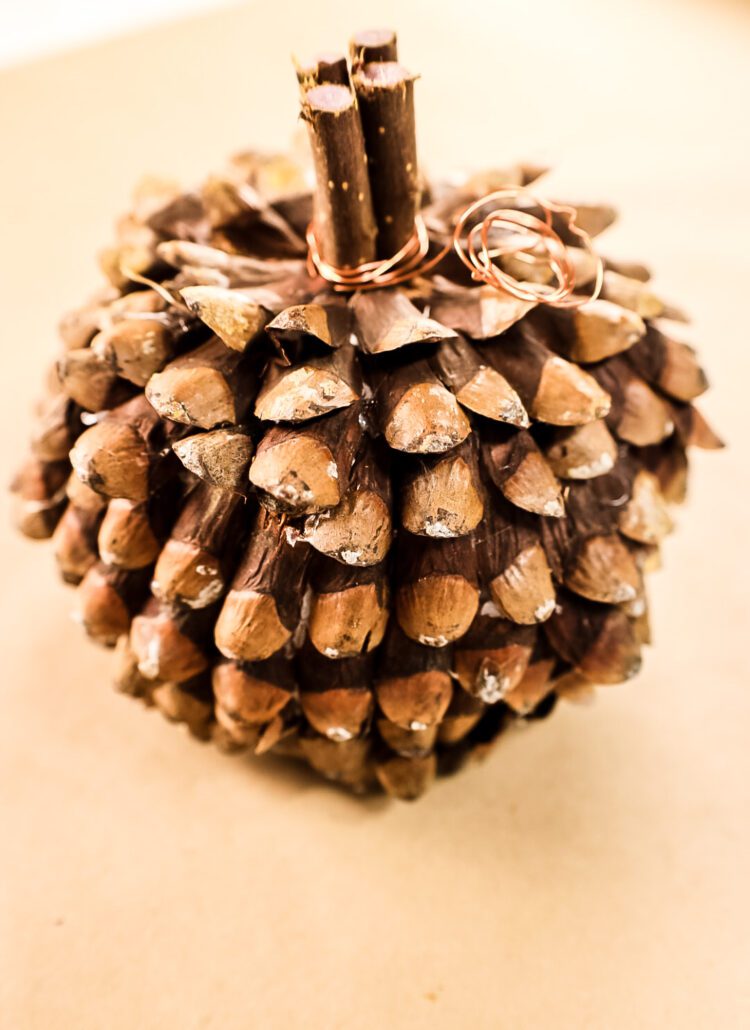
Here are my finished pine cone pumpkins in my Fall tablescape. Please go check out my Fall dining room tour to see more!


Beautiful!
Thank you so much, Georgette!