

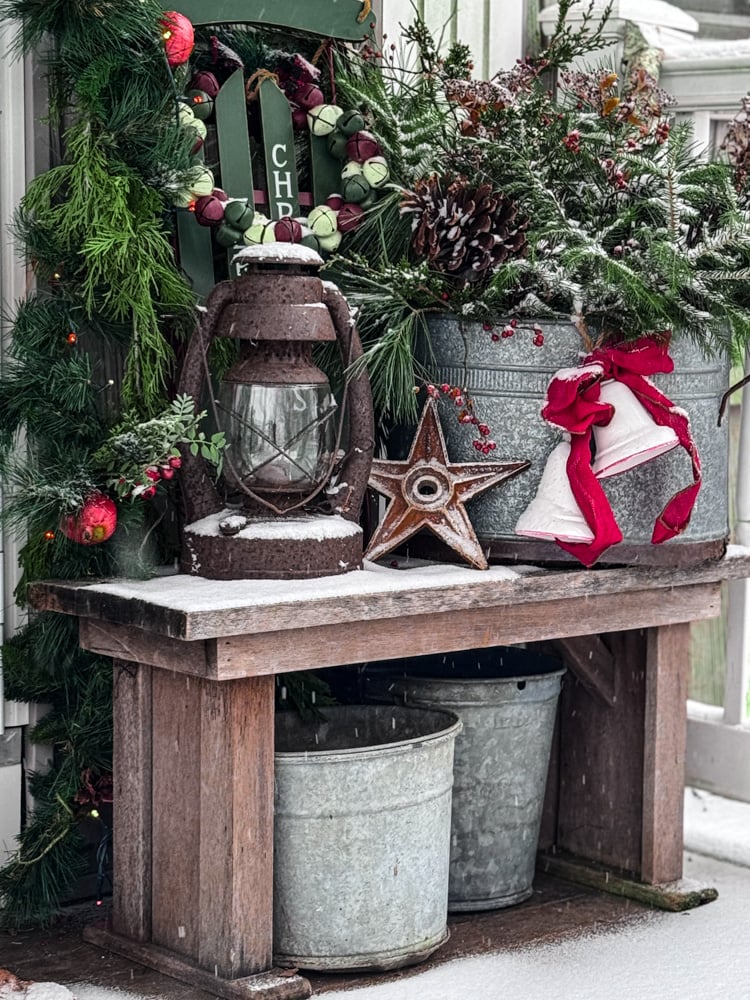
Here is an easy and affordable Christmas project to make! This bottle brush tree wreath was inspired by a very expensive one that I had spotted online. This version is just as festive and more budget-friendly, plus only takes about 15 minutes to make! Ready to see more…

DIY Bottle Brush Tree Wreath
So when I was scrolling through all my favorite retail websites in the Fall looking for Christmas inspiration for this season I saw the prettiest wreath on the Anthropologie website…it was so cute… little trees, sparkly houses, and plenty of fake fluffy snow…but friends, it was $189!!!!
Are you kidding me…I will decorate my entire house for Christmas plus get all my crafting supplies for less than that!!!!
Well, I hung that picture on my Christmas mood board to figure out a way to recreate a super affordable version…and boy, I think I nailed it!
Friends, you don’t have to be super crafty to do this either…if you can handle a glue gun then you can make this one!!
This post may contain affiliate links, which means I may earn a small commission if you make a purchase through my links, at no extra cost to you. Read my disclosure policy here.

Bottle Brush Wreath Supplies
The most important thing was to find bottle brush trees that wouldn’t break the bank!
I ordered my trees on Amazon, they were the most affordable bottle brush trees that I found and the quality is nice too. There are 4 different colors and 4 sizes of each of the trees. They are really cute too!

For this project, I am using a 12-inch wreath that I already had in my stash. Any grapevine wreath will work but make sure it is only 12 inches because that’s the perfect size for the 48 bottle brush trees that come in the set.
Updated for 2023: The 48-piece set isn’t available but the same trees are available in sets of 24 (so you will need 2 sets) for this sized wreath or 2 set of 30 for a larger wreath.
- Set of 24 of Same Bottle Brush Trees(you will need 2 sets of 24)
- For A Larger Wreath Here Is A Set of 30 Bottle Brush Trees
- Set of 50 Bright Colored Trees
- Retro Christmas Colors
- Polyfill (to make snow)
- 12″ Grapevine Wreath Form(set of 2)
- Hot Glue Gun& Glue Sticks (I only use Gorilla glue sticks, very strong)
A larger wreath will look amazing… but be sure to buy 2 sets of the bottle brush trees!! Still not a bad price for a showstopping wreath for the holidays though!!!
Assembling The Bottle Brush Wreath: Glue Trees

Get your hot glue gun ready because you will need it. All I did was start with one of the largest size trees, put a bead of hot glue down the back and press it onto the wreath. It really didn’t take too much glue to adhere the bottle brush trees to the wreath.
After the larger tree was on I nestled the other sizes of the trees around it. I varied the colors as I went.

I worked my way up the left side of the wreath attaching the trees and keeping them upright.
To get a 3D effect I would glue a small tree on top of a larger one.
Don’t stress…there isn’t a wrong way to do this one!

Here’s a better look at the wreath once I had attached all the bottle brush trees to it.

Assembling The Bottle Brush Wreath: Add Snowy Detail

Now you can totally leave the wreath with just the bottle brush trees and it looks fantastic…but for a little extra festive look I added “snow”

You will need just a small amount of polyfill batting, you could even get away with cotton balls…or unzip a throw pillow and grab a little handful (hey, don’t laugh…it’s free!)

I grabbed really small puffs of the cotton and tucked it in between the trees and around the inside and outside edges of the wreath form.

When I grabbed a puff of the cotton batting I pulled it apart smaller with my fingers to get a lighter effect when I used it between the trees.

Finished Bottle Brush Wreath

Amazing what you can whip together in 15 minutes!! Plus this beautiful wreath cost me less than 20 bucks (sorry, the price for supplies has gone up this year!!)
If you happen to make this wreath I would love it if you sent me a photo to add to the gallery. Email me at jennifer@cottageonbunkerhill.com
xo, Jennifer


Bottle Brush Tree Wreath DIY
Here is an easy and affordable Christmas project to make! This bottle brush tree wreath costs about $20 to make but looks much more expensive...plus only will take about 15 minutes to make!
Tools
- Hot Glue Gun
Instructions
- Start with one of the largest size trees, put a bead of hot glue down the back and press it onto the wreath.
- After the larger tree is glued on use the smaller size trees around it. Vary the colors as you go.
- Glue smaller trees onto larger trees to create a more 3D effect.
- Work up one side of the wreath attaching the trees and keeping them upright.
- Once all the bottle brush trees are attached to the wreath add small puffs of polyfill batting to create a snowy effect around the trees and also on the outer and inner surface of the grapevine wreath.
Recommended Products
As an Amazon Associate and member of other affiliate programs, I earn from qualifying purchases.
Need More Christmas Inspiration??
Here are 100’s of ideas from a group of professional bloggers to make your season bright!
Pin for Later


I love the bottle brush tree wreath! What a fun idea! Using bottle brush trees may be all the rage now, but they also bring back the nostalgia of seeing them as my grandmother’s Christmas decorations. ❤️💚 I just saw a small vintage train boxcar, with white bottle brush trees loaded into it, at an antique store. So many ways to use them! Wishing you and your family a wonderful holiday season!
I know, they are so cute too! The vintage bazaar is next weekend, maybe I’ll see you there!
This is so cute! I’m Obsessed!
You know that your wreaths are my favorite!
This is such a smart, cheap idea and they came out super adorable! I had to pin this to save the idea for later!! 🙂
I’m all about a bargain!!
Just STUNNING, Jen!!! What a way to make something for WAY less!! It’s so pretty…heck , this can be used all the way through February as winter decor, too!! Pinned!!
Thanks, Rachel!! It’s a cutey!!
I love your wreath, Jennifer! I’m featuring it this weekend in my weekly roundup. Thanks so much for sharing!
Thanks so much, Kim!! Have a great day!
This wreath is brilliant Jennifer! So happy to be featuring it in Fabulous Friday Link Party Features — and in my email!
Thanks so much Diane!!
Jennifer
I love this idea. It turned out great. I’ll be sharing next week. 😘😘
Jennifer, this wreath is so stinking cute! It is so beautiful.
Thanks!! I love it too!!