

Make a new piece of wall art with a natural touch. Learn how to make a DIY woven dried botanical shadowbox in this step-by-step guide. Lovely way to display your dried flowers.
How to Make a DIY Woven Dried Botanical Shadowbox (Step-by-Step Guide)
Here is a pretty piece of wall art that you can make in no time at all. Using an unfinished painter’s frame, stain/paint, a roll of macrame cord, natural colored fabric, & dried botanicals.
This post may contain affiliate links, which means I may earn a small commission if you make a purchase through my links, at no extra cost to you. Read my disclosure policy here.
Supplies:
This DIY is inspired by one that I saw on Pottery Barn. Their version is larger than mine but this project can be adjusted and made on a larger shadowbox board.


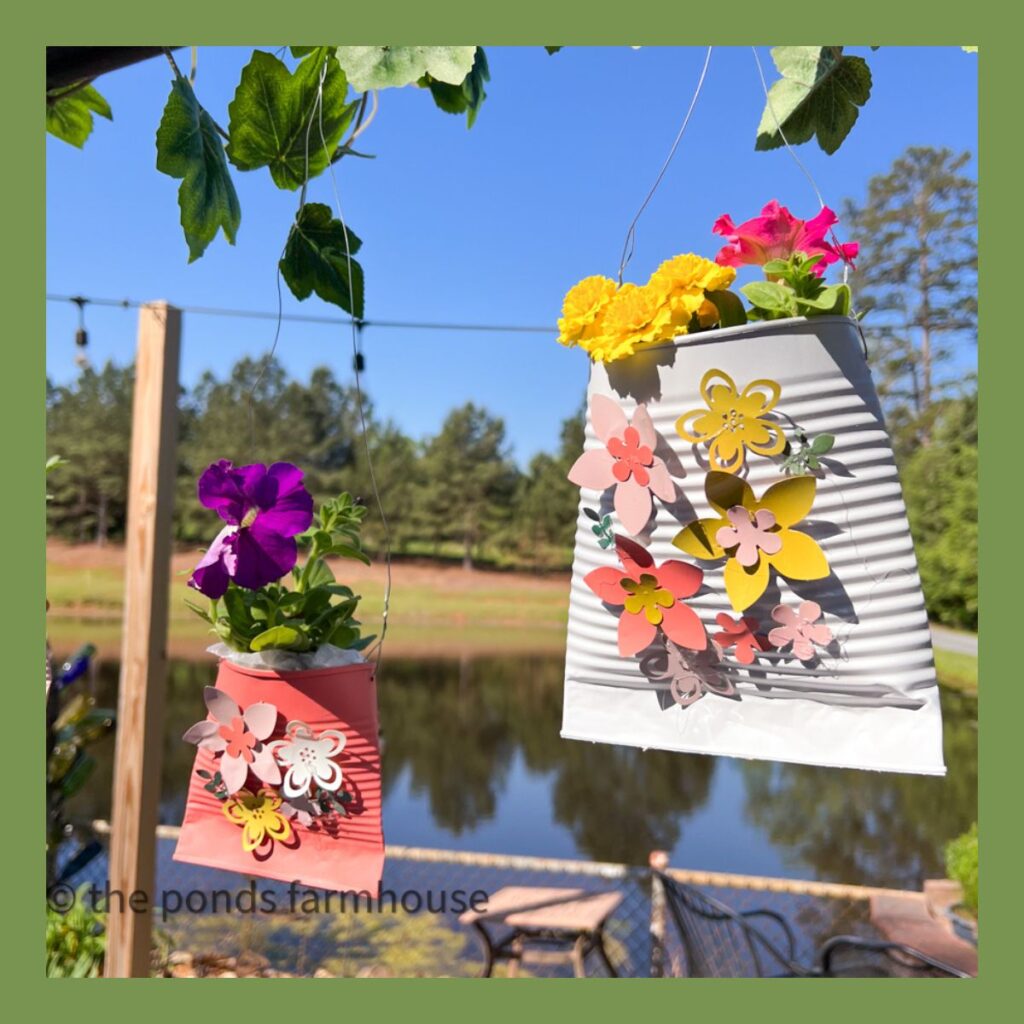
Every month the Handcrafted Society gets together to create a themed monthly project. For May we are doing flowers as the theme. If you are here from my good friend Amy she is super creative and I loved her floral art. Our guest this month is Rachel over at The Ponds Farmhouse
1. Getting Started On The Shadowbox: Stain Frame

For my Pottery Barn lookalike version of this dried botanical shadowbox frame, I grabbed my supplies at Michael’s. I’m going to use a 10×20-inch frame but this project can be made on a larger frame as well.
The unfinished wooden board will have to be either stained or painted first.

Since this is a small project I used the Varathane stain that comes in a bottle and has a sponge tip applicator, super simple to use. To be honest, I don’t love working with stains but this one is easy and doesn’t smell!
Let the stain dry completely before moving on to the next step.
2. Cover Shadowbox with Fabric

Once the stain is dried I covered the back of the shadowbox frame with muslin fabric.
Just measure the inside of the length and width of the frame you are using and trace the measurements onto a piece of muslin or other natural-colored fabric.
I had this fabric left over from my Seashell Shadowboxes.

To adhere the fabric to the wood shadowbox I brushed a thin layer of Mod Podge onto the frame and carefully lined up the fabric. Then I smoothed out the muslin fabric to remove any bumps. I purposely used the frayed edge of the fabric across the top of the frame because I thought it looked interesting.
3.Weave Macrame Cord Onto Shadowbox Frame

No special skills required for this weaving so don’t worry!
I’m left-handed so it was easier for me to start in the right-side corner of the shadowbox but if you start on the left side it will be the same technique.
Using a small drop of hot glue I put the end of the macrame cord about 3.8 inches in from the edge (the inside area of the frame is about 19 inches and I did 5 rows of the macrame cord weave)
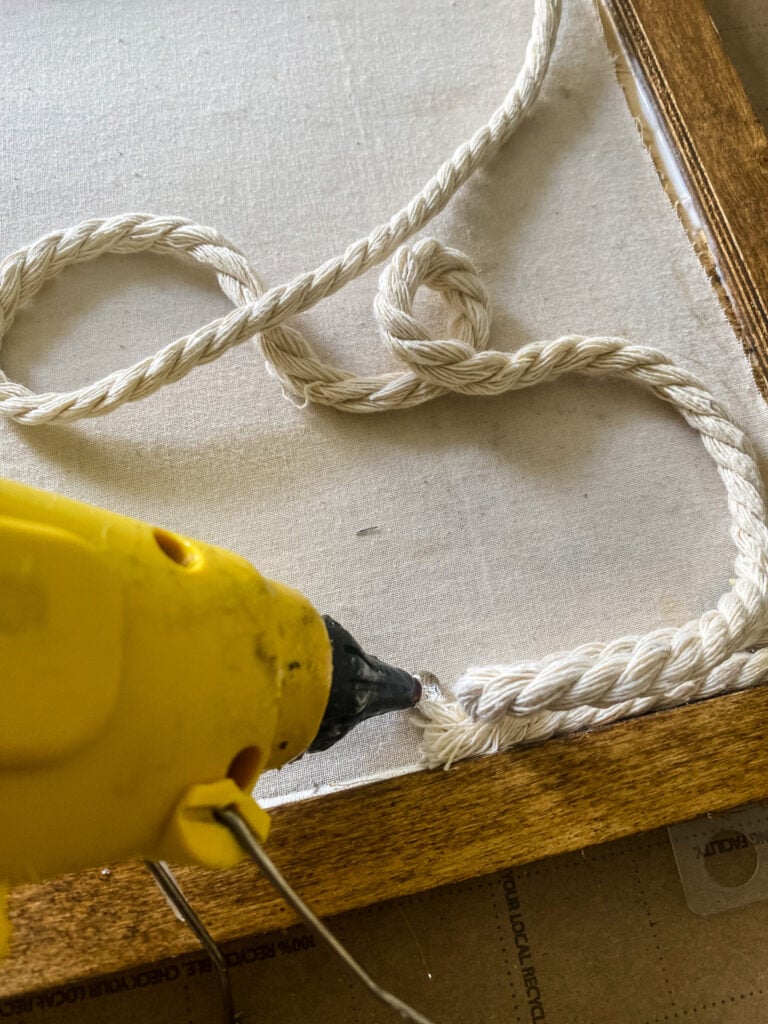
Then I ran the cord along the bottom to the corner of the frame then added another drop of glue and curved it across itself.

It’s basically making a “S” shape. Just add a drop of glue at each end of the cord to secure in place.

On the 14th row of the macrame cord, I ran it across to start the 2nd row of the macrame weave. This time I worked from the top of the row down to the bottom of the frame using the same S pattern.
Just use enough glue to secure the macrame cord in place and keep the rows touching with no space in between.


On the 5th and final row of the macrame weave at the bottom of the frame I did my last curve of the macrame cord and this time I ran the cord the entire length of the frame to do a row of long macrame cording.

6 rows of the macrame cord across is perfect for this sized frame. If you are using a wider frame then just go about halfway up with the macrame weaving.
4. Add The Dried Botanicals To The Shadowbox

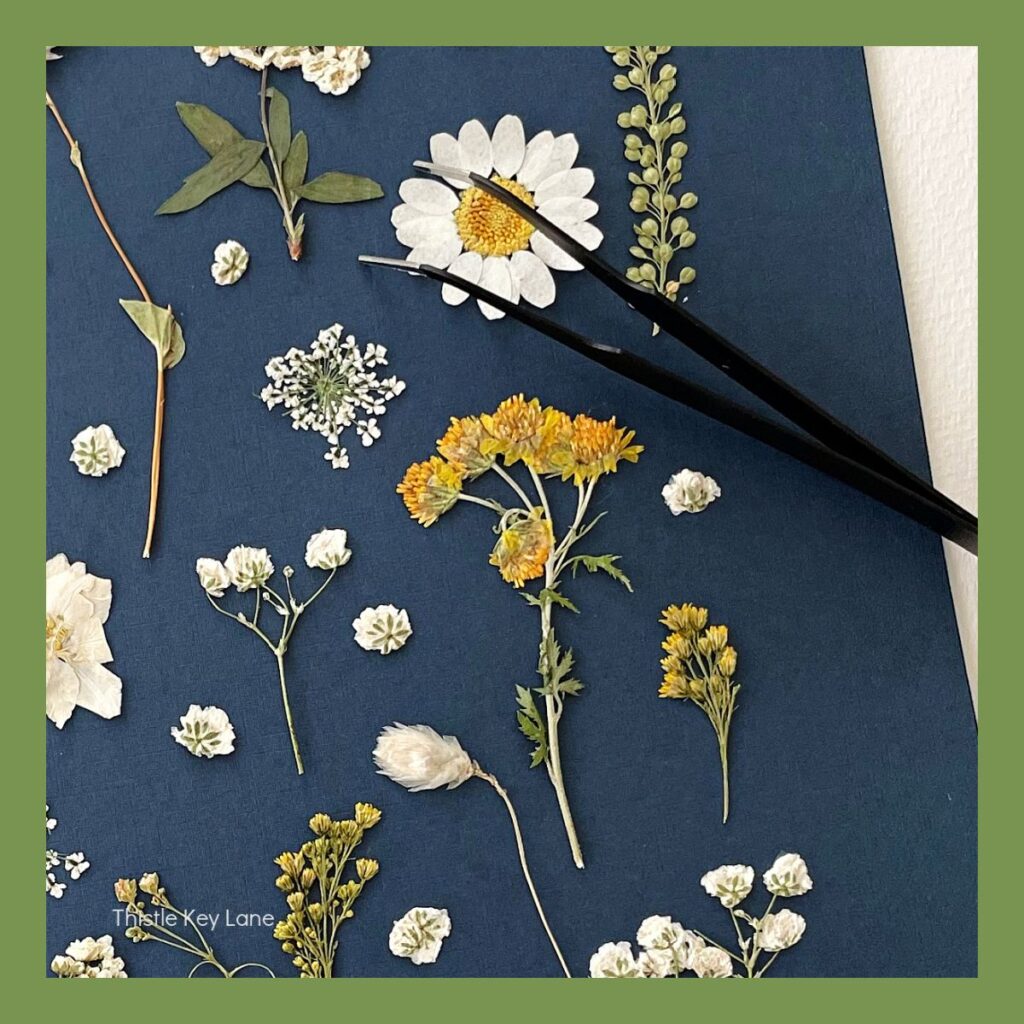
Now for the fun part!! Adding the dried botanicals to the frame. You can find dried flowers at all the craft stores, I dried flowers from my garden last year so I had a variety on hand to use for this shadowbox project.

You just want to use flowers or dried grasses in the smaller size to add to the shadowbox.
For the botanicals, I used hydrangea, baby’s breath, small poppy pods, dried cress, starflowers, bunny tails, and dried Queen Ann’s Lace.
You definitely don’t need to use that many varieties to create a pretty shadowbox, so don’t worry if you only use a couple of different botanicals.

Now all you need to do is weave the stems in between the macrame cord. Just add them in different spots across the frame.

Some I wove into the bottom of the frame. Some pieces I wove under the longer macrame weave across the top of the shadow box.

Just trim off the ends of the botanicals if they are too long.

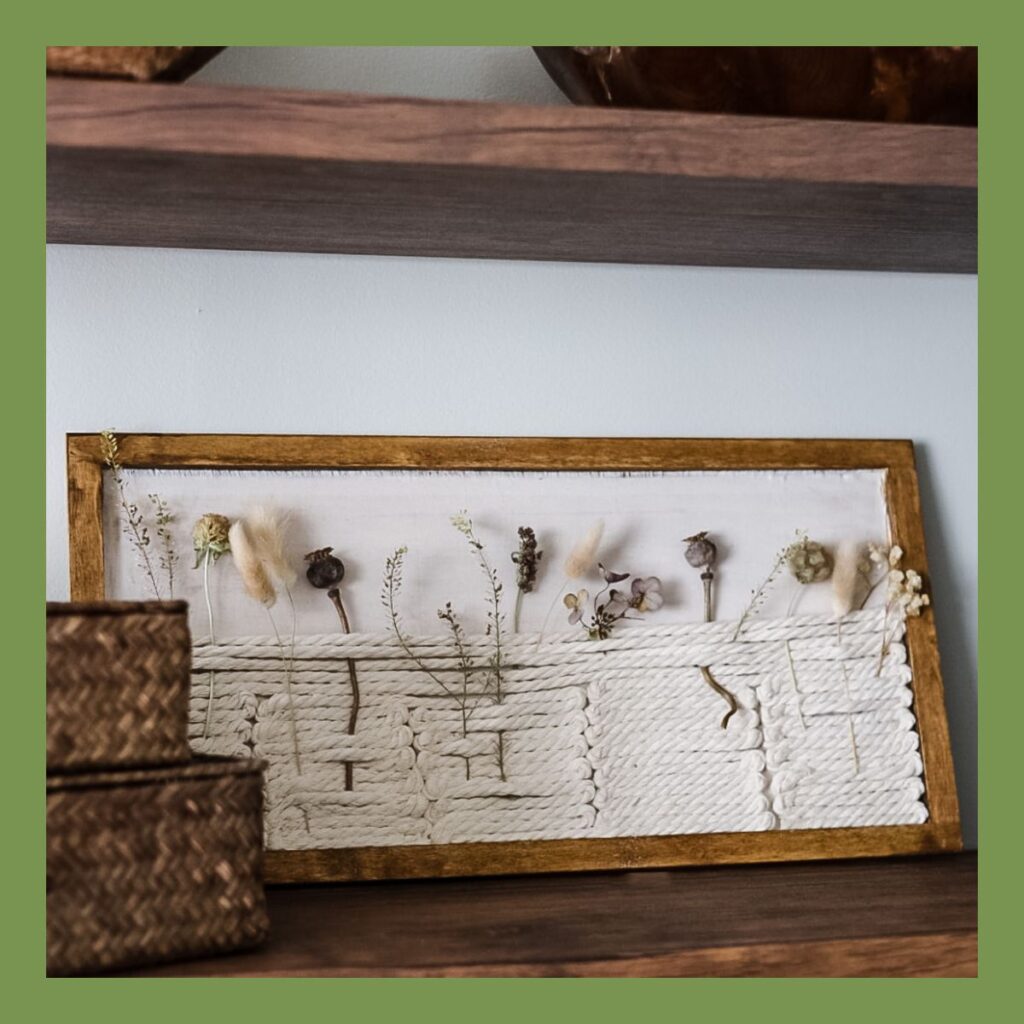
Finished DIY Woven Dried Botanical Shadowbox
To hang the frame just add a sawtooth hanger to the back center of the frame or add 2- one at each top corner. If you don’t want to make nail holes into the wall then try the Command velcro strips, they work great for projects like this one.
Right now I added it to my living room bookcase, leaning against the wall. My living room is filled with natural elements and this fits in perfectly with the style in here.

xo, Jennifer
25 DIY Projects Using
flowers & botanicals
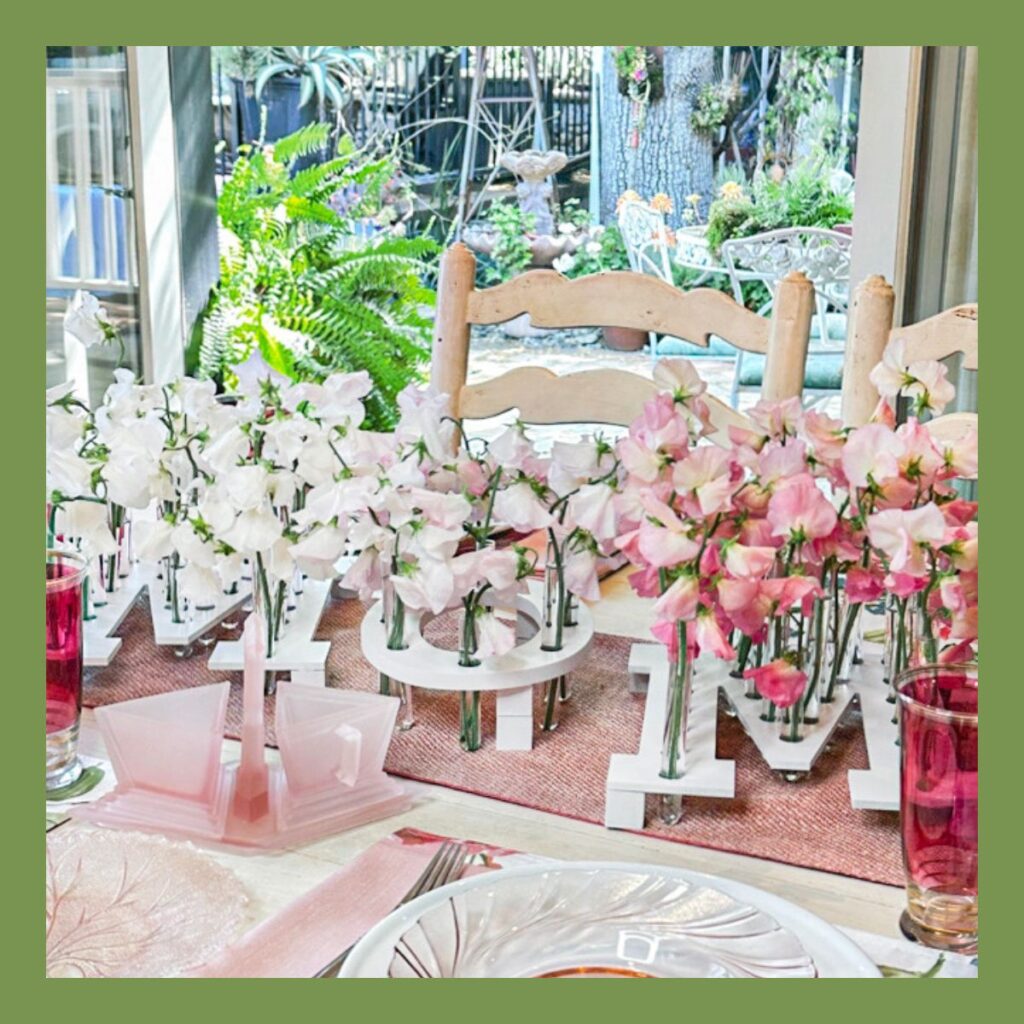
Next up in the Handcrafted Society is Wendy who is going to share with you her pretty sweet pea ideas and tips for growing them.

Handcrafted Society Does Flowers

My Latest Diy Projects


Pin For Later


SUCH a gorgeous piece of art, Jennifer!! Amazingly creative and a beautiful decor piece that can be used year round!
Thanks so much Rachel!
Nice idea Jennifer! I am growing more botanicals to dry in my garden this year. This is a beautiful way to present them!
I’m going to grow more flowers for drying too this year! I’ll see you Thursday??
What a fun idea Jennifer! Love showcasing the flowers but in a bit of a neutral way. Now you truly can have flowers in every room of the house.
Thanks so much, Diane!
Jennifer – Love this look. I always like to bring natural elements into my home, this is definitely one I’d like to try. Great job!
Thanks, Regina!!
Such a clever idea, Jennifer! Such beautiful texture and pattern…and a clever way to display the flowers! This would make such a lovely gift for Mother’s Day or any occasion. Thanks for another great Handcrafted share!
Your dried botanicals are so pretty Jennifer, and I just love how your shadowbox turned out. This is right up my alley!
Jennifer,
It turned out so cute. Great job. Now I want to make one. LOL. Thanks for having me along this month. It was a treat.
Jennifer this is gorgeous! I love how you added the yarn, it gives it boho vibes. I did something similar with my wedding bouquet. Such a pretty way to treasure sentimental flowers.
Such a creative idea. I love it. You are amazing.
This is the cutest project, Jennifer. I love how you wove the yarn and added your dried flowers. Thanks for sharing your talents. You are amazing!
Just love this idea. I will dry some flowers this winter and make this for a Christmas present. So beautiful and well done.
That’s a great idea! I’m planting so many flowers this year with drying in mind.