

I am going to show you how to build a raised planter bed with a trellis attached to it. This is a perfect DIY garden project that you can use anywhere you want to add more plants and a bit of privacy.
A DIY Garden Project: Build a Raised Bed Planter w/ Trellis
We’ve been spending more time outside on our patio and I wanted to add more plants and flowers to the area; and also create a little privacy from the road traffic ( full disclosure I live on a pretty quiet road in NH and most of the traffic is people walking their dogs, joggers, and this morning a couple of wild turkeys out for a stroll!) I decided to build this raised garden planter with a trellis as a solution.
Supplies for This Project:
- (2) 1” x 12” x 6’ boards (raised bed)
- (3) 1” x 2” x 8’ boards ( trellis supports)
- (1) 2” x 2” x 8’ board (raised bed corner supports)
- (1) 2’ x 8’ wood lattice (trellis)
- 2” wood screws
- 1 1/4” wood screws
- wood stain
Step 1- Cut the Wood For The Raised Bed


Raised Planter With Trellis Cut List
I used a circular saw to make the following cuts:
- Mark and cut the (2) 1“x12”x6’ boards at 48 inches (the 48” piece for the front of the planter and 24” piece for the sides)
- Cut (4) 12 inch pieces from the 2”x 2”x 8’ boards (corner supports)
- Mark and cut the 1x2x8’ boards at 60 inches (lattice trellis supports)
- Cut the lattice piece in half (48”)
Step 2- Add corner supports


Place one of the 4 ft long boards on a flat surface.
Measure and mark the board 1/2 inch from each end. Using 2” wood screws attach the corner supports with a cordless drill.
Repeat on the other 4 ft board.
Step 3- Attach Sideboards

Now stand up the board. Take one of the shorter (2ft) sideboards for the planter and attach it to the corner support using 2” screws. Repeat for the other board.

I moved the pieces to the floor and screwed the two unattached corner sections together to finish the planter box.
Step 4- Add Support Boards For The Lattice


I added 2 of the lattice supports ( the 1x2x60” wood) to the back of the planter. I lined them up square to the bottom and side edge and attached them with 2” wood screws.
Step 5- Attach the Lattice


I drilled pilot holes into the lattice because I found that even though I was using wood screws that don’t require pre-drilling the lattice wood is so weak that it split anyway. (Even with drilling pilot holes I had a couple of minor splits)
Use 1 1/4 wood screws to attach the lattice to the frame.
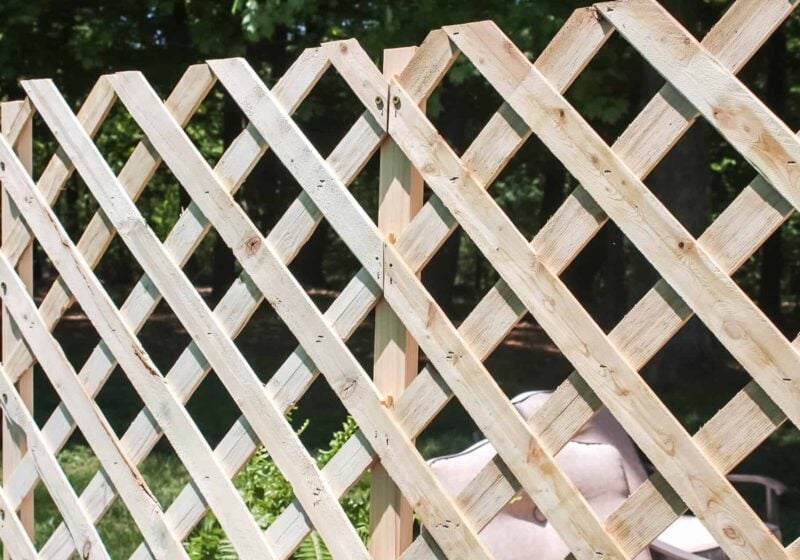
Add the final 2x2x60” lattice support board to the back center of the planter.
I waited until the end to add the final support board because I wanted it to line up perfectly centered with the 2 pieces of the lattice. Then screw the lattice to the board.


Step 6- Stain The Raised Planter Bed And Trellis

I did a coat of Minwax oil-based stain in “Early American” on the raised planter bed and trellis. I let it dry overnight and then brushed on a coat of a clear protector the next day.
Step 7- Line The Planter Bed

I’m using my raised planter bed on a gravel patio so I lined it with landscaping fabric that I had on hand from my vegetable garden. I just used a staple gun to attach the fabric to the inside of the planter.
Step 8- Fill & Plant

I used 2 bags of 2.0 cubic ft garden mix to fill the planter and added some vining Mandevilla plants to get things started.

I loved how this project came out so much that I’m going to make another one after I finish writing this!

More Garden projects to make:
- How To Build A Tall Garden Obelisk
- How To Make A Folding Garden Trellis
- Cottage Style Garden Tower DIY

Last Spring I moved the 2 trellised raised beds into my big cut flower garden and planted my dahlias in the beds along with morning glory seeds. The morning glories loved it!
More Gardening Ideas For You
-
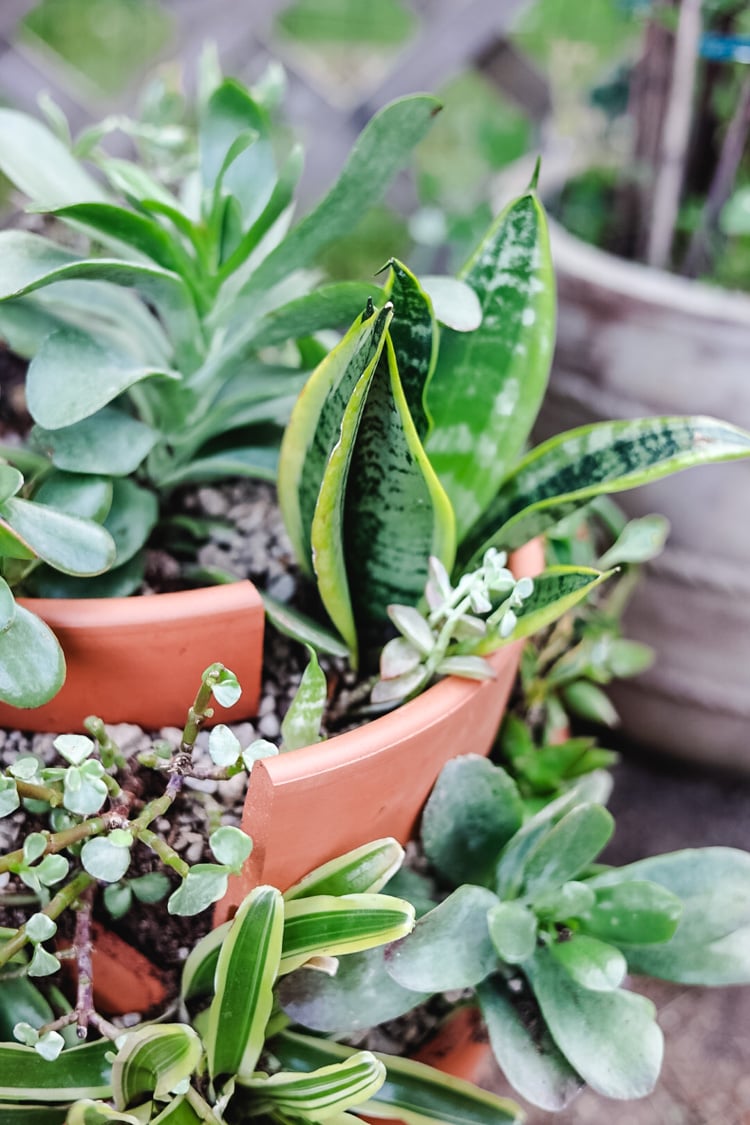
Why I Intentionally Broke My Terracotta Pot (And You’ll Want to Too!)
Discover how smashing a terracotta pot created my favorite succulent planter! (Sometimes, a little destruction leads to the most beautiful creations!) I’ll admit…
-
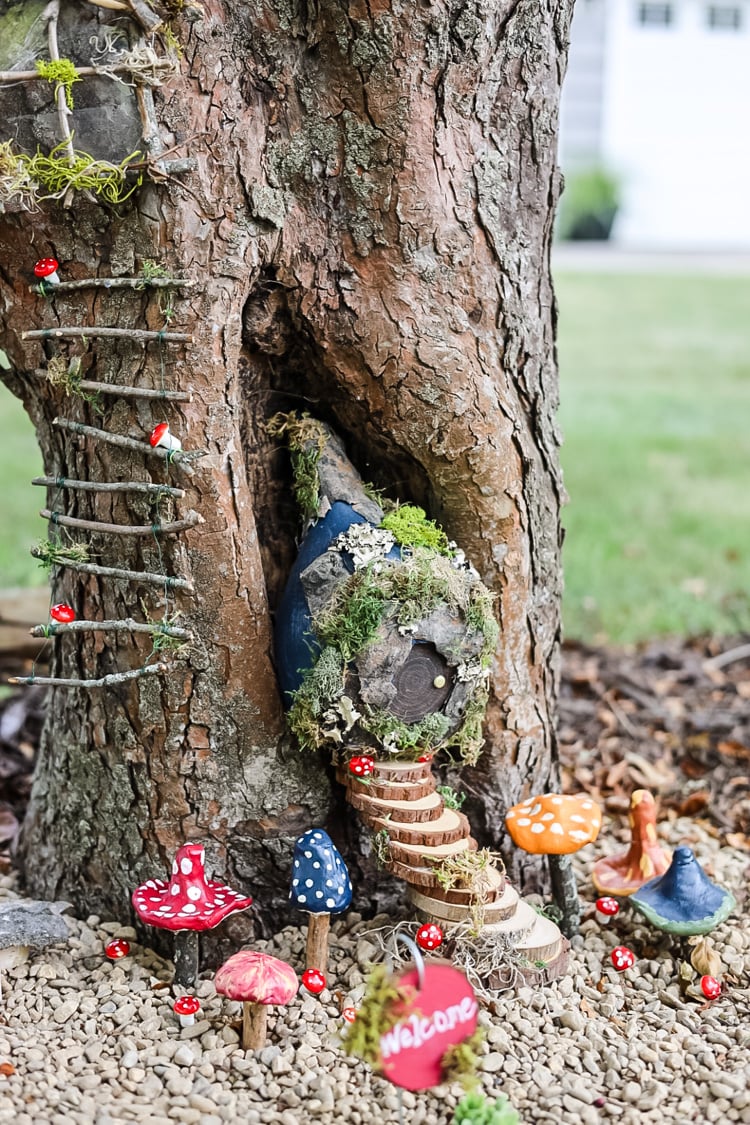
Whimsical Fairy Tree Garden: A DIY Project for a Magical Yard
When I noticed the natural hollow at the base of our crabapple tree, I knew it had potential. Instead of leaving it as…
-
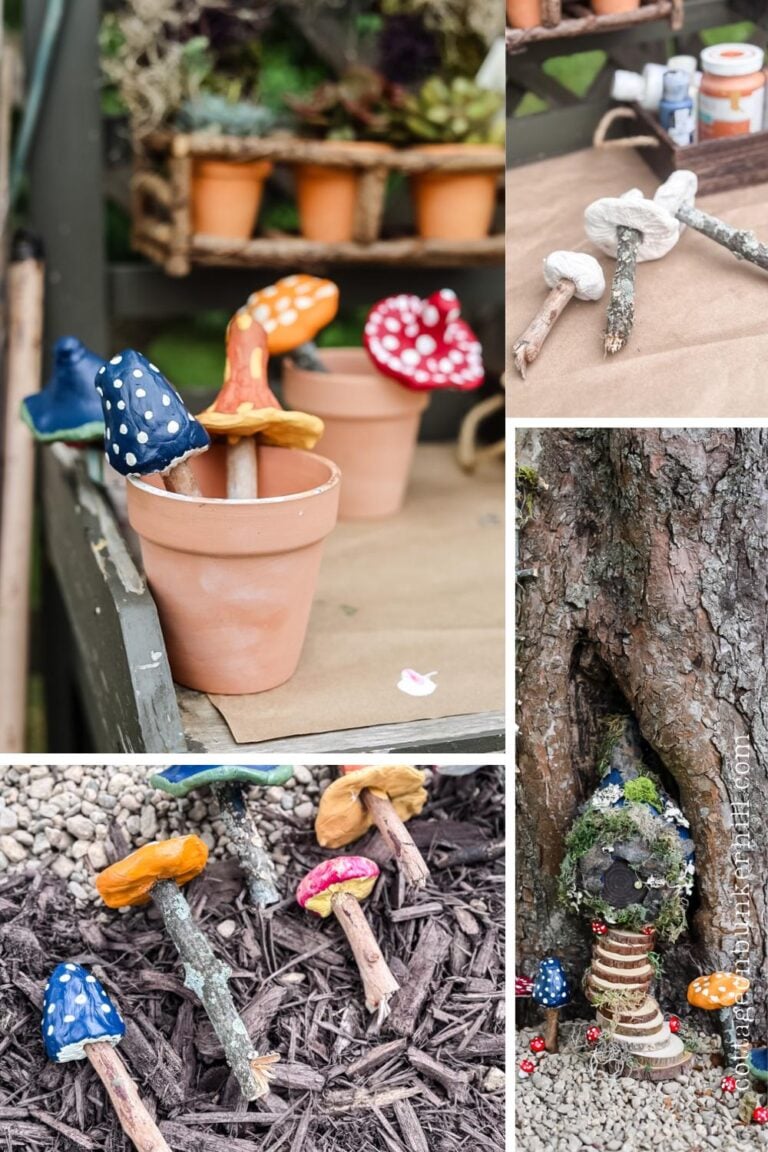
DIY Air-Dry Clay Mushrooms for Fairy Gardens (No Fancy Tools!)
Bring your fairy garden to life with these charming, easy-to-make clay mushrooms! Made with simple air-dry clay and fallen branches, they add a pop…
-
Turning $25 of Thrift Finds into Cottage Garden Charm
I handed over $25 at the thrift store checkout… and walked out with everything I needed to give my garden a cozy, colorful…


How much roughly did you spend?
Oh, it was in 2020 so I honestly can’t remember the total cost.