

OK, This is not one of my usual posts with pretty pictures!! Today I’m coming to you as your DIY fix-it girl. I’m going to show you how to clean a washer inlet valve filter yourself and save yourself a call to the repairman (and a few $$$)
Is Your Washer Taking Forever to Fill? Here’s How to Fix It in Minutes

Is your washing machine taking forever to fill? You’re not alone! Many people experience a slow trickle where their once speedy washer used to fill. It happened to me too, and the culprit? A clogged inlet valve filter.
Thanks to a tip from my appliance repairman Mel, I learned this easy fix that can save you time and frustration. While I can’t speak to every washer model (especially front-loaders), this guide should help for common top-loaders. Let’s get your washer back to its fast-filling glory!
Cleaning A Washer Inlet Valve Blocked With Sediment
The trickiest part might be unscrewing the hose from the washing machine. Use an adjustable wrench for a good grip. Having a bucket handy will catch any residual water that spills out when you disconnect the hose, preventing a mess.
What To Have Handy For This Project:
- Bucket
- Wrench or Pliers
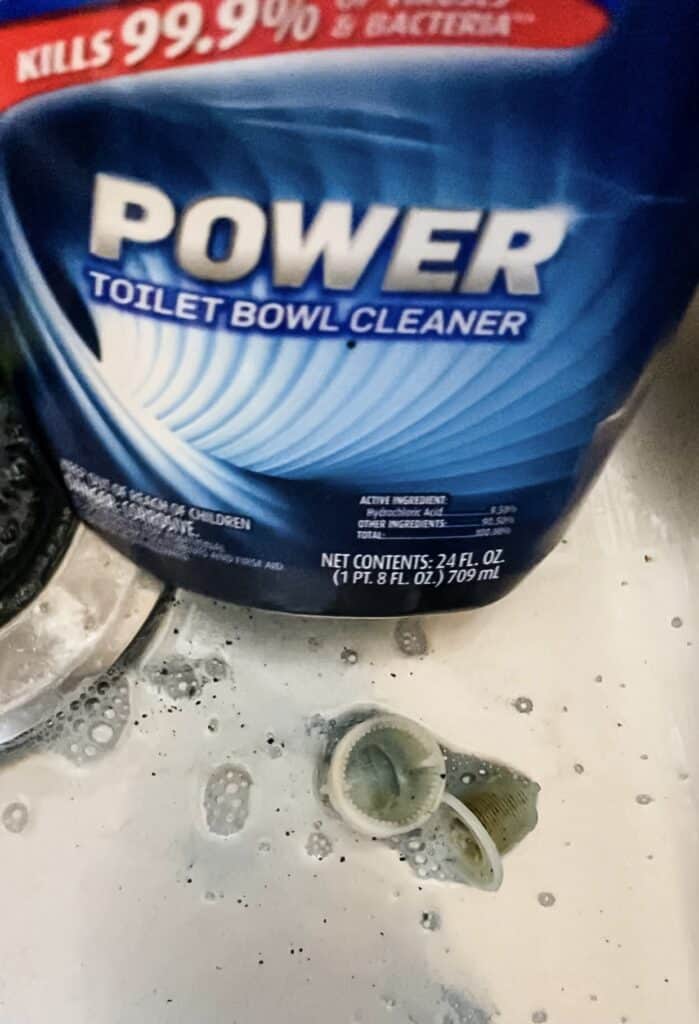
- Dish Soap, White Vinegar, or Toilet Bowl Cleaner
- Small Brush (old toothbrush works)
Step 1.
Unplug your washer for safety…I don’t need any of you getting zapped! You may need to move your washer out a bit from the wall so you can access the hoses.
Next, shut your water valves off. They will be located on the wall.

Unscrew the hose from the back of your washer.
You may need pliers to loosen your hose so have a set handy. I put a towel underneath the hose and I unscrewed it to catch any water drips.
Step 2.
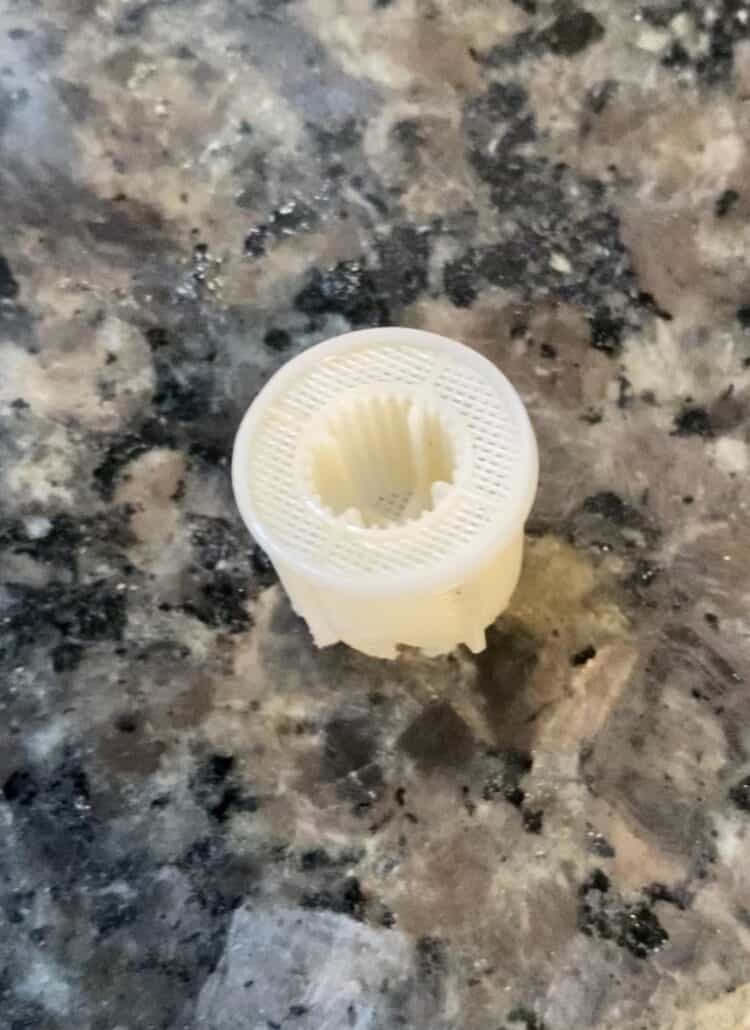
Inside the back of the inlet valve, you’ll find a small plastic screen. This is the filter you’re looking for! Use a pair of needle-nose pliers to gently pull it straight out. It might be a little stubborn, so be patient and wiggle it slightly if needed.
If you have hard water like me (we have a well with lots of iron and minerals), you might be surprised by the amount of sediment built up on the filter. Mine was practically clogged solid! No wonder my washer was taking forever to fill!

Talk about gross!!! Now repeat the process for the hot water hose to get out the other inlet valve screen. But most of the time the sediment build-up will only be on the cold water side.

Step 3.
Now it’s time to clean the filter! There are a few effective methods, depending on what you have on hand:
- Natural Cleaning: For a more eco-friendly approach, soak the filter in white vinegar for a few minutes. The vinegar will help dissolve mineral deposits and other residue. Then, scrub the filter gently with an old toothbrush.
- Dish Soap Solution: If you don’t have vinegar, a quick solution is to mix some dish soap with warm water. Let the filter soak for a few minutes, then scrub with a soft brush.
- Stronger Option (Use with Caution): For heavily clogged filters, a toilet bowl cleaner can be effective. Important Safety Note: Always wear gloves and eye protection when using harsh chemicals. Never mix toilet bowl cleaner with other cleaning products. Apply a small amount of toilet bowl cleaner to the filter, let it sit for a couple of minutes following the product instructions, then scrub thoroughly with a stiff brush. Rinse the filter very well with clean water afterwards.
Whichever method you choose, be sure to rinse the filter thoroughly under clean running water to remove any cleaning residue before placing it back in the inlet valve.
It only took a few seconds for all the sediment to come right off…honestly, did you ever think that gross thing was ever going to come clean!!
Step 4.
Replacing the filter is a breeze! Simply insert the clean filter back into the inlet valve, ensuring it’s seated properly. Reconnect the hoses to the washing machine and water supply, making sure all connections are snug. Turn on the water supply and check for leaks. Once everything is secure and leak-free, run a short rinse cycle to test the water flow.

Since I wrote this I have gotten a new washer but still have the same problems with sediment build-up on the washer inlet valve filter. I just had to clean the filter on my LG washer this morning! I had noticed the wash was taking longer to finish and the cold water was slowing. Then this morning I got error message IE which means problems with the water flow so I had to do this task immediately.
The filter was so gunked up with sediment, I actually couldn’t believe it! Just look at the before and after photos below!


Congratulations! You’ve successfully cleaned your washing machine inlet valve filter and should see a noticeable improvement in how quickly your washer fills. Regular cleaning (every 3-6 months) can help prevent future clogs and keep your washer running smoothly.
xo, Jennifer


Oh, girl, I love a good fix-it! This post is great and makes me want to check mine. I pull the dryer and give it a good vacuum before changing the dryer vent hose. I never thought of cleaning that gadget.
The well water we have causes a ruckus in our faucets and toilets too! I was so icked out when I saw the filter!!
Girl! My washer is taking forever to fill. Usually this is a job I task my husband with and it’s taking him forever to get around to it.
We have a well too and our water is a mess so we have to do this at least once a season.
You’ve encouraged me to try cleaning them out myself. I’ll let you know how I do!
Jen- I’m the handy woman around here! I’ve fixed our washers and dryers multiple times over the years ( thanks to Google and YouTube!) and build everything that comes in a box…I need my boys & hubbie for the muscle to move things for me though.
Thank you Jennifer! You saved me $200 that I could not afford to pay to a handyman!
I’m so glad!!! I just had to clean mine Linda…it was so gunked up!!