

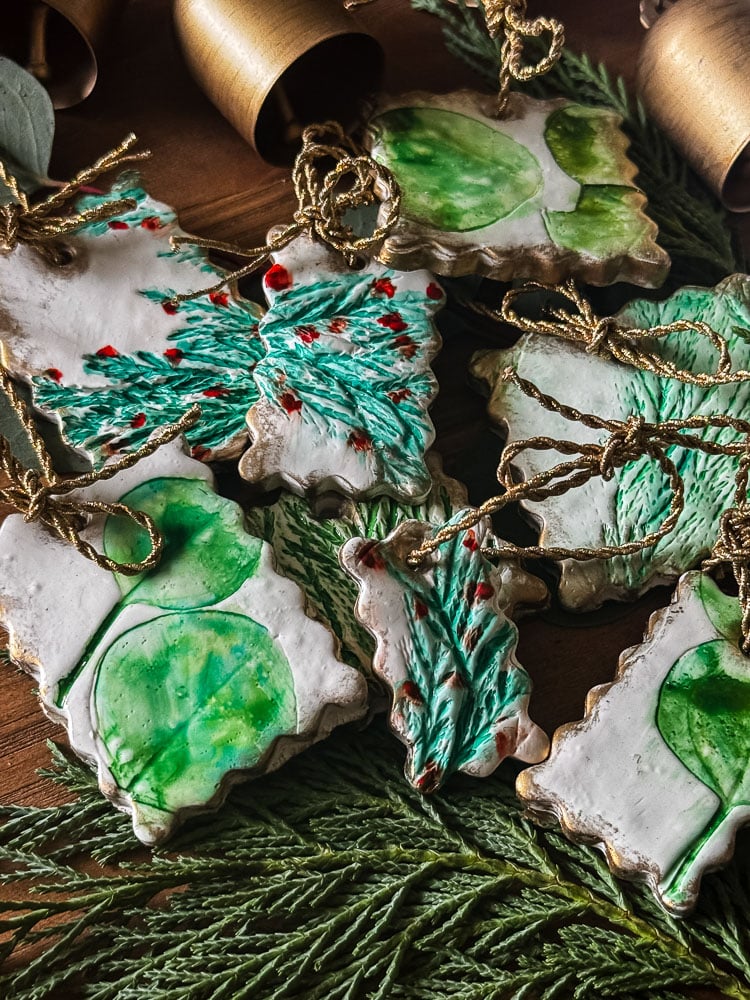
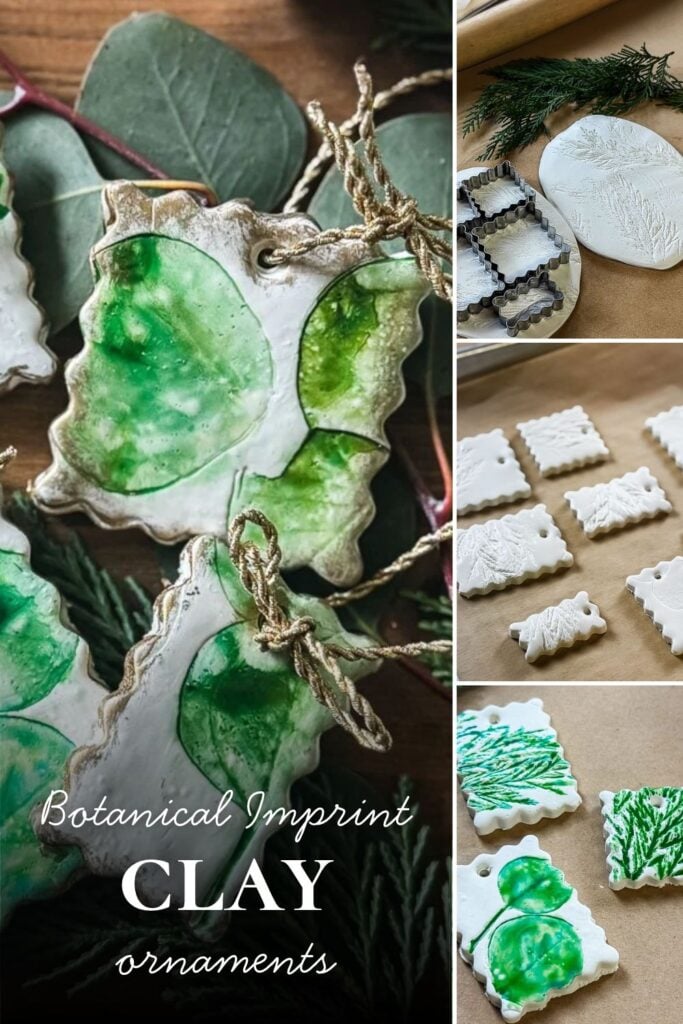
Turn fresh cedar and eucalyptus into botanical clay ornaments that look like hand-painted pottery. Roll greenery into clay, paint the impressions with watercolor, then finish with varnish and gold edges. A simple, budget-smart Christmas craft you can finish in one afternoon with oven-bake or air-dry clay.
Remember those postage stamp cookie cutters from my pressed flower magnets this Spring? So many of you bought a set (seriously, thank you, that post took on a life of its own) that I started feeling a little responsible for them. Nobody wants a one-trick cookie cutter sitting in a drawer!
So I pulled them back out for Christmas, and I think this might be my new favorite way to use them. These leaf imprint clay ornaments are made by rolling fresh winter greenery right into the clay, then painting the impressions with watered-down watercolor. A coat of varnish gives them that glossy, hand-thrown pottery look, and a little gold around the edges makes them feel like something you’d find in a fancy boutique for $18 apiece. (You won’t be paying that.)I made mine with oven-bake clay because I wanted them done the same day. Patience is not always my strong suit. But you can absolutely use air-dry clay, and I’ll walk you through that version too.
This post may contain affiliate links, which means we receive a small commission if you purchase through our links. See our disclaimer page for more information.

Welcome! I’m Jennifer, and I’ve always believed nature is the most beautiful art supply. For years, I’ve been preserving New England’s blooms and foliage through pressing, drying, and crafting. Let me show you how to capture a little bit of the season and bring it indoors- simply and beautifully.
What You Will Need
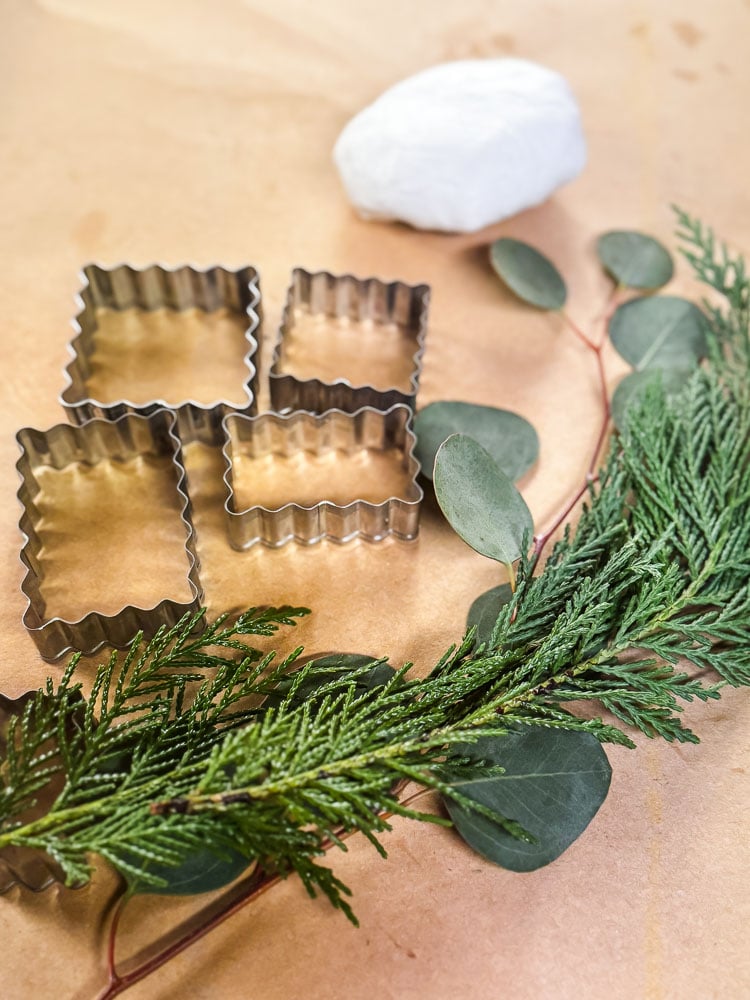
Materials for this Project
- White oven-bake clay (or air-dry clay, see the tips below)
- Rolling pin or acrylic clay roller
- Postage stamp cookie cutters (the same set from my pressed flower magnets post)
- Fresh winter greenery: cedar, juniper, fir, or whatever is growing in your yard
- Silver dollar eucalyptus (from a grocery store bouquet)
- Small clay tool, skewer, or straw for poking holes
- Baking sheet and parchment paper
- Watercolor paint in a couple shades of green, plus yellow and red (tubes or a pan set both work)
- Small round paintbrush
- Clay varnish or glaze (gloss finish)
- Small flat paintbrush for varnish
- Rub ‘n Buff in Gold Leaf
- Gold cord, ribbon, or ornament hooks for hanging
Pressed flower
magnets
How to Make Leaf Imprint Clay Ornaments
Step 1: Warm Up & Roll Out Clay
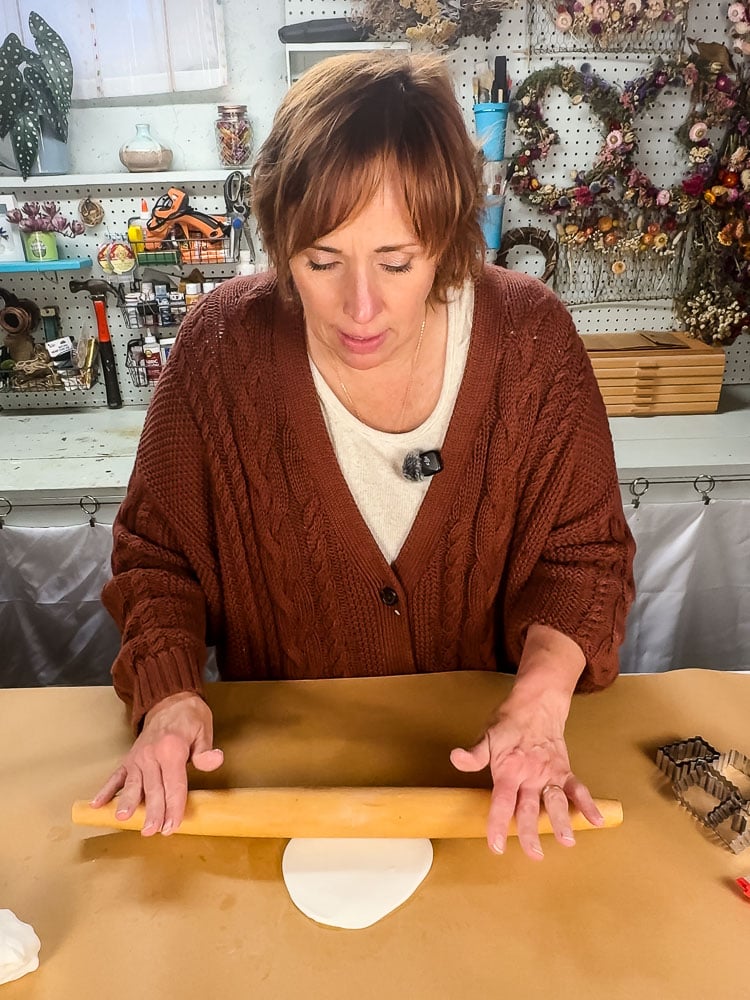
Oven-bake clay is pretty stiff straight out of the package, so plan on spending a few minutes warming it in your hands first. Squish it, roll it into a ball, knead it a bit. Once it softens up, it rolls out much more smoothly.
I split my package of Sculpey clay into 4 balls and warmed up each one before rolling-it was much easier than trying to do the entire package in one go!
Roll the clay out to about 1/4 inch thick. Any thinner, and the ornaments can get fragile. Any thicker, and they’ll be heavy on the branch.
Step 2: Press In The Greenery
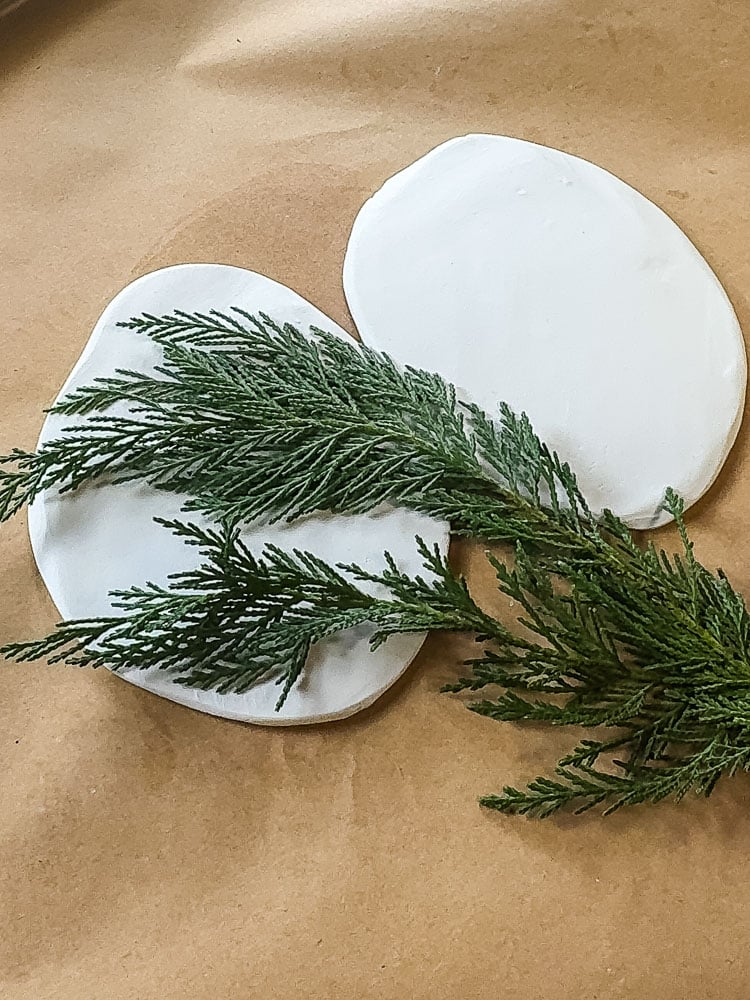
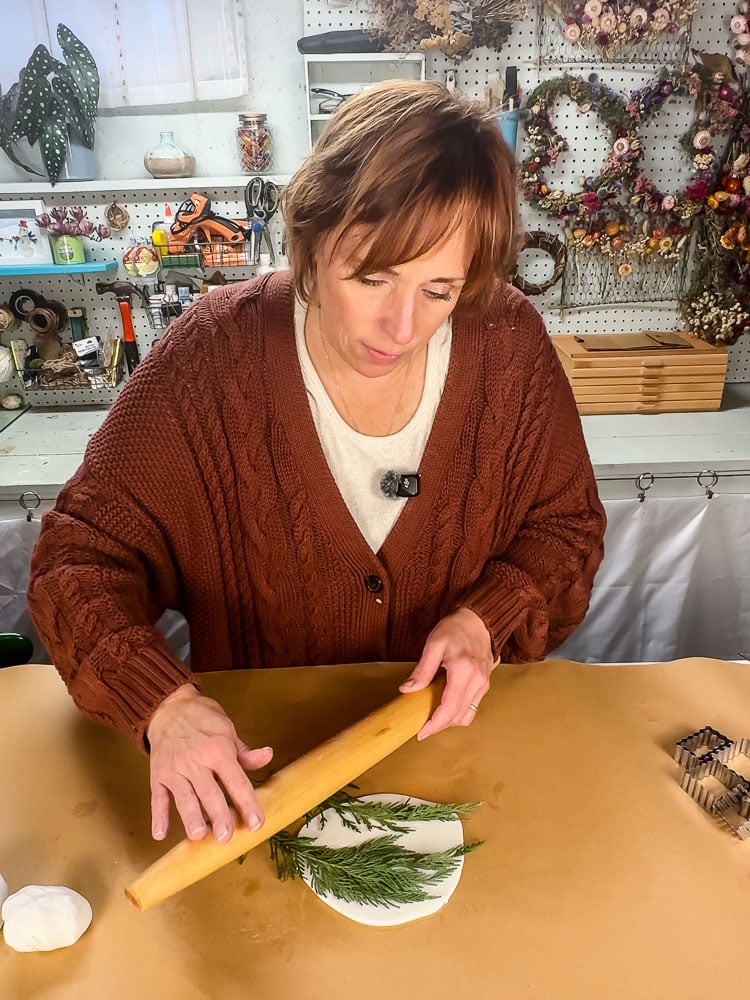
Lay a couple of pieces of fresh winter greenery across the clay. Then roll right over them with your rolling pin, pressing firmly enough to sink the greenery into the clay.
Gently peel the greenery away, and you’ll see every little needle and vein left behind. This is the fun part!
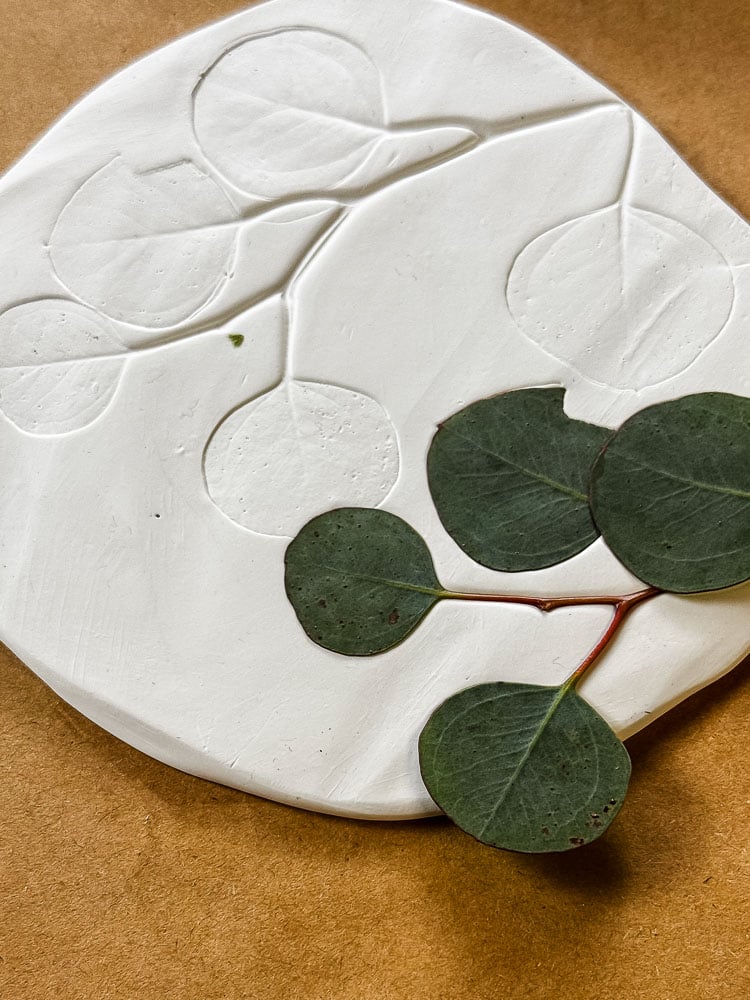
I also made impressions using flat eucalyptus, which creates an entirely different vibe! I have to be honest, when I first did the impressions, I wasn’t sure how the finished ornament was going to look compared to the detailed winter greenery…but wait until you see how they look at the end!!
Step 3: Cut Out Your Shapes
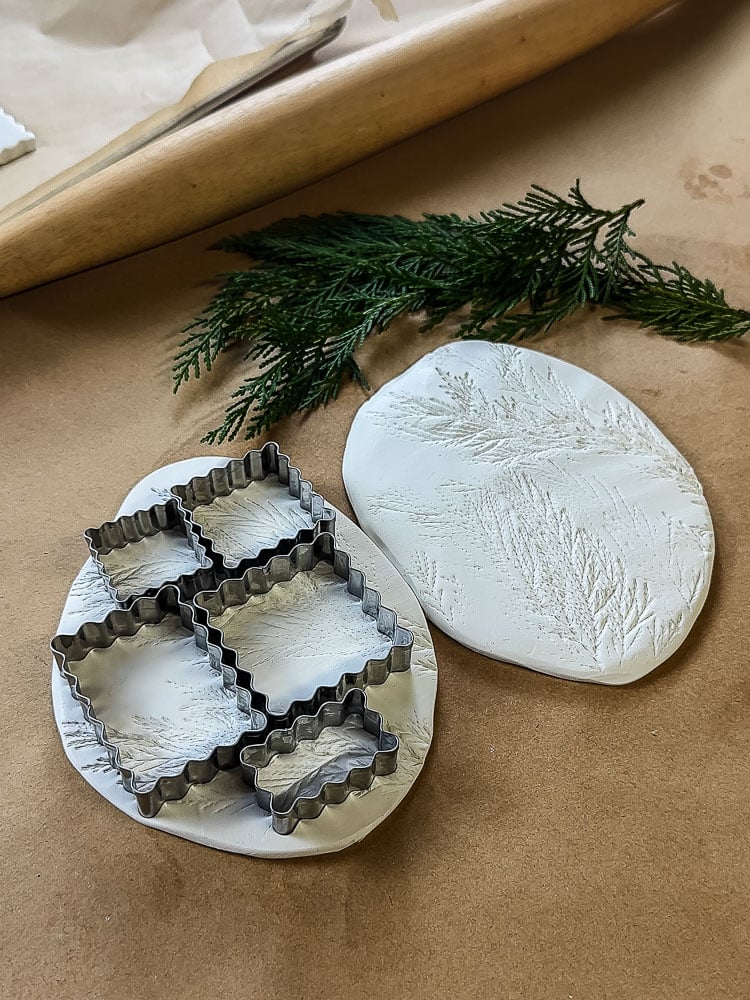
Now grab those postage stamp cookie cutters. Move them around the clay in different positions so you can fit as many as possible in one go.
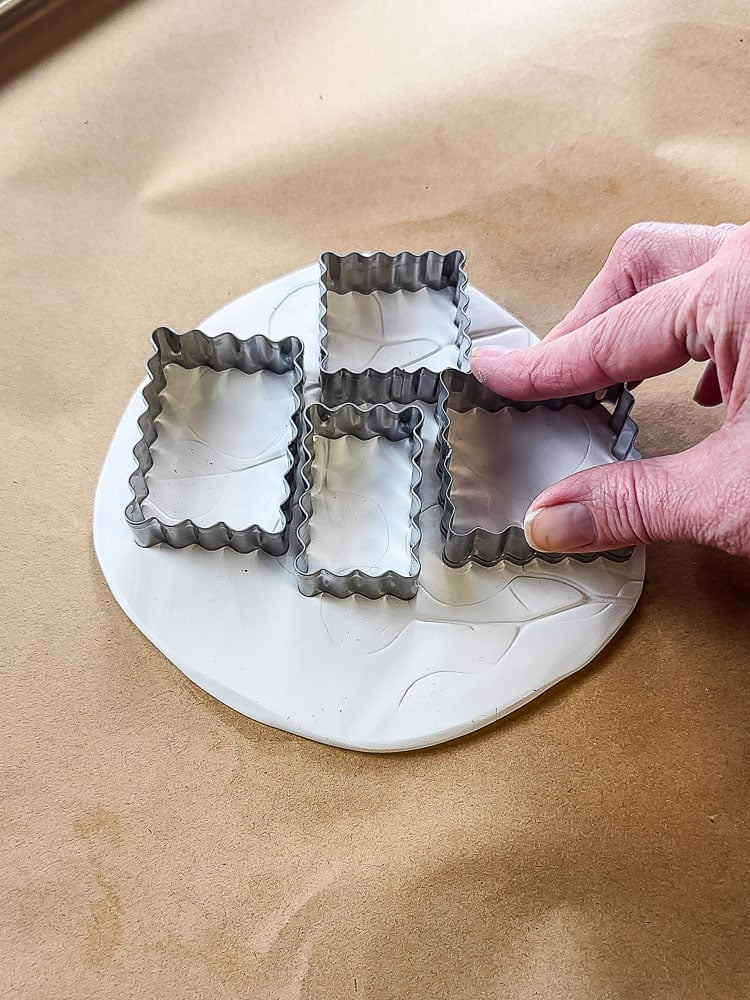
This is also where you get to be a little picky. Look for the interesting spots: a branch tip, a spot where two sprigs cross, a cluster of needles. Mixing it up gives you a nice variety, so no two ornaments look exactly alike.
Then ball up the scraps, roll them out again, and repeat the process.
Step 4: Poke The Holes For Hanging
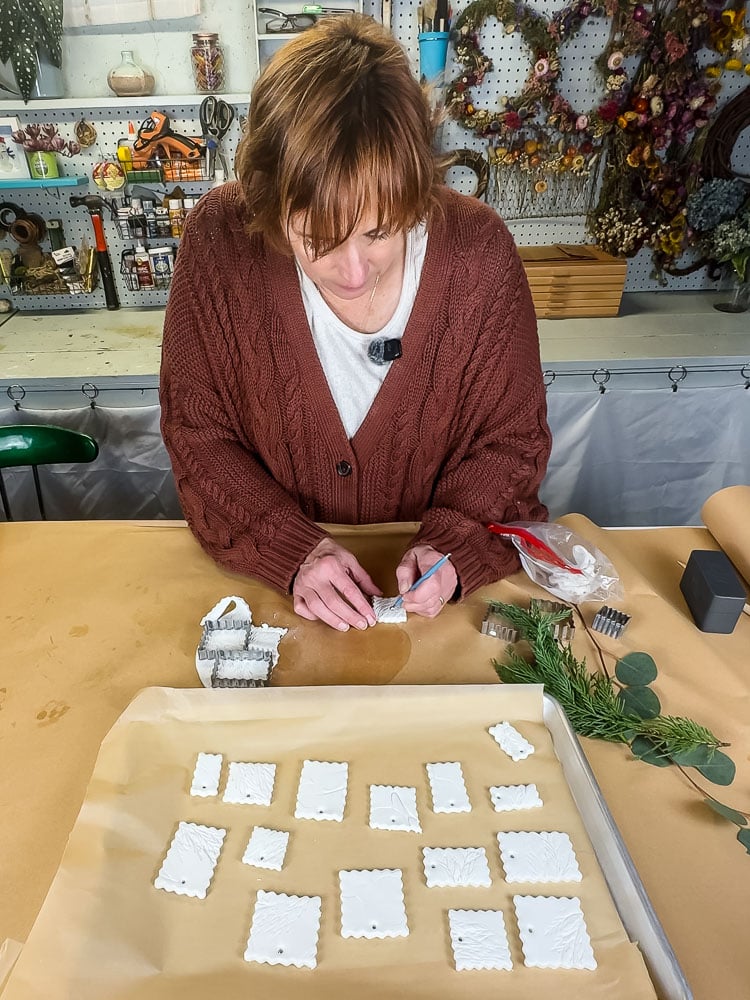
Use a small clay tool to poke a hole in the top center of each ornament for your cord or hook. No clay tool? A small straw or a skewer works perfectly.
Think about how you want to hang your ornaments; they are smaller in size, so I suggest a metallic cord or jute twine for these. So make sure the hole is large enough for you to string the cord through at the end. Threading cord through a too-tiny hole is a special kind of frustrating!
Step 5: Bake
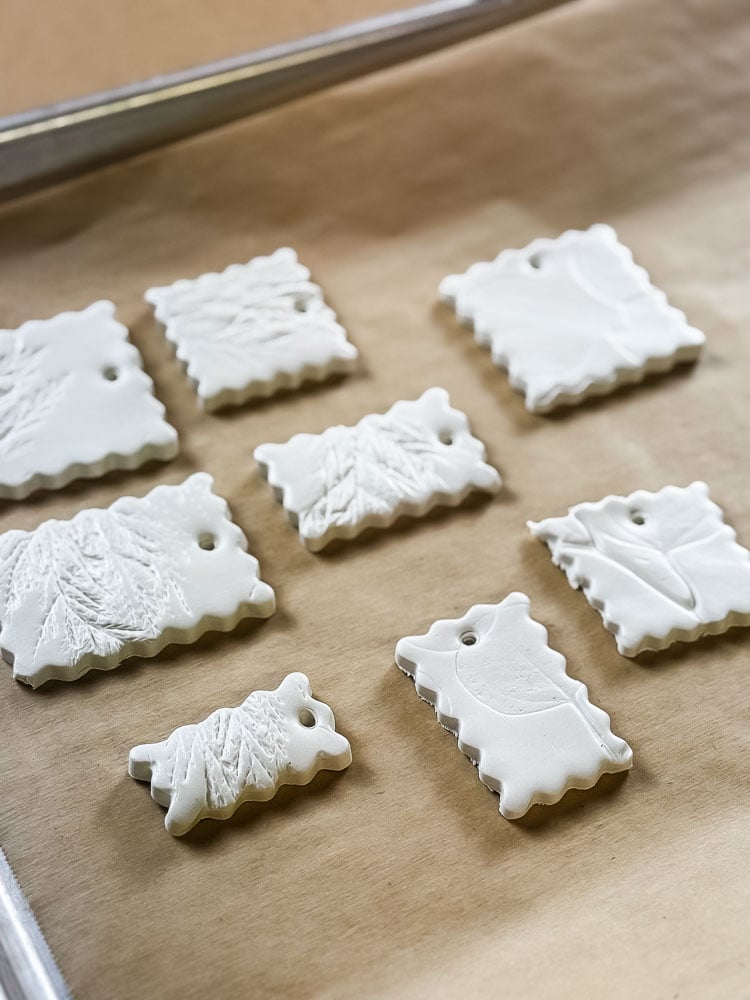
Place the clay shapes on a baking sheet lined with parchment paper. Bake at 275°F for about 15-20 minutes, until the clay is set. Always double-check the directions on your clay package, since brands vary a bit.
Let them cool completely before painting. They’ll firm up even more as they cool.
Step 6: Paint The Impressions With Watercolors
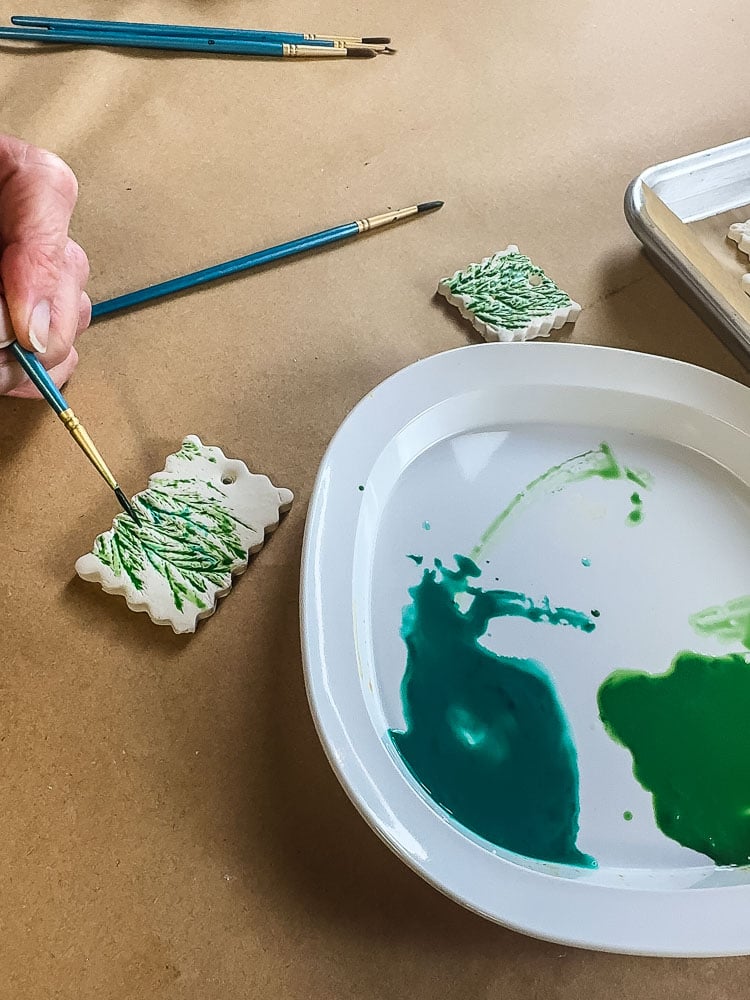
This is where they really come to life. Squeeze out a couple of shades of green and water them down quite a bit. You want the paint thin and runny, not opaque.
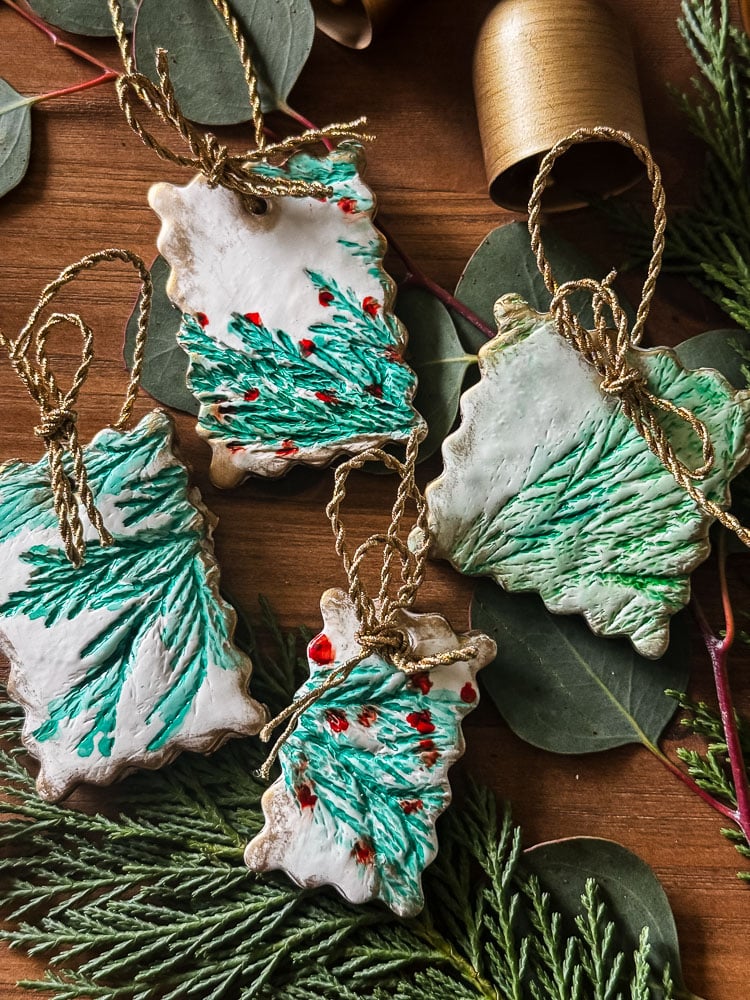
Tap your small paintbrush onto the impression and let the watery paint flow into all the little grooves. The paint settles into the deeper lines and stays lighter on the raised parts, which is what gives you that soft, botanical look.
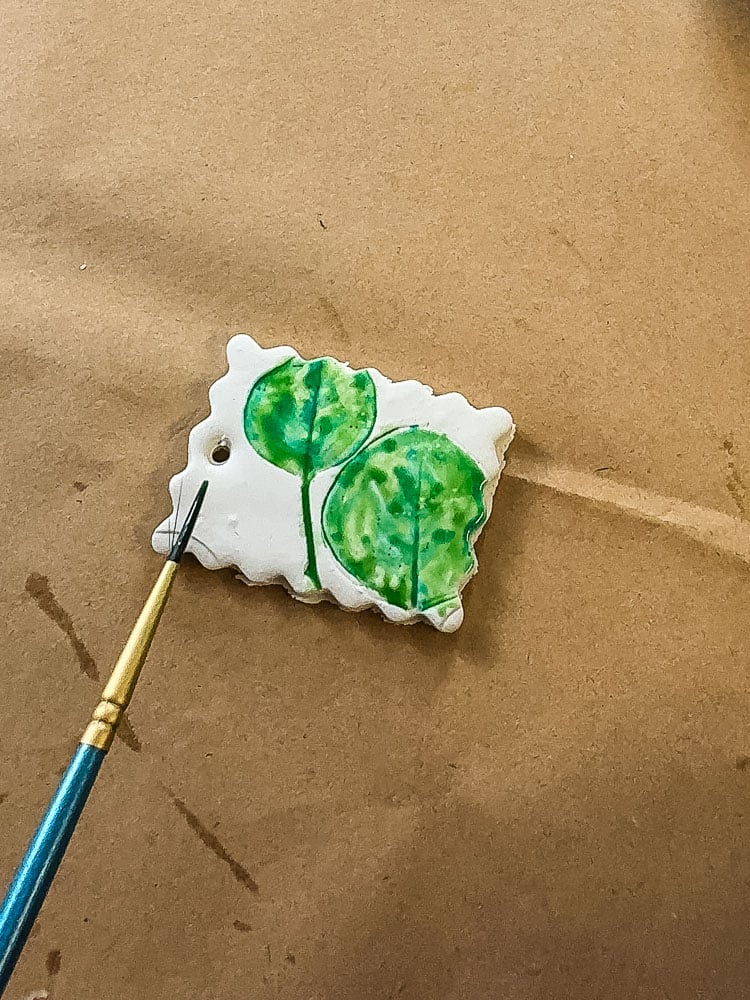
For the eucalyptus, I added a small touch of yellow along with the greens. It warms them up and makes the leaves look a little more lifelike.
For the winter greenery, I painted little red berry dots on some of the ornaments. It turns a sprig of cedar into something that feels a lot more like Christmas.
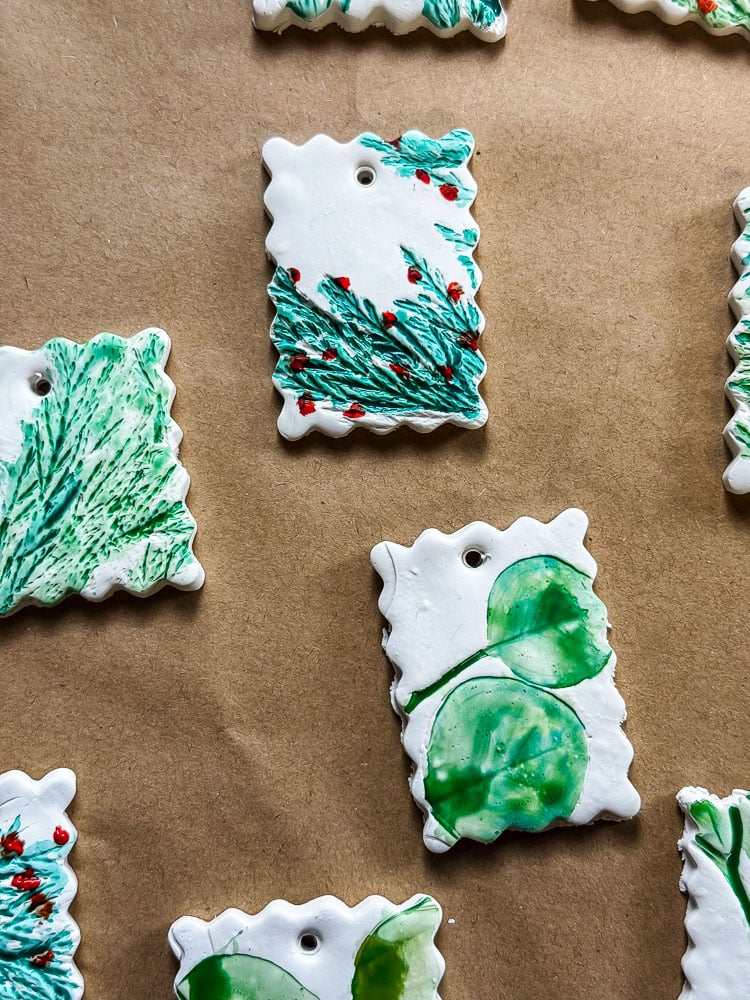
I used watercolors in tubes because that’s what I had on hand, but a regular pan set works just fine for this project too!
Let the paint dry completely before moving on.
Step 7: Apply A Varnish Topcoat
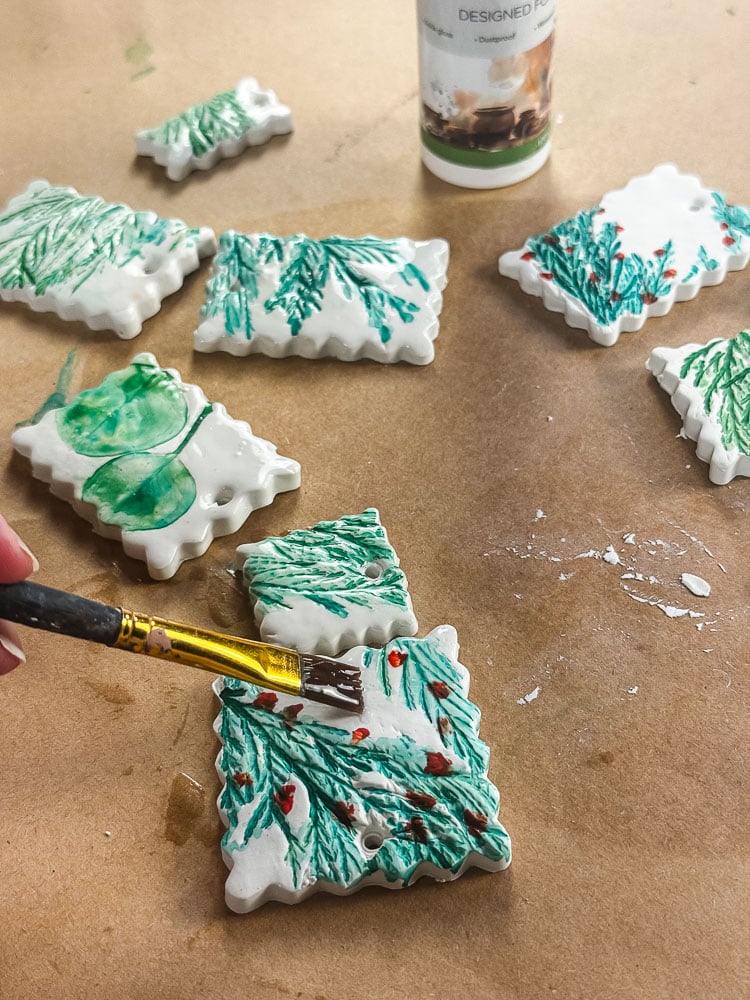
A coat of clay varnish is what gives these that glossy pottery sheen. It also protects the paint.
Confession: I tried a sponge brush first. Don’t. It wasn’t giving me a smooth coat. A small flat paintbrush works so much better and gets into the impressions without pulling up the paint.
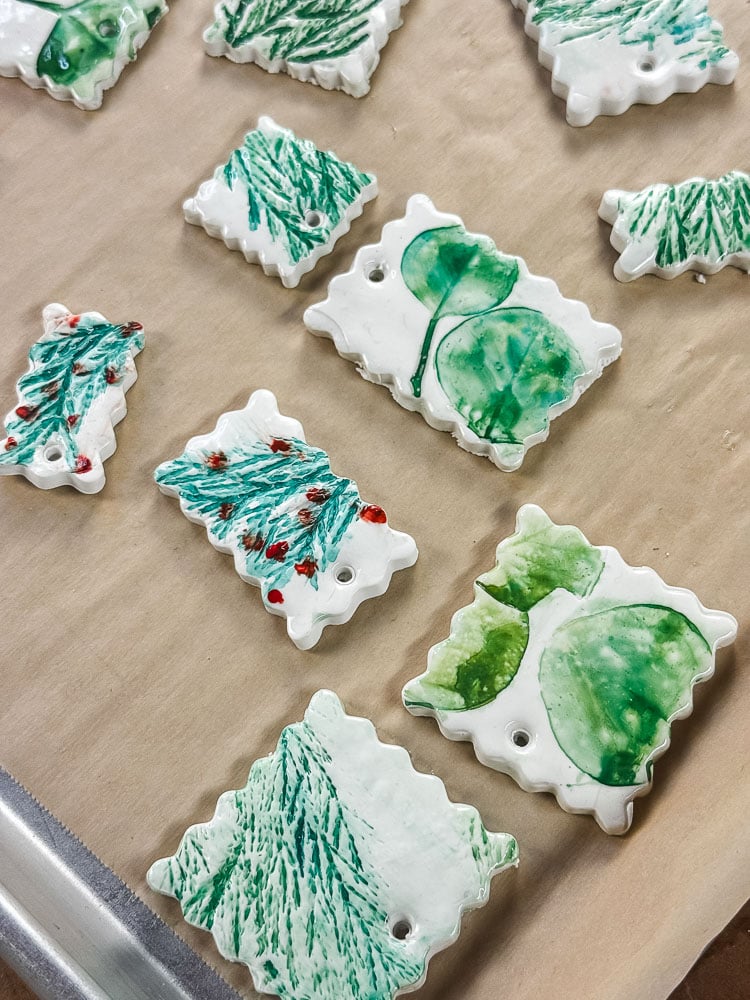
Let the varnish dry completely.
Step 8: Gild The Edges (optional but pretty!)
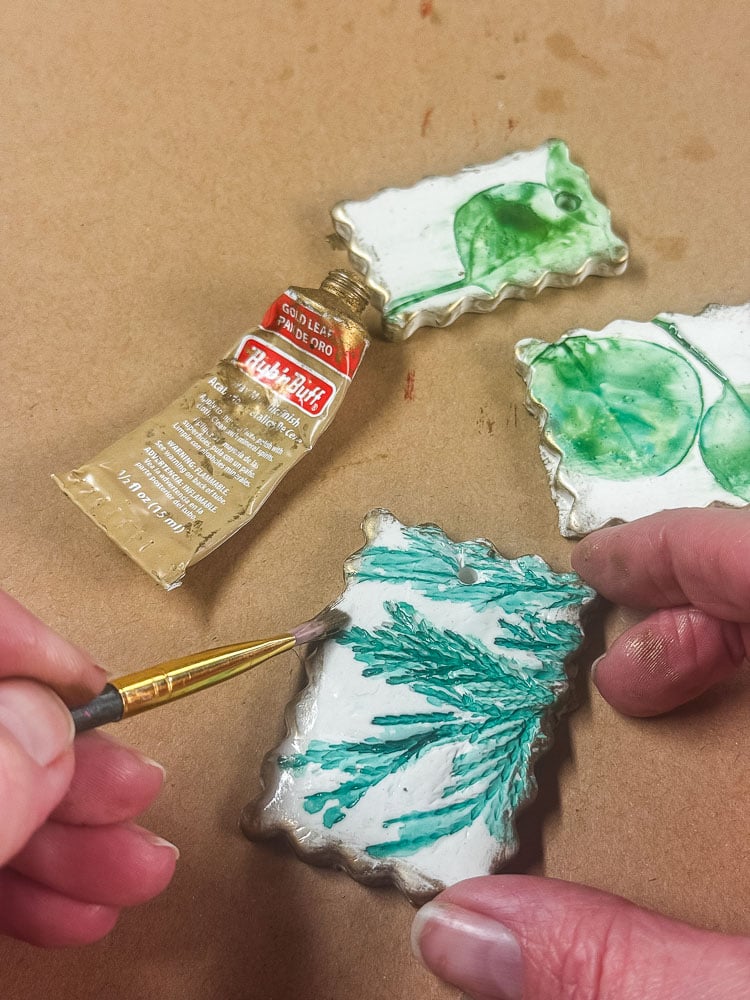
The final touch! Using a small brush or your finger, rub a little Rub ‘n Buff Gold Leaf around the edges of each ornament.
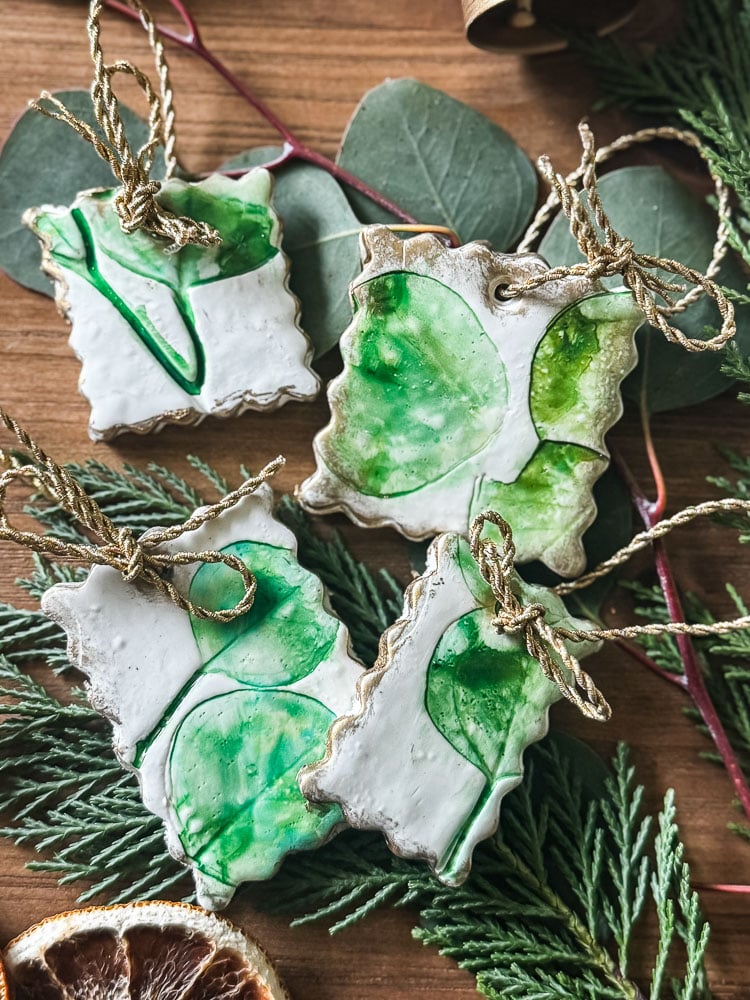
I let the gold feather slightly over the front edge instead of keeping a perfectly clean line. It makes them look a little bit aged, like vintage pottery, and adds just enough extra detail. Once they’re dry, thread on your cord and hang them up.
Tips For Best Impressions
- Use fresh greenery. Fresh clippings are flexible and press in crisply. Dried greenery tends to crumble and leave bits behind in the clay.
- Flatter is better. Flat sprigs like cedar and arborvitae give the clearest detail. Round, bushy pieces are harder to press evenly.
- Press once, firmly. Rolling back and forth can shift the greenery and blur the lines. One confident pass is all you need.
- Go lighter with the paint than you think. You can always add another layer, but heavy paint fills the grooves and hides the detail.
- Keep a paper towel handy. If watercolor pools on the flat white areas, just dab it up.
Using Air-Dry Clay Instead
Air-dry clay works great here too. It just needs more time. Follow the same steps for rolling, pressing, cutting, and poking holes. Then, instead of baking, let the ornaments dry on a flat surface for 24 to 48 hours, flipping them halfway through, so they dry evenly and don’t curl.
Check your clay package for exact drying times. Once they’re fully dry, you can lightly sand any rough edges before painting. Then paint, varnish, and gild exactly the same way.
Questions? I have answers!
Now It’s Your Turn!
There’s something about bringing a little bit of the yard indoors at Christmas that just feels right. These ornaments take a few clippings, a block of clay, and the cookie cutters you might already have, and turn them into something that looks like it came from a pottery studio.
They look beautiful on the tree, but I also plan to tie them onto gifts this Christmas.
If you make these, I’d love to see them! Send me a photo for the Reader’s Spotlight gallery. And if you want a matching set for the tree, my gold clay leaf ornaments hang beautifully right next to these.
More Clay Projects
See your projects featured! If you are inspired by this or any of my other DIY projects, I would love to see them and add you to the Reader’s Spotlight gallery. Send a photo to me at jennifer@cottageonbunkerhill.com
xo, Jennifer
2026
Holiday Shop
My Top Finds To Deck Your Halls This Season
Love projects like this? Don’t miss out! Join my newsletter family for more cozy, budget-friendly DIY ideas delivered right to your inbox. You’ll get exclusive tips, early access to tutorials, and all the inspiration you need to make your home feel handmade and heartfelt.


