Forget cookie-cutter decor, embrace the charm of the unique! This collection of DIY vase makeovers celebrates the art of upcycling, transforming secondhand and recycled finds into vibrant centerpieces and stylish accents.
This collection of budget-friendly projects offers something for everyone. Breathe new life into old treasures and express your creativity by having fun updating a thrift store find.
DIY Vase Makeovers: Reuse & Recycle
If you are like me you love the look of those designer vases featured in all the good catalogs! But I am not willing to part with 100 bucks for a vase!! So I started upcycling vases that I found at thrift stores and even items that were headed to our recycle bin.
Today I have a collection of 13 of my favorite vase makeovers in different styles to fit a variety of decor. Let’s go!

Cool Texture Trick!
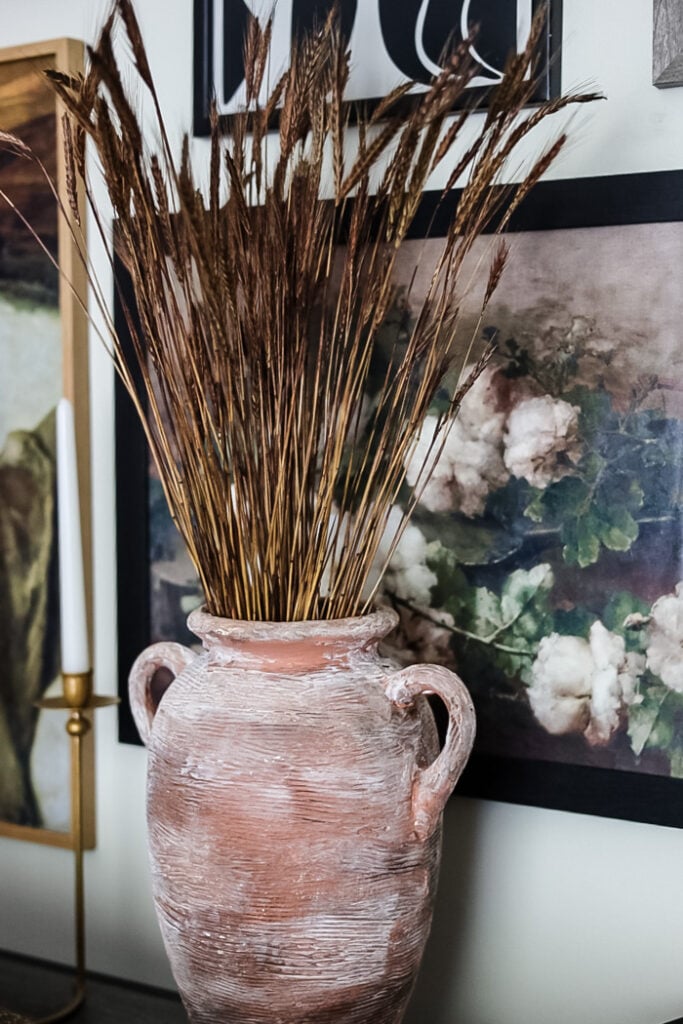
This is my personal favorite vase makeover that I have done over the years. I spotted a large, pretty ugly vase on the ground at a flea market and got it for $5! It is tall (around 2ft) and is the perfect statement piece for a shelf or table.


Using one of my favorite DIY go-to materials, joint compound, I gave this vase a cool finish and then used terracotta paint and a saltwash glaze to make it chalky looking.
Transform a Glass Vase

Keep your eye out for interesting-shaped glass vases when you hit the thrift stores. The shape of this vase reminded me of the ones I had seen in the Pottery Barn catalog.


See how I took a glass vase and made it look like aged pottery. This is the most popular vase on the website.
Big Vase, Little Cost

Don’t let the outward appearance of a thrift store find keep you from adding it to your shopping carriage! When I was thrifting I spotted a large rather ugly-looking planter. I almost left it behind but it had a great shape to it.


Faux Mercury Glass Vase DIY

When you are making DIY mercury glass projects you have to use mirror paint, there are a couple of different brands but I used Krylon Looking Glass Paint.
When using this specialty paint you spray the inside of your project to get the mirrored effect.

The mirror effect paint is quite thin…almost watery, but this is normal. The trick is to spray the paint inside the vase, swirl it around, and turn it in your hand. The paint will move around the inside and coat the glass.
The paint dries quickly and the mirrored effect gets stronger as it dries.

Before the looking glass paint dried, I sprayed the inside of the vase with a 50/50 vinegar & water solution.
The droplets will create the bubbled mercury glass effect in the end.

Over the wet vinegar & water solution I sprayed gold paint next (I am using Krylon Hammered Gold because that’s what I had on hand but any gold spray paint will work)
Once the vase is dry you will be able to see the cool mercury glass effect!! Doesn’t it look pretty..it is amazing how paint can transform a piece!!
Steps:
Quick Thrift Store Update

This was an easy upcycle!! All you will need is a can of paint.
For this project, I used one of my favorites Rust-Oleum Universal Metallic Spray Paint in ‘Flat Soft Iron’.

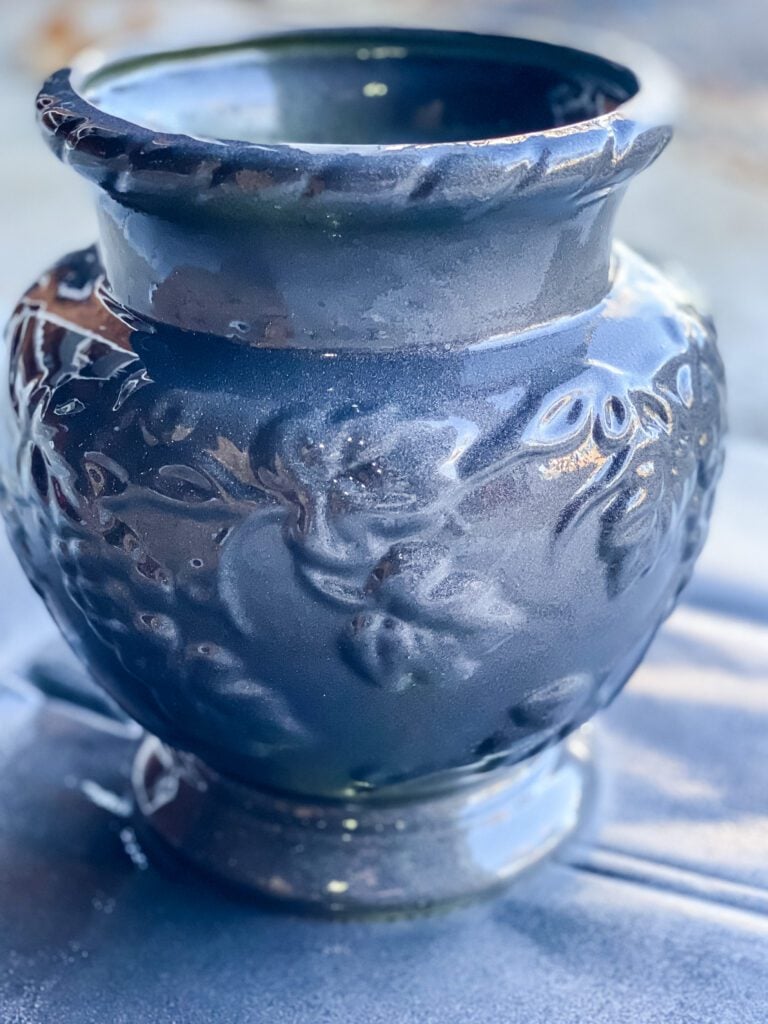
Make Your Own Pottery Lookalike

This thrift store find was completely transformed with the magic of paint! This DIY has a handpainted detail step but you definitely don’t need to be an artist to make this one!


The original vase had a fantastic shape but the shiny red color was so dated looking. Anytime I spot a vase with handles I grab it because they are so perfect for upcycling projects.

Save Those Cans!

Here is a fun recycle project! Don’t throw those food cans away, save one to make a fun “vase” for your table.
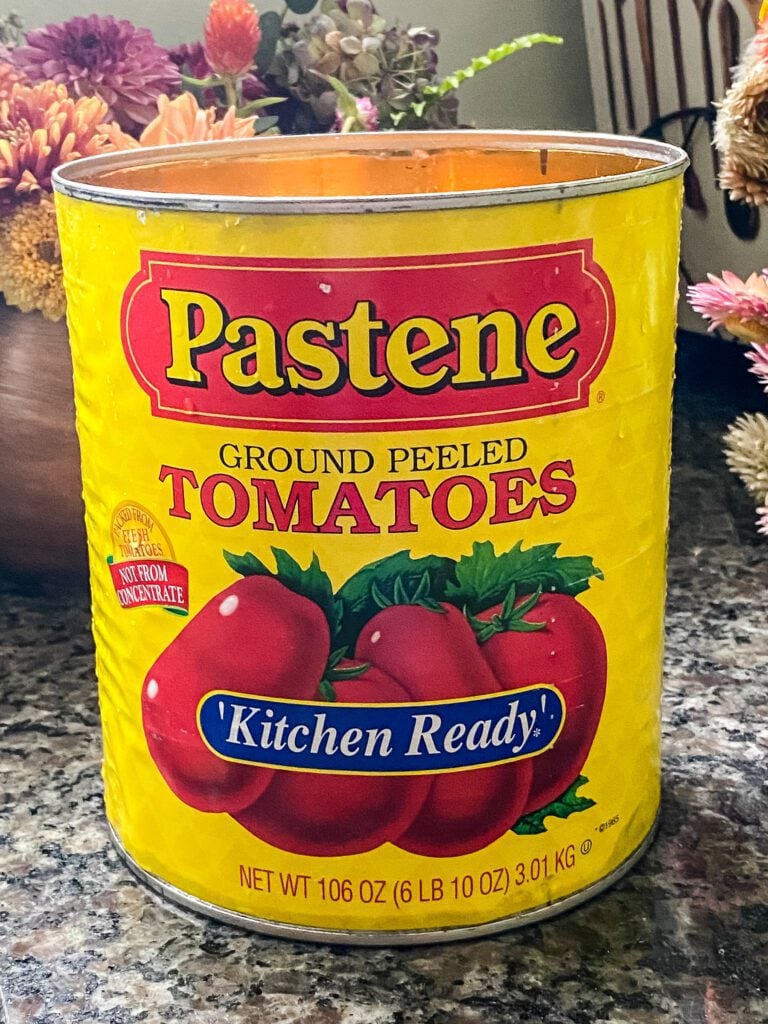
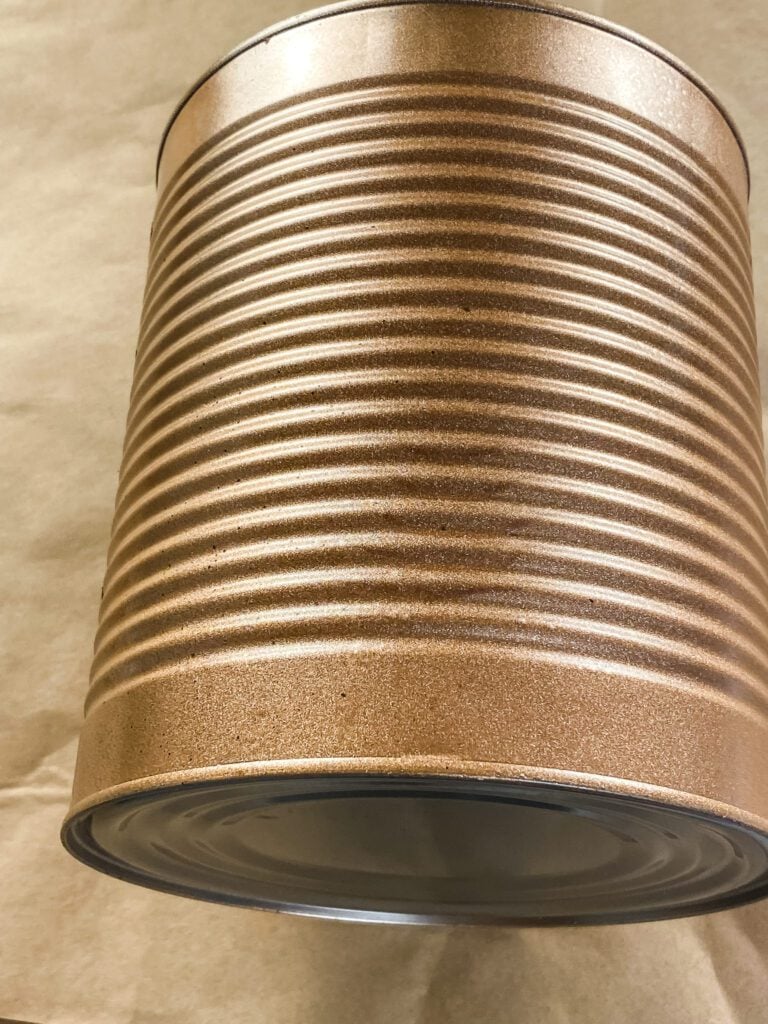
This would work on small cans or larger ones. Just remember that you will need to hide a glass of water inside the can to house your flowers because the can will rust.
Wrap It Up!

This was one of those DIY projects that just came to me! I was decorating my entryway table for Spring and it had a rustic feel to it and I didn’t have the right vase look that I wanted.
I have a stash of glass vases that I’ve picked up at the thrift store when inspiration strikes!


All I did was wrap twisted seagrass around the plain glass vase using hot glue to secure the roping.
Once it was done I gave it a quick brushing with white chalk paint followed by a antique wax to give this project a rustic look.
Tape & Paint Trick

This set of thrift store vases was fun to makeover using textured paint and a two-tone effect that gives them a modern vibe.


Textured paint is easy to whip up yourself. All you need to do is mix either Plaster of Paris or baking soda into your acrylic or chalk paint. Paint your vase like you normally would but if you choose the plaster move quickly because it hardens.
Drink Your Juice!

Here is another fun recycling idea! Save your empty juice, lemonade, or iced coffee plastic bottle and turn it into an eco-friendly vase.


A little paint transforms it into an “I can’t believe that’s plastic” vase perfect for displaying pampas grass or flowers.
Rustic DIY

I’ve come up with another tin can vase…because I’m always buying giant cans of tomatoes to make sauce!
This one has an aged look to it and I added a rustic label to the front. You can download the label that I designed to make your own too.
To create the look of rust I used cinnamon!! It’s a fun technique to have in your crafting tool bag.

Magnolia Style From The Thrift Store

This project saved me $30+! I had seen a brash planter on the Magnolia website and LOVED it but it was pricey…I even had added it to my cart. Then I took a trip to my local thrift store and came across 2 cheezy-looking silver planters, and guess what?? They were the same shape as the Magnolia ones!


So I gave them a quick paint makeover and voila…my very own Magnolia lookalikes!
Save Your Money & Make It!
I saw the Joshua ceramic vases on Pottery Barn and loved the style. Plus it’s always nice to have a black accent somewhere in a room.
While out thrifting I found this ceramic vessel and although the painting is definitely not my style the shape of it was perfect!
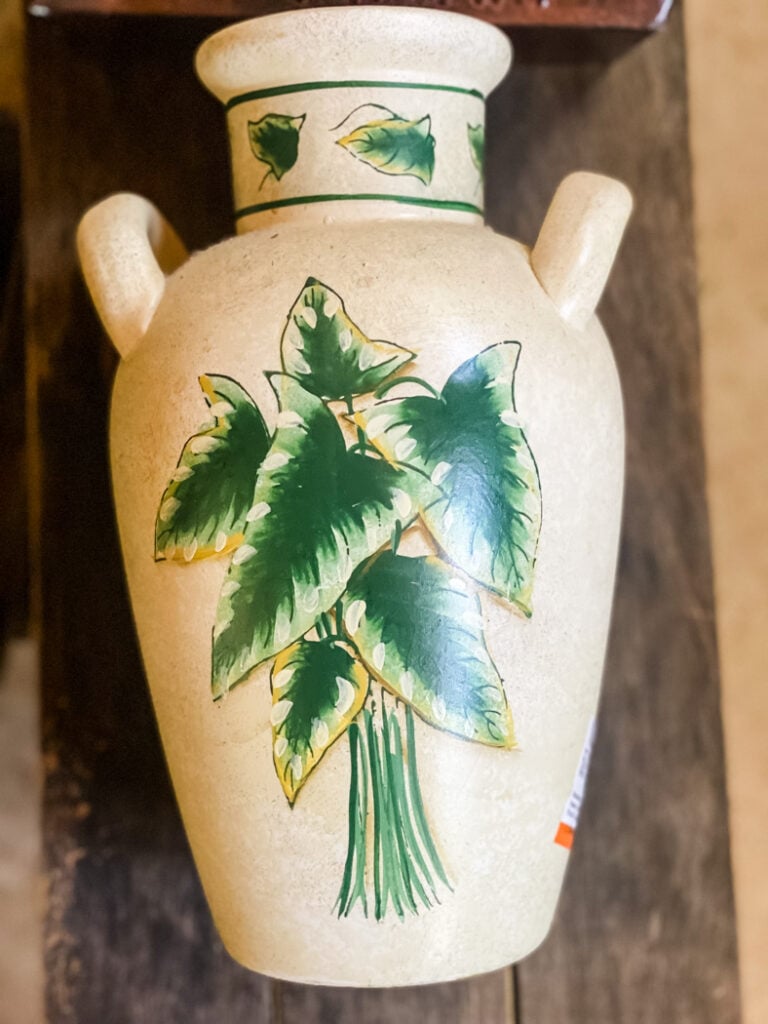
A couple of coats of matte black spray paint covered the painted design.

To give a faux-aged look I made crisscross shapes with a large straight-edged paintbrush over the surface of the vase using a light beige chalk paint.


Phew! We’ve journeyed through 13 incredible DIY vase makeovers! From the rustic charm of twine-wrapped elegance to the modern gleam of metallic reinvention, these projects have proven that secondhand finds and recycled treasures can be reborn as stunning centerpieces and stylish accents for any home.
I hope you’ve found the perfect project to unleash your own creativity!
See your projects featured! If you are inspired by this or any of my other DIY projects I would love to see them and add you to the Reader’s Spotlight gallery. Send a photo to me at jennifer@cottageonbunkerhill.com
xo, Jennifer




Oh wow, this is such good information! I can’t imagine how long it took to put this together! I love it!
I love these ideas for upcycling various containers. Please give me the color blue for the container in this article. It’s probably my favorite one. I love your blog posts. Thank you.
Thanks so much Helen! I’ll add a blue one to my to-do list.
So many great vases! I have one I’ve wanted to transform for a loooong time!