
Here’s a pretty paper craft to make with an old-fashioned feel. Using scrapbook paper and a large wooden craft heart I’ll teach you how to make a vintage hanging heart decorative sign.
Vintage Hanging Heart Sign

This post may contain affiliate links, which means I may earn a small commission if you make a purchase through my links, at no extra cost to you. Read my disclosure policy here.
SUPPLIES:
- 12″ Vintage Scrapbook Paper(similar)
- Wooden Heart Shape
- Mod Podge
- Waverly Antique Wax
- Assorted Neutral Ribbons
- Jute Twine
Handcrafted Society
How to Make a Vintage Hanging Heart
This is is quick and easy project idea using a sheet of scrapbook paper and a big wooden heart cutout shape…plus a few pieces of scrap ribbon.
Paper Heart

The wooden heart shape I am using is about 11 inches in size so I grabbed a pad of 12 x 12-inch scrapbook paper that I had (this one is similar, I bought mine a few years back).
I found a piece of paper that had the perfect vintage vibe that I am going for with this heart project!

Next, all I did was use the wooden heart to make an outline of the sheet of scrapbook paper…easy right??
Adhere Paper Heart

Following the marker outline I cut out the paper heart shape. It’s important to take your time with this step to make sure the paper heart will cover the entire wooden heart without any of the wood peeking out.

Then I used matte Mod Podge and a foam sponge brush and covered the wooden heart with it then carefully lined up the paper heart over it making sure that I had it lined up perfectly on top.
After smoothing out the paper heart and removing any air bubbles underneath I brushed the Mod Podge over the entire heart.

Again, I made sure there weren’t any air bubbles popping up underneath the paper. I find it easier to use my finger to smooth the bubbles out by pushing them to the edges…yes, it’s a little bit messy!!
Brush with Antique Wax


Once the Mod Podge dried I wanted to give this hanging heart an even more vintage feel by brushing Waverly antique wax across the surface with a chip brush. This is my favorite wax for small DIY projects because I really like the paint-like consistency…so easy to use!

After I brushed the wax over the heart, I took a paper towel and wiped off the excess wax. I put the heart aside to work on the final detail…the vintage-looking ribbons.
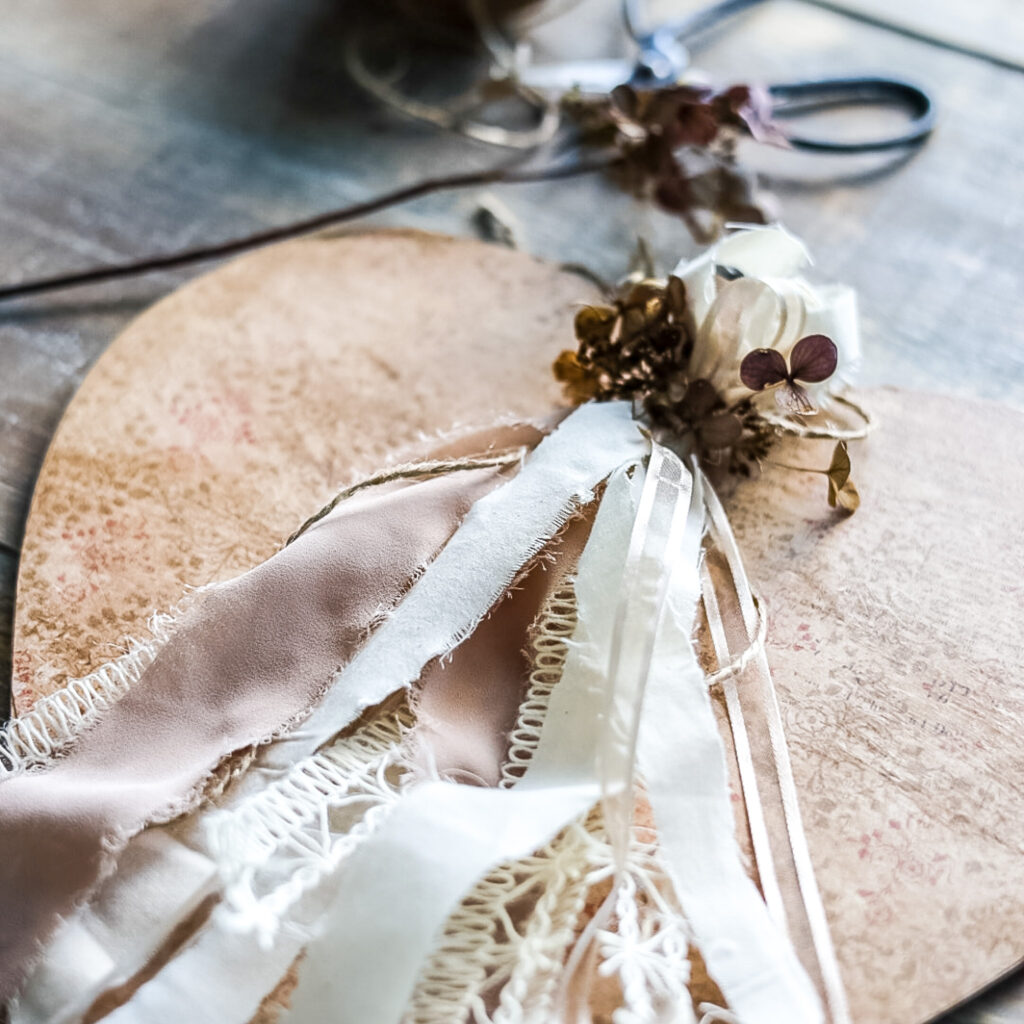
Ribbon Embellishment
I wanted to keep a neutral tone to go with the vintage look of the heart. I gathered a few different textured ribbon trims that I had and also a yard of cream-colored linen fabric.
Any assortment of ribbons would work for this, I like to use what I already have in my craft stash.


I cut the ribbons to about 20 inches each. For the fabric, I cut the pieces about 3/4 of an inch wide and also 20 inches in length.

I folded the bunch of ribbons in half and wrapped jute twine around the top leaving a loop.

Make sure to cut the jute twine so the tails are long enough to run through the hole at the top of the heart sign to make a hanger. Tie the ends of the jute in a tight common knot.
Extra Detail: Dried Hydrangeas

For one last touch, I added a few small sprigs of dried hydrangeas. The soft purples of the hydrangea go so nicely with the vintage tones of this hanging heart project.

I just tucked the stems under the jute twine knot holding the bunch of ribbons together.
Finished Vintage Hanging Heart

Here is the finished hanging heart..doesn’t it have an old-fashioned vintage feel to it?? The soft muted colors and the dried flowers remind me of Victorian decorations.

More Heart Ideas…


Handcrafted Society: Paper Heart Theme for February

Regina- Saved From Salvage | Jen-Tatortots & Jello | Wendy-WM Design House
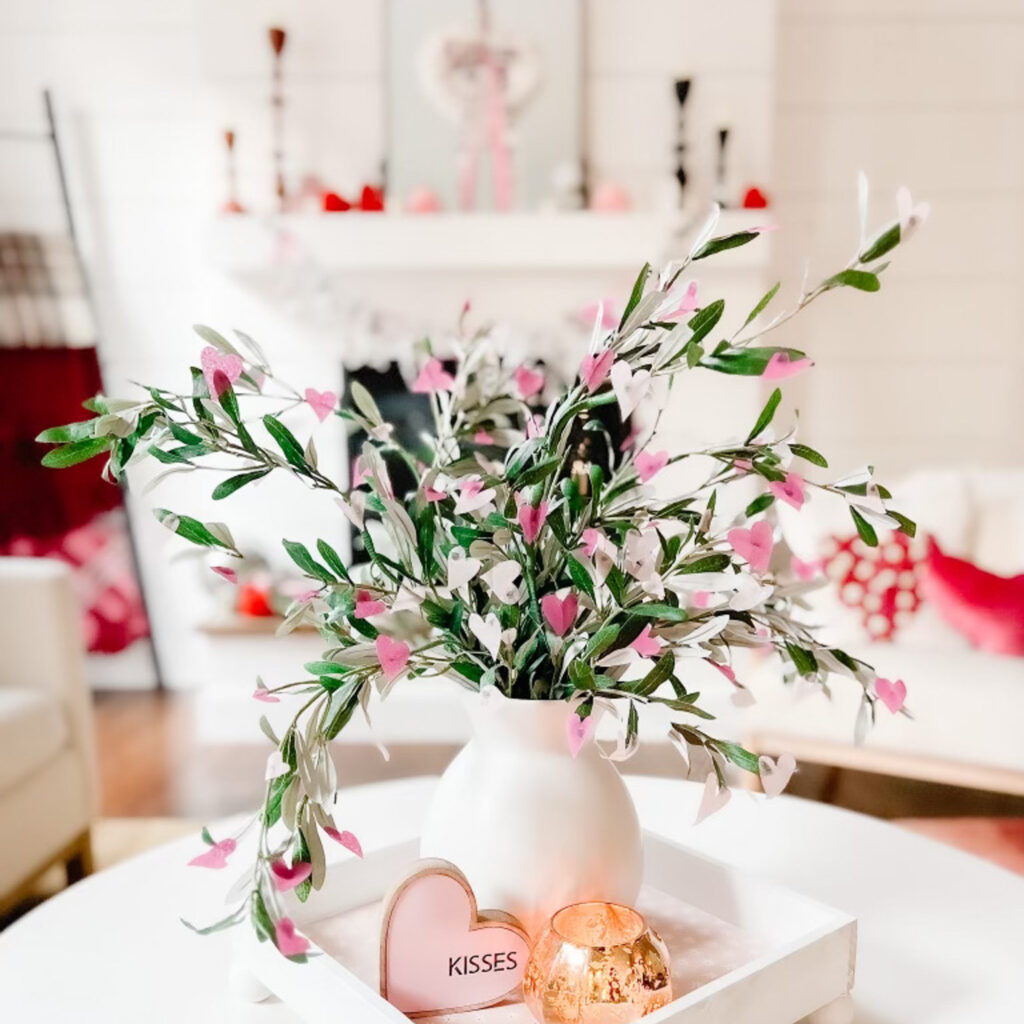
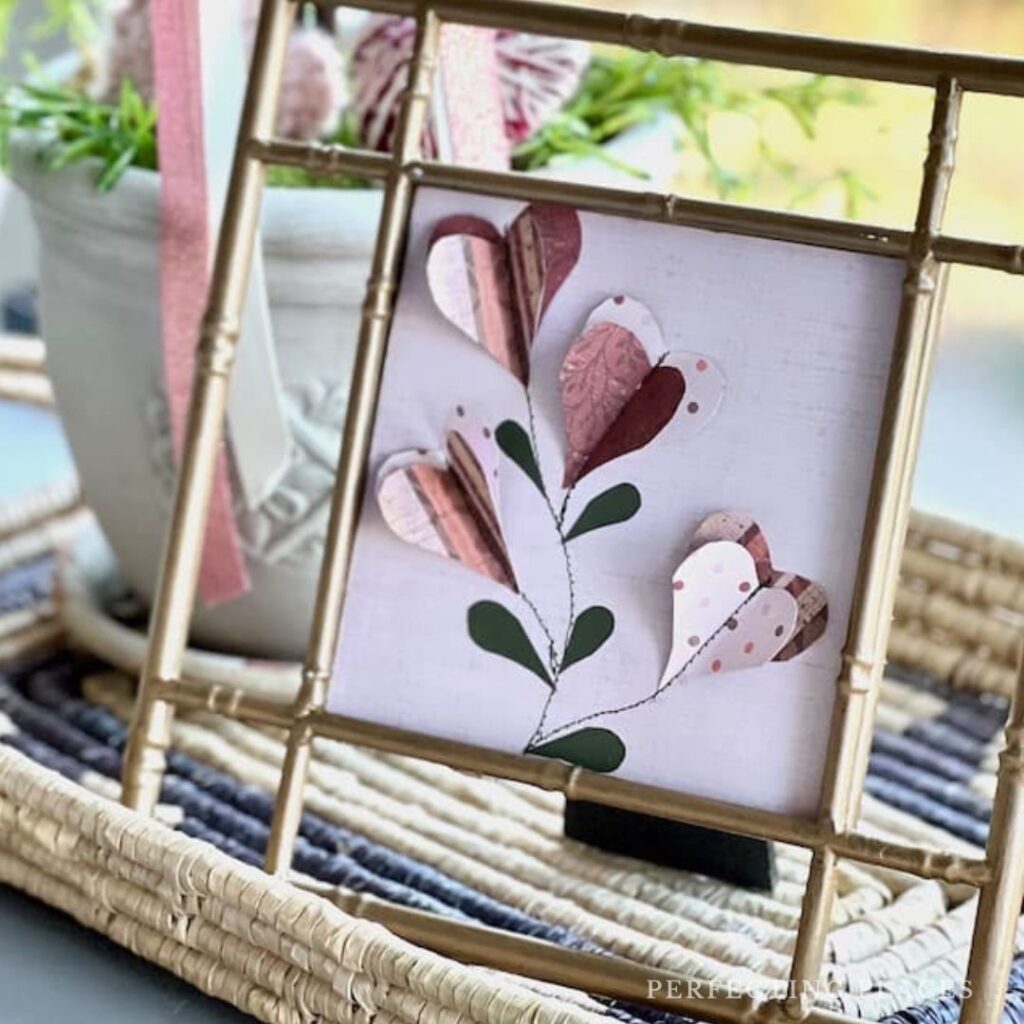
Today is the first monthly challenge for a group of my crafty blogging friends. On the first Tuesday of every month, we will be sharing a handcrafted project…the rule is we need to use the item or art medium that was chosen by the lead for that month. For February, Wendy from WM Design House has chosen paper hearts.


Can You DIY Pottery Barn Style? (This Thrifted Vase Says Yes!)
Have you ever admired a Pottery Barn vase but cringed at the price tag? Don’t fret! Today I’m…

DIY Decor Delights: Easy Projects for Year-Round Style
Are you tired of constantly redecorating for every season? Year-round style is the answer! Creating a home that…

DIY Vintage Butterfly Botanical Wall Art: A Beautiful and Budget-Friendly Project
Are you looking to add a touch of vintage charm and natural beauty to your home decor? Look…


This is so pretty Jennifer! I love this blog hop idea, so fun! So many talented ladies in one group!
Love the vintage inspired charm on your heart. It’s cute!
Thanks, Tammy!!
Jennifer,
This is such a pretty piece. Also, you can put the modpodge on the wooden heart, let it dry, then lay your uncut paper on top. Iron on the paper, using parchment paper on top and no steam. Then just sand around the edges to “tear” the paper. Comes off perfectly around the edges of the heart and no worries about wrinkles in your beautiful paper.
Tawn
How pretty! I love this one!
If there is mod podge involved, it’s a project for me! So pretty, Jen! 💛
Beautiful! Pinned!
Jen this is so pretty! I’m excited to follow all of my favorite ladies and see all the things you create <3
Aww, thanks Nic!!! They are a fun group for sure!
I love everything you do! You just have such a great style! This is gorgeous!
who is sweeter than you…no one that’s who!!!
So pretty Jennifer! love the softness of the ribbon with the dried hydrangea.
And that graphic of all of us is so fun! Can we use that? so fun.
I’m addicted to that chiffon ribbon!! I started using it last Fall and have tried it in so many colors now. Aww, thanks…I wanted to make something with my theme colors and fonts! Of course, you can…I can tweak the colors for your theme too.
Jennifer
This looks so pretty. Great job.
Thanks, Rachel!!!
Love the little details you added to the heart with the variety of ribbons and dried hydrangea stems. Perfect vintage feel!
Thanks so much, Michelle!!
This is so beautifully elegant, Jennifer! I love the finish on the heart and the ribbon embellishment makes it so special! Perfect for our paper meets hearts challenge! Great job!
Aww, thanks, Missy!! Your project was so cool!!
SO beautiful, Jennifer. I love the romantic vibe. I pinned it to my Valentine board to share 🙂
xoxo
Thanks, Jen!!!
Such a cute idea. I love it.
Thanks, Renae!
So cute, Jennifer! Love how you used the wax for a great aged look.
Gosh, I love that Waverly wax! It’s my favorite.
Jennifer, your vintage heart is so pretty! I love the addition of the dark stain for the perfect vintage touch. Just beautiful, my talented friend!
Thanks so much, Kim!!