How To Revive A Dated Dresser
I recently updated my bedroom. We had a dated cherry sleigh bed and matching dressers (Can you say Y2K!). I gave away the bed and replaced it with an beautiful upholstered headboard. The dressers were solid wood so I wanted to give them a makeover to fit with my current style.

To start my DIY dresser makeover I picked out a gray shade of paint (Sherwin Williams ‘Software”) and made a batch of chalk paint using this recipe.
I used a 3 step process for my dresser makeover: 1) Base color 2) Black Glaze 3) Top Coat.

I painted the dresser with 2 coats of the gray chalk paint letting the paint dry between coats. I love working with chalk paint on furniture; you don’t have to worry about prepping the piece before you start painting.

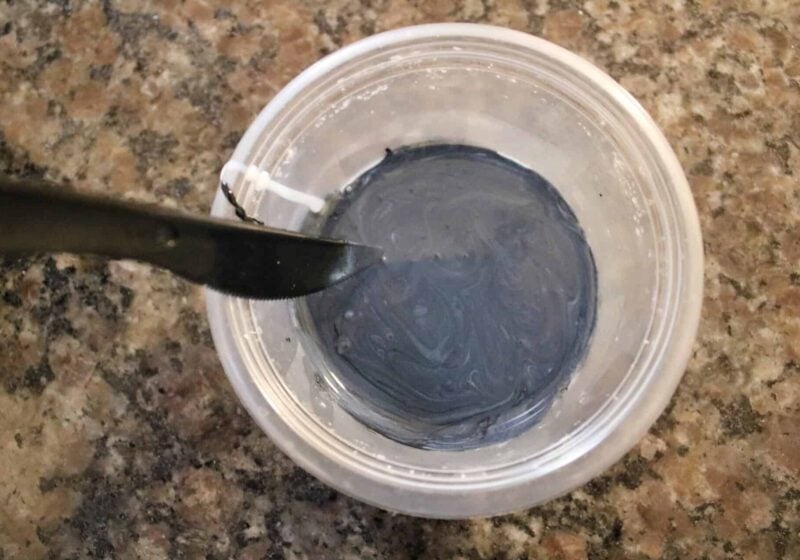
This was my first time working with a glaze and I was a little nervous! The clear glaze has the look and consistency of white glue.
To make the black glaze I dribbled a very small amount of black paint into the clear glaze and stirred it completely. I did this a couple of time until I got the glaze dark enough.


Using a paintbrush I lightly brushed on the glaze.

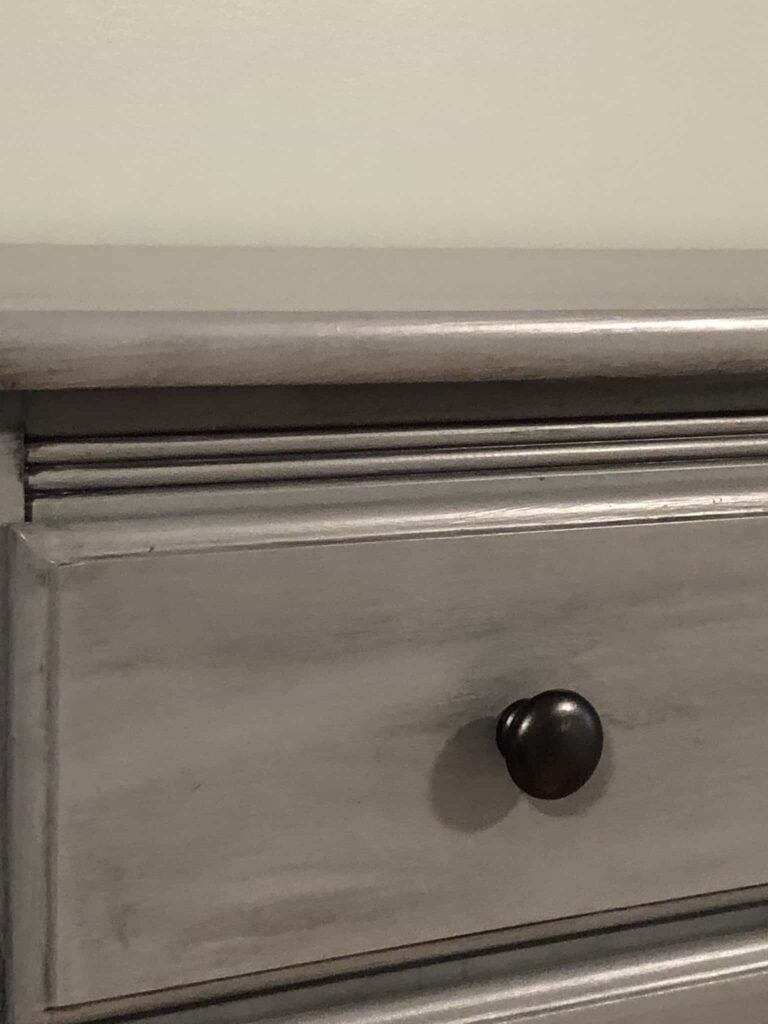
After I brushed on the glaze I went over the area with a lint-free cloth. You need to do this when the glaze is still wet. I did the glazing process in sections- first I did the top, then each side, and finally drawer by drawer brushing on the glaze and then wiping it off.

I love how the glaze brought out all the details on the dresser!
The knobs are actually the original wood ones; I sprayed them with metallic bronze spray paint. (My husband is a creature of habit and I didn’t want him complaining that new ones felt different 😂).

I love how this came out! I’m so glad I took the time to update and keep this piece.


Now, on to my dresser!! You can see how I updated my dresser giving it a more feminine touch here.
SOURCES:.
- Wall Paint- Sherwin Williams “Comfort Gray”
- Dresser Paint- Sherwin Williams “Software”
- Curtains- Wayfair


