

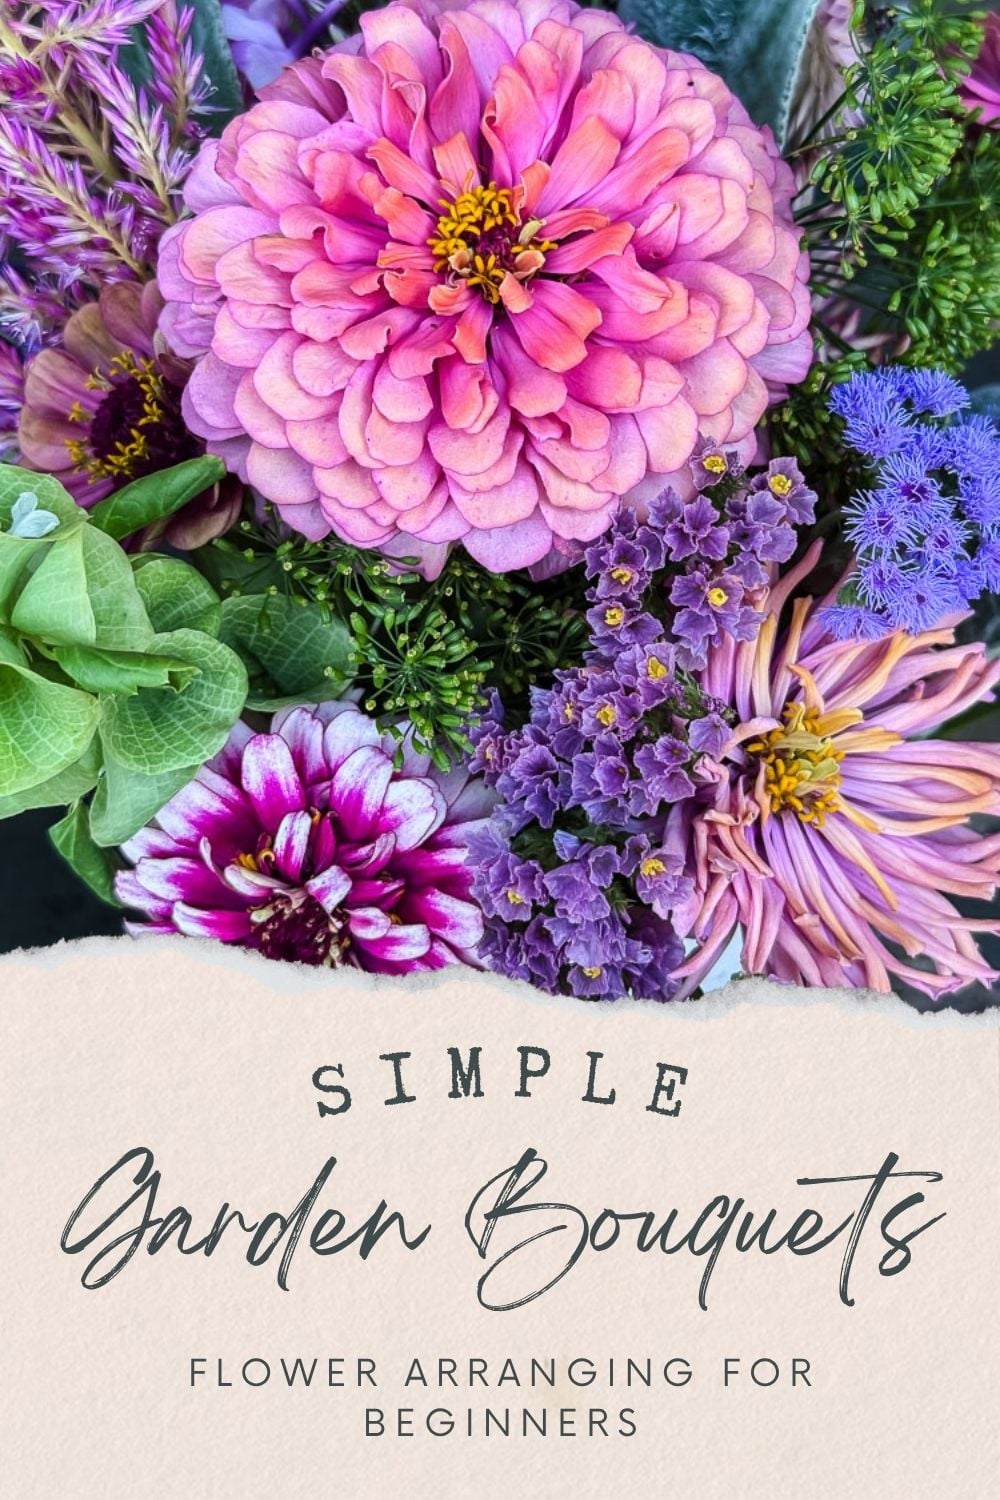
For years, I did what a lot of home gardeners do: I grew beautiful flowers, cut them, and then stood at the kitchen counter completely stumped about what to do next. I’d shove them all into a vase, step back, wonder why it didn’t look like the arrangements I’d been pinning on Pinterest, and then just leave it anyway because flowers are flowers and they make everything better.
What I’ve learned since then is that putting together a really pretty bouquet from your garden isn’t complicated at all. It just helps to know a few things nobody really tells you upfront. Whether you’ve never arranged flowers before, you’ve got a garden full of blooms and no idea where to start, or you’ve been buying bouquets at the grocery store for years and are finally ready to use your own, this one’s for you.
Welcome! I’m Jennifer from Cottage on Bunker Hill. A home gardener for over 20 years, I’ve spent the last 5 specializing in our cut flower garden, learning through trial, error, and a lot of dirty knees what actually works. My focus is on growing flowers with a purpose, whether for a vase on the kitchen table or for lasting projects, using simple, repeatable methods that fit into a real, busy life.
This post may contain affiliate links, which means we receive a small commission if you purchase through our links. See our disclaimer page for more information.
You Don’t Need to Be a Florist
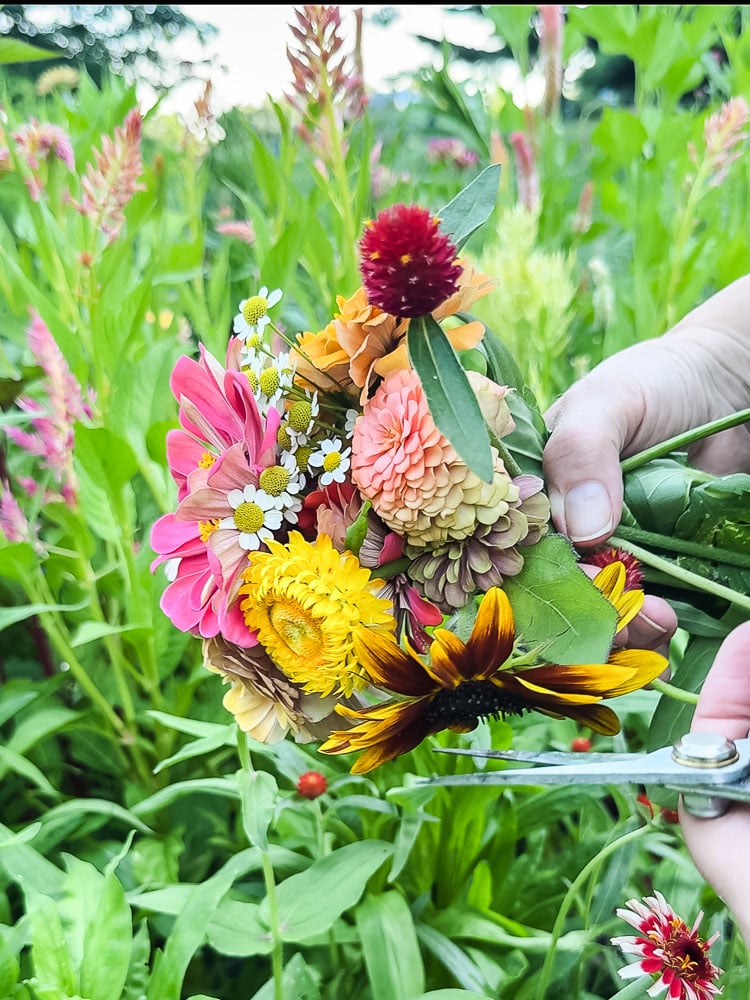
Let’s get this right out of the way first. Professional floral arranging is an art form, and I have such admiration for people who do it! But putting together a beautiful bouquet for your kitchen table? That’s something anyone can do with a bit of guidance and a willingness to just give it a try and be a little creative.
The goal here isn’t perfection! It’s a real floral arrangement made from flowers you grew yourself, in a vessel you already have, and that makes you happy every time you walk by it. That’s it!
Start With The Right Supplies
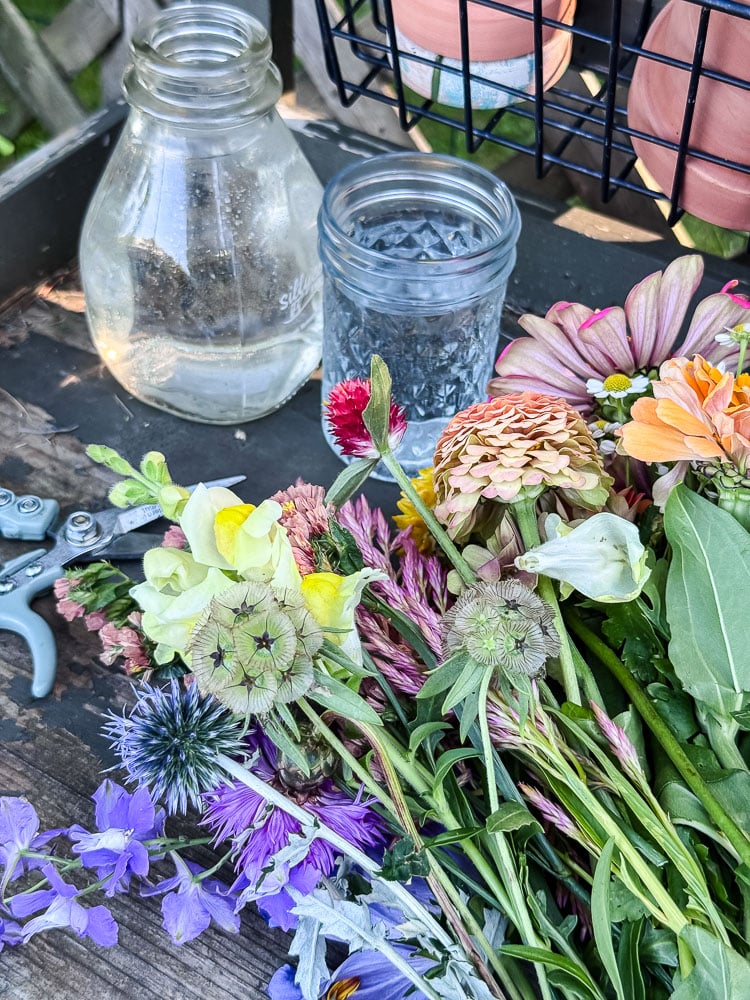
You don’t need much. Here’s what I actually use:
Sharp scissors or garden snips. This is the one non-negotiable. Dull scissors crush the stems and shorten vase life dramatically. I use the same snips I use in the garden. Clean, sharp, dedicated to flowers only. This is the pair I use & love
A clean vessel. Mason jars, vintage pitchers, thrifted bud vases, a ceramic crock, really whatever you have. The vessel matters more than most beginners think, and I’ll get to that in a minute.
Fresh water. Clean water, changed every couple of days, makes a real difference in how long your flowers last. A few drops of bleach help prevent bacterial growth too.
Floral frog or chicken wire (optional but super helpful). A floral frog anchored in the bottom of your vessel gives you something to push stems into and keeps everything exactly where you want it. Floral chicken wire is another easy trick for flower arranging. You simply scrunch up a piece of the wire and pop it into your container, but this doesn’t work for a clear vase. More on these below.
The Vessel Matters More Than You Think
One of the biggest things that changed my arranging was paying attention to the container. The vessel shapes the whole arrangement: its height, its width, how many stems it can hold, whether the flowers spread out or bunch together.
A few things I’ve learned:
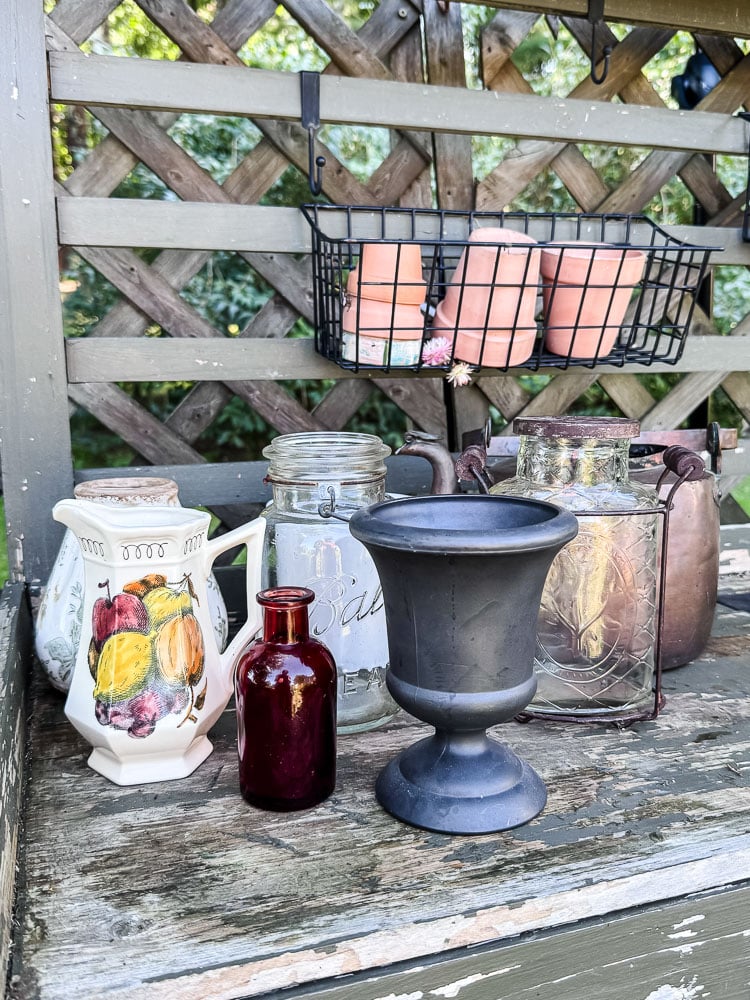
Match the vessel height to your flowers. A general rule: the flowers should be about one and a half times the height of the container. Tall dramatic stems like larkspur or gladiolas want a taller vessel. Little garden posies of zinnias and feverfew are happy in something low and wide.
Narrow necks do the arranging for you. If you’re just starting out, a vessel with a narrow opening is actually your friend. It holds the stems in place and naturally fans them out a little.
Wide-mouthed vessels give you more freedom but also more room for things to flop around.

Thrift stores are the best place to find vessels. I’ve built my entire collection from secondhand shops: vintage ironstone pitchers, old crocks, glass bud vases, ceramic vessels in every shape. I look for interesting shapes and neutral colors that won’t fight with the flowers.
Learn Your Flower “Roles”
This is the piece of advice that clicked everything into place for me. Every stem in an arrangement plays a role, and once you start thinking this way, you’ll never stare blankly at a pile of cut flowers again.
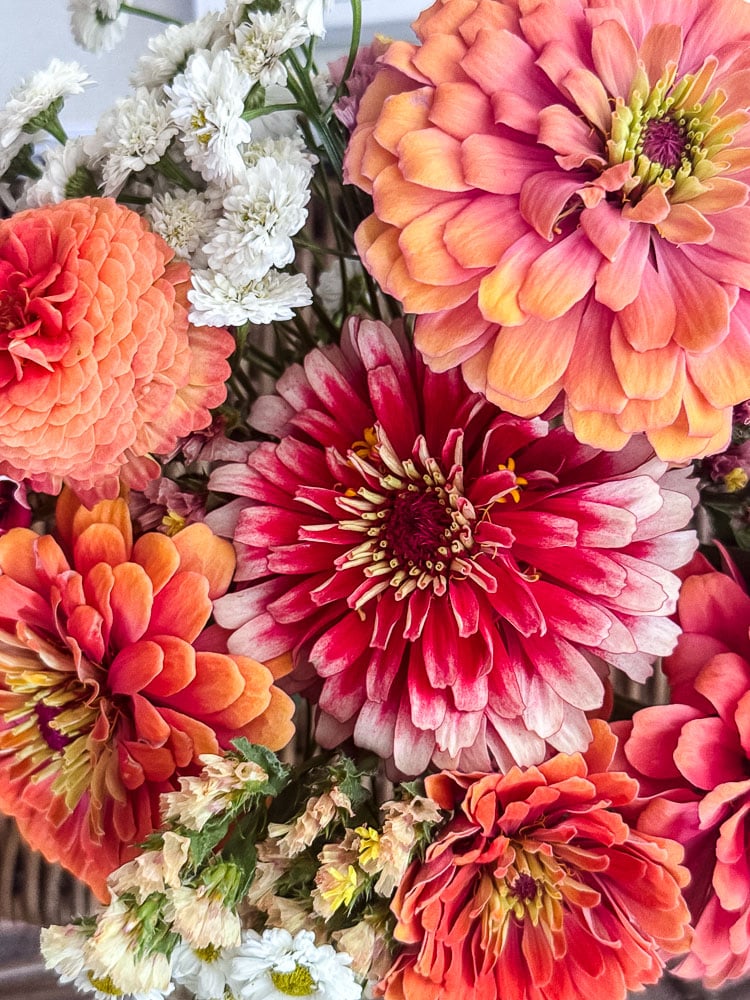
Focal flowers are your stars: the blooms that draw the eye first. In my August garden, that’s zinnias, dahlias (when they finally decide to show up), and sunflowers. These go in first, and everything else is built around them.
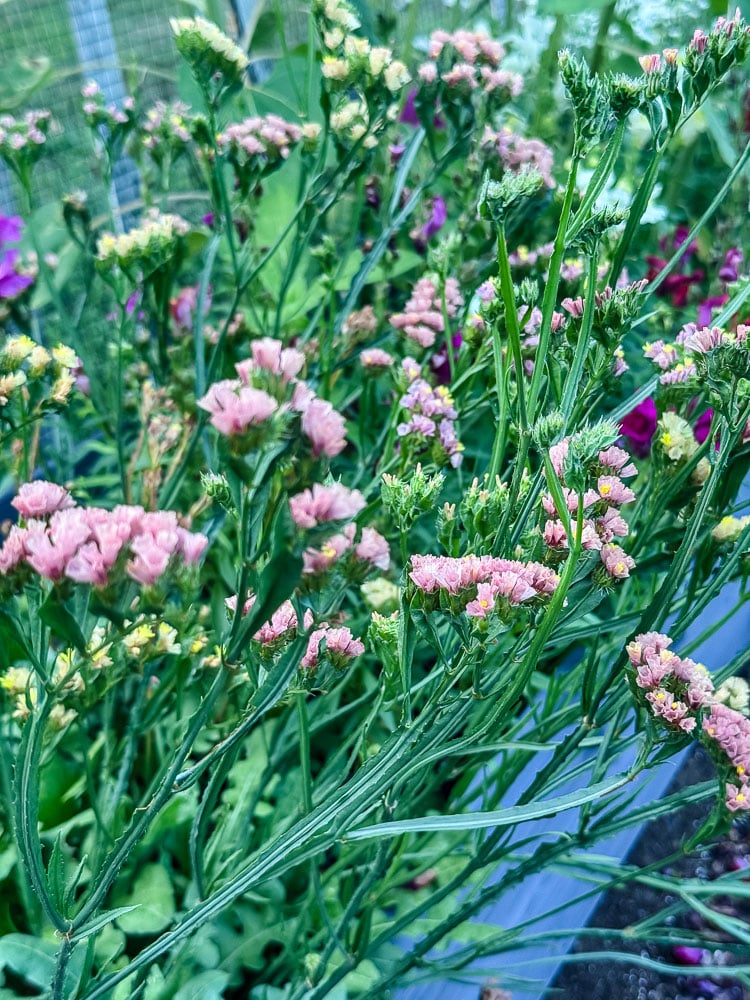
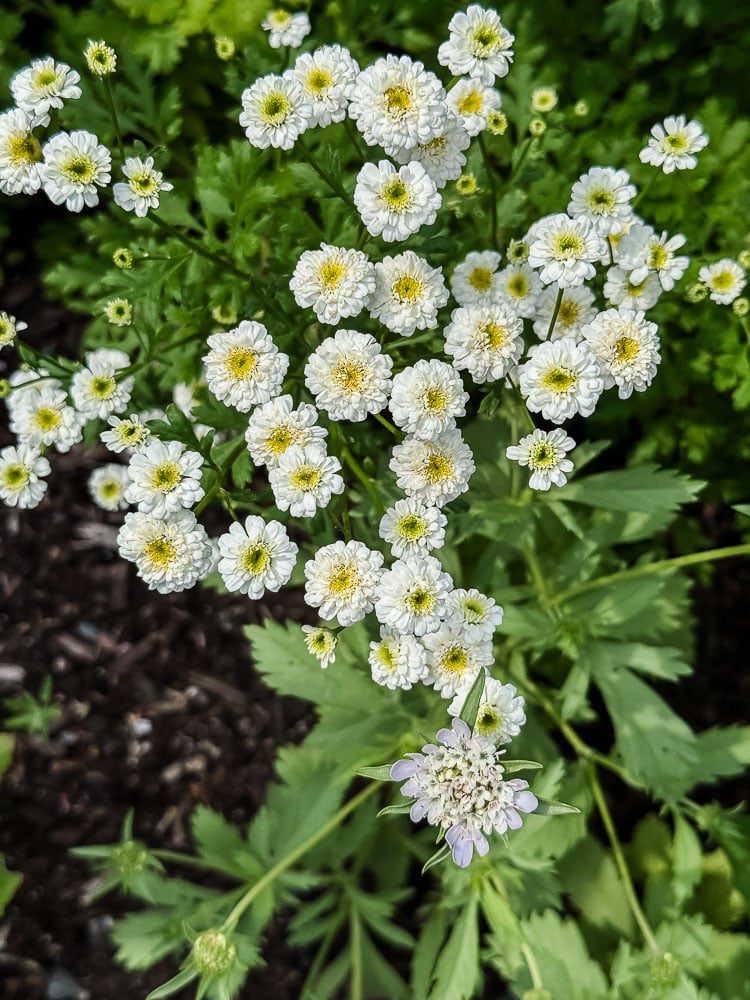
Filler flowers are the supporting cast, smaller blooms that fill the gaps and add texture. Feverfew, sweet sultan, statice, and scabiosa are all working this role in my garden right now. They’re often just as beautiful as the focal flowers, but they shine best when they’re surrounding something bigger.
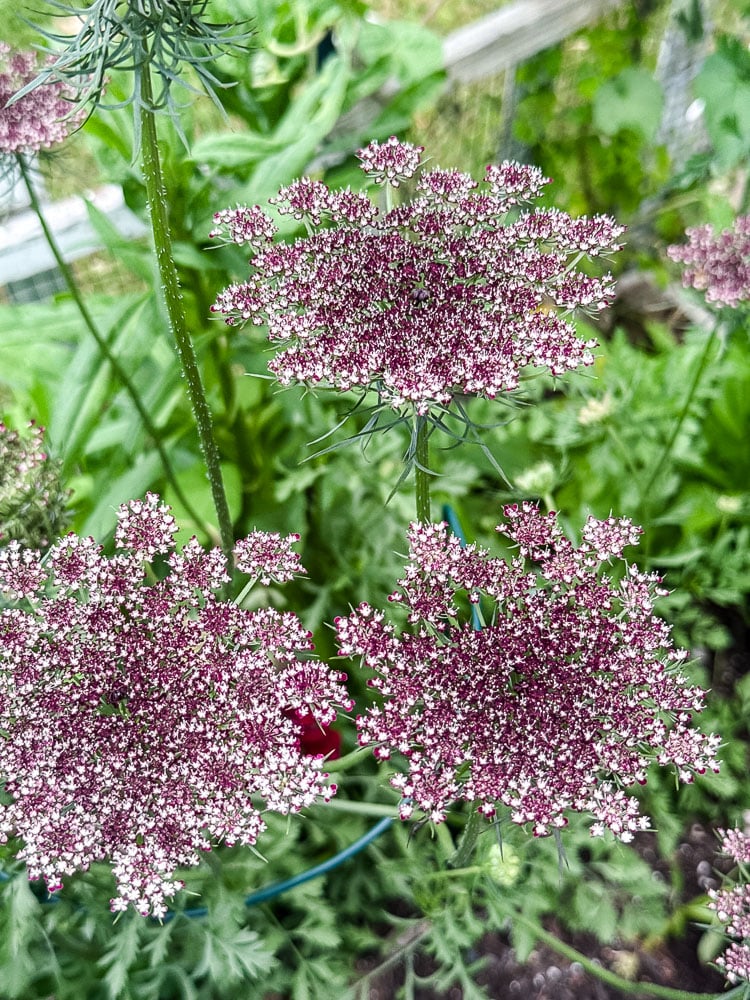
Textural elements are the things that add interest without being a traditional “flower,” like grasses, seed pods, interesting foliage, ‘Dara’ Queen Ann’s Lace (my current obsession), love-in-a-mist pods, and bunny tail grass. These are what make an arrangement look like it came from a real garden rather than a grocery store.
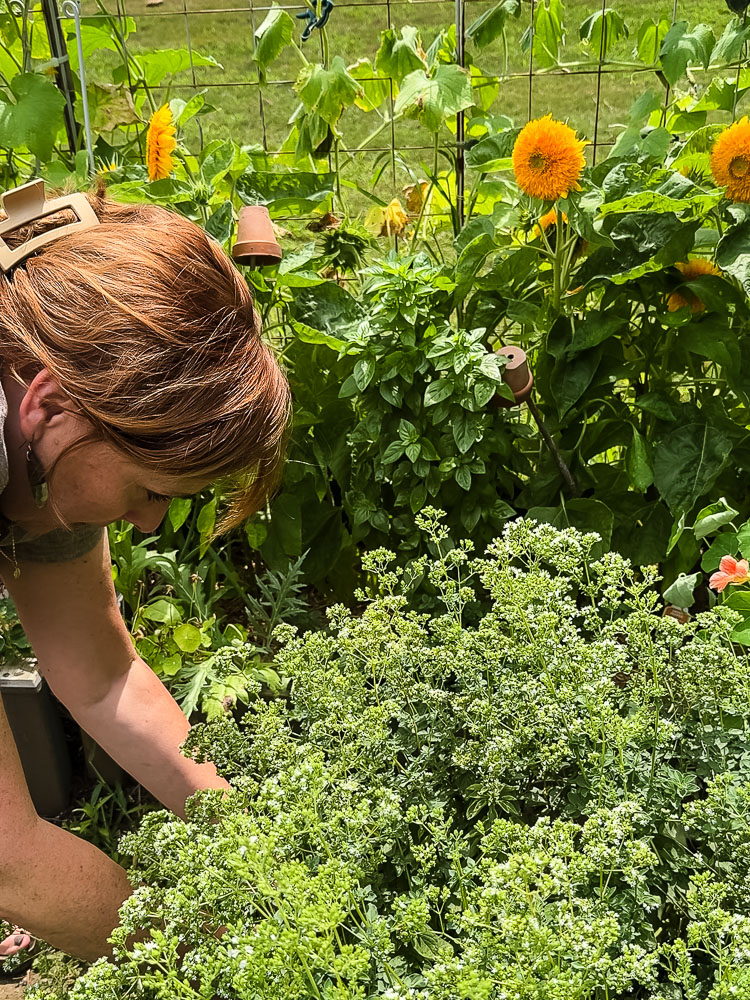
Greenery and foliage tie everything together and add that loose, just-gathered feel. I snip leaves and stems right from the garden, whatever looks interesting (I think lilac leaves have a pretty shape to add to vases, herbs (might sound strange but they can be a great filler!), and longer branches like forsythia are fun too!)
A Few Tips Before You Start Cutting
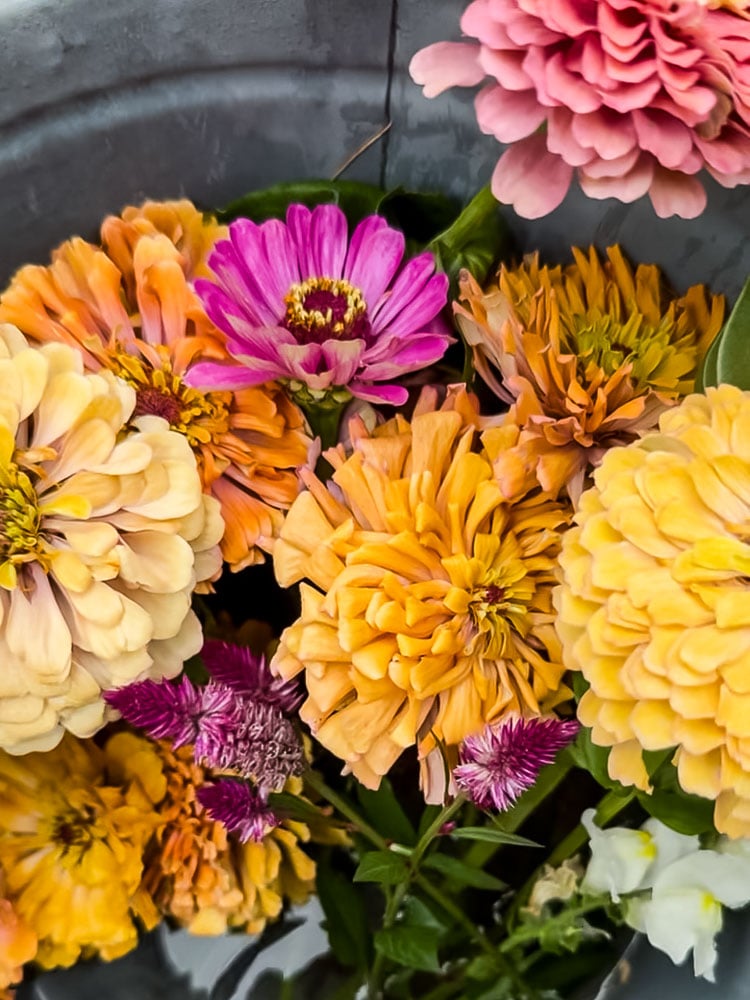
- Cut in the morning when stems are fully hydrated from the cool night air. Flowers cut in the heat of the afternoon wilt faster and don’t last as long in the vase.
- Bring a bucket of water into the garden with you. You can even use a mason jar or vase. Just something for the cut stems to go straight into water. Don’t let them sit in the sun while you keep cutting; you will be amazed at how quickly they will wilt.
- Cut longer than you think you need. You can always trim down, but you can’t add length back. Cut generously and adjust when you’re arranging.
- Strip the lower leaves. Any foliage that would sit below the waterline in your vessel needs to come off. Leaves in water rot quickly and will shorten the life of your whole arrangement.
- Give stems a fresh cut at an angle before putting them in the vase. An angled cut increases the surface area that’s taking up water and helps them drink more efficiently.
How I Put a Bouquet Together: My Simple Approach
I don’t follow a strict formula, but I do have a loose process that I come back to every time.
Step 1
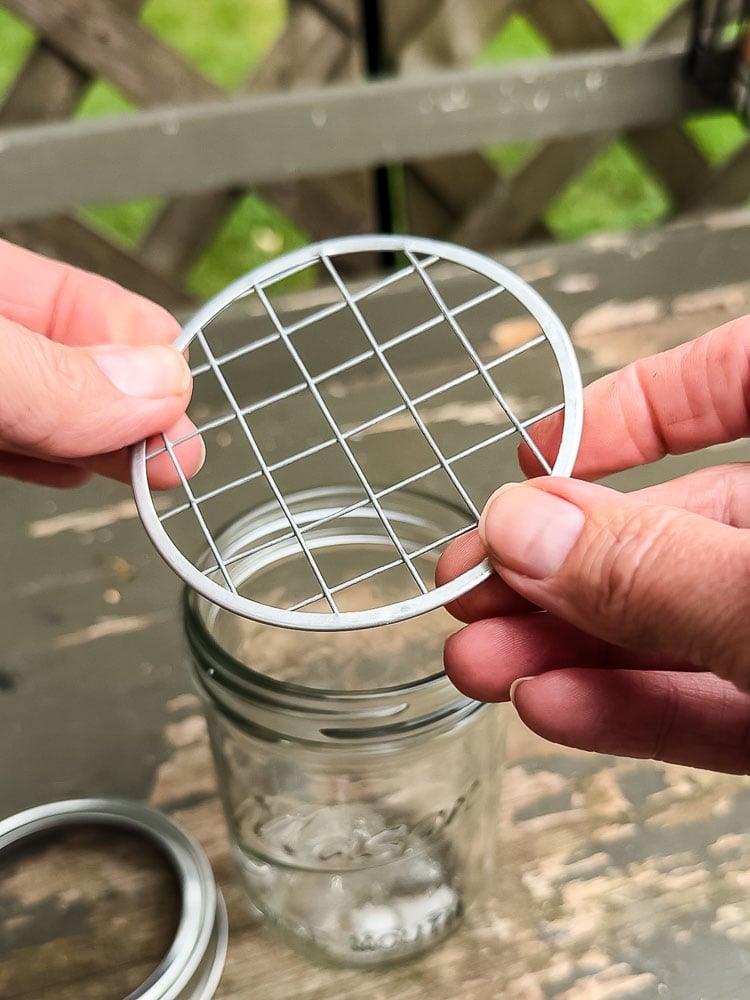
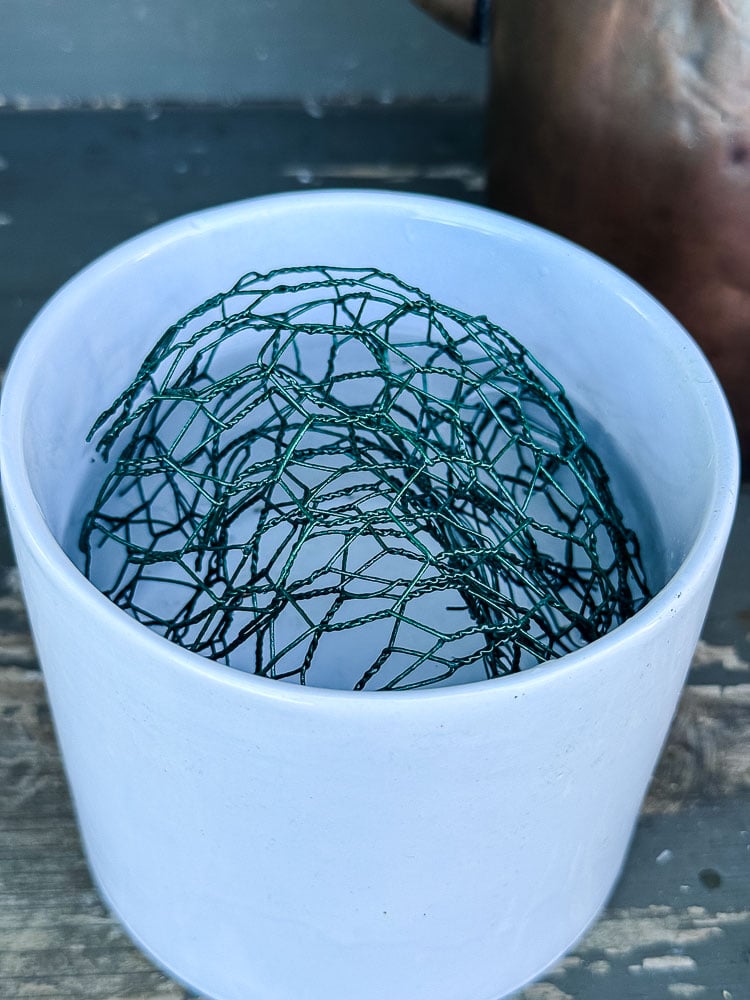
Fill your vessel with fresh water and set it on the counter where you can see it while you work.
If you’re using a floral frog or chicken wire, get it in place. I recently stumbled across the handiest floral frogs for mason jar lids. But for this ceramic vessel, I am using floral chicken wire. It really holds the stems in place. I use this trick all year long- it’s great for dried arrangements and even if you are styling greens at the holidays, so just tuck this little trick away for later!
This is the step that makes everything easier. Your stems will actually stay where you put them.
- Mason Jar Flower Frog: wide mouth jar, regular jar
- Floral Chicken Wire
Step 2
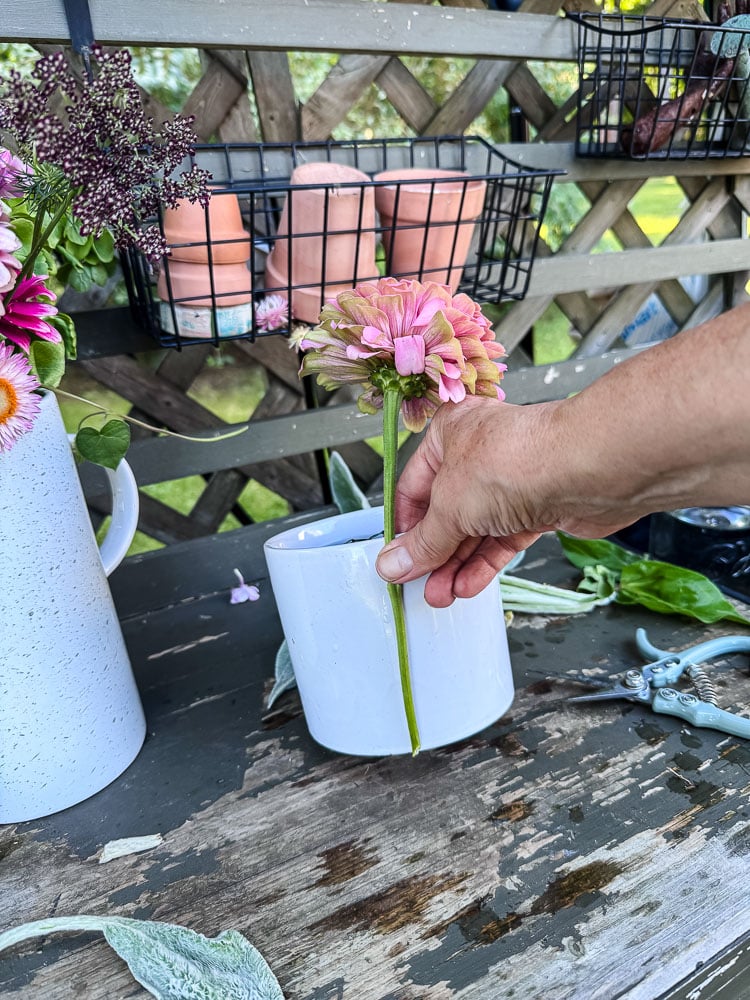
Place your focal flowers. Work in odd numbers: three zinnias, five dahlias, and vary the heights slightly so they’re not all at the same level. Odd numbers always look more natural than even.
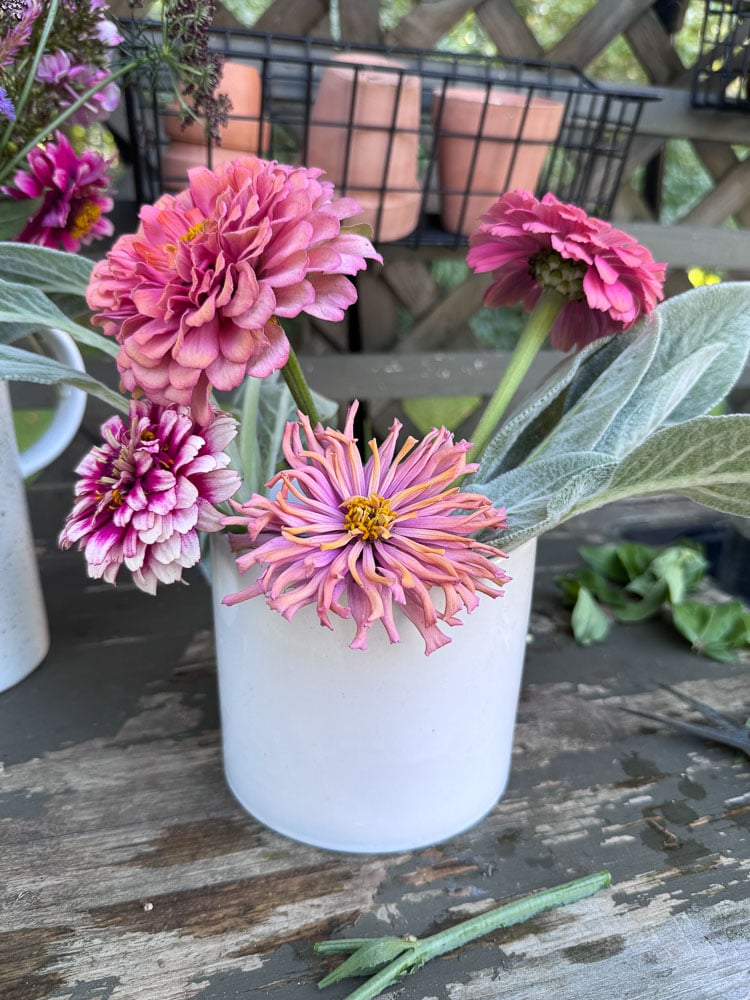
I usually have at least one of my focal flowers as the tallest element in the arrangement. Remember, the general rule is the arrangement should be 1 1/2 times as tall as the container.
Step 3
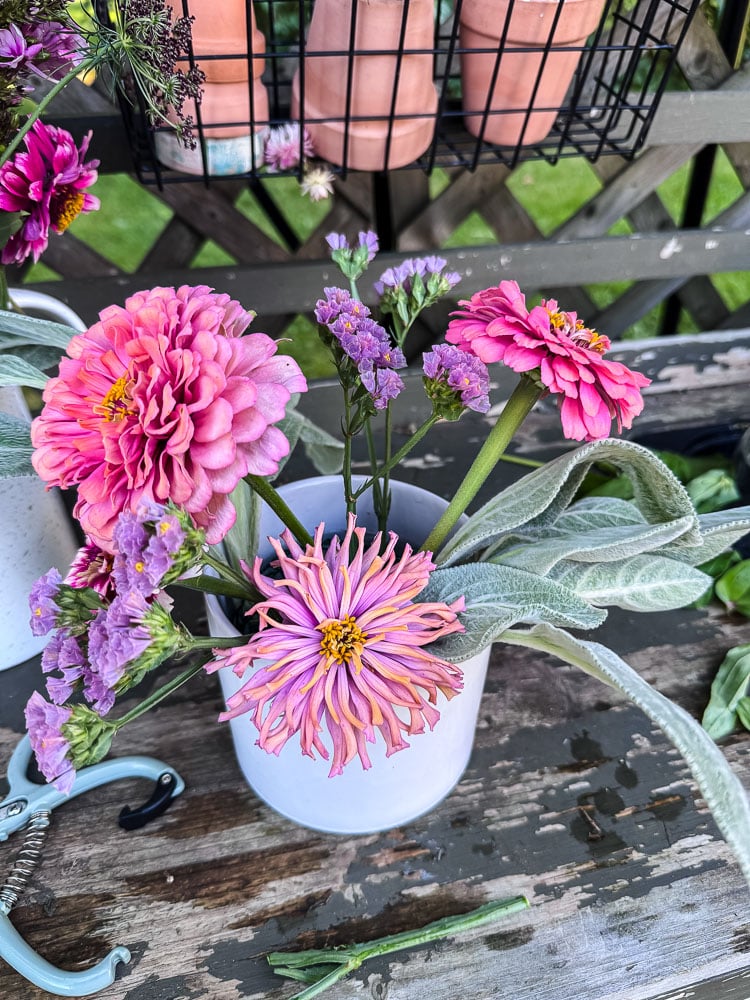
Fill in with your filler flowers and textural elements. Tuck them in around the focal flowers, turning the vessel as you go so you’re looking at it from all angles.
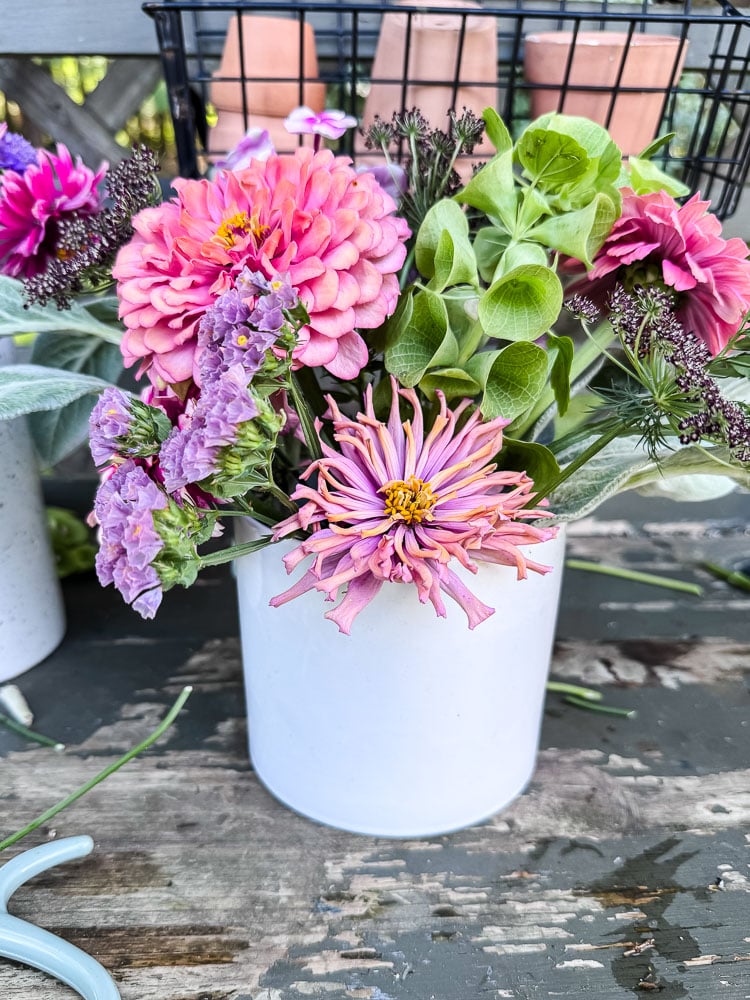
- Aurora Zinnias
- Agave Zinnia
- Statice
- Bells of Ireland
- Dara Queen Ann’s Lace
Step 4
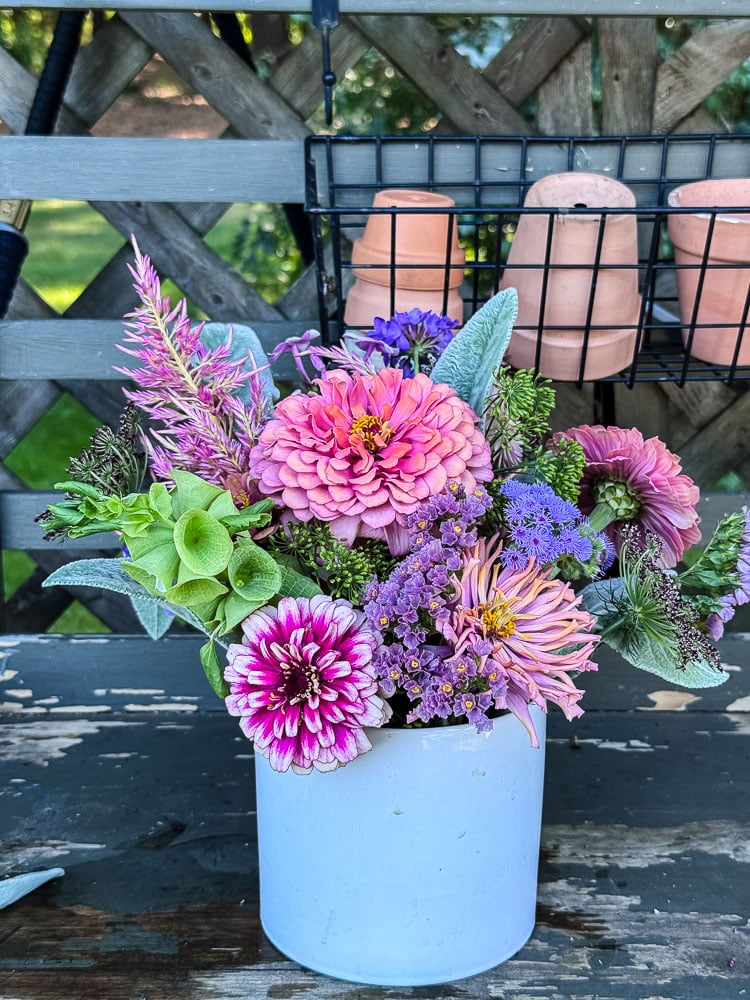
Add your greenery. A few stems of interesting foliage help create more structure and contrast in your flower arrangement.
Step back and look. Something always needs adjusting. Trim a stem that’s too tall, tuck in something that looks sparse, pull out something that’s fighting for attention. Trust your eye more than any rule.
Simple Color Combinations That Work Every Time
You don’t need a color theory degree! Just a few reliable pairings to reach for when you’re standing in the garden with your scissors wondering what goes together.
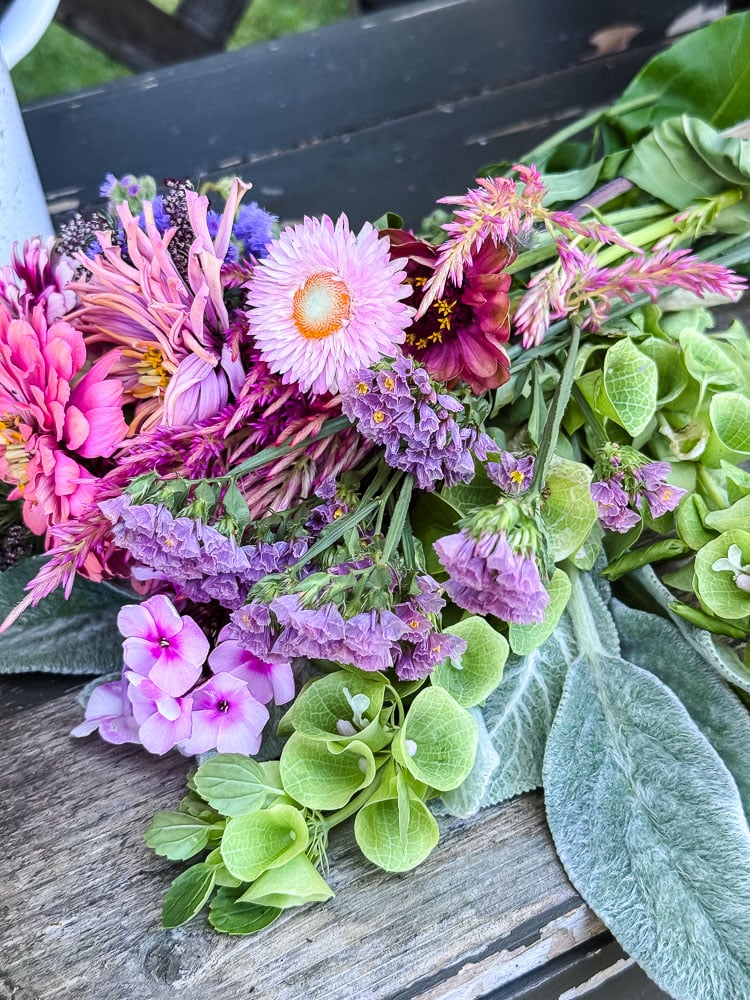
Hot pink + purple + lime green. This is the combination in my garden right now that I can’t stop making. Hot pink zinnias, purple gomphrena, statice, or scabiosa, and a few stems of Bells of Ireland for that feathery green texture. It’s bold and a little wild, and it works every single time.

Peach + coral + soft yellow. Warm and summery without being loud. Peachy zinnias, coral celosia, and a few yellow strawflowers tucked in. Add some bunny tail grass for texture, and you’re done.
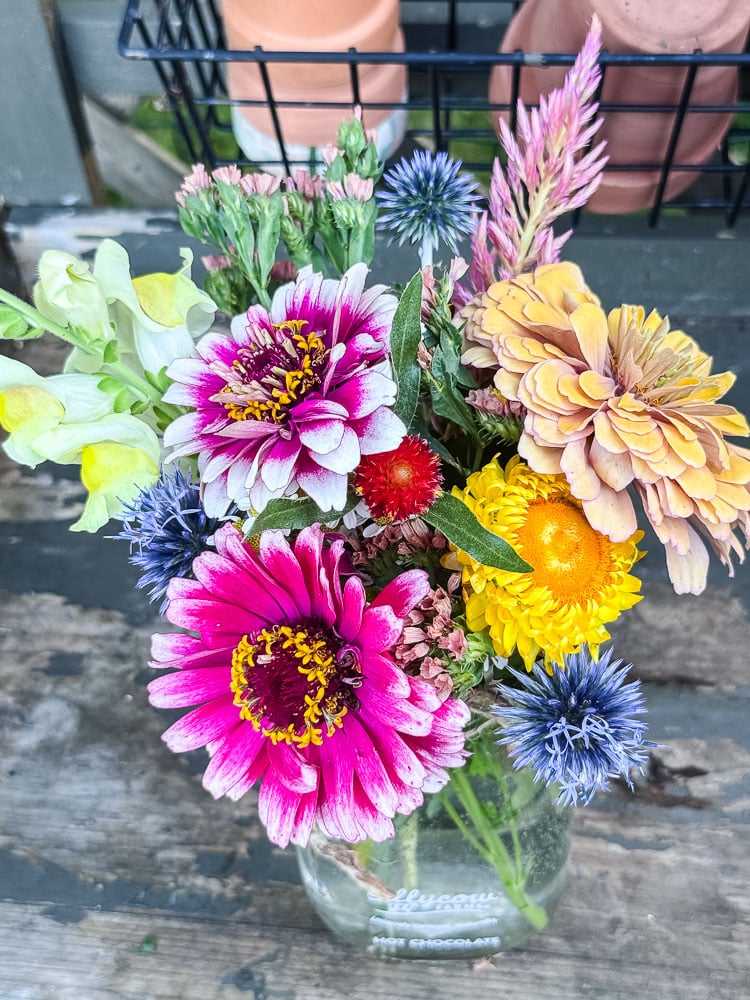
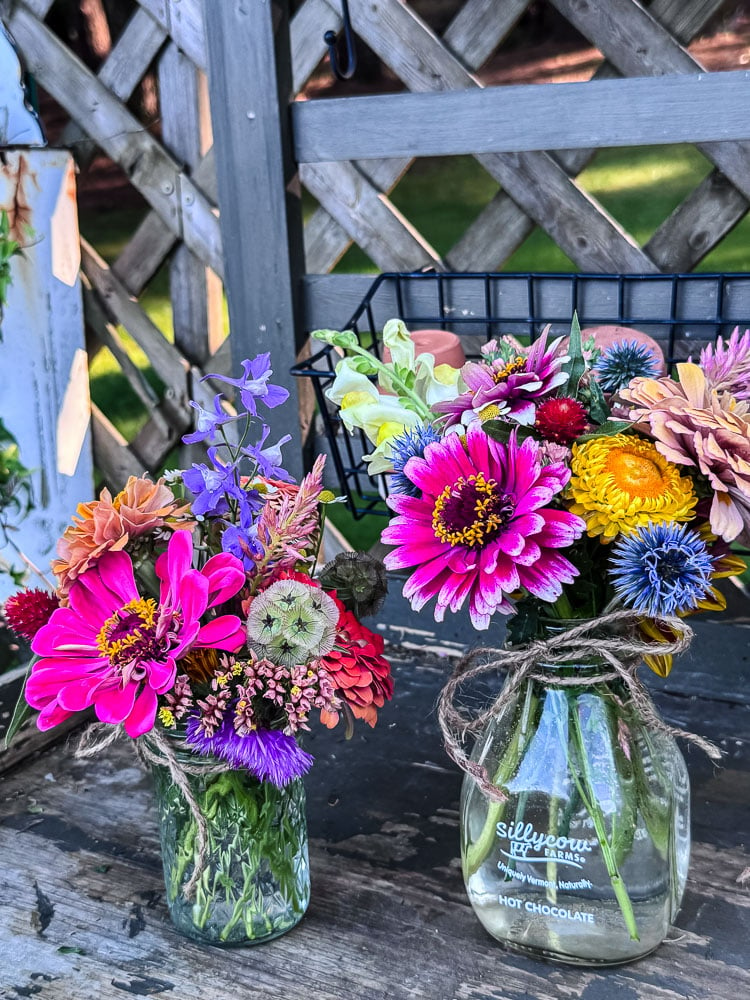
Purple, yellow, and pink. Bright and gorgeous together. This little arrangement has yellow strawflowers and snapdragons, pink zinnias and fuzzy celosia, and purple globe thistle for good measure. Even in a mini milk bottle like this one, you can pack in a ton of color and texture. And this combo? It photographs beautifully.
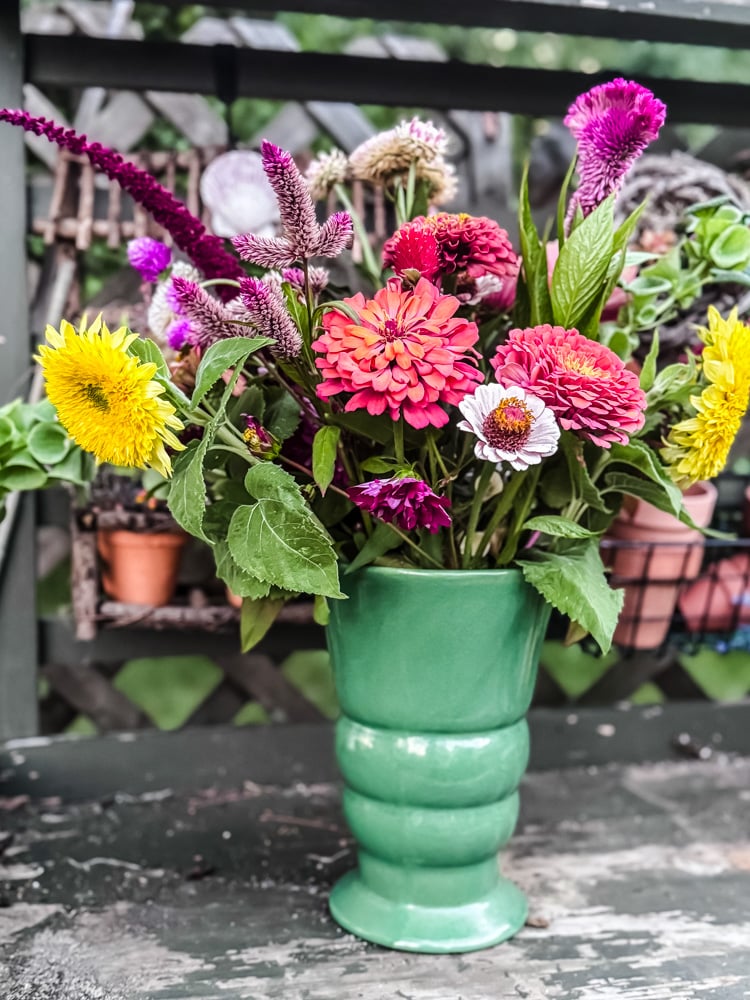
Mix everything and don’t think about it. Honestly? Sometimes this is the best approach. Grab one of each thing that’s blooming, vary the heights, and let the garden do the work. This larger vase I put together for our dining table has a little bit of everything blooming.
One Last Thing
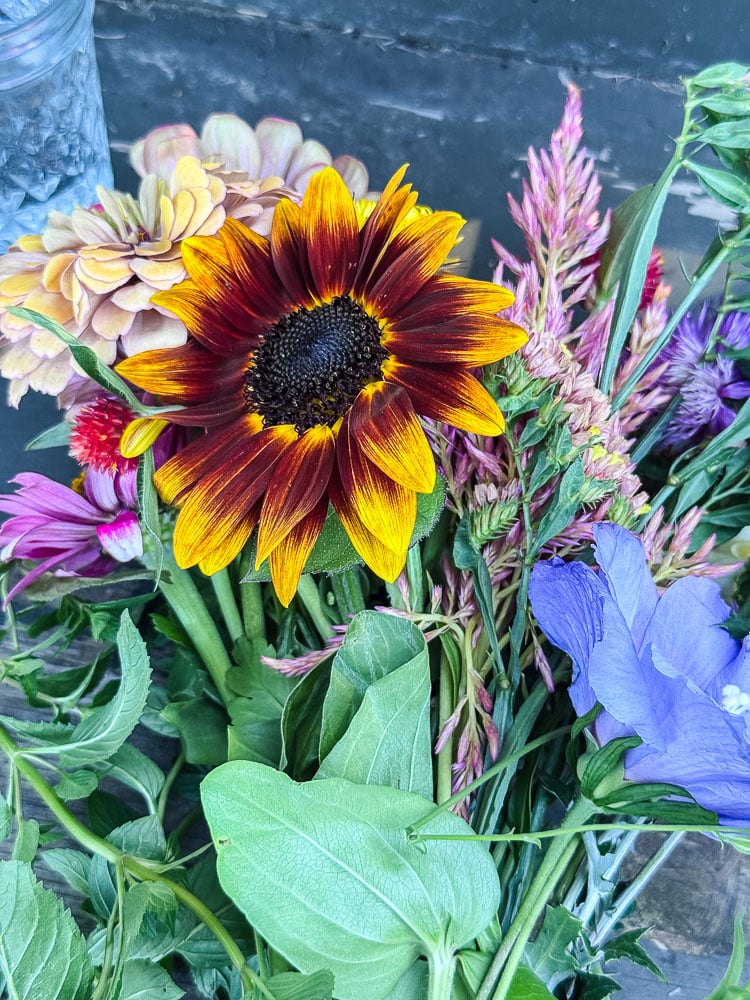
The most important thing about flower arranging, especially when you’re using flowers from your own garden, is that it doesn’t have to be perfect. A handful of zinnias in a mason jar is beautiful. Three stems of larkspur in a bud vase is beautiful. The goal is to bring the garden inside, and honestly? You can’t really go wrong with that.
What flowers are you working with right now? Drop them in the comments, and I’ll tell you what I’d pair them with
See your projects featured! If you are inspired by this or any of my other DIY projects, I would love to see them and add you to the Reader’s Spotlight gallery. Send a photo to me at jennifer@cottageonbunkerhill.com
xo, Jennifer
Love projects like this? Don’t miss out! Join my newsletter family for more cozy, budget-friendly DIY ideas delivered right to your inbox. You’ll get exclusive tips, early access to tutorials, and all the inspiration you need to make your home feel handmade and heartfelt.



Hi Jen,
Thank you for your excellent blog on Flower Arranging ..I had to learn by trial and error and by reading about Flower Arranging. You wrote from experince which is the best way. I used to use the tape method but that was alot work when arranging flowers in a vase..ugh… I was on the look out for inexpensive flower frogs ..then I learnt how to make them😁I now use old doilies and a elastic around the vase… the flowers stand up nice..the vase looks pretty😍
.
Lorri, I love the doilies on the vases! I’ve seen a couple of videos of that lately-it’s so pretty. I saw another girl use the netting from an orange bag over the top of a jar and I thought that was so smart!
Thanks for all the helpful hints in arranging flowers in containers! Who doesn’t love a fresh bouquet of flowers? ❤️
Of course, Auntie!!